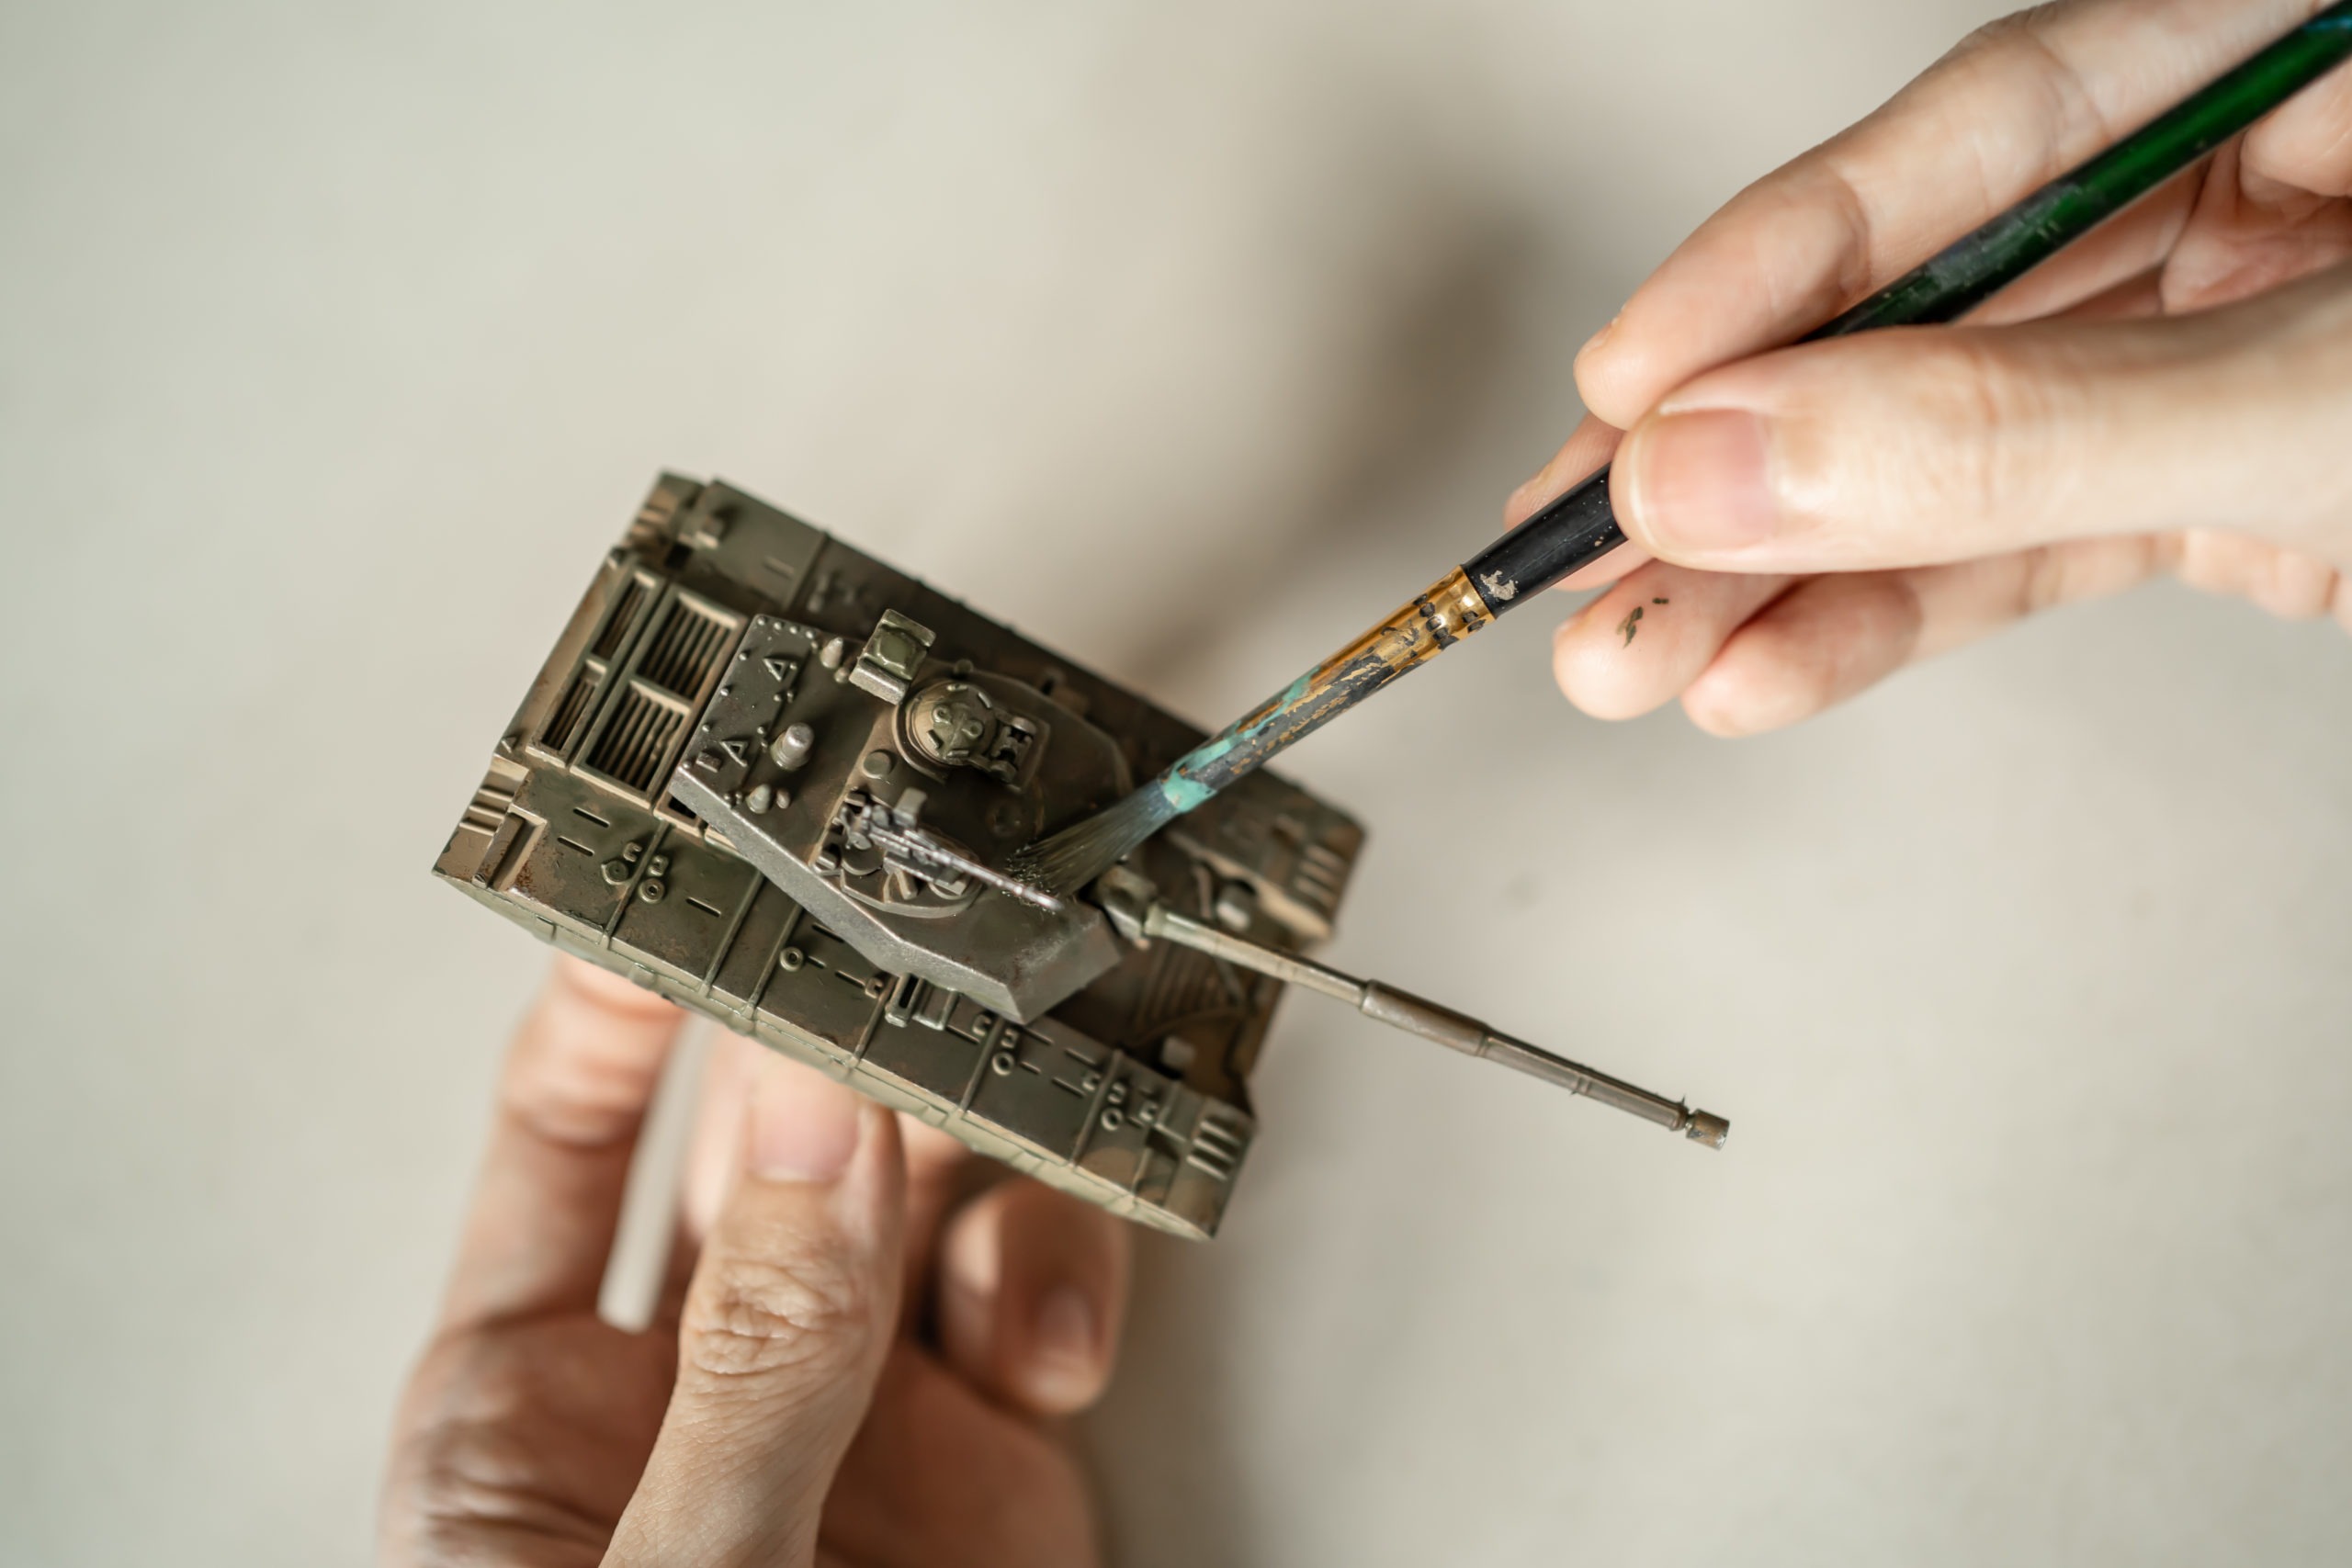
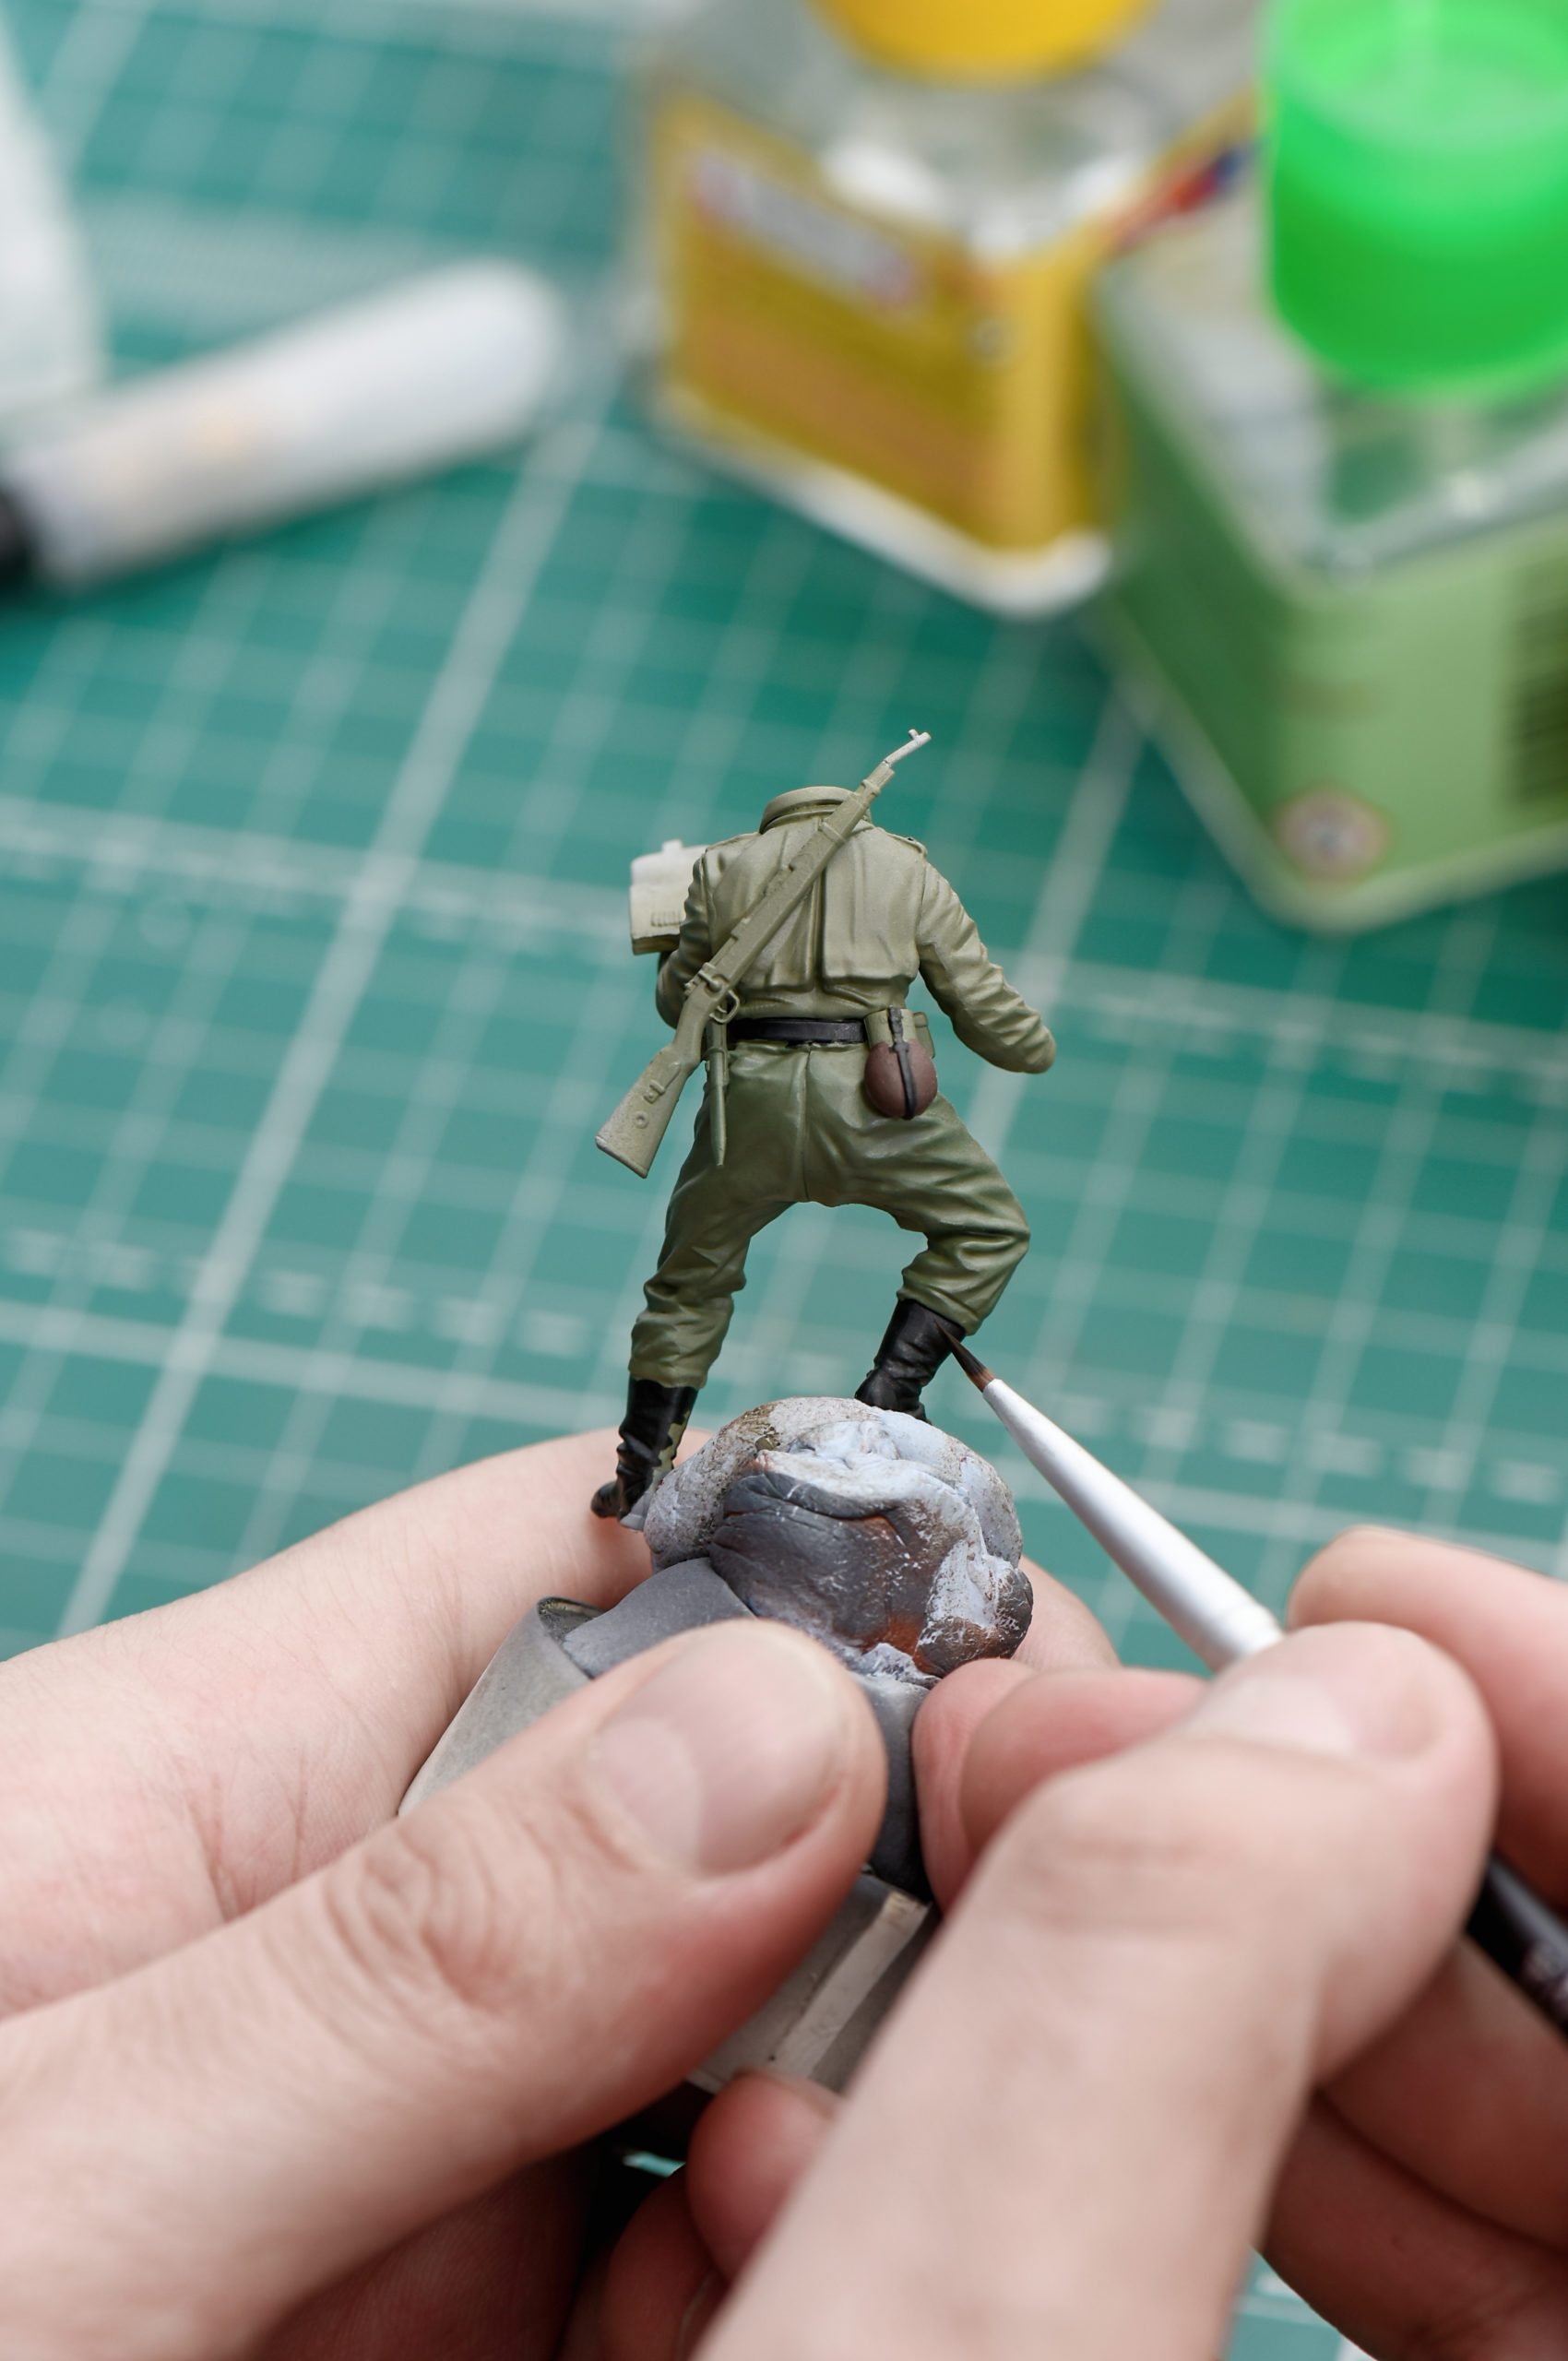
While hobby model building has been around for a very long time, it’s still one that seems to keep growing. Thousands of individuals and groups all over the world build models from all kinds of kits available on the market today.
The process of building a model building is a lot like playing with dolls as a child — only better! You get to make your own doll and dress it up however you want. The only difference is that when you’re done, your doll will be made out of wood or plastic instead of cloth and stuffing.
In this second part of the guide, we will talk about the important steps for model building along with some other things. Let’s get into it then!
Important Steps for Model Building
1. Pick a Subject that Interests You
If you’re not sure what type of model you want to build, consider choosing a subject that’s relevant to your interests or hobbies. For example, consider making a scale model of an elephant or giraffe if you love animals. If you enjoy sports, consider making a model airplane from your favorite team’s colors and logo.
Research your chosen subject thoroughly by reading books on the topic as well as magazines and other publications that cover this subject matter thoroughly. These sources will give you all sorts of general information about airplanes and specific models. So that when it comes time to begin work on your own model project, you’ll have plenty of knowledge at your disposal regarding how things work and what makes each airplane unique from other types of aircraft used throughout history.
2. Choose an Appropriate Skill Level
The second important step in choosing the right model for your first project is deciding your skill level as a model builder. You can choose from several scales in models, ranging from 1:1 (actual size) to 1:43 (four times smaller than actual size).
There are also kits designed specifically for beginners or more experienced builders; these kits usually include detailed instructions and painted parts that are ready for assembly right out of the box.
If you’re not sure what scale would be best for your first project, consider choosing something within the 1:24 range — this will give you plenty of room for error so you don’t have to worry about exact measurements or details that may throw off your first attempt at building a model car or truck from scratch! This point leads us to our third important consideration, which is:
3. Decide On the Scale of Your Model
There are several different scales used for modeling, including 1:1 (actual size), 1:24 (half-life size), and 1:48 (quarter-life size). The most common scale for military models is 1:48 because it offers enough detail while still being affordable and easy-to-find supplies. On the other hand, the most common scale for car models is 1:24.
People who have built models for a longer time will often choose large-scale models because they show more details and allow the modeler more freedom to add his own flourishes.
Small-scale models are often more enjoyable for beginners because they take less time to complete. If you’re a beginner and want to tackle a larger model, know that these tend to be geared toward more experienced modelers.
Here is detailed information on the scales of models:
1:12 (approximately 14 to 16 inches in length)
These are large models, usually about 14 or 15 inches long and highly detailed, produced for adult collectors. 1:12 models are generally more expensive than smaller models, which are manufactured for children.
1:18 (approximately 8 to 11 inches in length)
Large, detailed models of cars and trucks, about 8 to 11 inches long (18 to 30 centimeters), are manufactured for adults in the United States as well as in Europe and Australia.
1:24 (approximately 5 to 8 inches in length)
This scale has long been popular and the most common in the United States due to many construction kits and dealer promotional models being made in this size. You will find lots of car model kits of this scale.
1:32 (Normal Size)
1:32 is the most common scale for model tractors, agricultural vehicles, and some military vehicles. Military miniatures are often sculpted at this scale, which can be used with 1/35 scale military vehicles.
1:35
This is the most common scale size used in armored fighting vehicles.
1:43 (approximately 3 to 5 inches in length)
In the 1930s, Dinky toys made the quarter-inch scale popular. The scale is most commonly used in Britain and Europe but less in the USA.
1:72
Military die-cast vehicles are usually produced on a 1:72 scale because this matches the size of plastic construction kits.
4. Carefully Read the Instructions
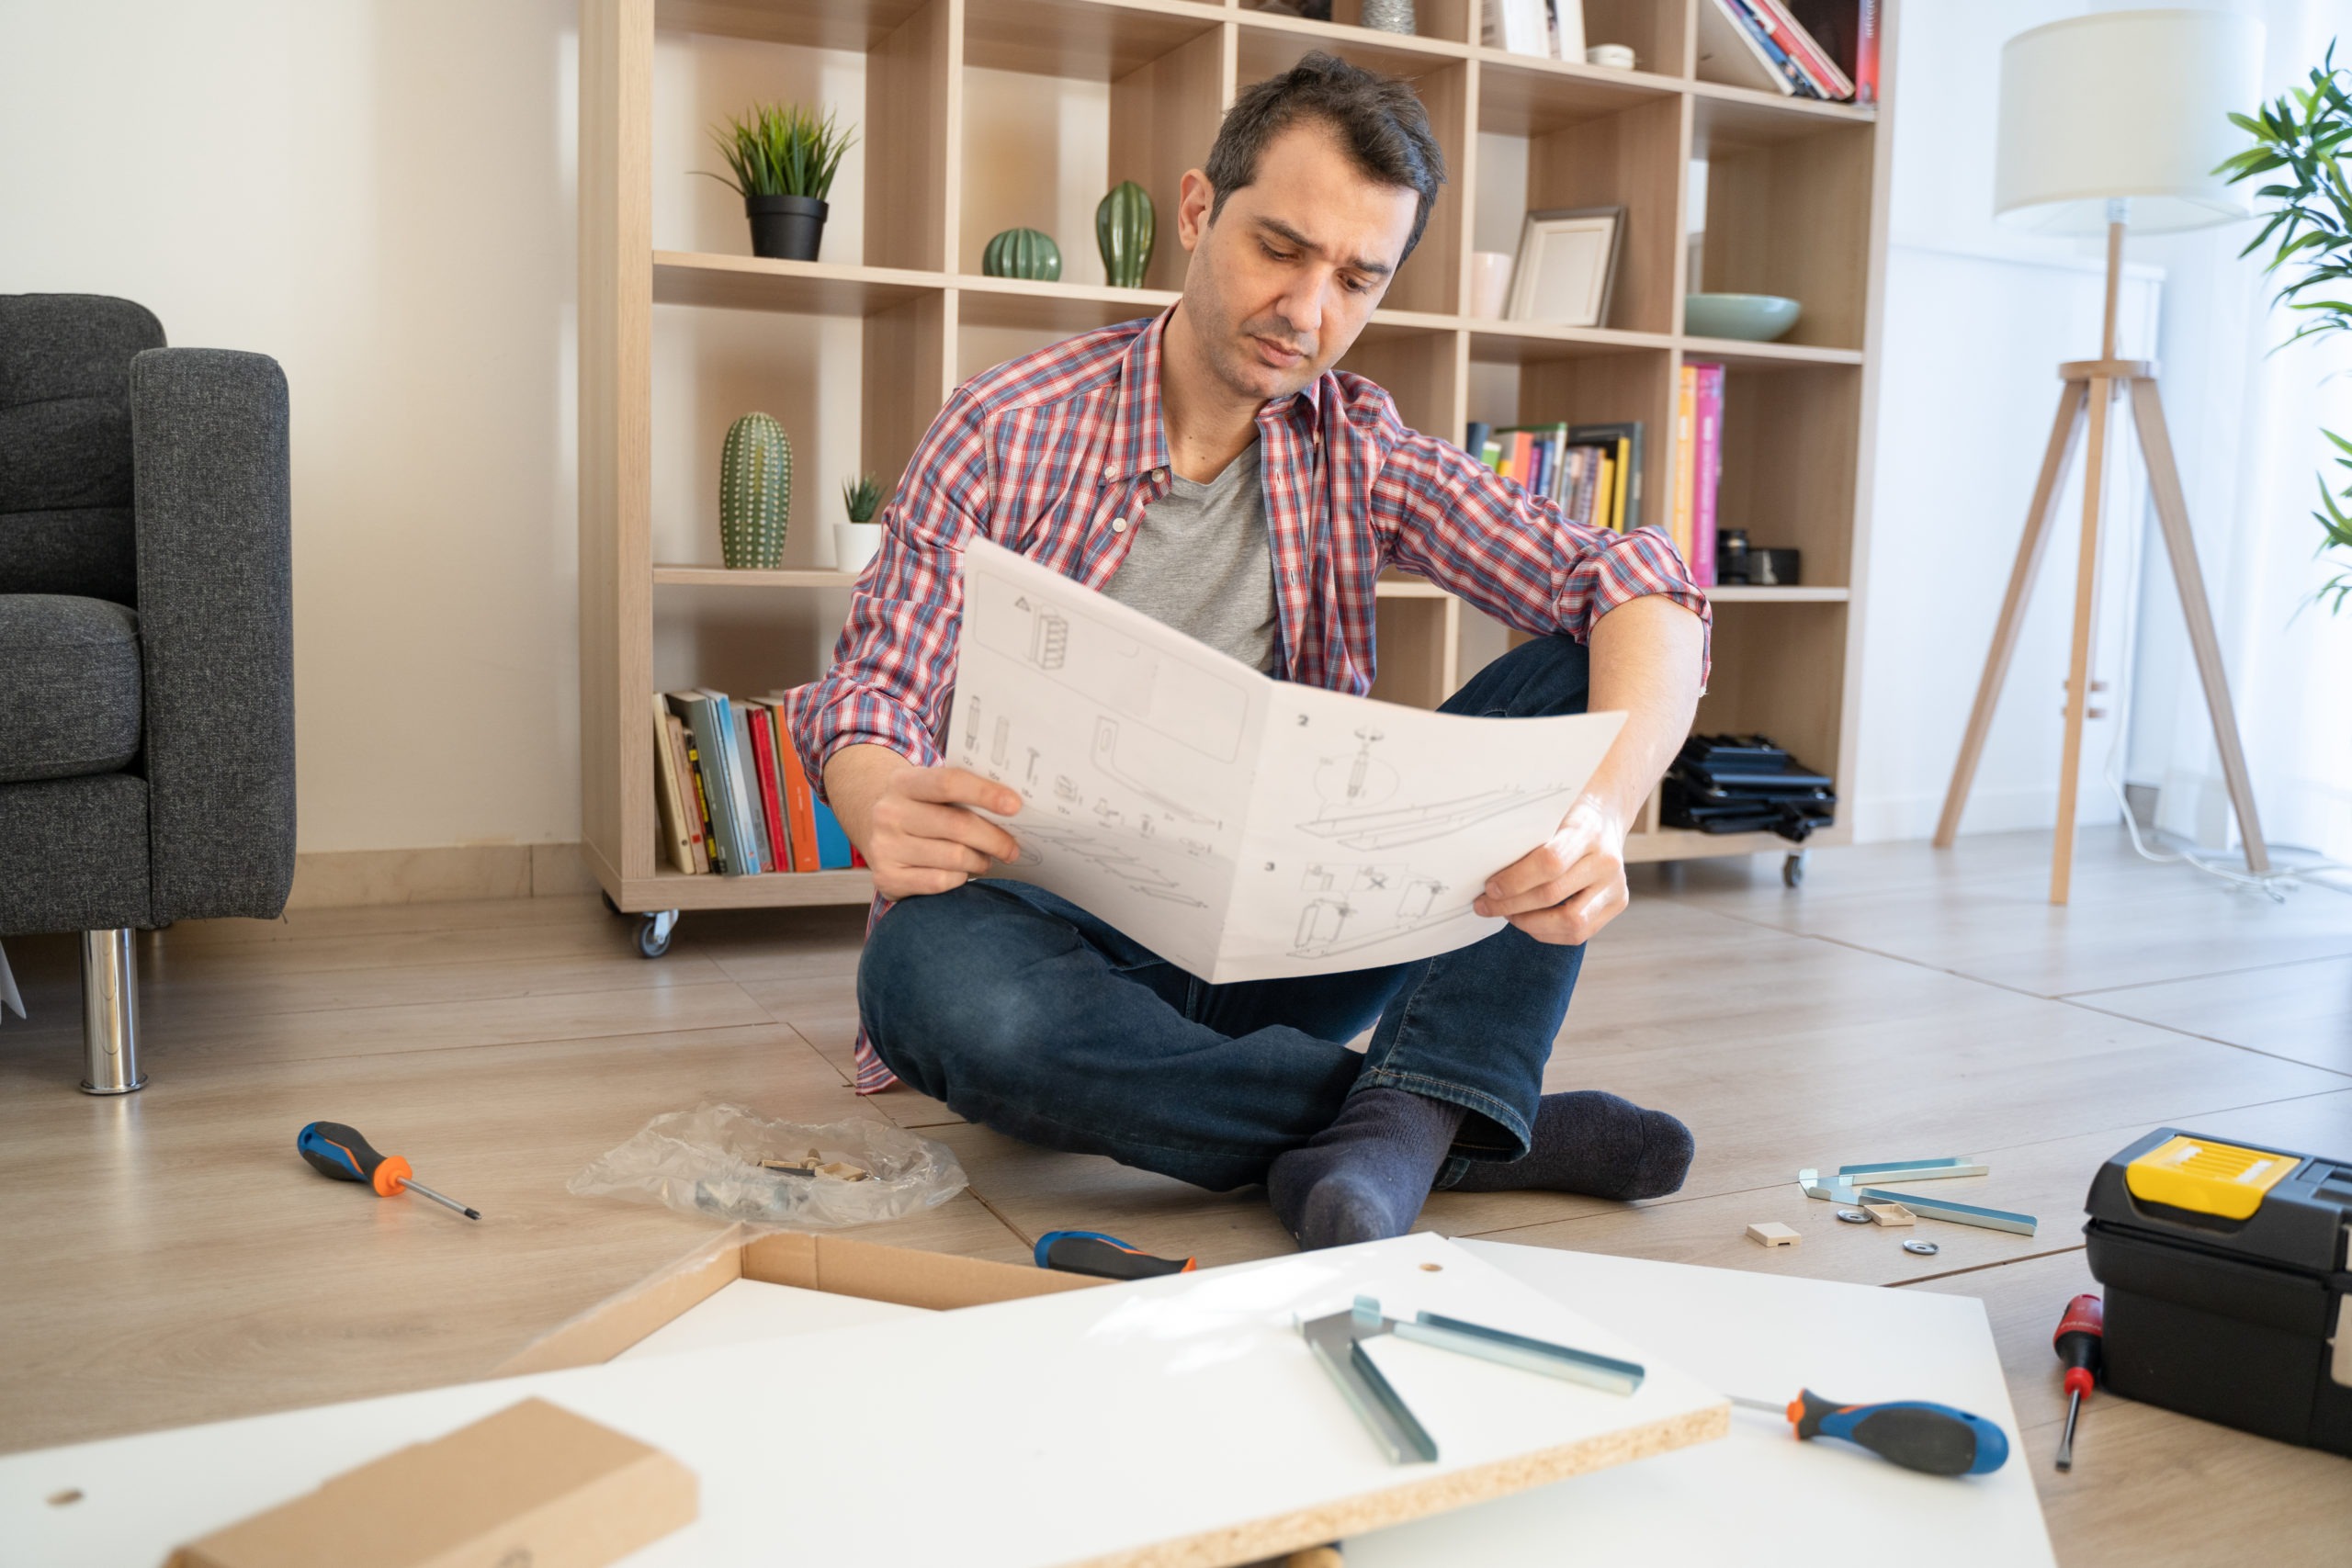
This is especially important if it’s your first time building a model and even more so if it’s not your first time. The instructions will tell you what parts are included in the kit, how they should be assembled, and how they fit together.
Some people find it helpful to sketch out the steps in their minds before starting work on their build so they know what needs to be done next. Don’t skip over any steps just because they seem easy or boring – they could be important.
5. Collect Reference Material
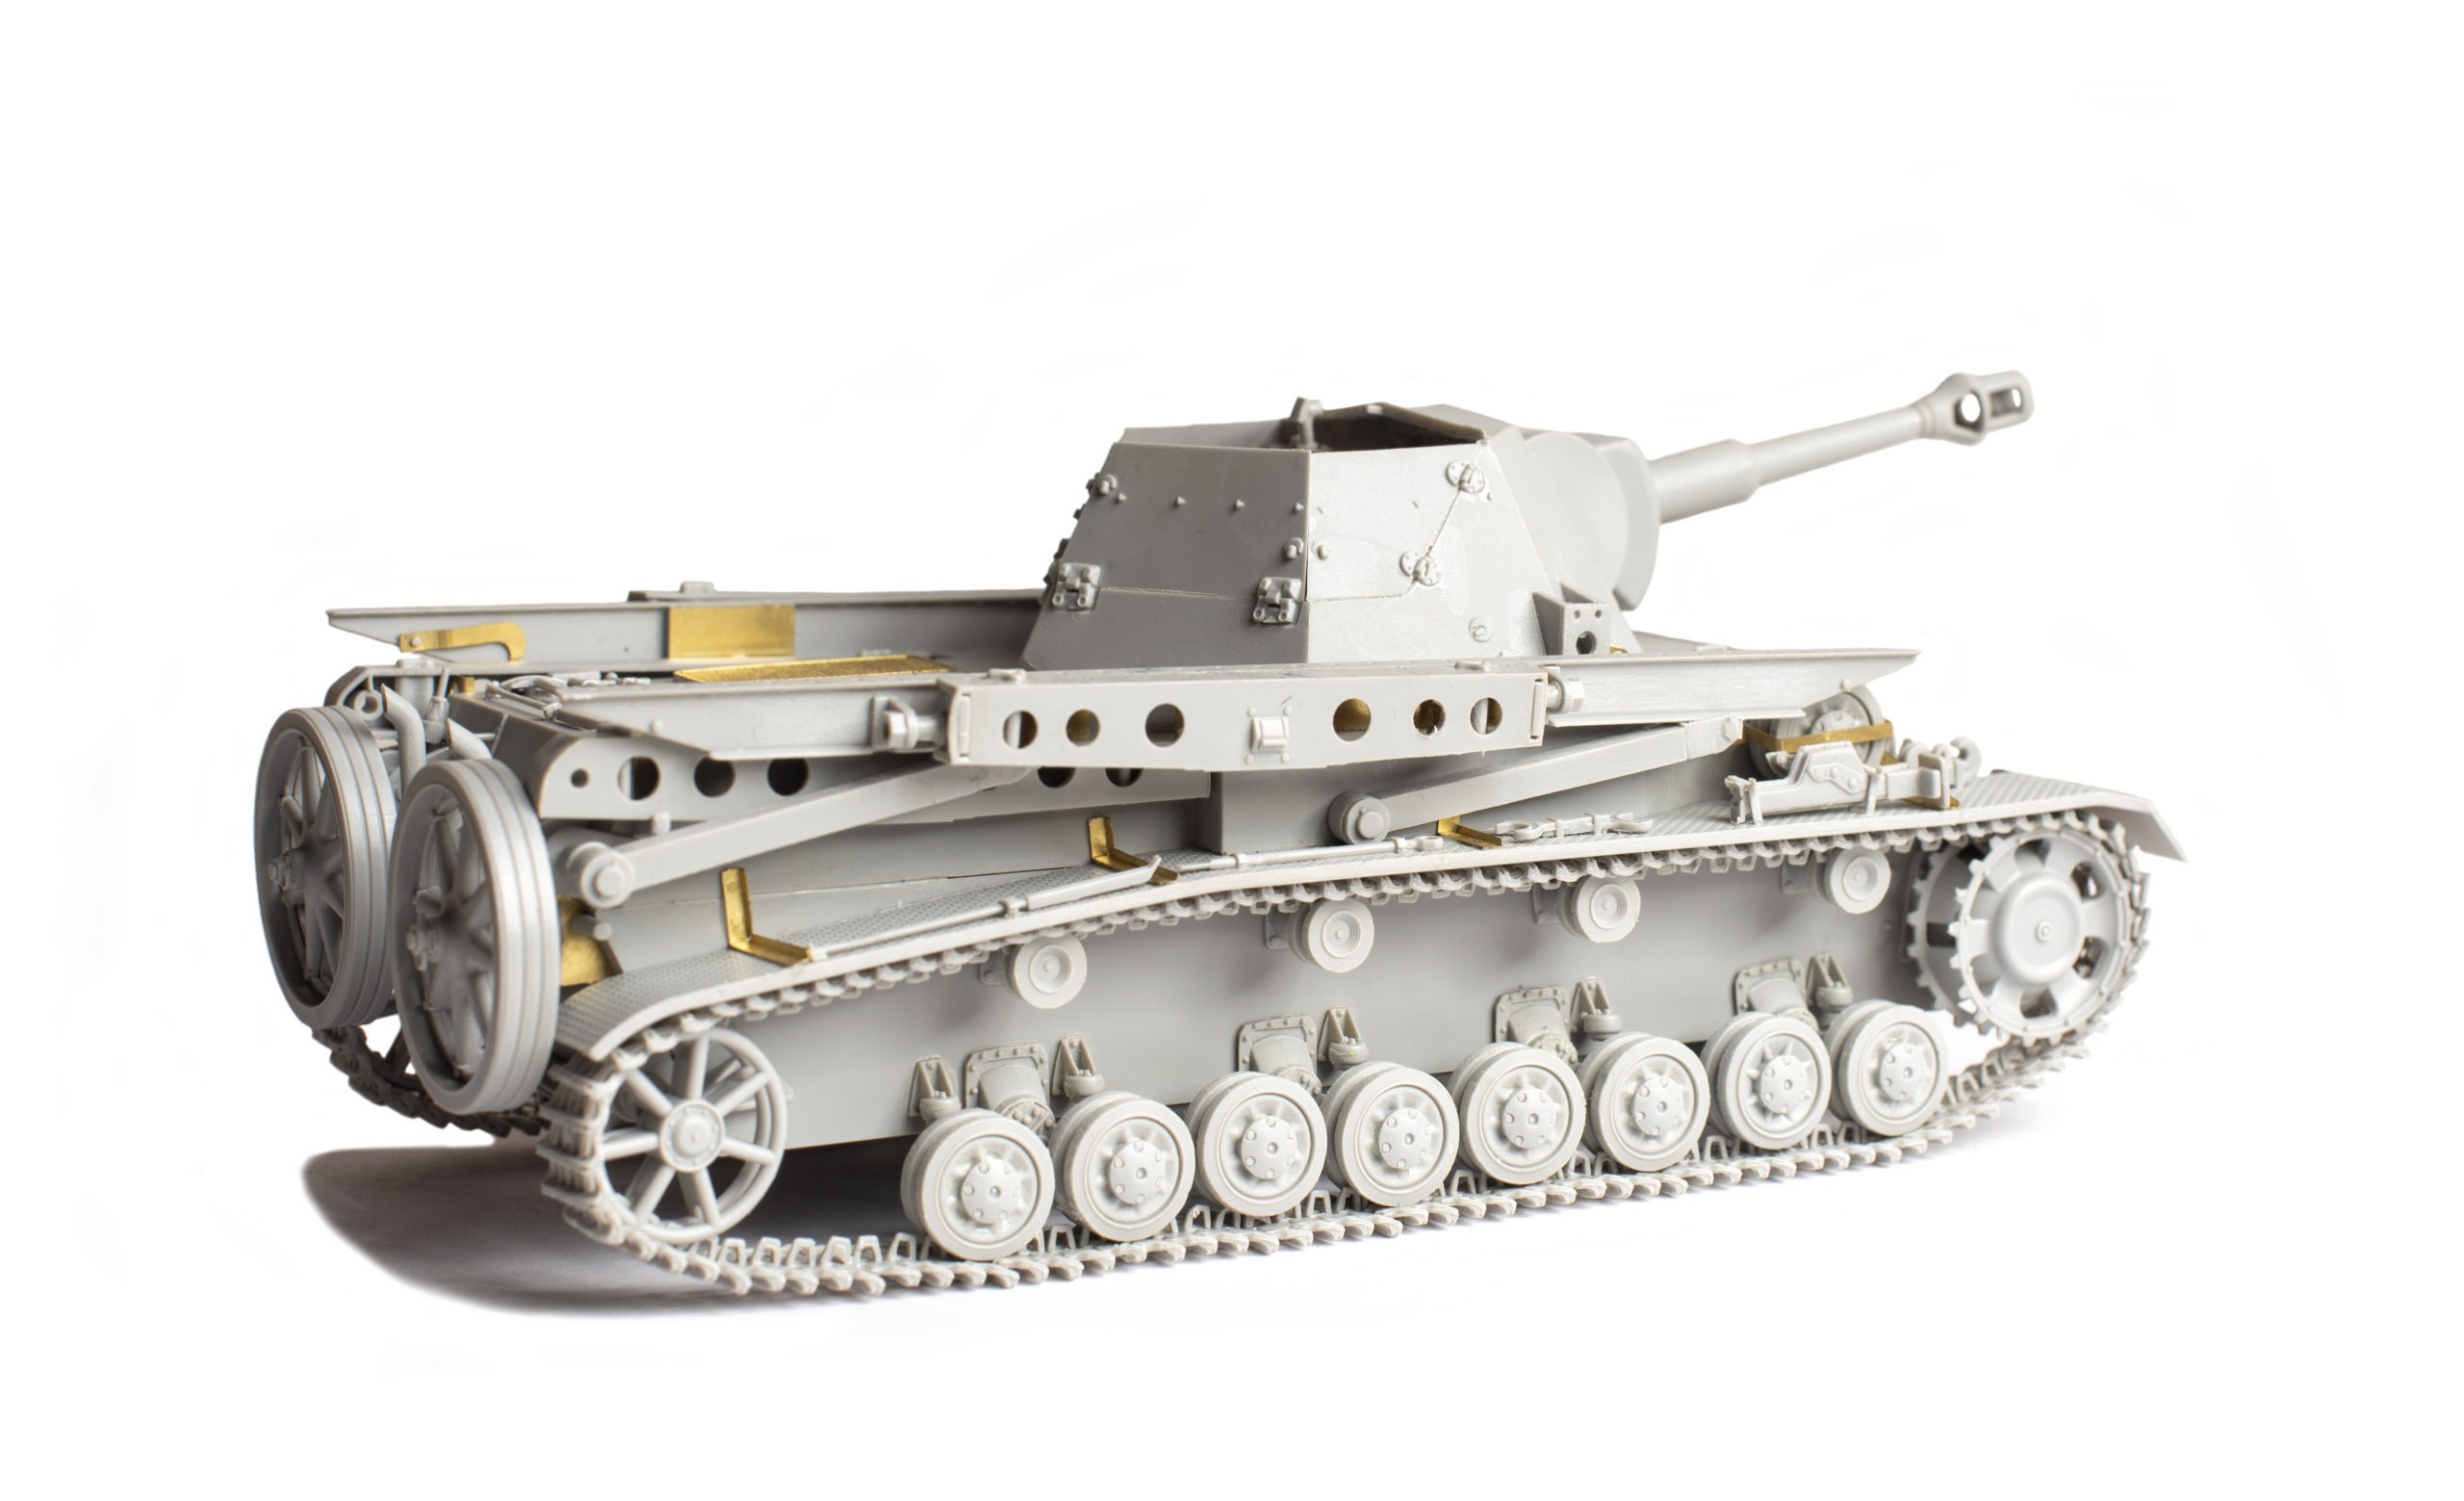
Third, collect reference material on your chosen subject matter so that you can recreate it accurately in your scale model. You’ll need multiple photos showing different angles of your subject as well as any available blueprints or schematics that show the dimensions and proportions of various parts (such as wingspan).
Most scale model kits are available online or at hobby shops. You’ll want to look for one that’s designed for beginners, as these kits tend to be less expensive and easier to assemble.
6. Prepare your Work Area
If you’re planning on building a scale model, you will need to prepare your work area. This can be anywhere from a hobby room to your garage or basement. Find a table or other flat surface that’s large enough to accommodate your model’s size and any tools or materials you’ll need during the build process.
You should also consider using good lighting and ventilation in this area so that you don’t have to move around too much when working on your project.
Before you begin building any scale model, lay out all your materials in an orderly fashion, so they are easy to find when needed. This includes everything from tools and fasteners to glue and paint. The more organized you are throughout the build process, the easier it will be for you to complete the project successfully.
7. Assemble the Tools You Will Need
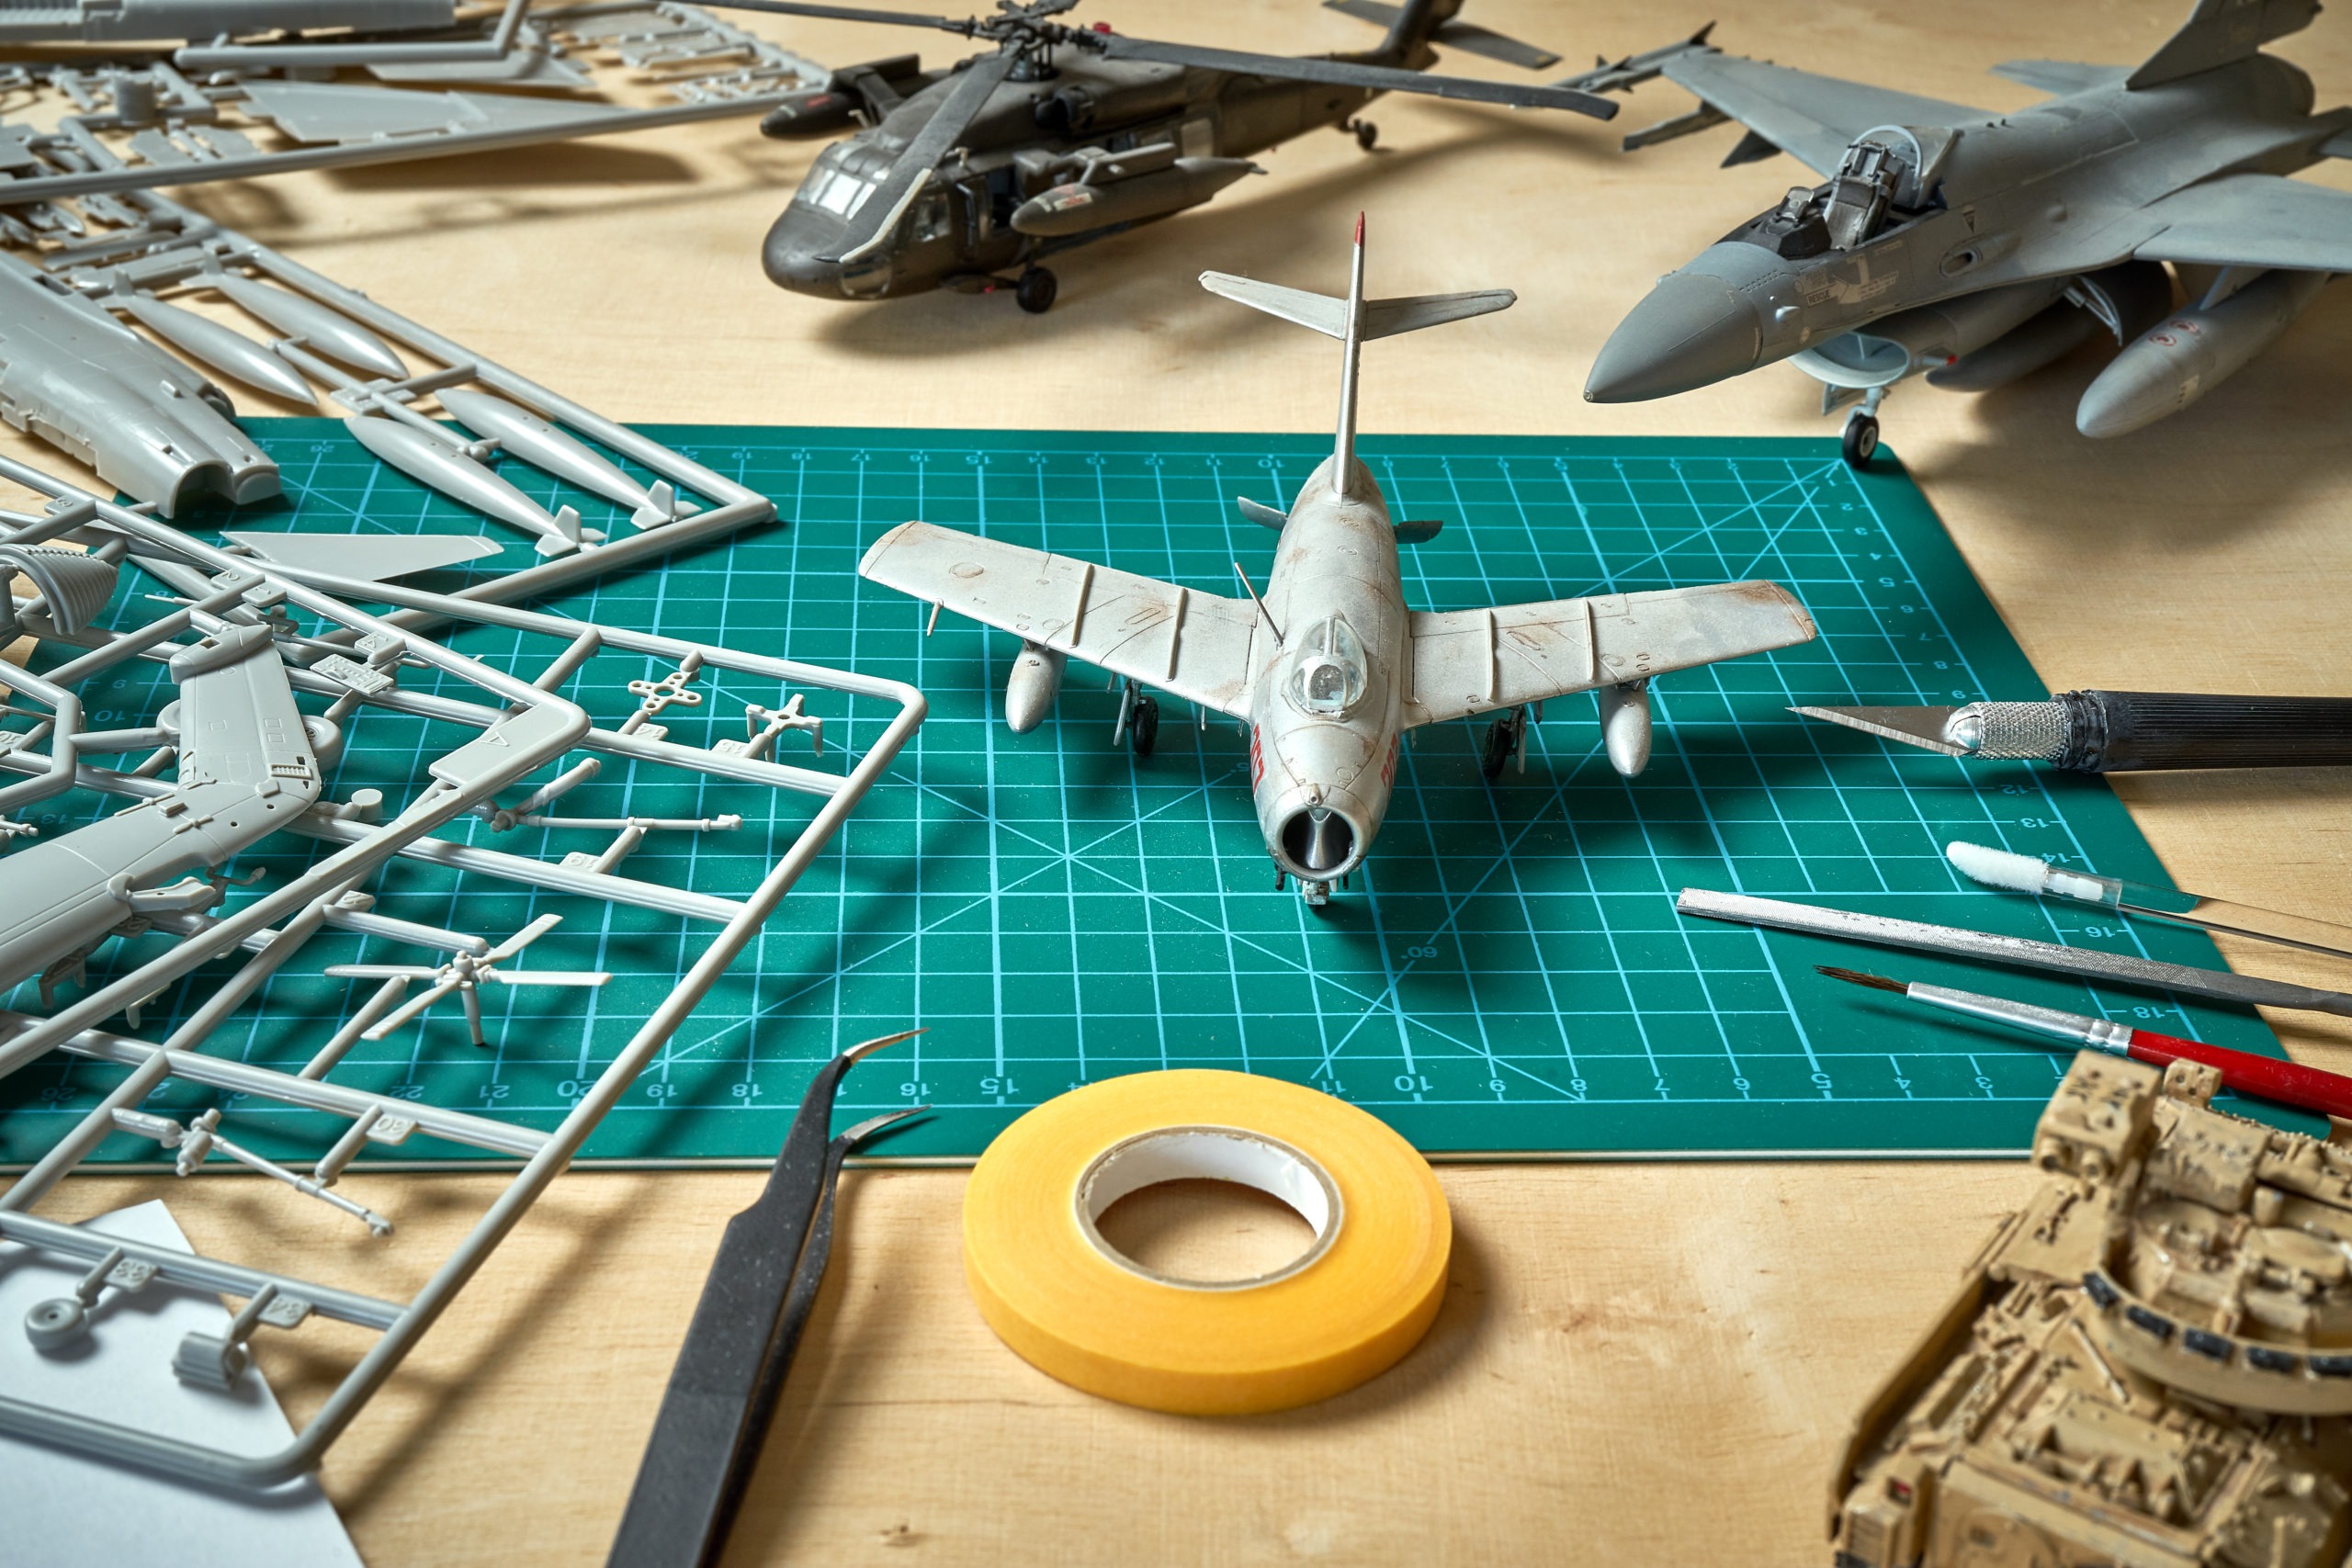
When you’re ready to begin building your model, you’ll need to assemble all the model-building tools (link with “What Tools Are Needed for Model Building”) that will make the construction process easier. The following are some of the most popular tools used by scale model builders:
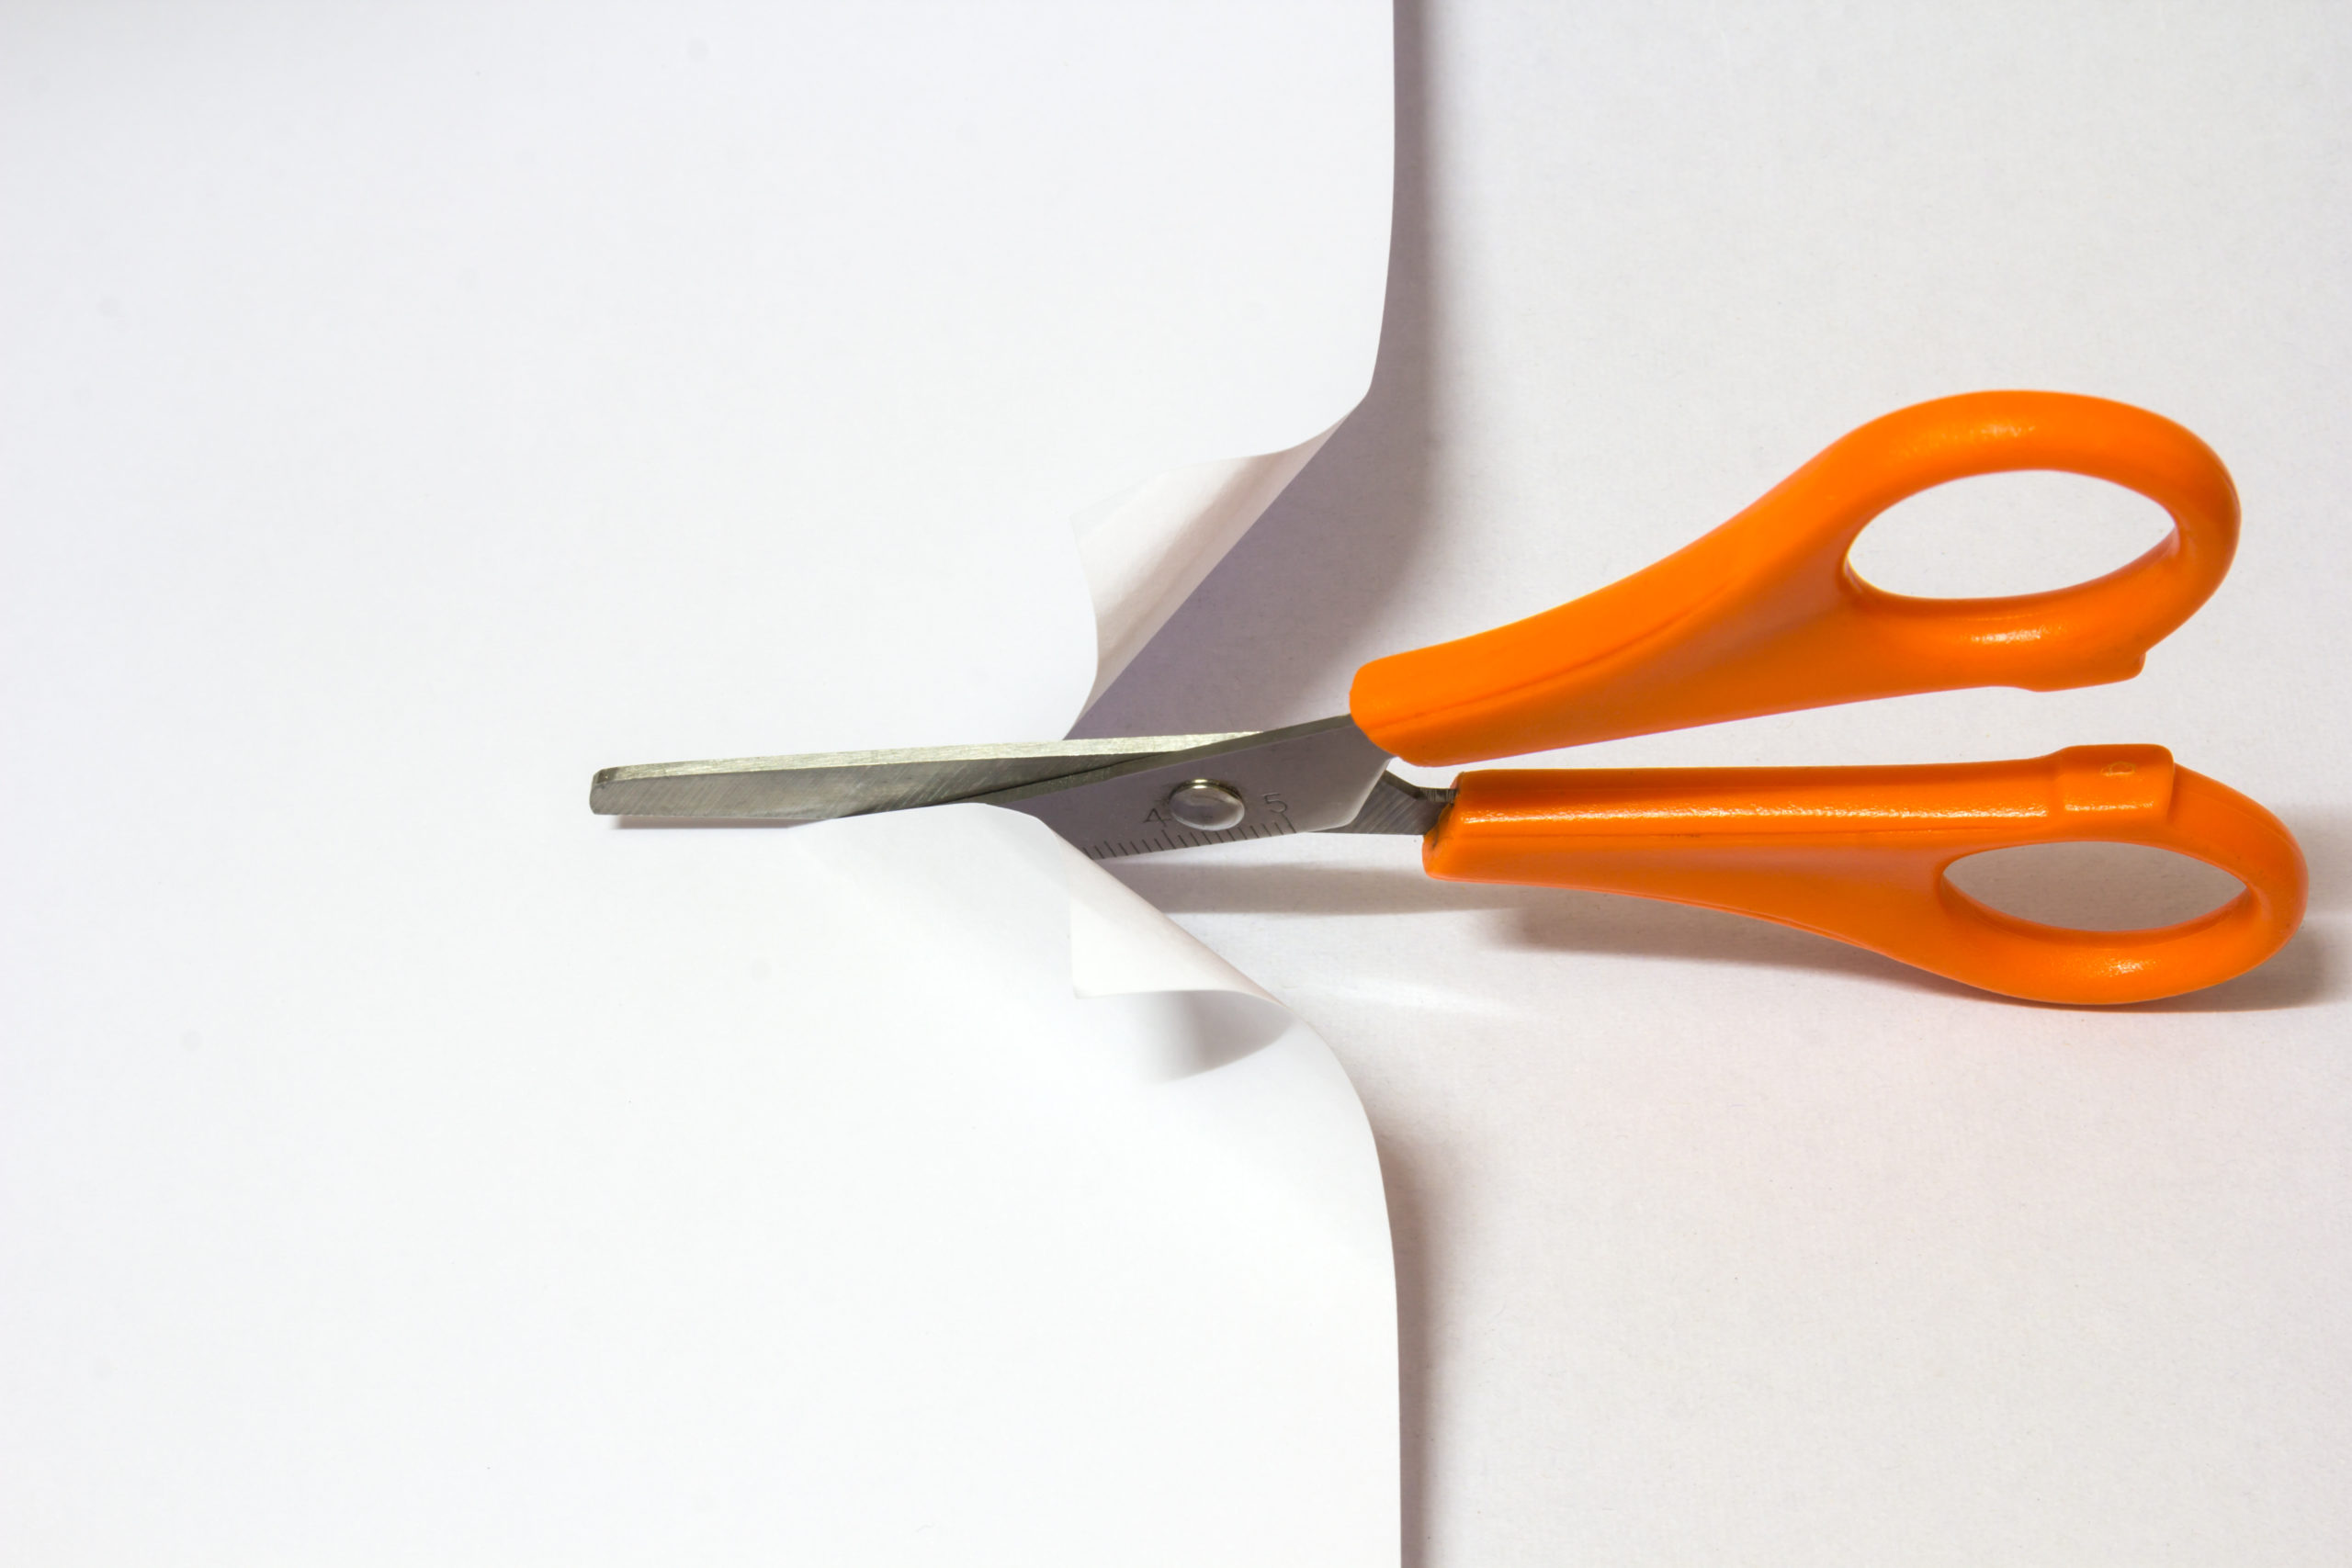
Scissors
Scissors are used for cutting out parts from sheets of plastic or paper. They should be sharp and sturdy.
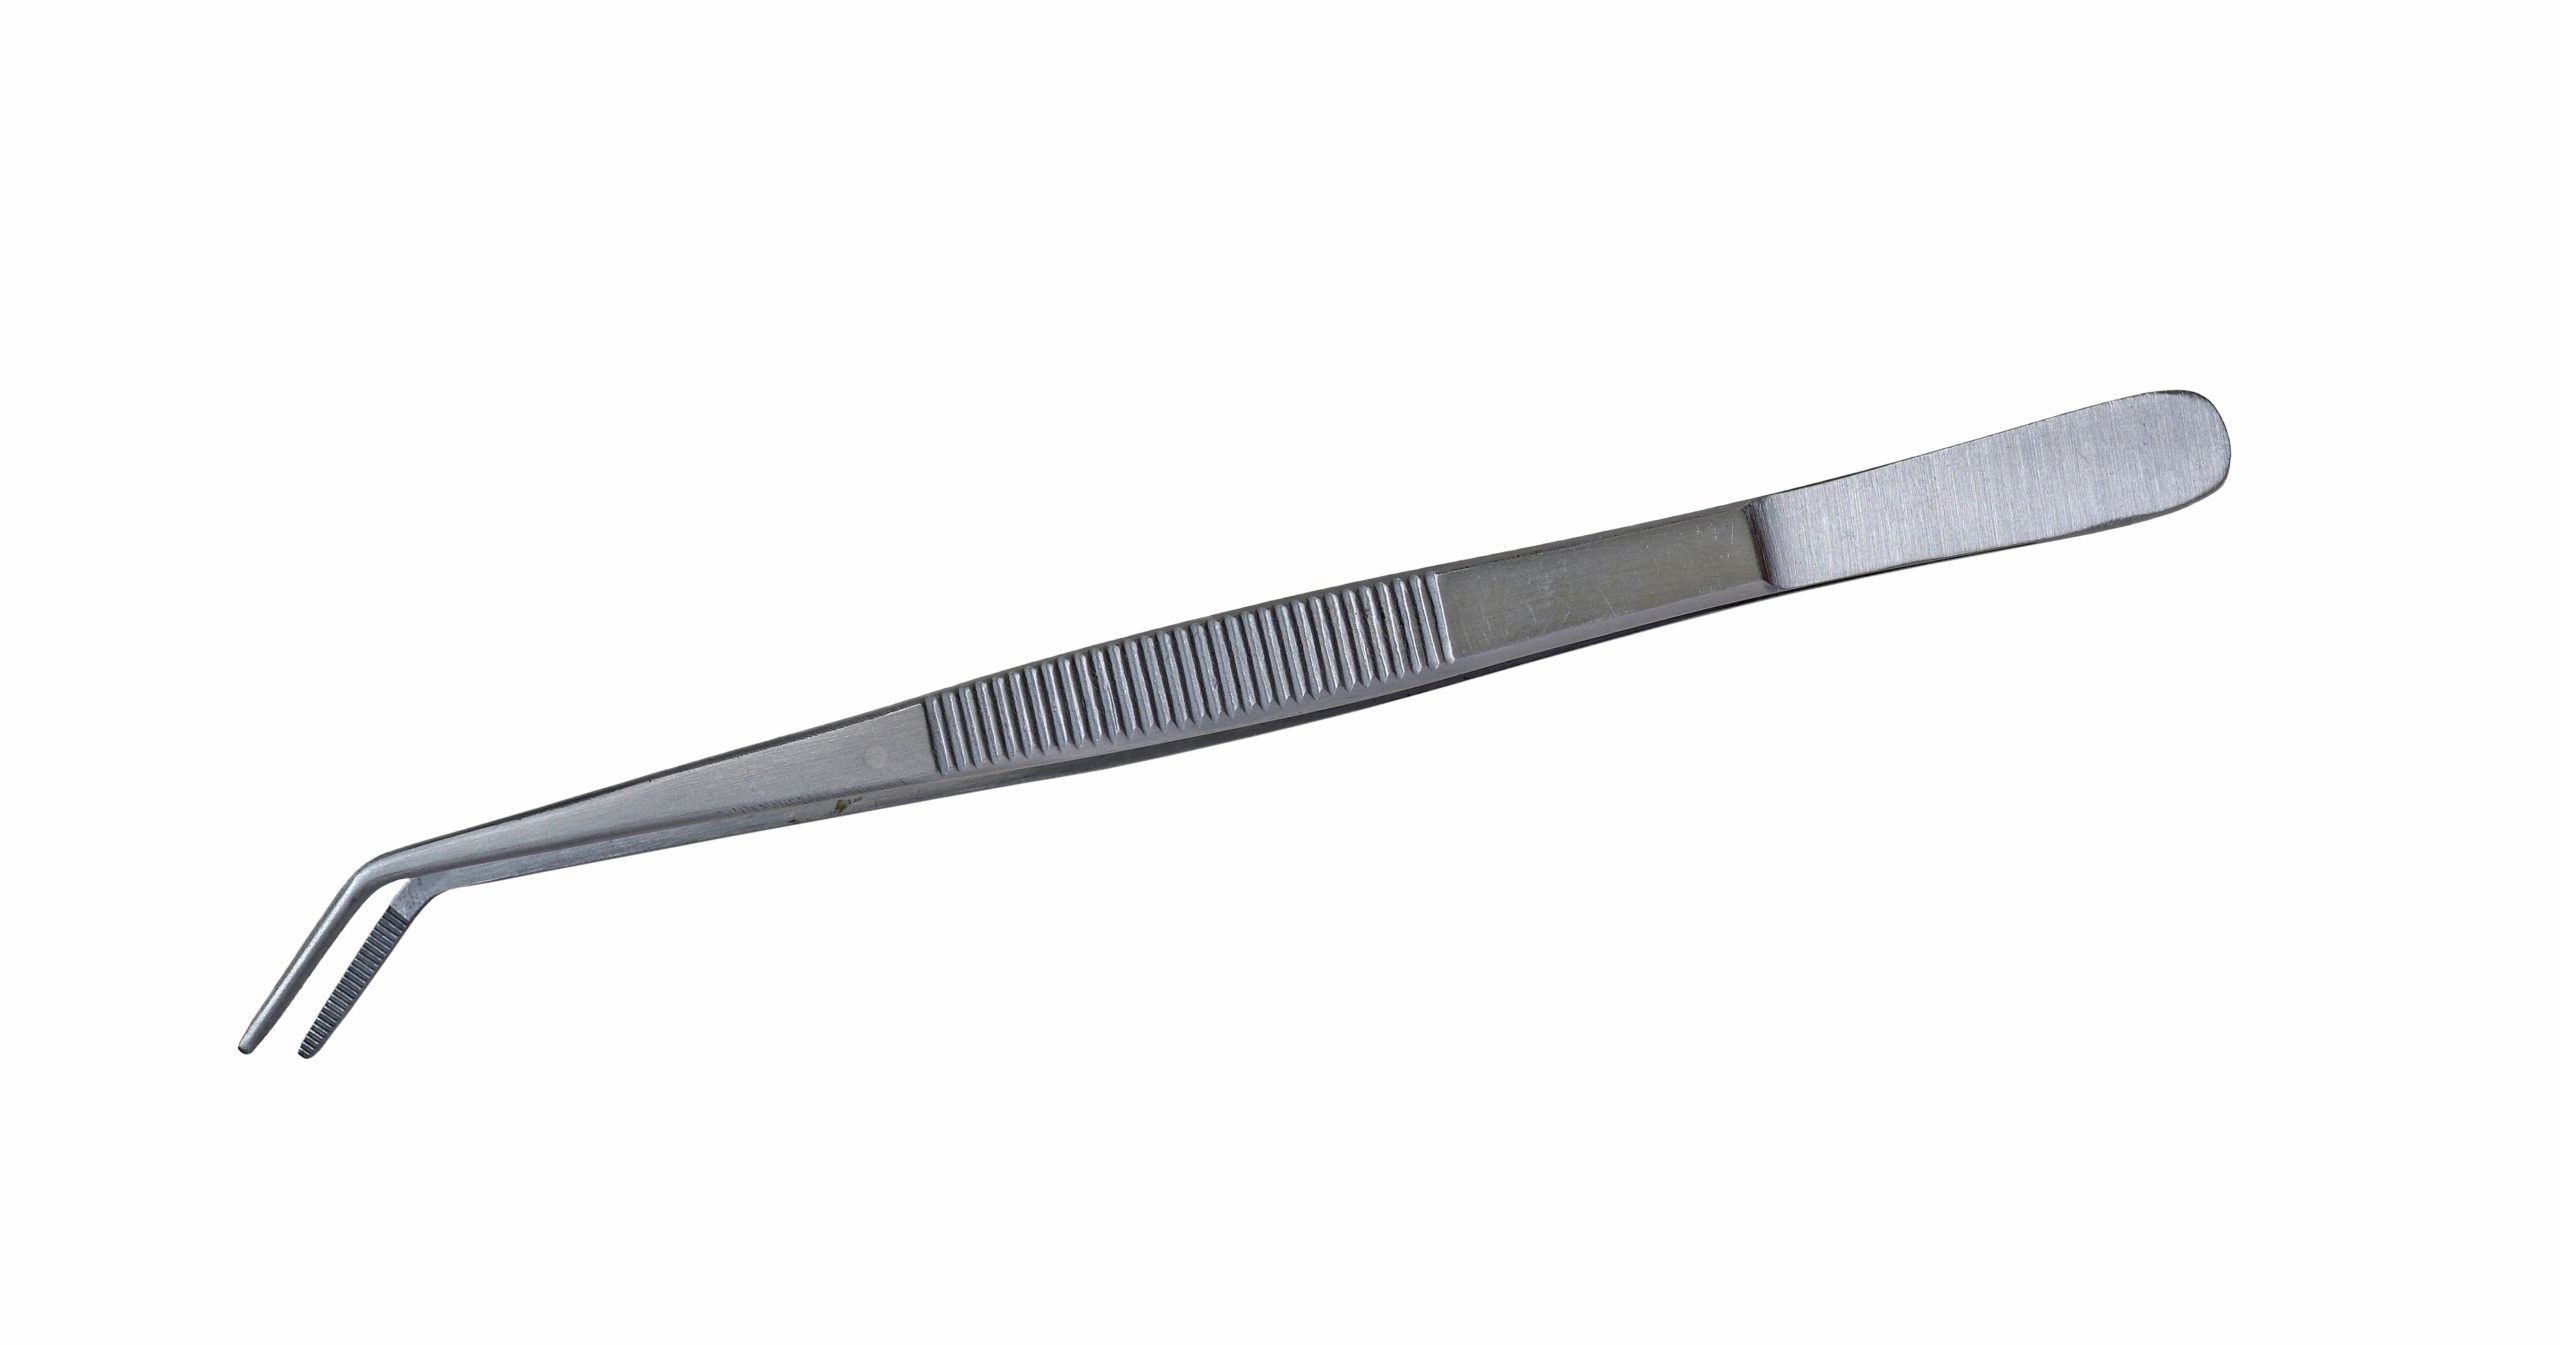
Tweezers
Tweezers allow you to pick up small pieces of material without damaging them or your fingers. They are also used for gluing pieces together.
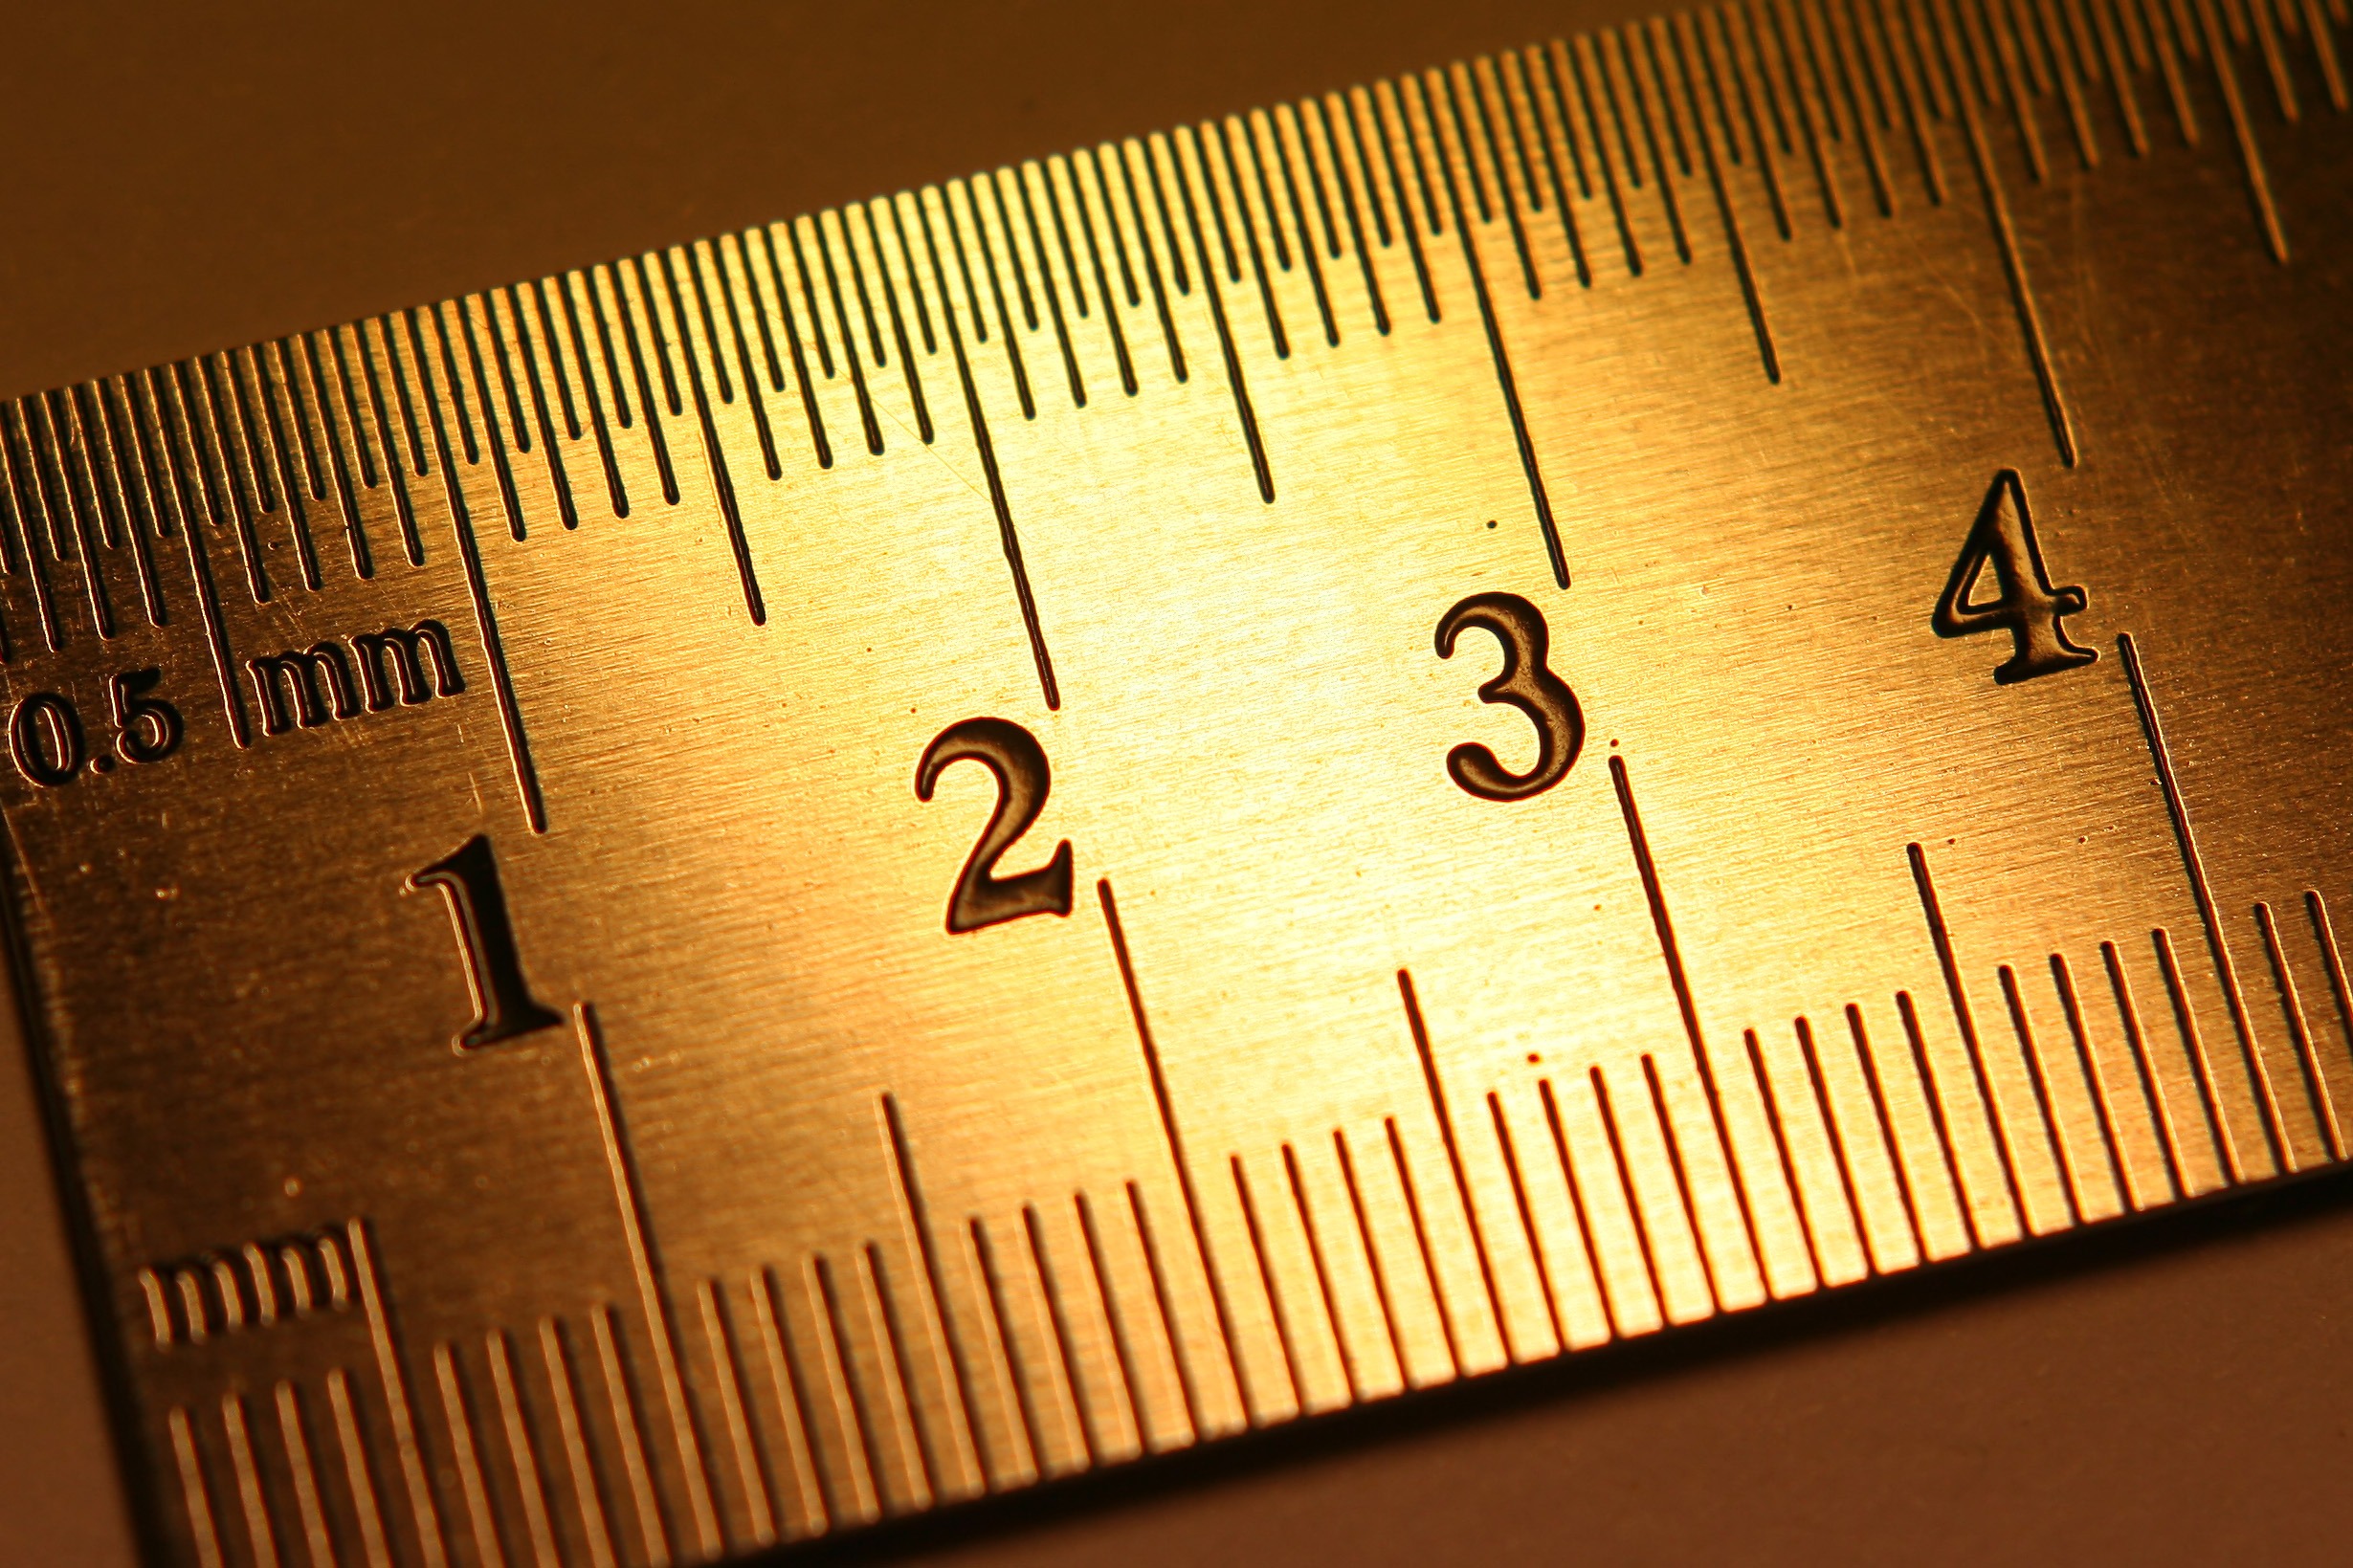
Ruler
A ruler is used to measure dimensions and angles, as well as cut straight lines on paper or plastic sheets.
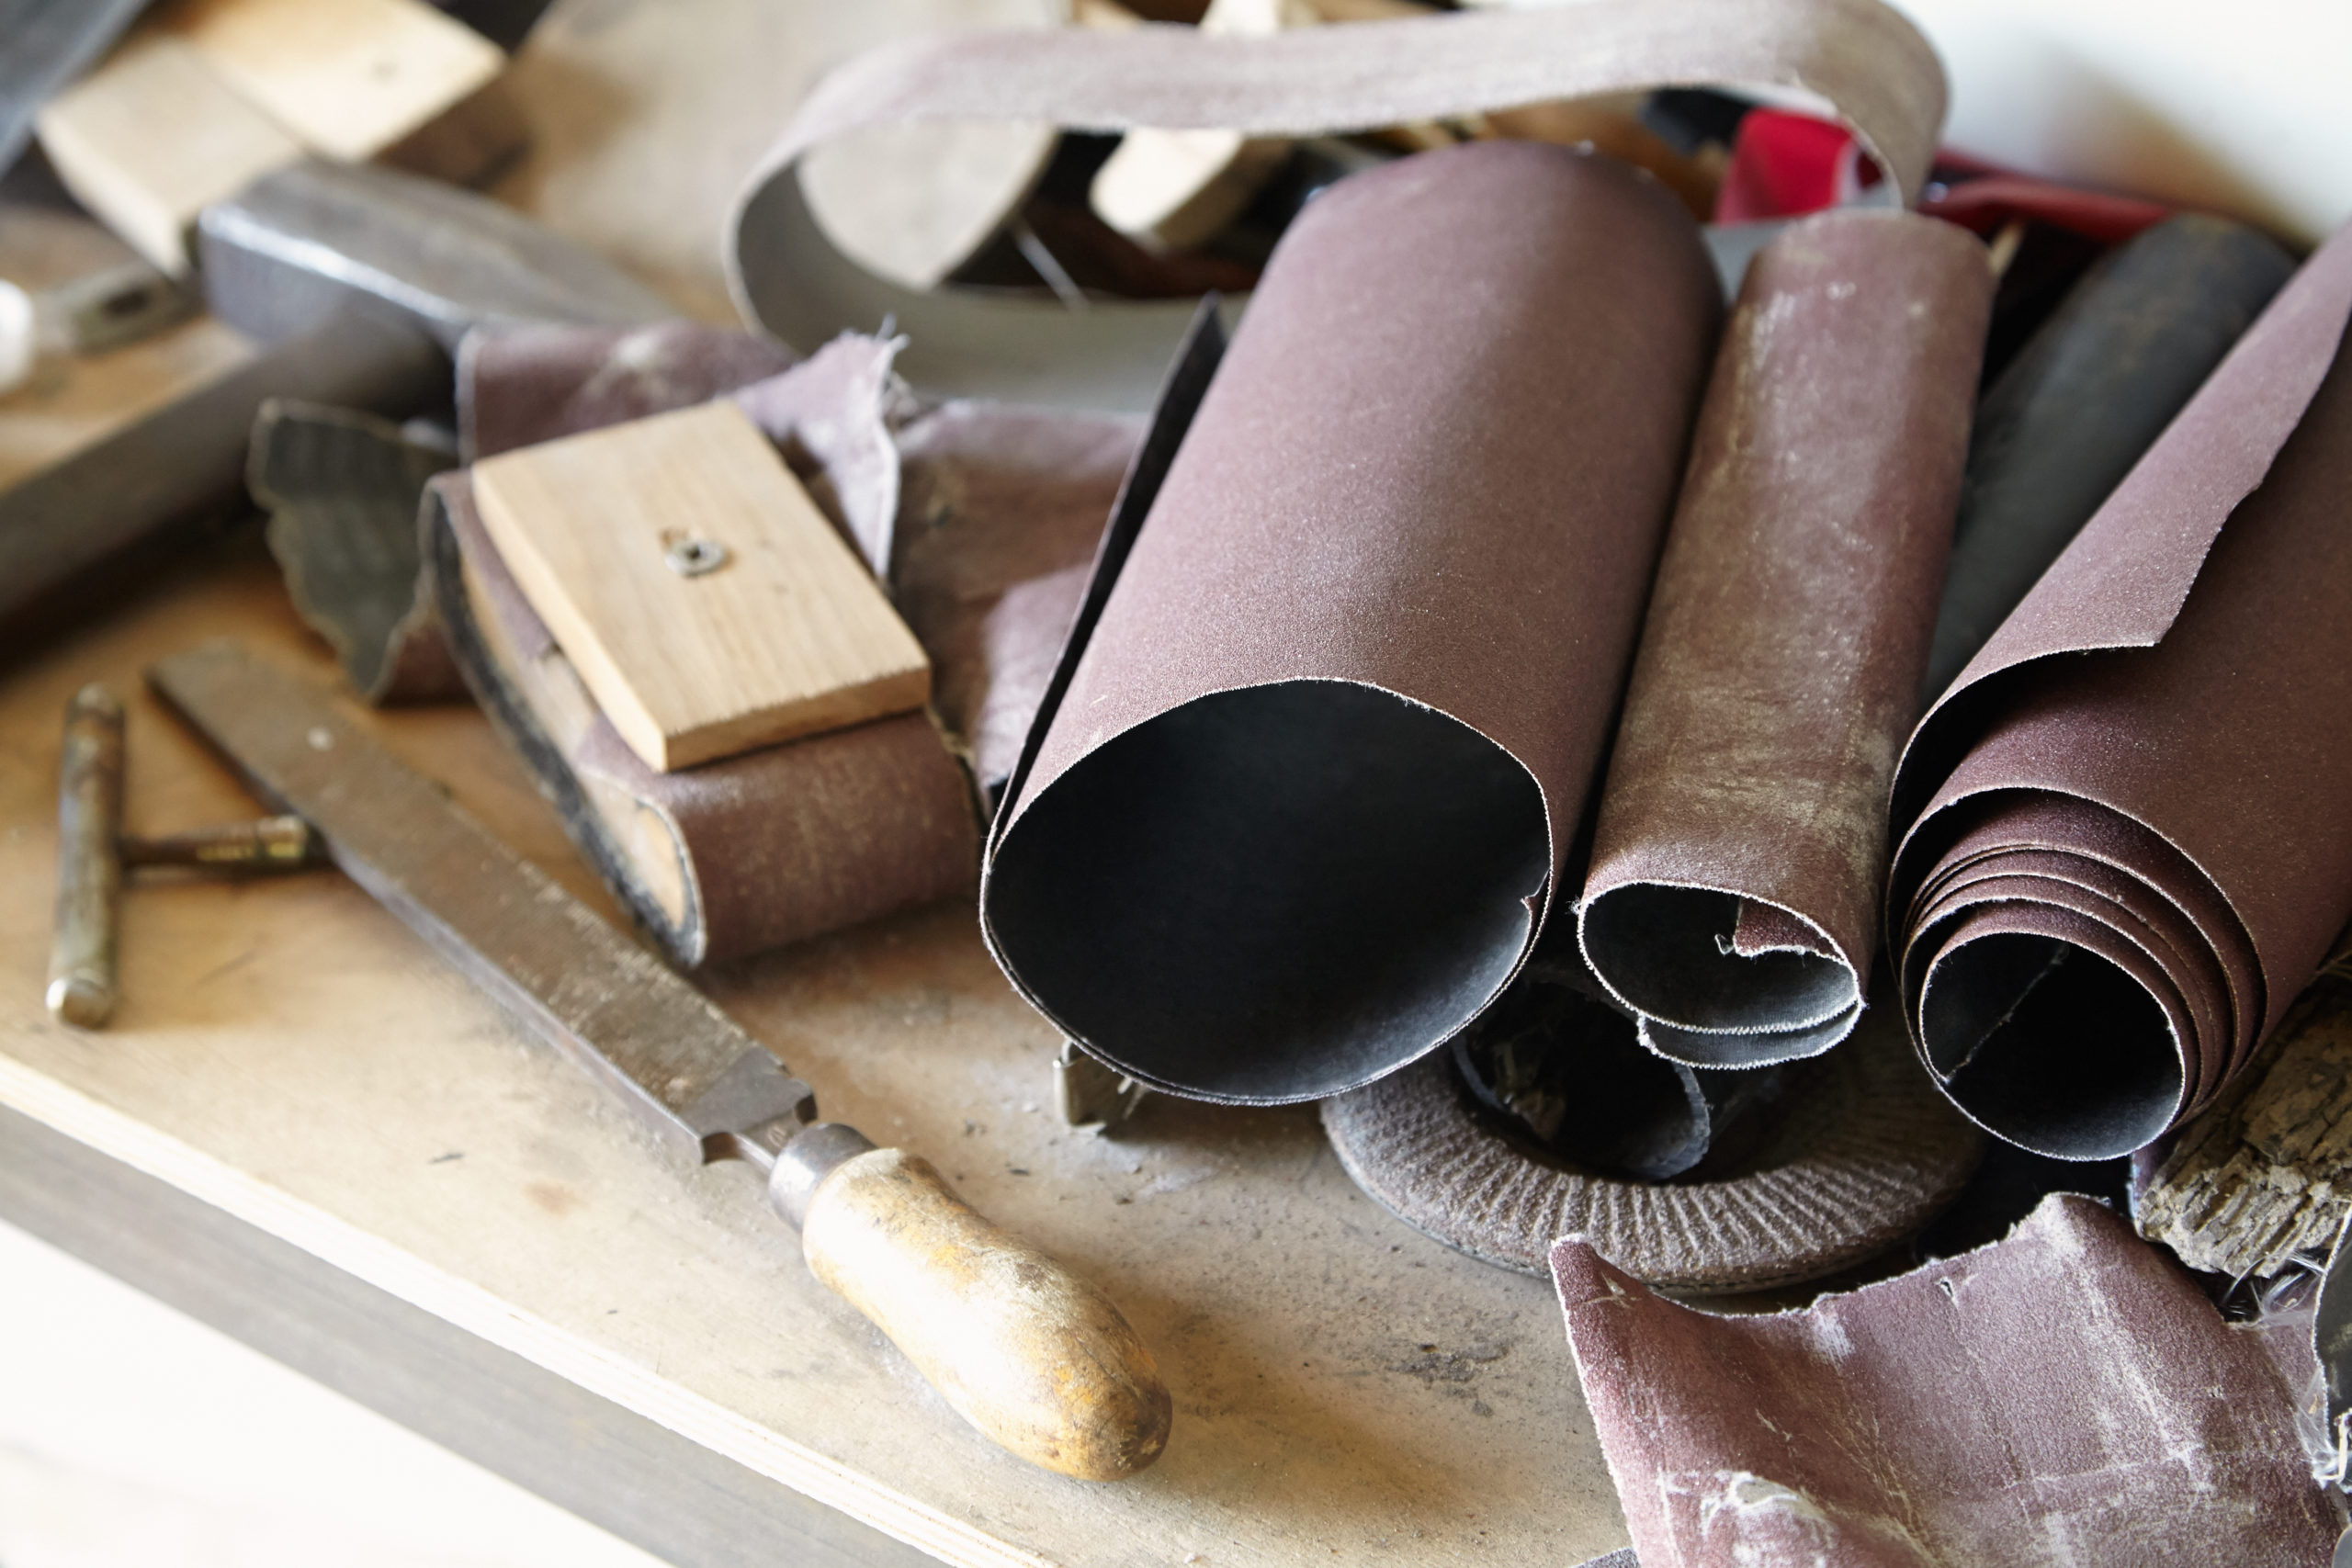
Files and Sandpaper
Files and sandpaper can be used to smooth rough edges caused by cuts made with scissors or other tools, as well as remove any burrs that may have formed during the assembly of parts.
Wood Glue
Wood glue can be used to attach large sections of wood together when building models that include wooden components such as hulls or masts. It can also be used between two layers of cardboard if you’re making a boat model out of cardboard boxes.
For more information about the tools you need, check out Part 1 of our Beginner’s Guide to Model Building.
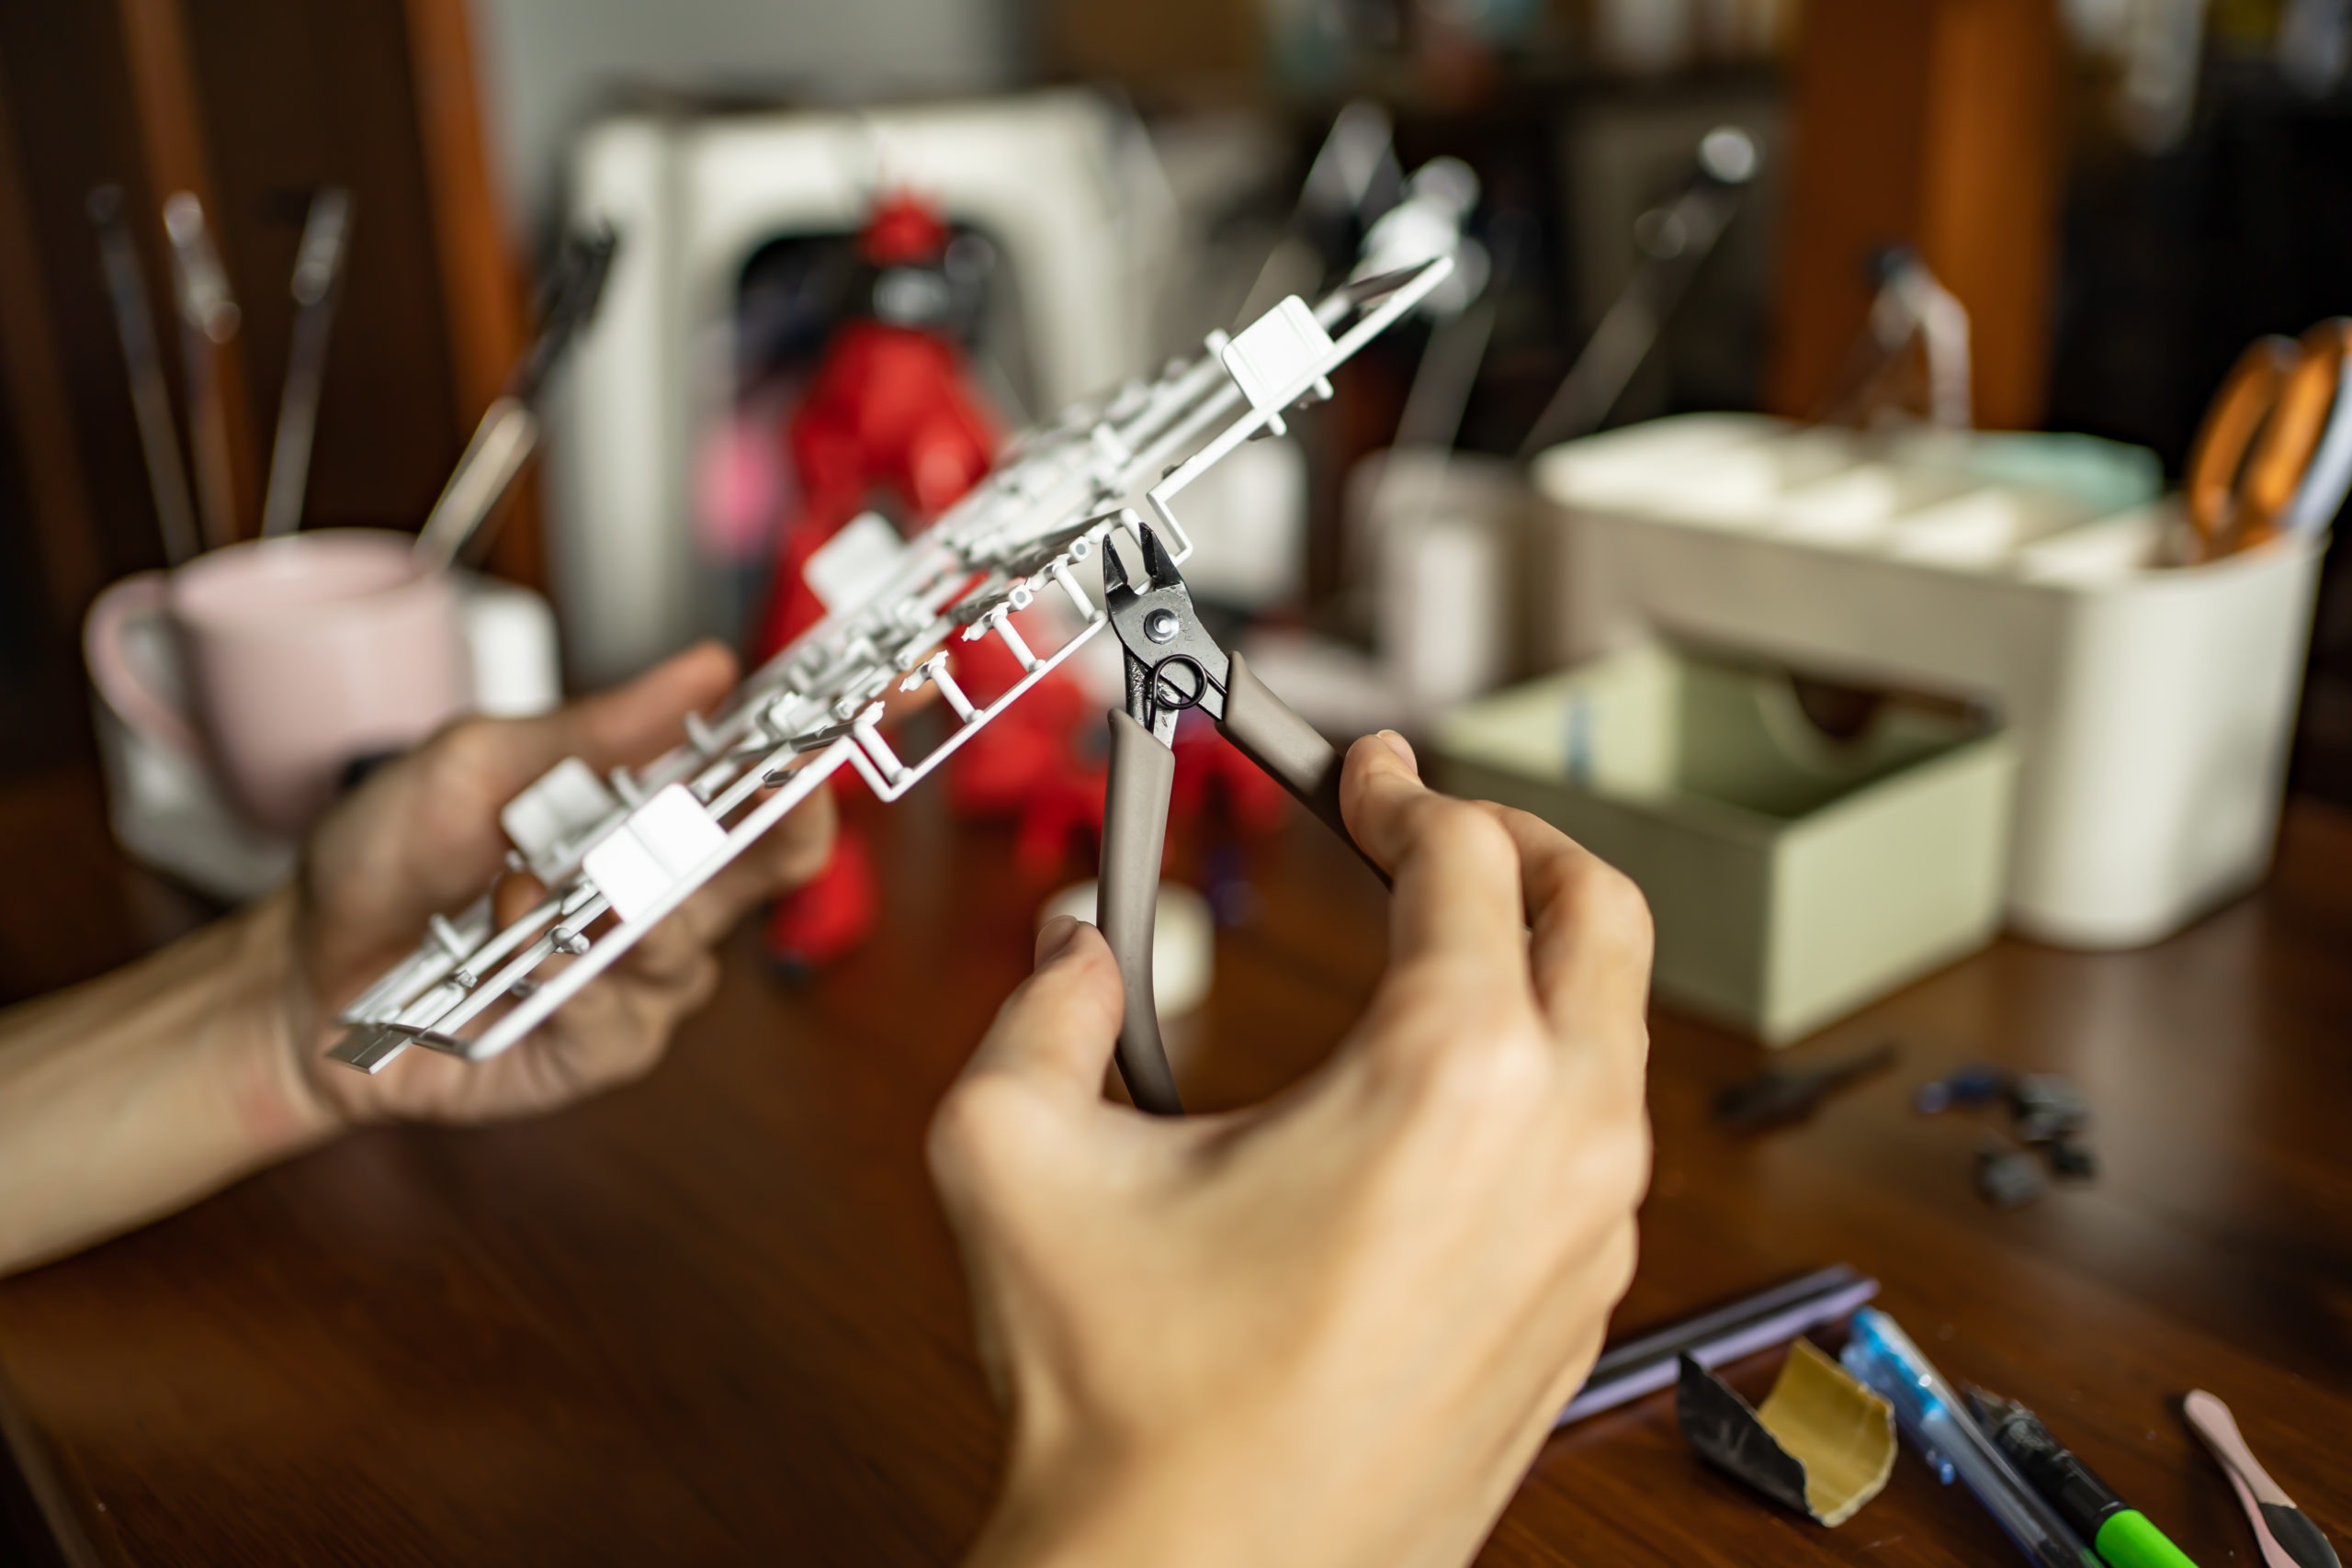
8. Carefully Cut Out the Parts
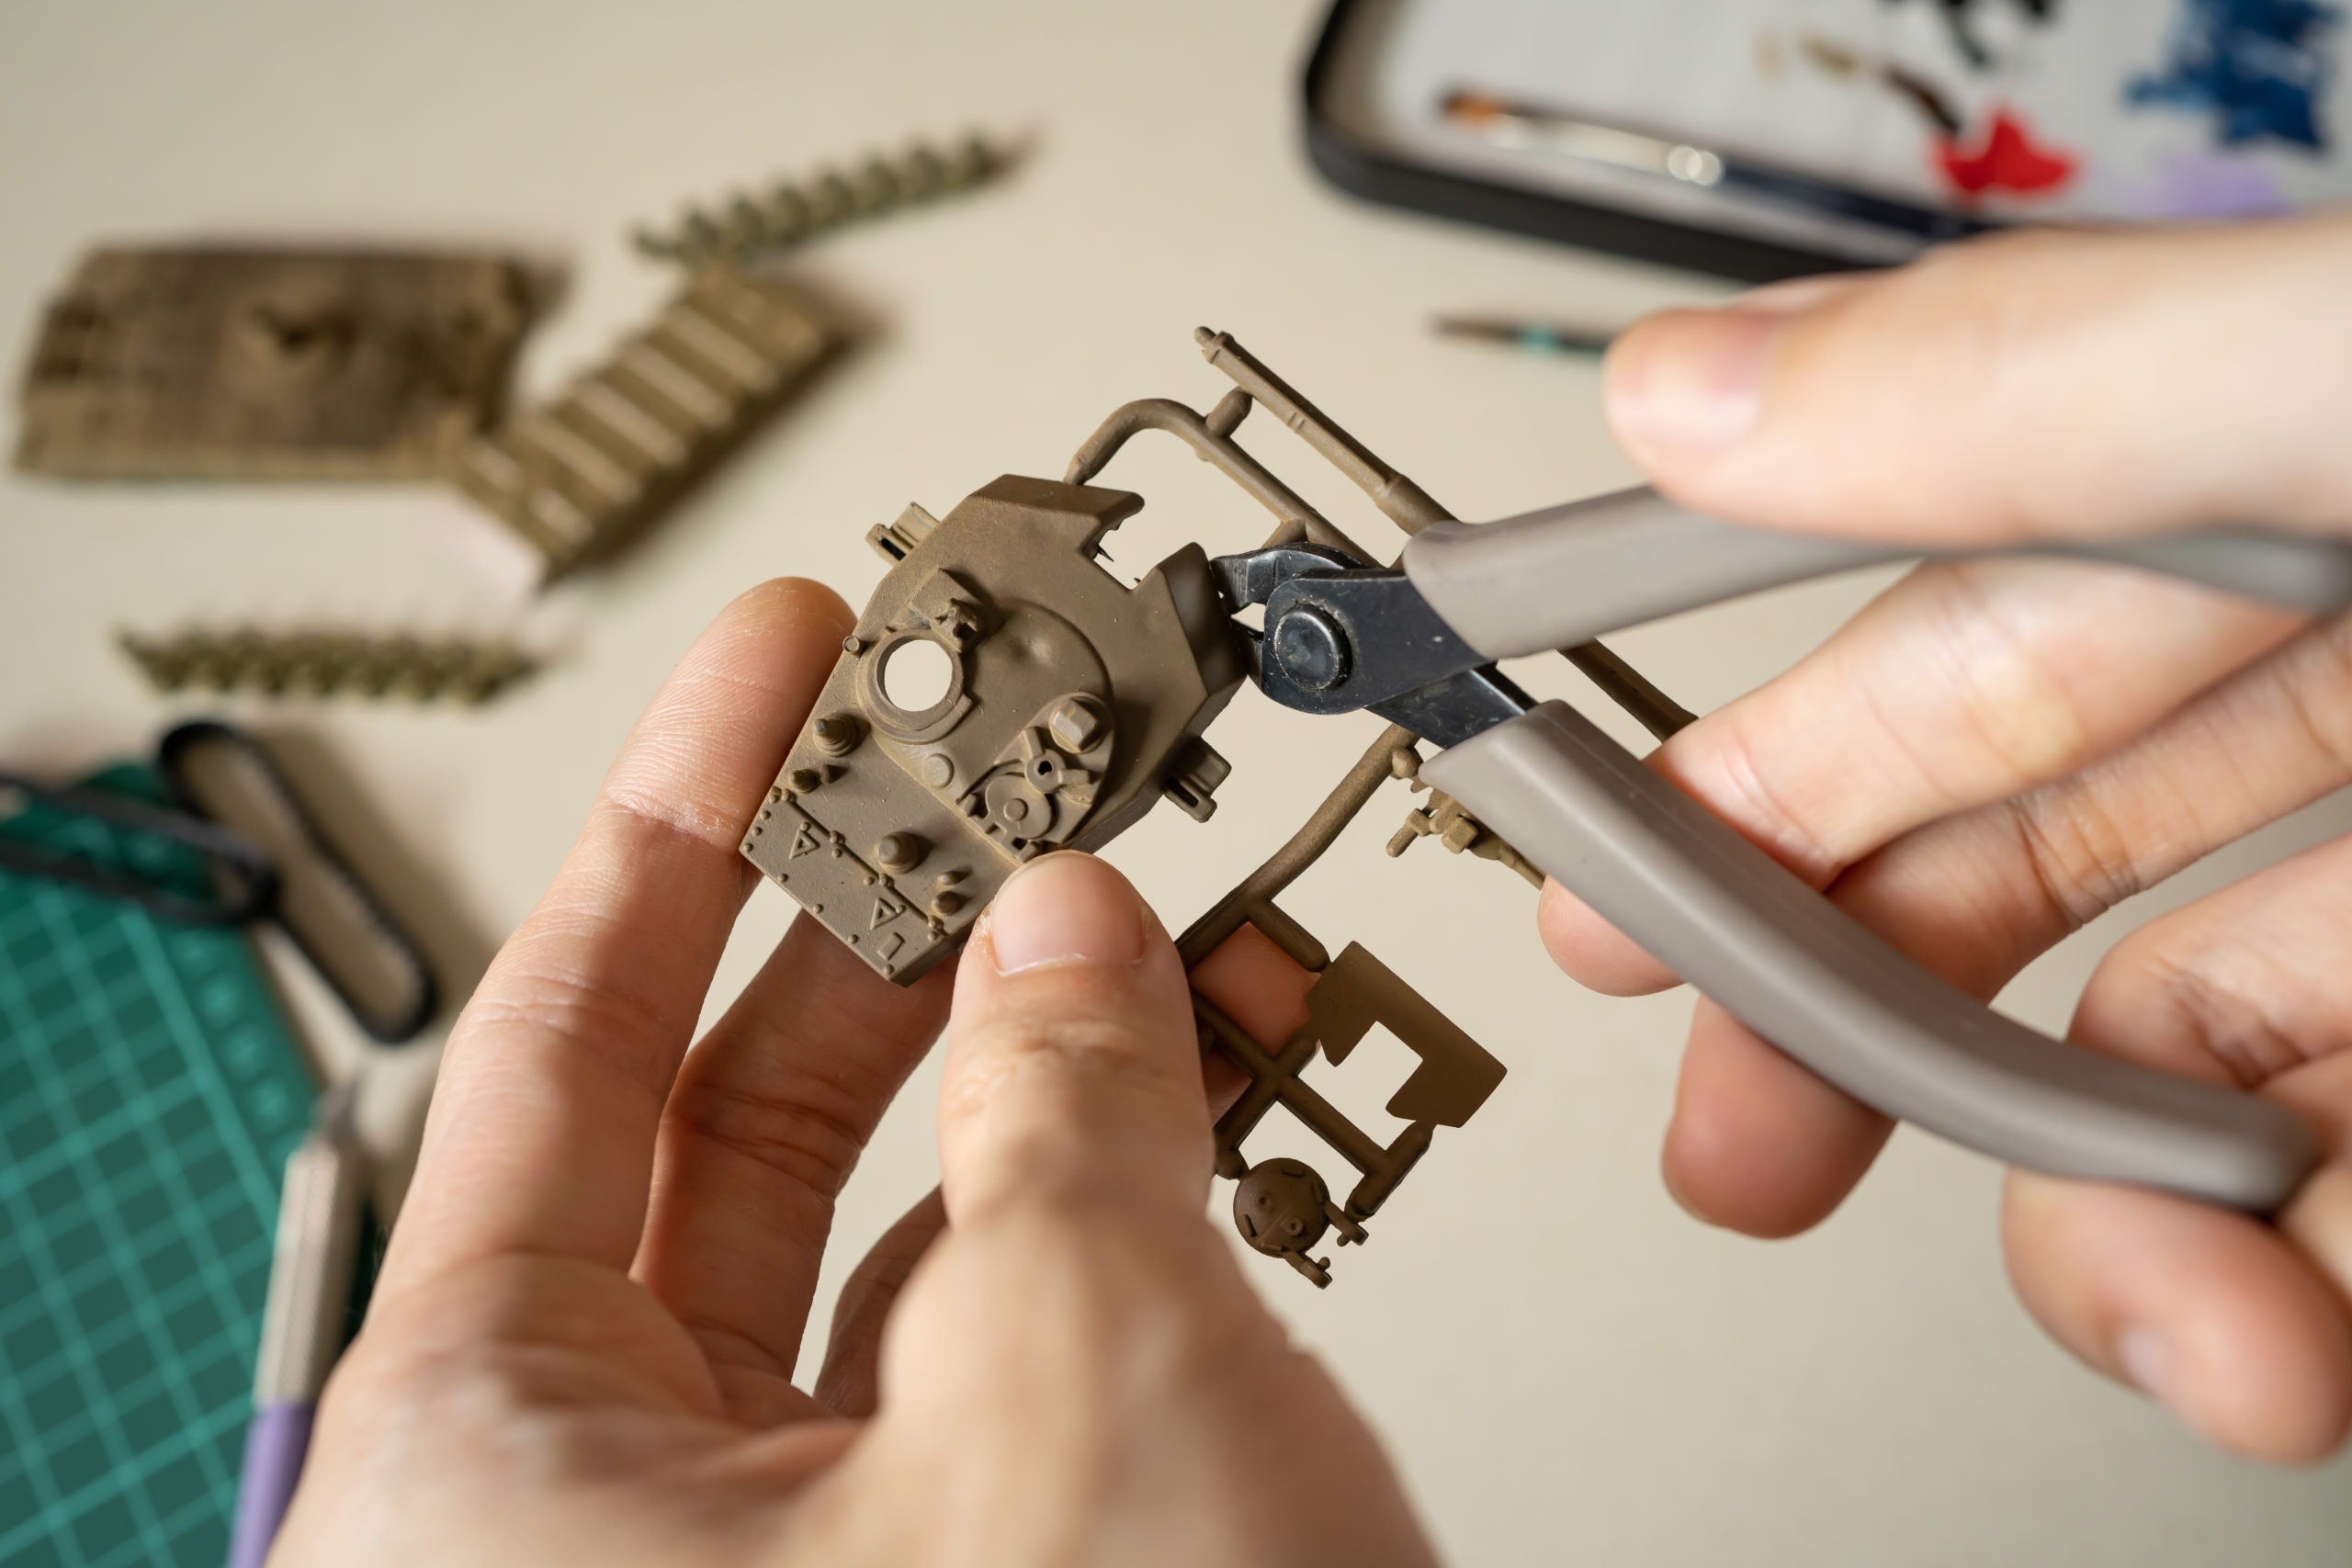
Carefully cut out the parts with a sharp blade. If necessary, use sandpaper or an electric sander to smooth out rough edges before painting or gluing on additional details such as decals.
Glue pieces together using super glue or epoxy resin (depending on what material you used). Make sure each piece fits perfectly with others before applying pressure or clamping them together with clamps or weights, so they don’t move while drying in place.
9. Add Detailing Pieces
To create a realistic-looking miniature, you need to add finishing touches. This can be done in several ways.
Detailing pieces are small objects that can be added to the model to make it more realistic. These include things like screws, nuts, bolts, rivets, etc. You can purchase these items from a hobby shop or craft store or make them yourself using modeling tools.
You can also add other items such as wires and cables if your model depicts something with wires or cables running through it (example: computers).
You can paint your model with acrylic paints or spray paint it if you want to change its color. You can also use decals to give your model a unique look by adding logos and labels on its surface.
10. Paint your Model with Care
The key to successful model building is in the details — everything from painting to weathering and detailing the final product (we have covered this in Part 3 of Beginner’s Guide to Model Building). You’ll want to take your time and make sure you’re doing things right.
So, start with your base coat, which should be a color that’s lighter than your final color. This will serve as an undercoat and help smooth out any imperfections on the surface of your model. If you’re making a full-size replica, this may also be the last step before painting your car’s true color.
Next, use a brush to apply thin layers of paint over your base coat in successive coats until you reach the desired shade and depth of color. Don’t forget about details like trim pieces, headlights, and other small parts that might need their own coats of paint!
Once everything is dry, use an airbrush or spray can to apply decals and clear coat sealant to protect them from fading or peeling off over time.
Following are some options you have when it comes to painting a model:
Hand Brushing
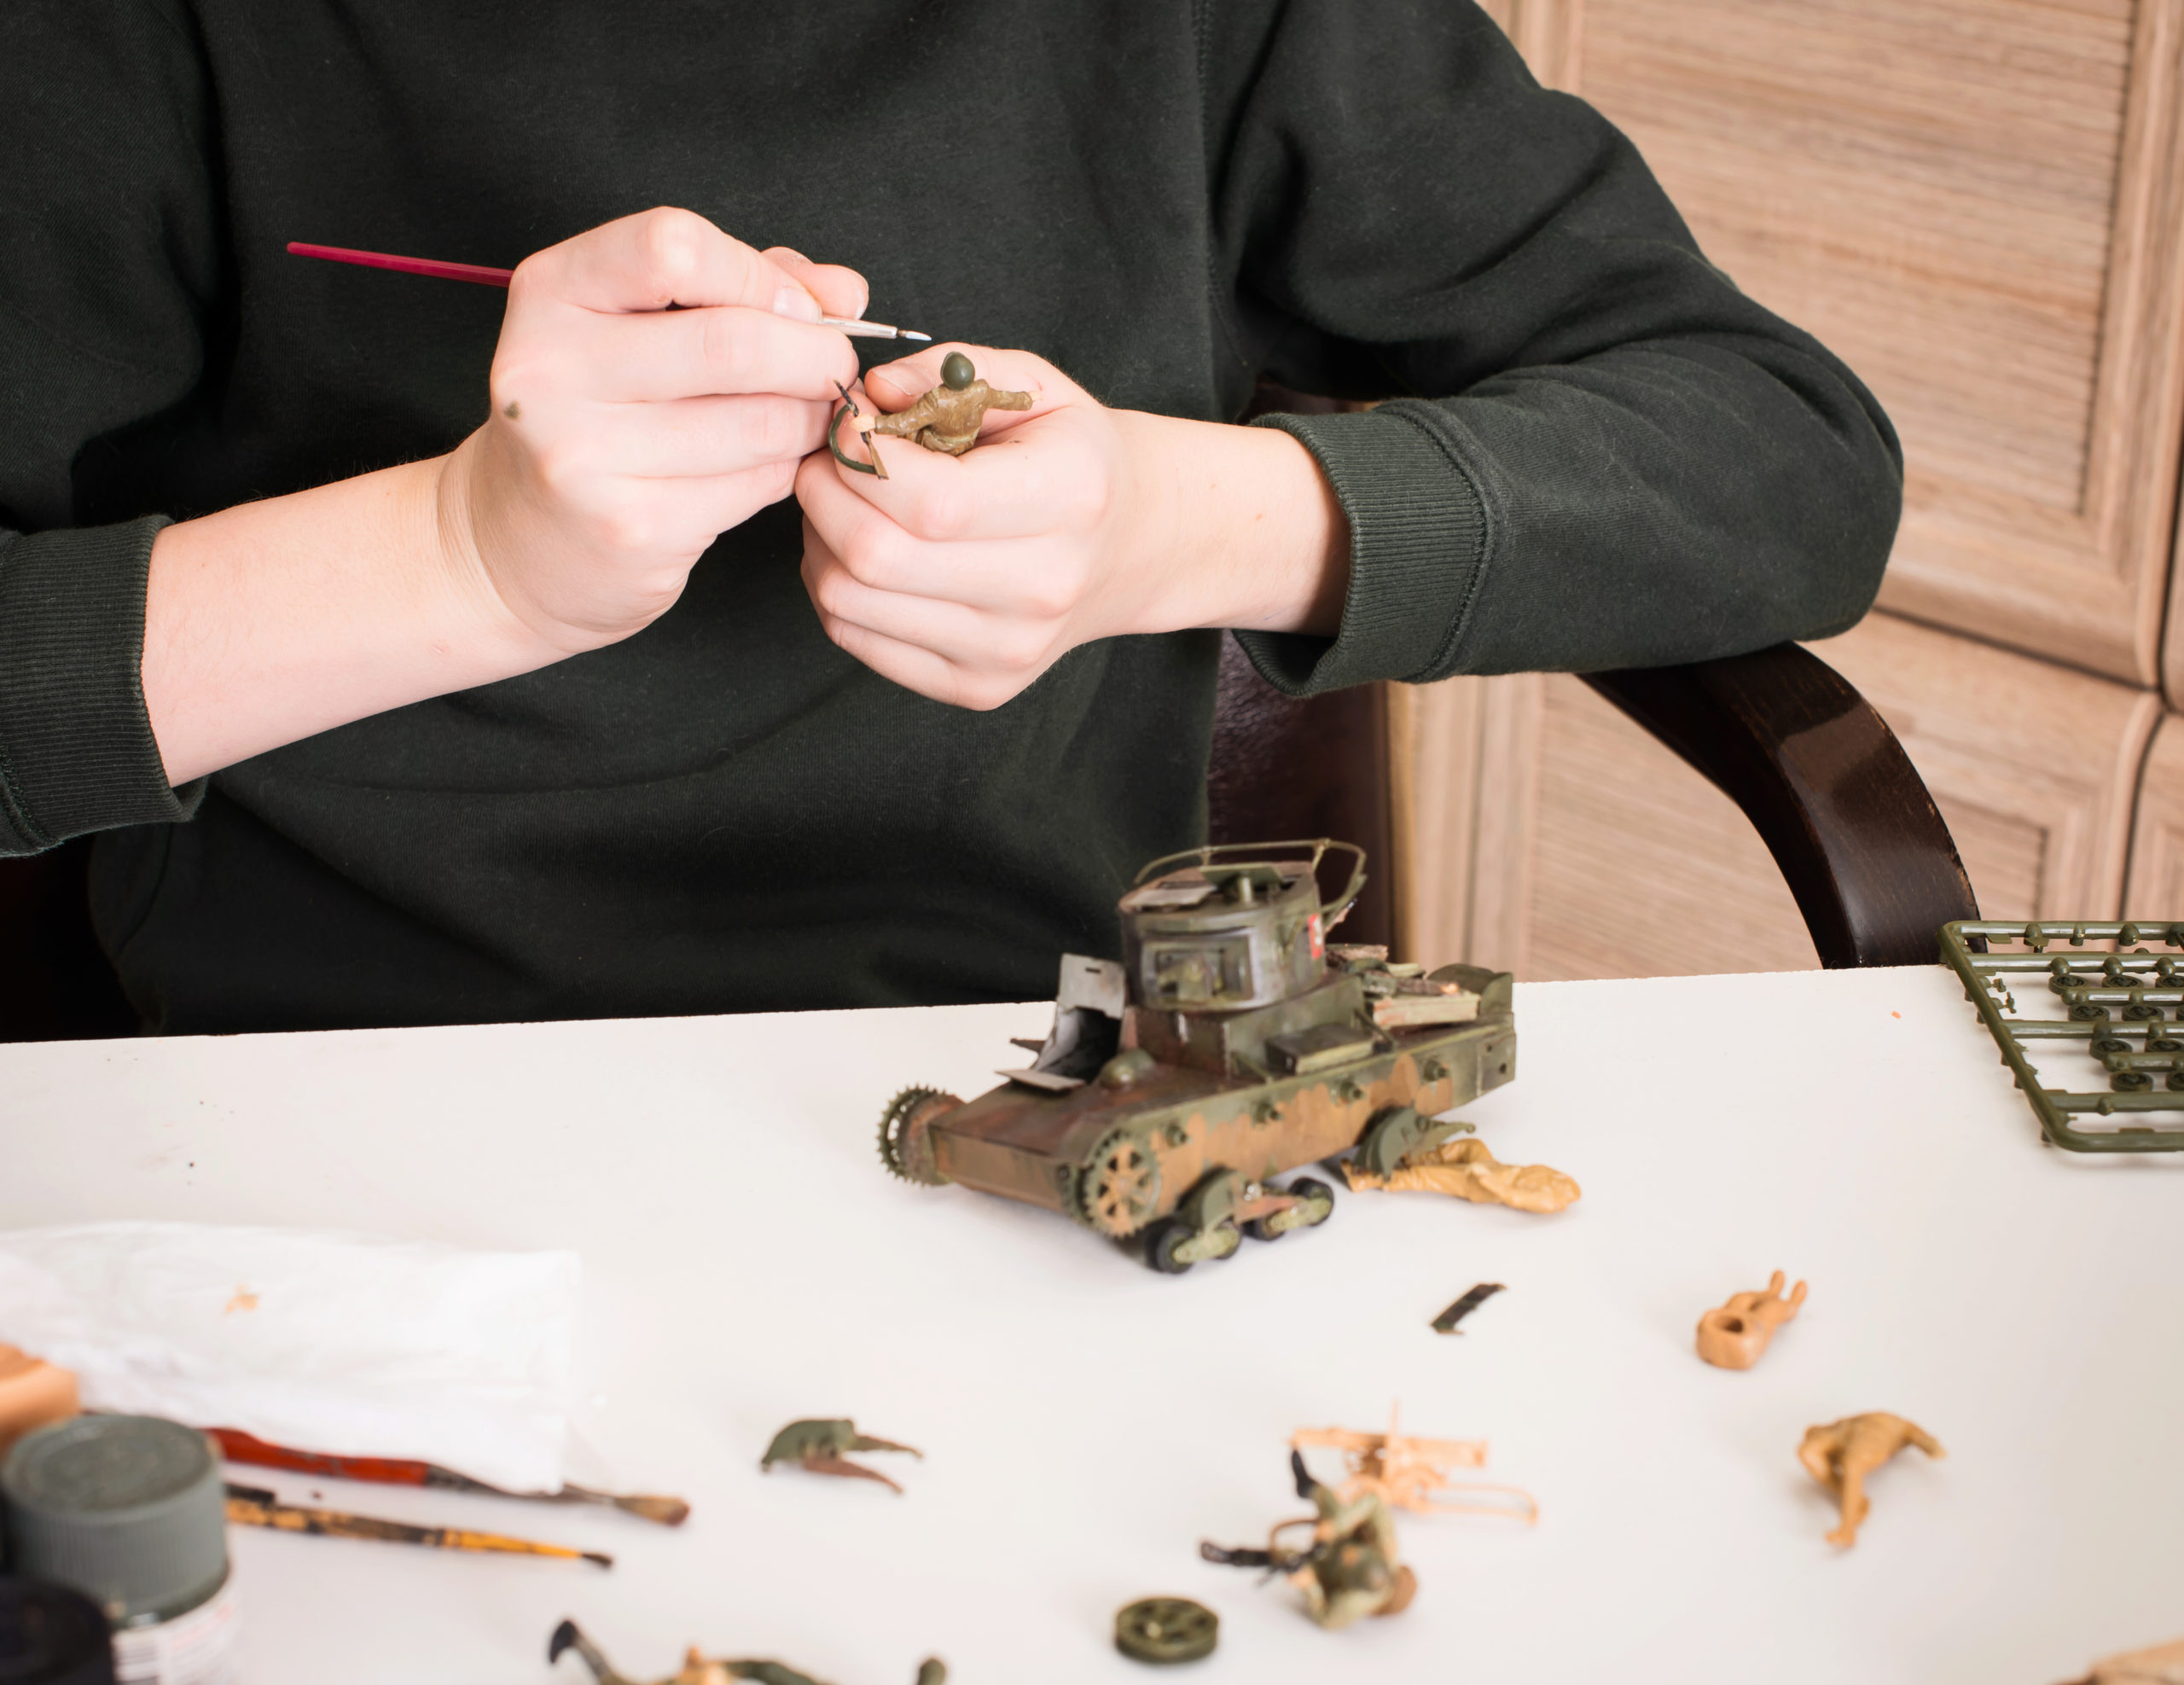
When detailing small, intricate parts, you’ll want to brush them first. To get the hang of brushing, practice on some waste plastic material like a clean yogurt carton. Apply the paint in smooth, consistent strokes. Slight overlapping will provide a flat finish later.
Do not cover previously painted areas with new layers of paint. Instead, apply the paint in several light layers, allowing dry time between applications to avoid covering up detail. Work from light to dark to prevent bleeding between colors.
To avoid contaminating metallic paints with other colors, paint them on with a separate brush. Let the painted parts dry for a day before you assemble the model.
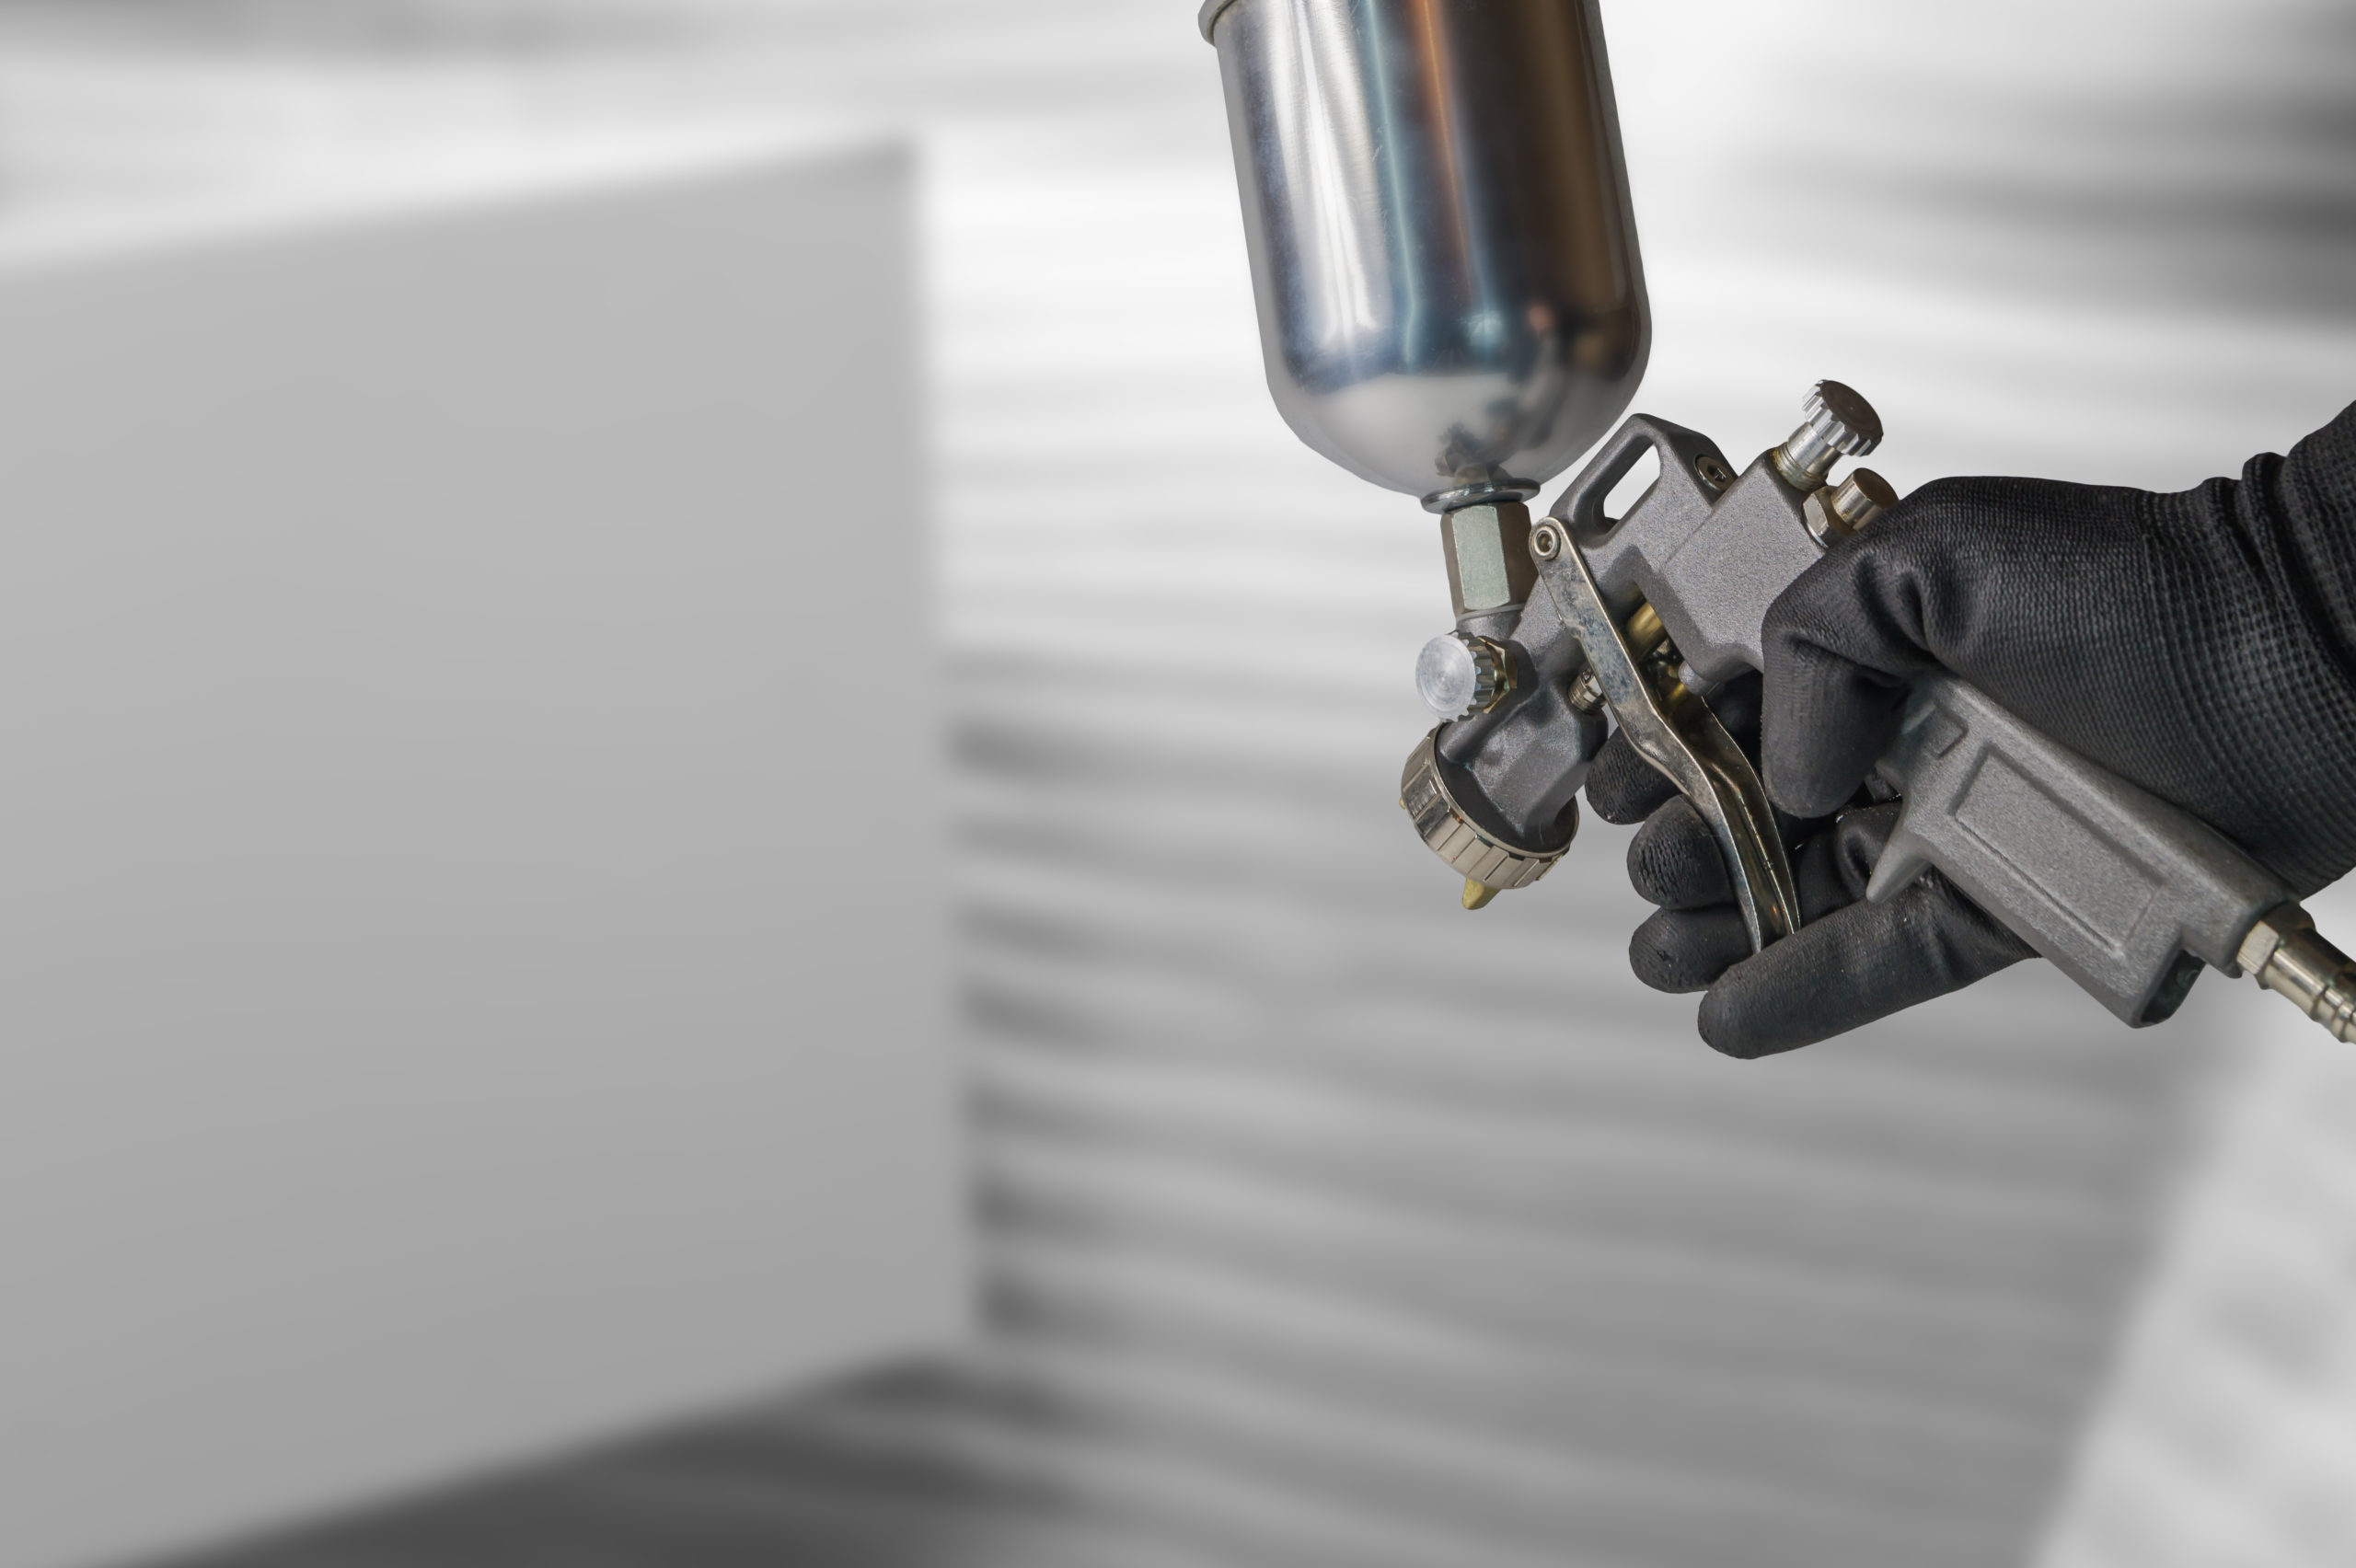
Spray Cans
Spray paints used for hobby models have a chemical composition that is harmless to delicate plastic parts; therefore, they are suitable for use on plastic models. In contrast, the paint used in auto-parts and hardware stores contains a solvent that eats away at plastic. Most paints that dry quickly contain solvents that can damage the plastic.
To paint a plastic surface with one of these hot paints, apply a layer of primer first as a barrier between the paint and your plastic. A coat of primer will protect your bodywork, allowing you to apply the finish of your choice.
The first step in using a thick enamel paint is to warm it to room temperature. This helps the paint flow more smoothly.
Shake the can vigorously for about 2 minutes. Apply the first mist coat of paint to the model. Allow 20 minutes for the paint to set up before applying another coat. Repeat this process until you have achieved optimum coverage on your model.
The following coats are heavier, “wet” coats—paint that is applied wet to achieve a glossy coating. To apply a wet coat, simply use enough paint to make the surface wet and glossy but not so much that it runs or drips. Give the model three wet coats, allowing 20 minutes between each application.
To achieve a high-gloss finish, first, use a 4000-grit pad. After four to seven days, polish with a 6,000-grit pad. Continue polishing with 8,000-12,000 and 3,200-grit pads to remove scratches and refine the surface. Next, buff with plastic polish to achieve a deep luster that resembles that of a new car.
Airbrush
This technique is used to achieve a precise and durable finish. You can vary the pressure to apply different amounts of paint, adjust the spray pattern to cover large or small areas, mix your own colors on-site, and build a finish in fine, thin layers that preserves surface detail to a high degree.
An airbrush uses compressed air and paint to atomize the paint at the tip of the airbrush and propel it toward the model. An airbrush needs a compressor for its source of compressed air.
Airbrushes can be either single-action or dual-action. Single-action airbrushes have a trigger that controls only airflow; the amount of paint is preset and usually controlled with a thumbscrew. In contrast, dual-action airbrushes have both a trigger and a control knob to control airflow and paint.
We are done with the basics of model building. In the next part of this guide, we will go through Advanced Model Building. Click here to read A Beginner’s Guide to Model Building Part 3.


