
Important Tips for Model Building
Model building is a great hobby for adults and kids alike. It can be a fun way to get creative, improve your hand-eye coordination, and even exercise your brain!
If you’re new to model building, the process can seem overwhelming at first. However, with these tips from experienced model builders and experts in the field of architecture, you can build your own beautiful models quickly and easily:
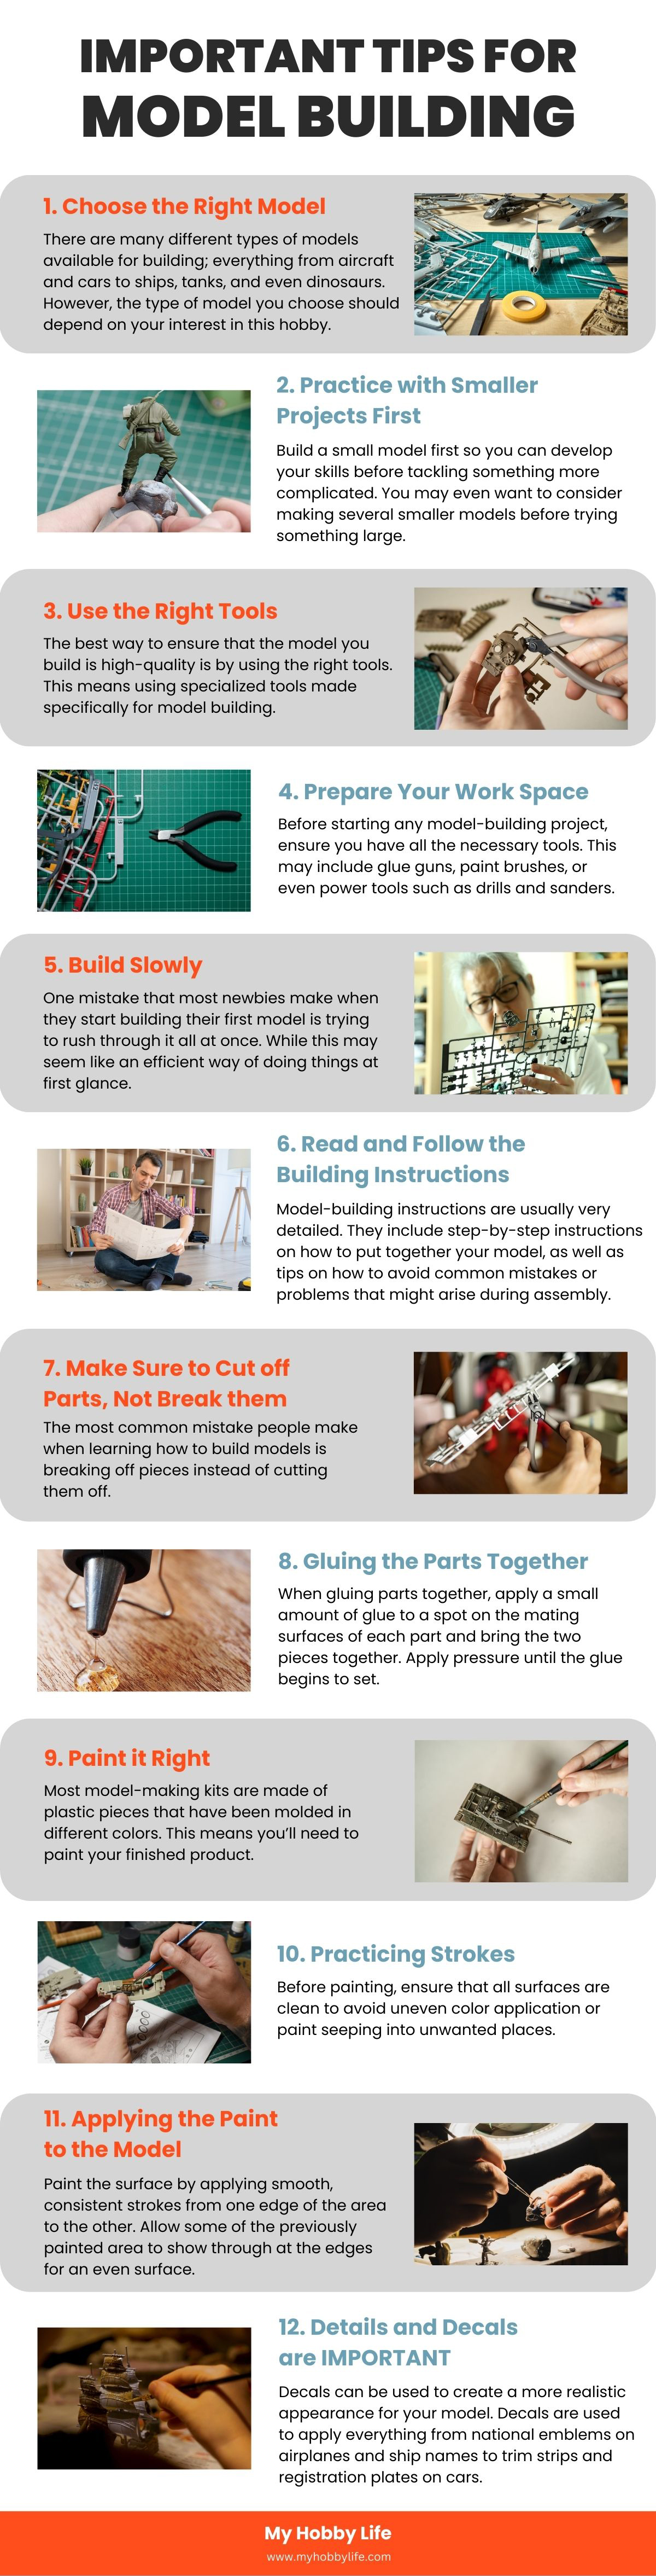
1. Choose the Right Model
There are many different types of models available for building; everything from aircraft and cars to ships, tanks, and even dinosaurs. However, the type of model you choose should depend on your interest in this hobby, as well as the amount of space you have available to work in.
2. Practice with Smaller Projects First

Build a small model first so you can develop your skills before tackling something more complicated. You may even want to consider making several smaller models before trying something larger, like an airplane or ship. Once you’ve mastered the basics, only then move on to bigger projects.
3. Use the Right Tools

The best way to ensure that the model you build is high-quality is by using the right tools. This means using specialized tools made specifically for model building. We have already talked about the tools required in part 2 (link here) of our guide.
If you want to know more about the tools in detail, you can also read our dedicated blog on “What Tools Are Needed for Model Building?” (link here)
4. Prepare Your Work Space

Before starting any model-building project, ensure you have all the necessary tools. This may include glue guns, paint brushes, or even power tools such as drills and sanders. You should also have adequate lighting so that you can clearly see what you are doing at all times.
5. Build Slowly

One mistake that most newbies make when they start building their first model is trying to rush through it all at once. While this may seem like an efficient way of doing things at first glance, it will actually slow down the overall process significantly because it takes longer for each piece to dry before moving on to the next one.
If you want to build a great-looking model that lasts for years without any maintenance required, then it is better if you take your time and build the model with great care and patience.
6. Read and Follow the Building Instructions

Model-building instructions are usually very detailed. They include step-by-step instructions on how to put together your model, as well as tips on how to avoid common mistakes or problems that might arise during assembly.
Therefore, don’t rush through the building process. Take your time putting together your model so that it turns out exactly as you want it to. If you encounter challenges at any point during the assembly process, take a break and return to the project later when your mind is fresh.
7. Make Sure to Cut off Parts, Not Break them

The most common mistake people make when learning how to build models is breaking off pieces instead of cutting them off. This usually happens when they want to break something off so they can glue it back on in a different position. It’s easy to accidentally squeeze too hard and snap off the piece.
It’s a good idea to cut off pieces before gluing them in place so you don’t have to worry about accidentally breaking something later on.
If you’re trying to cut off pieces from your model but aren’t sure where exactly they should go, use another piece of your model as an example for where you should cut. For example, if you want to cut out part of an arm or leg on one side of your model, look at another part of the same leg or arm and see how the pieces fit together.
Looking at the instructions can also help you figure out how to put together small pieces of your model, such as how many parts are needed and what kind of glue to use.
Lastly, it is important to test the fit of parts before gluing them together. Some plastic residue may need to be removed with a knife or file for the parts to fit perfectly.
8. Gluing the Parts Together

When gluing parts together, apply a small amount of glue to a spot on the mating surfaces of each part and bring the two pieces together. Apply pressure until the glue begins to set. If some glue spills, let it dry completely, then sand it smooth with files or fine sandpaper.
Alternative methods for securing larger components include using masking tape as the glue sets. Rubber bands and wooden clothes pegs can also be used, but they can overstress and damage parts if applied too tightly.
Note: Always work in well-ventilated areas when using adhesives.
9. Paint it Right

Most model-making kits are made of plastic pieces that have been molded in different colors. This means you’ll need to paint your finished product. The paint you use will depend on the type of item you’re building. If it’s plastic or wood, you might want to use acrylic paint that dries quickly and won’t chip off easily when handled by children. If it’s metal, look for enamel paints that can withstand heat and cold without cracking or chipping.
Painted models are more attractive and eye-catching than unpainted ones. For beginners, we recommend the use of water-soluble aqua colors. After painting, brushes should be washed with water.
Before use, stir the paint firmly with a toothpick or a plastic stick for approximately one minute. When painting, keep the lid clean with a cloth so that it will close firmly.
Preparing your workspace and equipment is especially important when painting. To prevent the wet paint from touching other objects, you should consider how you will hold the model or component while painting it and arrange an area where you can set it down after you paint to dry.
As a beginner, you may find painting parts on the sprue easier and removing them only after they have dried. The parts can then be touched up before final assembly.
Note: It is important not to paint over areas that you will later be gluing. You can make a holder for your model by, for example, attaching clothes pegs or cocktail sticks to foam or similar material and securing them somewhere on your model that cannot be seen.
10. Practicing Strokes

Before painting, ensure that all surfaces are clean to avoid uneven color application or paint seeping into unwanted places. To clean, use soap and warm water for a general cleaning or use a lint-free cloth dipped in a solution of denatured alcohol and water for stubborn grease or fingerprint residue. Rinse with clean, warm water and allow to air dry.
It is advisable to practice your brush application technique on the interior of plastic components or on some scrap plastic material before first applying it to the model.
11. Applying the Paint to the Model

Paint the surface by applying smooth, consistent strokes from one edge of the area to the other. Allow some of the previously painted area to show through at the edges for an even surface. Do not go back over the work except to blend with a soft brush held at a low angle.
Apply several light layers of color rather than a single heavy one. Darker colors can ‘bleed’ through lighter ones.
When painting a model, apply metallic paints with a brush kept separate from the one used for other colors. Wait until the painted parts are dry before assembling them into the model.
12. Details and Decals are IMPORTANT

Decals can be used to create a more realistic appearance for your model. Decals are used to apply everything from national emblems on airplanes and ship names to trim strips and registration plates on cars.
The application of decals should follow a sequence that makes the process simpler. For example, you may find it easier to apply some decals before the model is completely assembled in order to make access easier.
When applying decals, it is important to have time, patience, a clean work area, and steady hands. Using scissors, cut off as much of each decal as needed to adhere it to your project.
To activate the adhesive, dip the decal in warm water for a few seconds with the help of tweezers, and then place the wet decal—paper side down—on a piece of clean kitchen towel. Leave to stand for 20 seconds while the adhesive softens.
When the decal is ready to be applied, hold it with tweezers and slide it just a little bit off its backing paper. Once you are satisfied that the decal is in place, wipe away any excess water with a paper towel. Allow it to dry thoroughly before touching it.
Note: To avoid damaging the print, always check that the image is positioned correctly before completely removing it from the backing paper. Carefully soak up excess water with a soft cloth.
Advanced Model Building

If you are reading this, chances are that you have successfully built your first few models and now want to apply some advanced techniques to make it look professional.
We will now review advanced techniques for building different kinds of models, including information on brush-on and spray paints in acrylic and enamel, as well as different types of glues and cement.
Weathering and Detail

Weathering and detail are the most important aspects of model building. They bring the model to life. Weathering is the process of adding rust, dirt, and grime to your model to make it look realistic. The more weathering you apply, the more realistic your model will look. Detail is also an important aspect of model building because it helps make your model look more realistic.
There are many ways to weather a model; some people use acrylic paints, while others use enamel paints. Acrylic paints are easier to use because they dry faster than enamel paints, but they don’t have as much flexibility when it comes time to apply a gloss clear coat on top of them.
Enamel paints are harder to work with because they take longer to dry than acrylic paints and can be harder to blend together without getting chipped or flaking off during handling or transportation.
Enamel paints, by their nature, have a glossy finish that makes them more resistant to scratches and dents caused by handling or transportation than models painted with acrylics.
If you want to paint your model with enamel, it’s best to use a brush instead of an airbrush for faster drying time and easier cleanup.
Detailing, on the other hand, is adding small details to your model that aren’t necessarily required for it to look good but that add realism and character to it. These details are usually done with a fine brush or toothpick, though sometimes with an airbrush as well.
Types of Paints
Paints can be divided into two main groups: oil-based and water-based.
1. Oil-based Paints
Oil-based paints are a traditional type of paint that has been used for many years. They are made from linseed oil, turpentine, mineral spirits, and other ingredients. The advantage of using this type of paint is that it dries slowly, which means it can be easily corrected if something goes wrong while painting.
2. Water-based Paints
Water-based paints have become very popular in recent years because they do not require the use of solvents such as turpentine or mineral spirits. These paints are water-soluble and can be easily cleaned up with water. However, they tend to dry quickly, making it harder to correct if something goes wrong while painting.
Further Classification of Paints for Model Building

Acrylic Paint
Acrylic paints are generally water-soluble and dry to a hard finish. They’re available in many colors and are great for all types of craft projects, including model building.
There are two main types of acrylic paint: artist grade and craft grade. Artist grade is made with better pigments than craft grade, so it’s higher quality. Artist-grade paint is also more expensive than craft grade because it’s used by professional artists to create high-quality artworks that can be sold for large amounts of money.

If you’re just getting started with model building or looking for something affordable, craft acrylics are a good choice. They’re cheaper than artist-quality paints, and come in a wide range of colors, so they’ll meet most people’s needs.
You can use both artist and craft acrylics with either an airbrush or brush. You can even mix them together if you want to create your own custom colors.
Enamel Paints

Enamel paints are slightly different from normal acrylic or oil-based paints in several ways. They are thicker and harder to spread, but they also dry faster and tend to be more durable.
Most enamel paints are made from lead-free ingredients and can be used in areas with children or pets. They are very popular in the model car industry because they can adhere better to metal surfaces than regular acrylic paints. This makes them ideal for use on scale models of cars, trucks, motorcycles, etc.
Enamel paint is available in many different colors and types, including acrylic, lacquer, and oil-based paints. Acrylic enamel paints are most commonly used by model builders because they dry quickly and don’t require the use of toxic solvents. Acrylic enamel paints do not cure as fast as other types of enamel paints and may take up to 30 minutes for the paint to fully cure.
The main reason why model builders prefer enamel paints over other types is that they are easy to work with when applying decals or masking off small areas before painting them another color. Model builders also like using enamel paints because they’re easy to clean up after they’ve finished using them on their models.
Spray Paints

Spray paint is a fast and easy way to get a professional look on your model. It can be applied to the model in one or two coats and is easily removed with a damp cloth. The main benefit of spray paint is that it gives a nice, even coat, which looks great when dry.
However, using spray paint requires more preparation than other methods, such as dipping or brushing. You must make sure that all surfaces are clean before painting them and apply several thin coats instead of one thick coat, which will help prevent clumps from forming on your model.
Model spray paint is available in a wide range of colors, but it can be difficult to find these colors in smaller sizes. For example, if you want to paint your model with an unusual shade of blue or yellow, you will probably need to buy several cans of spray paint just to get enough paint for one coat of paint.
Therefore, most people choose to use acrylic model paint because it comes in smaller cans that can be used quickly without having to purchase large amounts of materials at once.
For small projects, you can just use a small bottle of spray paint from the hardware store (or even craft store). However, we recommend getting an airbrush kit with a compressor if you plan on doing more serious model building. The compressor will keep the pressure consistent, so your paint sprays evenly through the airbrush tip.
Clear Color Paints

When painting model kits, it is sometimes necessary to apply clear paints to plastic parts in order to achieve realistic effects, such as brake lights and turn signals. Only use clear paints when the instructions direct you to do so. Clear paints should be applied only to clear plastic parts, not opaque ones.
Can We Mix Acrylic and Enamel Paints?
Yes, you can mix acrylic and enamel paints. Acrylic paints are water-based, and enamel paints are oil-based, so they have different properties. However, both of these paints have great painting effects that you can use for your model building.
You can also mix them with other types of paint to get different shades or tints. For example, mixing gold and silver together will create a rich gold color, while mixing black and red will give a darker shade of red.
If you want to mix your own colors, you should be wary of the setting time before applying another layer, which means there should be enough time for all layers to dry before applying another layer of paint over it.
Model Glue vs. Model Cement?

Model cement and glue are both used to bond plastic model parts together. Model cement is generally used for larger models, while glue is preferred for smaller kits. Glue has a more limited application when it comes to model building, but it can still be used for some projects.
When the wrong glue or model cement is used on clear plastic parts, those parts will become foggy.
Model glue is an epoxy-based adhesive that must be mixed before application. It is available in a variety of formulas designed for specific applications, such as gap filling or gap filling with sanding sealer added (for automotive applications). Model glue typically sets in about 20 minutes when applied at room temperature and cures completely in 24 hours at temperatures above 65°F (18°C).
On the other hand, model cement is applied to two surfaces that will be glued together, then the parts are pressed together and left to set. Model cement dries quickly and cures solid in a matter of hours or days, depending on the type of product being used.
The advantage of model cement is that it will adhere to any plastic surface, including styrene and ABS plastics that do not bond well with epoxy-based glues or CA (super) glue.
Types of Model Cement
1. Tube-Style Model Cement
We recommend tube-style model cement for most plastic models. It dries in approximately 50% more time than standard tube cement, which has a stronger odor than the non-toxic version.
To apply tube-style cement to a model, place a small amount of the cement in a foil bowl or clean, dry bottle cap. Spread the cement over the surface with a toothpick. As you gain experience using cement, you may find that it is easier to dispense directly from the tube onto your models.
2. Liquid Style Cement
Liquid cement is ideal for use on models with many small, detailed parts. It can be applied precisely, allowing the user to focus its application on specific areas.
Cement, in both tube and liquid varieties, is available in a non-toxic formula called “Limonene” (which has a pleasant citrus smell). Liquid cement comes in regular and thin varieties, which dry even faster than regular cement.
While advanced model building goes much more in-depth regarding creating objects, the tips mentioned above should help get you started on the path to mastering it.
Model building is a fun and addictive hobby that can be easy to learn. Granted, it will take some time before you can build something as awesome as a TIE Fighter or X-Wing, but patience and determination is worth it!
To get insightful information about how to improve your scale model building and the advanced model building tools, check out Part 4 of Beginner’s Guide to Model Building.