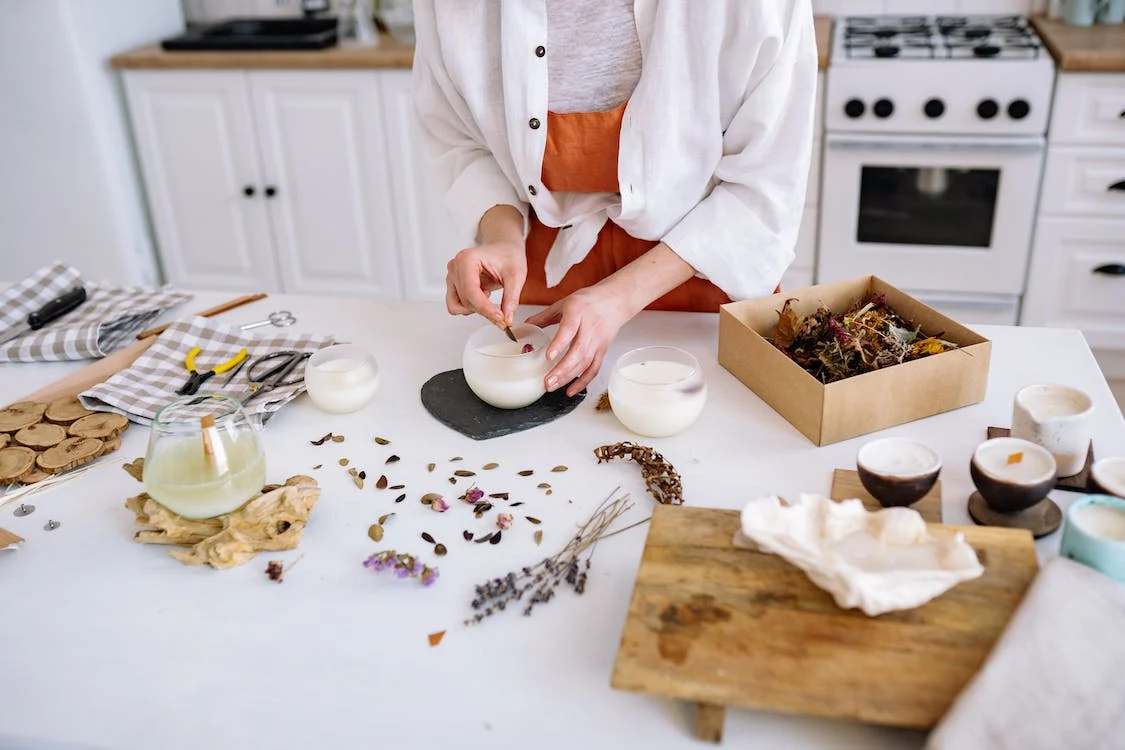
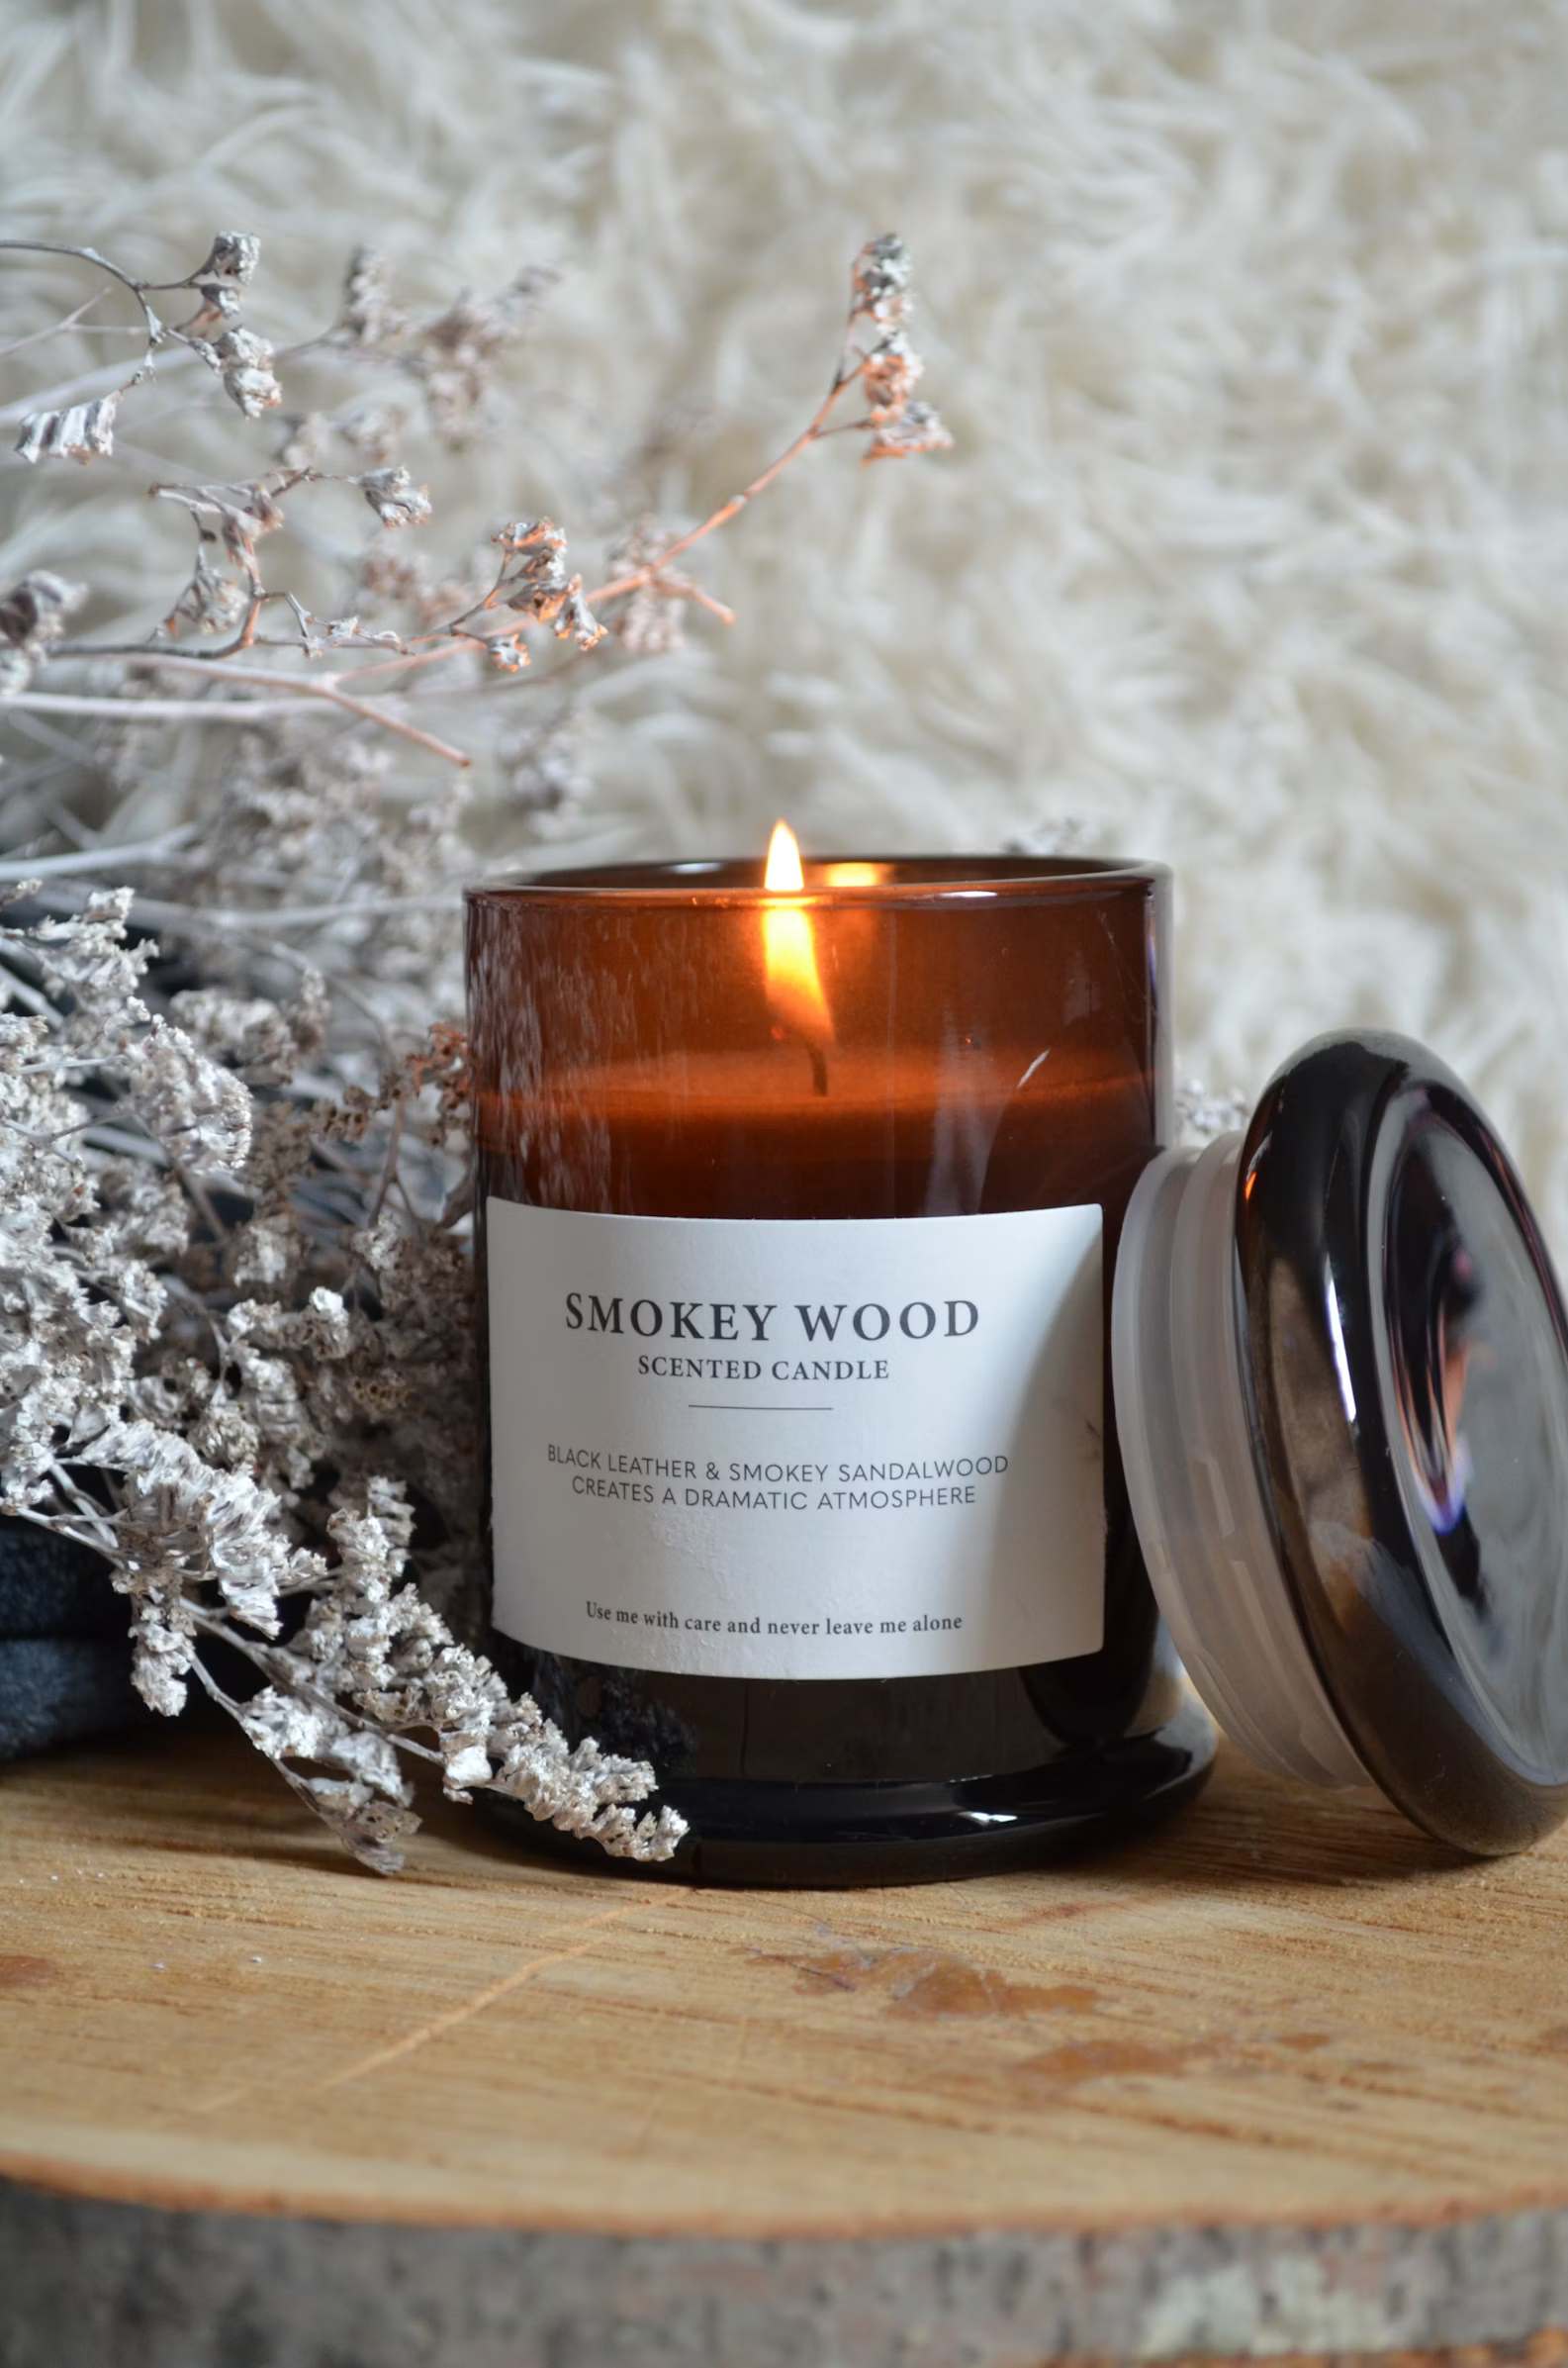
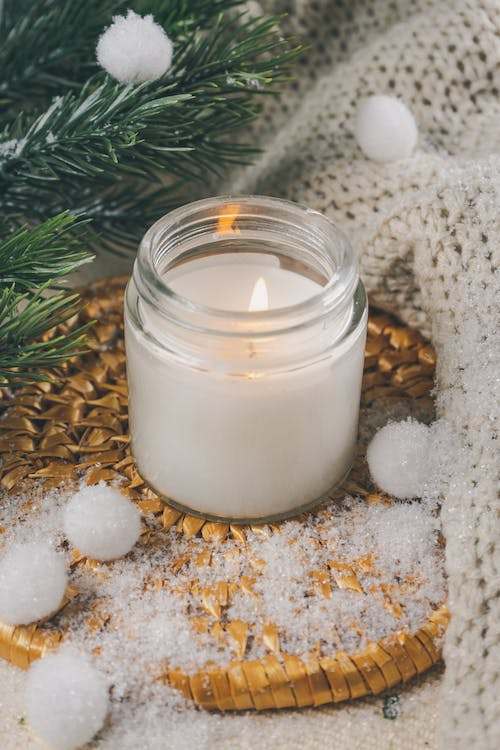
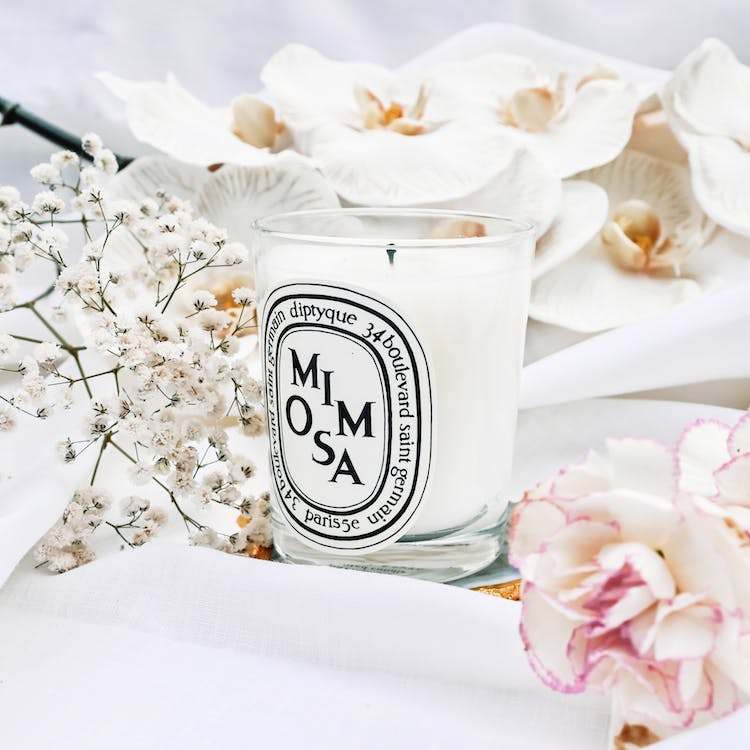
In the world of candle making, the art of crafting beautiful and fragrant illumination offers a wealth of benefits that extend far beyond the mere act of creation. This creative pursuit is a sensory journey that engages your sense of sight, smell, and touch, providing a therapeutic escape from the hustle and bustle of everyday life.
Candle making empowers you to customize your surroundings in a unique way, allowing you to match your décor, set specific moods, and infuse your spaces with your preferred scents. It’s a craft that not only enhances your living spaces but also enables you to create one-of-a-kind gifts for friends and loved ones.
Additionally, candle making can be an eco-conscious and cost-effective endeavor. By controlling the ingredients, you can ensure your candles are made from sustainable materials and even recycle old candle remnants into new, environmentally-friendly creations.
The Art and Craft of Candle Making
“The Art and Craft of Candle Making” is a captivating exploration of an age-old tradition that marries artistry with craftsmanship. In the world of crafting, candle making stands as a testament to human ingenuity and creativity, transcending its utilitarian function as a source of light to become a canvas for personal expression and a celebration of skilled hands.
At its heart, this craft is about the transformation of wax into radiant luminance. But it’s so much more than that. Candle makers, whether they are seasoned artisans or enthusiastic beginners, find themselves immersed in a world where the simple act of melting and molding wax becomes a profound means of self-expression. The interplay of colors, shapes, and scents opens up a world of possibilities, allowing them to craft not just candles but stories, emotions, and ambiance.
This tradition has endured through centuries, evolving with time while retaining its magical allure. While candle making can evoke nostalgia for days gone by, it is also a contemporary pursuit that seamlessly blends tradition with innovation. It offers a unique opportunity to engage with the past while embracing sustainable practices for the future. Candle makers today have access to an array of modern techniques and materials that allow them to push the boundaries of what’s possible in this age-old craft.
Why Make Your Own Candles?
Making your own candles is a multifaceted pursuit with a range of compelling benefits. Firstly, it’s a realm of boundless creativity and artistry. Crafting your own candles allows you to experiment with an array of colors, shapes, sizes, and scents, enabling you to express your unique style and preferences. Whether you’re into minimalist, rustic, or extravagant designs, candle making becomes a platform for artistic expression.
Secondly, the allure of customization is undeniable. When you take on candle making, you gain complete control over the ingredients, ensuring that your candles are of the highest quality and free from potentially harmful additives. This level of control extends to scent selection, where you can blend essential oils or choose from a diverse range of fragrances to create candles that transport you to your favorite places or moods. The ability to tailor candles to your specific needs and tastes is a compelling reason to embark on this craft.
Lastly, candle making offers a satisfying blend of practicality and personal fulfillment. It’s a cost-effective hobby, particularly when you buy supplies in bulk and repurpose containers. Beyond the economic benefits, the process itself can be deeply therapeutic and relaxing. The act of melting, pouring, and shaping wax provides a sense of accomplishment and serves as a mindful activity that offers respite from the demands of daily life. Whether you’re making candles for personal use or as heartfelt gifts, the sense of satisfaction derived from crafting your own illuminations is unparalleled. In sum, making your own candles is a richly rewarding endeavor that combines creativity, customization, and personal well-being into a single, illuminating craft.
Essential Materials for Candle Making
Types of Wax
There are several types of wax commonly used in candle making, each with its own characteristics, benefits, and considerations. Here are some of the most popular types of wax:
1. Paraffin Wax:
Paraffin wax is one of the most widely used candle waxes due to its affordability and ease of use. It’s derived from petroleum and comes in various melting point grades. Paraffin candles burn brightly and can hold a lot of fragrance. However, some people prefer natural alternatives due to environmental concerns.
2. Palm Wax
Palm wax, derived from palm oil, is renowned for its distinctive crystalline appearance, resulting in beautifully textured candles. Beyond its aesthetic appeal, palm wax candles burn cleanly and have an excellent fragrance-holding capacity, making them a popular choice for those seeking visually appealing and aromatic candles. However, it’s crucial to ensure palm wax is sustainably sourced to address environmental concerns related to palm oil production.
3. Soy Wax
Soy wax is a natural, renewable resource made from soybean oil. It is biodegradable and clean-burning, making it a popular choice among environmentally conscious candle makers. Soy candles have a subtle, creamy appearance and can hold fragrances well.
4. Gel Wax
Gel wax is a distinct type of wax known for its translucent, jelly-like consistency. It offers creative opportunities for embedding objects and crafting unique designs within candles. While it’s not as commonly used as other waxes like paraffin or soy, gel wax is favored for its ability to create decorative candles with captivating visual effects. Its transparency allows for innovative and artistic candle-making projects.
5. Beeswax
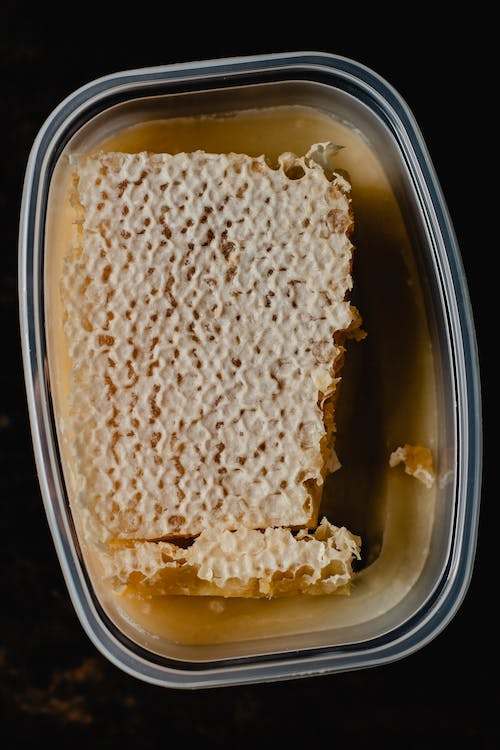
Beeswax is a natural wax produced by bees. It has a delightful, natural honey scent and a warm, golden color. Beeswax candles burn cleanly and slowly, and they are often considered a premium choice due to their purity.
6. Bayberry Wax
Bayberry wax is a unique wax variety extracted from the bayberry bush. One of its standout features is its delightful natural aroma, which makes bayberry candles popular for their fragrance. These candles typically have a greenish hue, adding to their charm. Bayberry candles have a long-standing tradition of being burned during the holiday season, making them a symbol of festive celebrations and a source of aromatic delight during this time of year.
7. Candelilla Wax
Candelilla wax is a plant-based wax obtained from the candelilla shrub. It serves as a popular choice in vegan candle making as a sustainable alternative to beeswax. Candelilla wax boasts a high melting point and a hard texture, making it particularly well-suited for crafting pillar candles. Its versatility and eco-friendly qualities have made it a valuable ingredient for those seeking animal-free and environmentally conscious candle-making options.
8. Coconut Wax
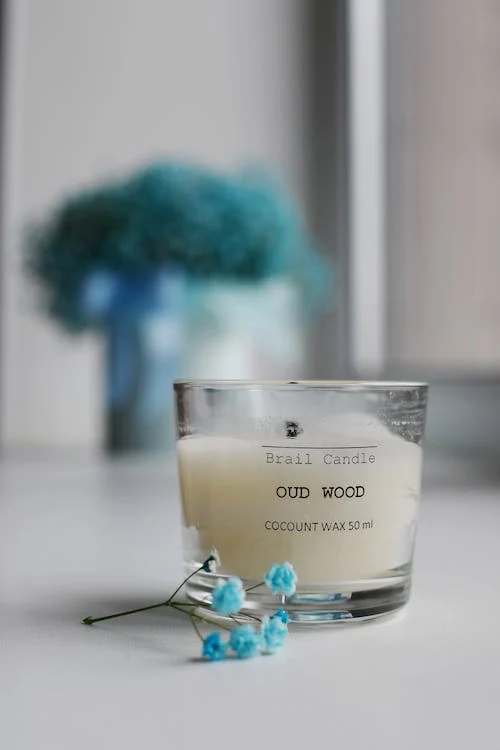
Coconut wax is crafted from coconut oil and has gained popularity in candle making for its remarkable qualities. It excels in fragrance retention, imparting a delightful aroma to candles, and it boasts a creamy appearance that enhances their visual appeal. In addition, candles made from coconut wax burn slowly and cleanly, making them a preferred choice for those seeking a high-quality and eco-friendly candle experience.
9. Pillar Blend Wax
Pillar blend wax is a specialized wax blend engineered specifically for crafting pillar candles. This unique formulation often combines different types of waxes to achieve an optimal balance of hardness and a smooth texture, making it particularly well-suited for the creation of sturdy and visually appealing pillar candles.
Wicks and Their importance
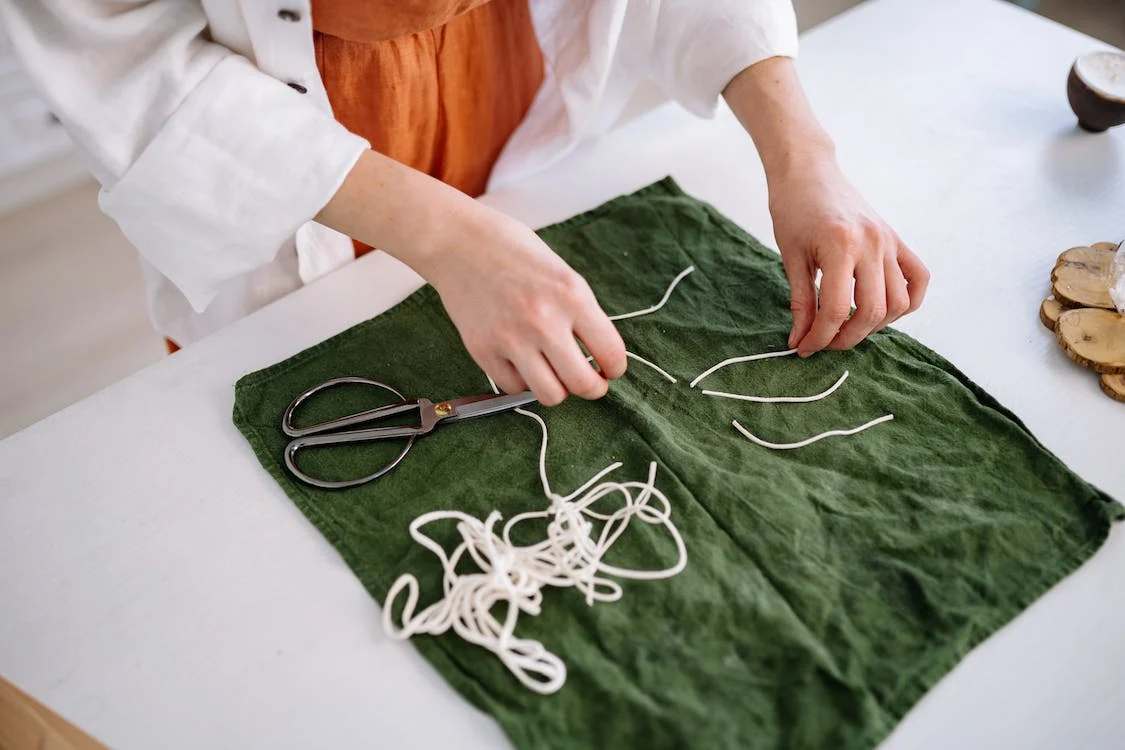
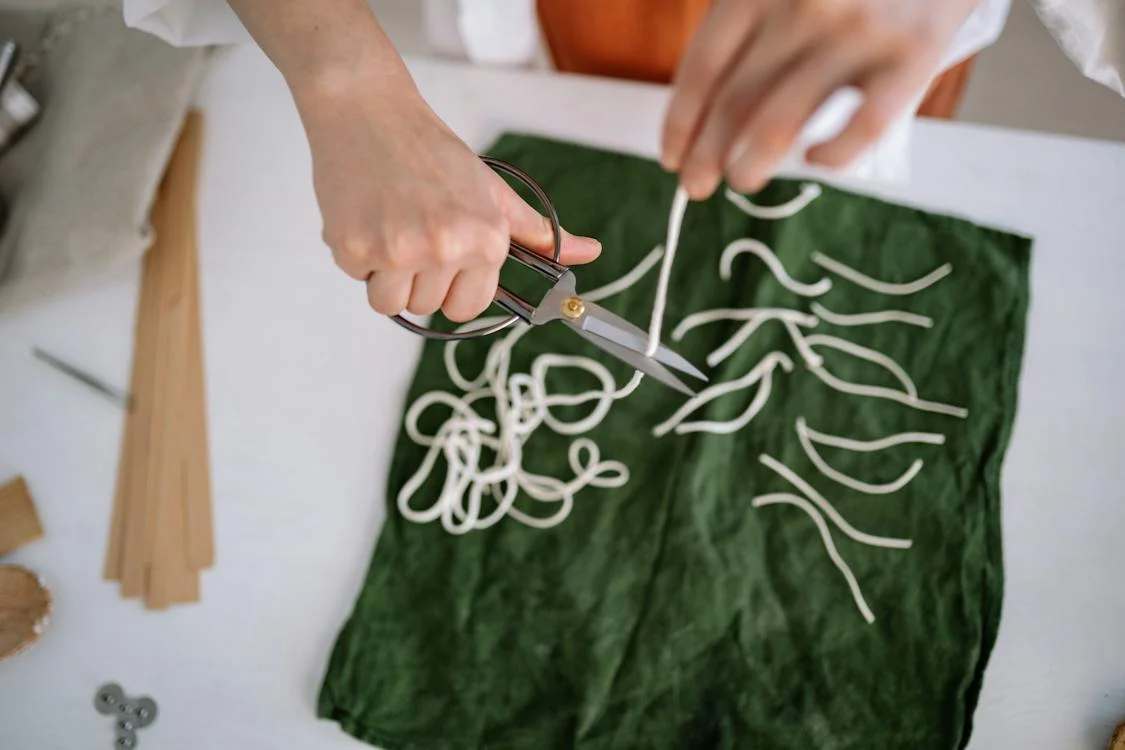
Wicks are an essential element in candle making, serving a multifaceted role that profoundly impacts the performance and safety of candles. Beyond their primary function of igniting the candle, wicks determine how the candle burns, its aesthetic appeal, fragrance distribution, and overall safety. Through capillary action, wicks draw liquid wax upward, vaporizing it at the flame’s tip to create the essential heat, light, and combustion byproducts. The size and type of wick selected influence factors such as burn time and flame size, with thicker wicks producing larger flames and faster-burning candles. Moreover, wicks play a pivotal role in the even distribution of fragrance in scented candles, affecting how aromatic compounds are released into the air. For safety, aesthetics, and optimal candle performance, the choice of the right wick, matched to the specific candle style and wax type, is paramount. Candle makers carefully consider wick selection and conduct tests to ensure their candles burn cleanly, evenly, and safely, while achieving the desired visual and olfactory effects.
Fragrance and Essential Oils
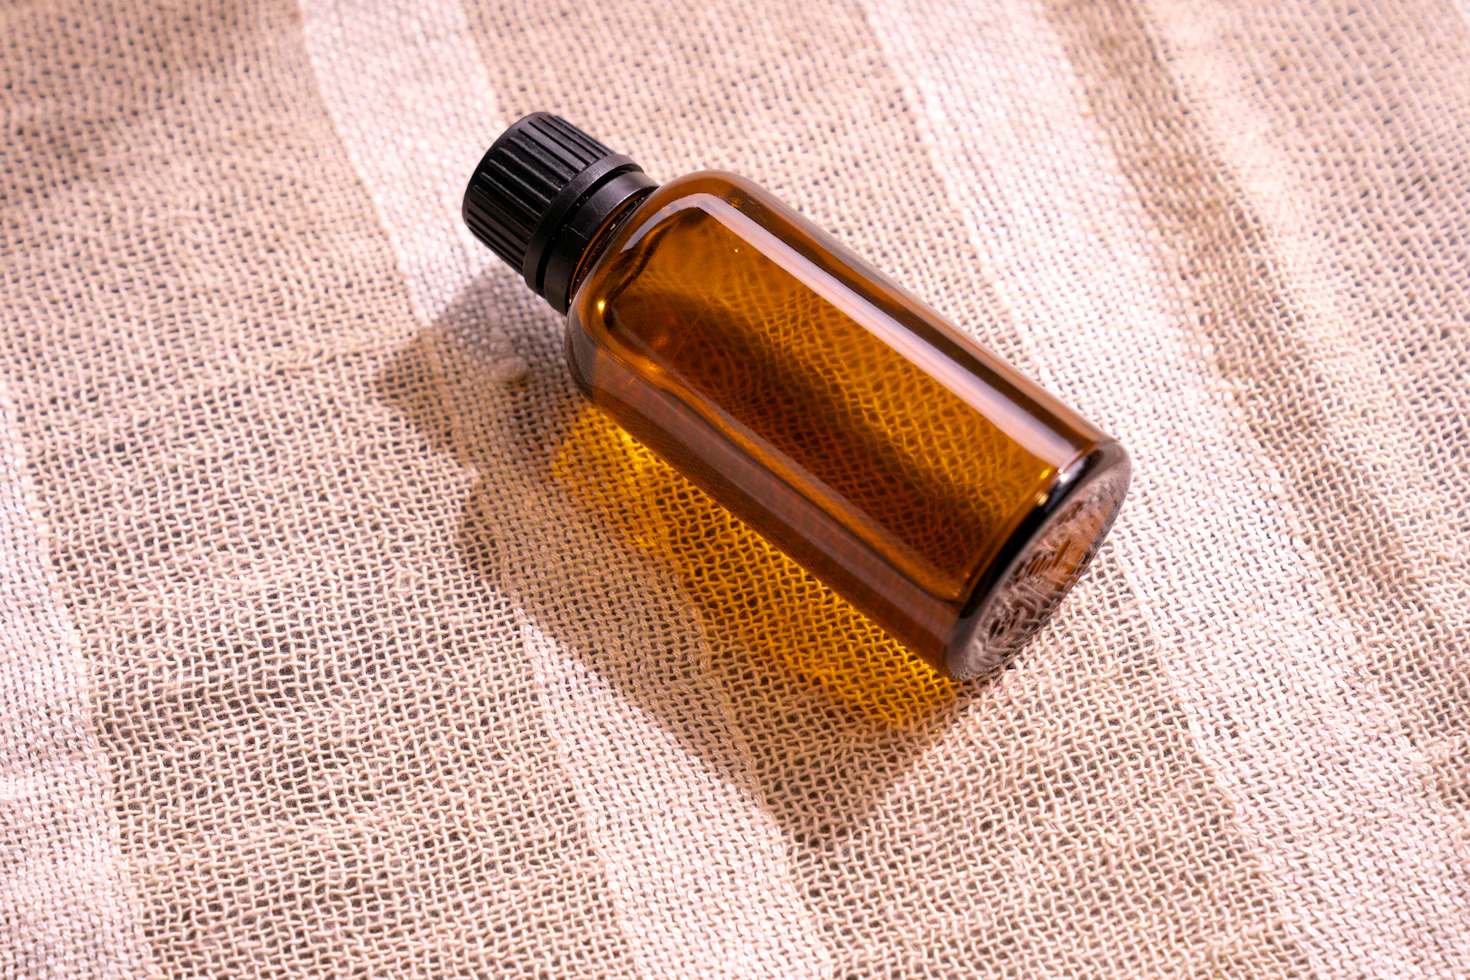
Fragrance oils and essential oils are both vital components of the world of aromatics, each offering its distinct characteristics and applications. Fragrance oils, which are artificially created aromatic compounds, provide a vast and consistent range of scents, making them a popular choice in candle making. These oils are meticulously crafted to mimic various fragrances, and their stability ensures that candles maintain their scent over time, making them an excellent choice for creating candles with enduring aromas. Fragrance oils offer versatility, enabling candle makers to choose from a wide array of scents, including those not found in nature, and to craft candles with consistent and long-lasting fragrances.
On the other hand, essential oils, derived directly from plant sources through methods like steam distillation or cold pressing, bring a natural and holistic element to candle making. They offer complex and nuanced scents that can vary based on factors such as the plant’s species, growing conditions, and extraction methods. Essential oils are celebrated for their potential therapeutic benefits, and some candle makers and consumers prefer them for their natural and unadulterated scents. However, it’s important to note that essential oils can be sensitive to environmental factors like light and heat, which may impact their longevity and scent profile in candles. The choice between fragrance oils and essential oils in candle making often hinges on individual preferences, the desired complexity of the candle’s scent, and any therapeutic or holistic objectives associated with the final product.
Coloring Agents
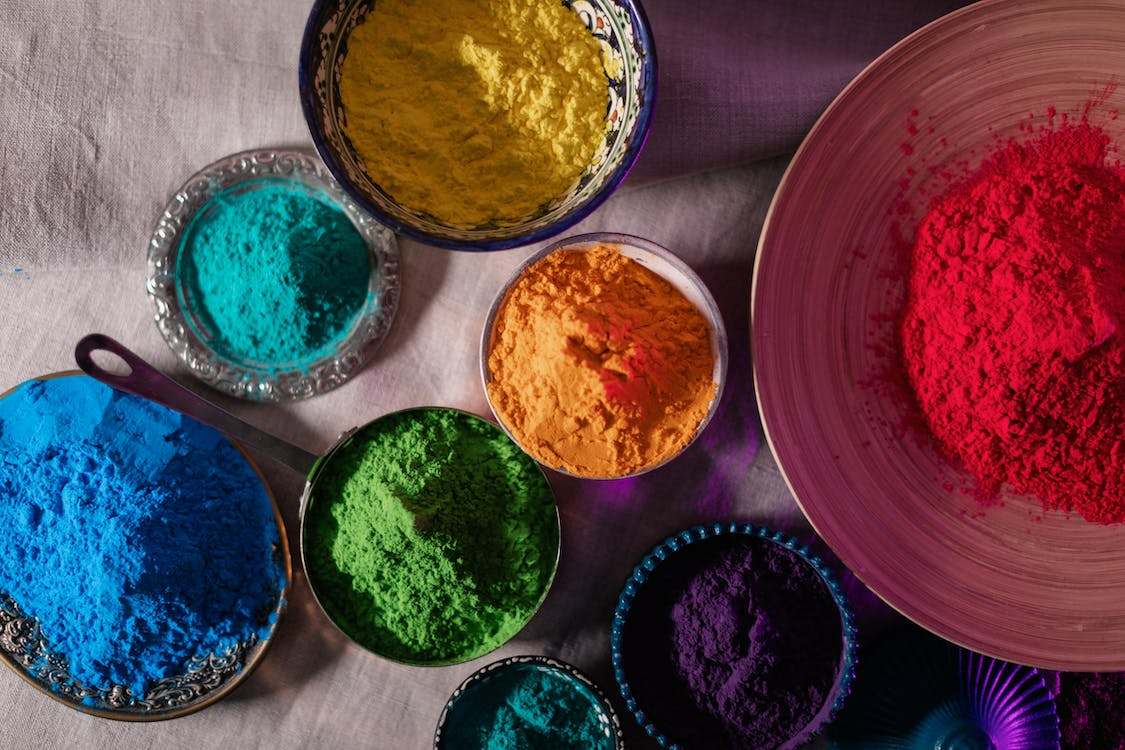
Coloring agents, also referred to as colorants or dyes, are essential components in various industries, including candle making. Their primary function is to add vibrant and visually appealing hues to products, such as candles, cosmetics, food items, textiles, and more. In the realm of candle crafting, coloring agents are instrumental in creating personalized and visually stunning candles. There are several types of coloring agents used in candle making, each offering distinct advantages and effects. These agents include liquid dyes, color blocks, and powdered pigments, all of which allow artisans to infuse their candles with a spectrum of colors, enabling endless creative possibilities in this cherished craft. Whether you’re aiming for a single, striking hue or a harmonious blend of colors, these coloring agents are your palette, helping you transform ordinary wax into captivating and aesthetically pleasing candle creations.
Setting Up Your Workspace
Safety Precautions
Safety precautions are of utmost significance when delving into the intricate art of candle making, a creative process that involves working with hot wax, open flames, and, at times, potentially hazardous materials. To safeguard your well-being during this craft, it is imperative to begin by donning essential protective gear, including heat-resistant gloves, safety goggles, and a protective apron. These safeguards provide crucial protection against potential burns and wax splatters that may occur in the candle-making process. Furthermore, it is advisable to establish your workspace in a well-ventilated area, a measure aimed at dispersing fumes and minimizing the risk of inhaling potentially harmful substances. To enhance ventilation, consider employing fans or opening windows to maintain proper airflow throughout your candle-making endeavor. These safety measures collectively ensure a secure and pleasant candle-making experience, allowing you to immerse yourself in the creative process while minimizing any potential risks.
Tools You’ll Need
Candle making requires a set of essential tools and equipment to facilitate the process and ensure the quality of your candles. Here’s a list of the fundamental tools you’ll need:
Double Boiler or Melting Pot
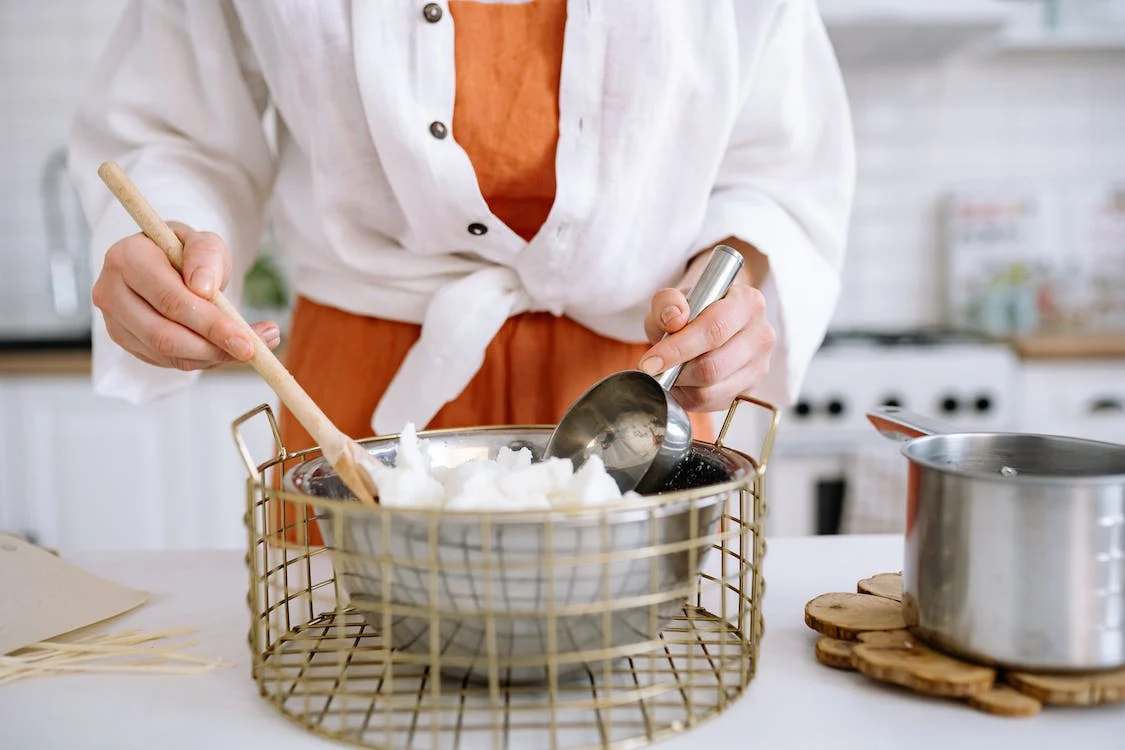
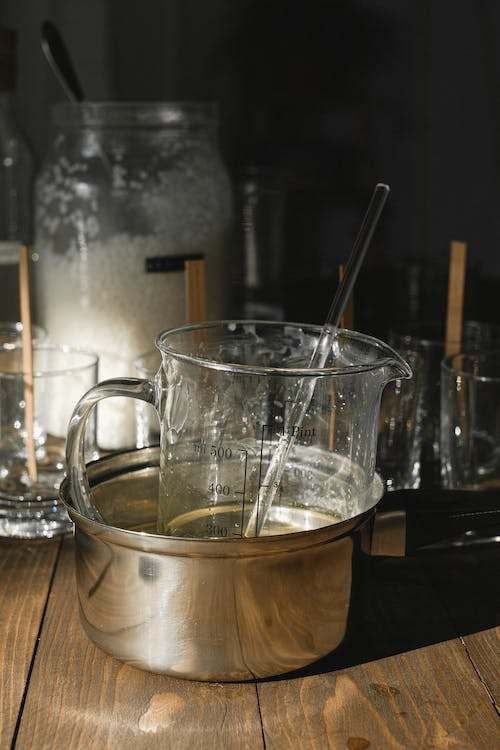
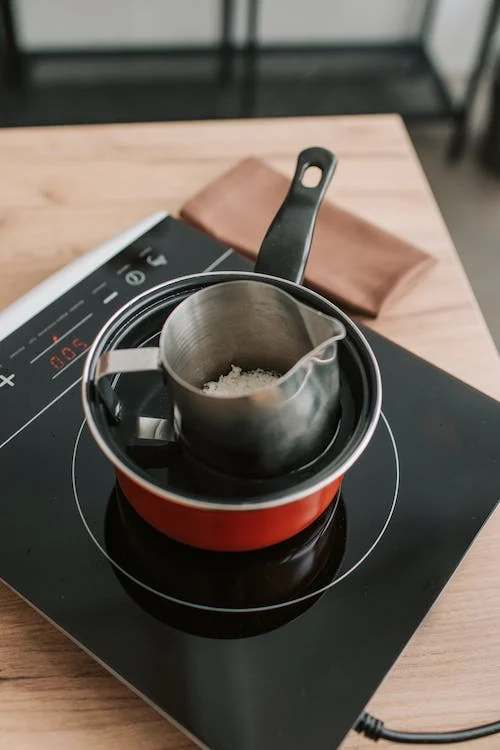
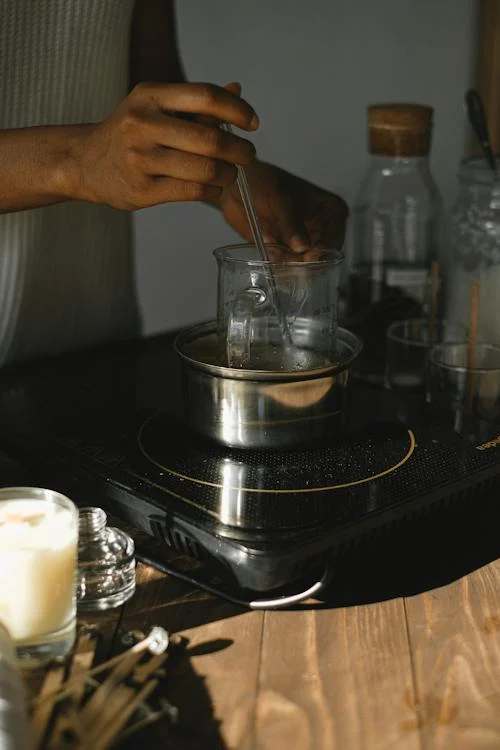
A double boiler or dedicated melting pot is a vital tool for safely melting wax in candle making. This setup prevents direct contact between the wax and the heat source, reducing the risk of overheating and potential fires. By using this method, you can control the wax temperature more effectively, ensuring a safe and consistent melting process. It’s an essential component of any candle-making workspace, promoting both safety and the quality of your candles.
Thermometer
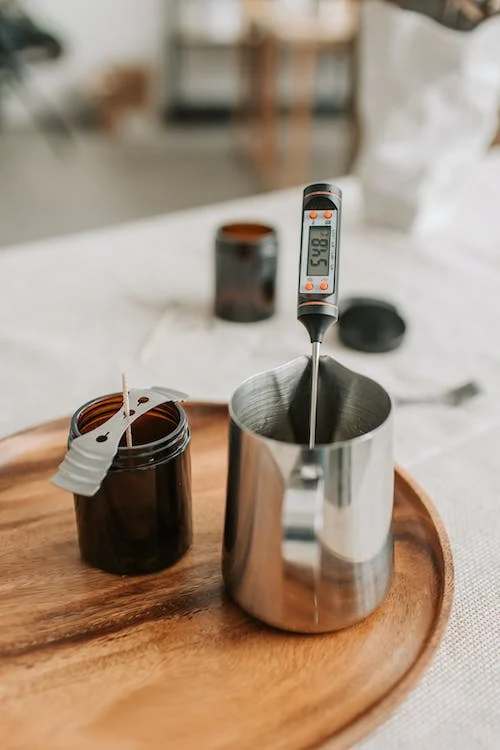
A thermometer specially designed for candle making is an indispensable tool for monitoring wax temperatures accurately. It plays a crucial role in ensuring that you pour the melted wax at the precise temperature required to achieve optimal results in your candle creations. This attention to temperature control is essential for preventing issues like overheating, which can lead to safety hazards and compromised candle quality. Therefore, a dedicated candle-making thermometer is a fundamental component of your candle-making toolkit, contributing to both the safety and success of your projects.
Stirring Utensils
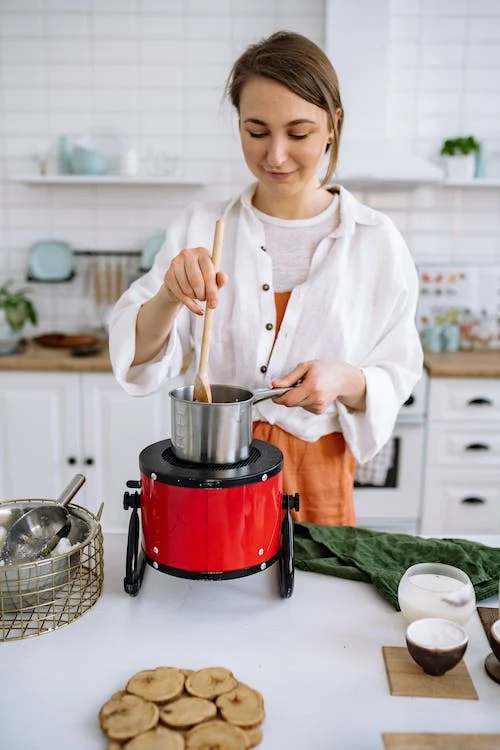
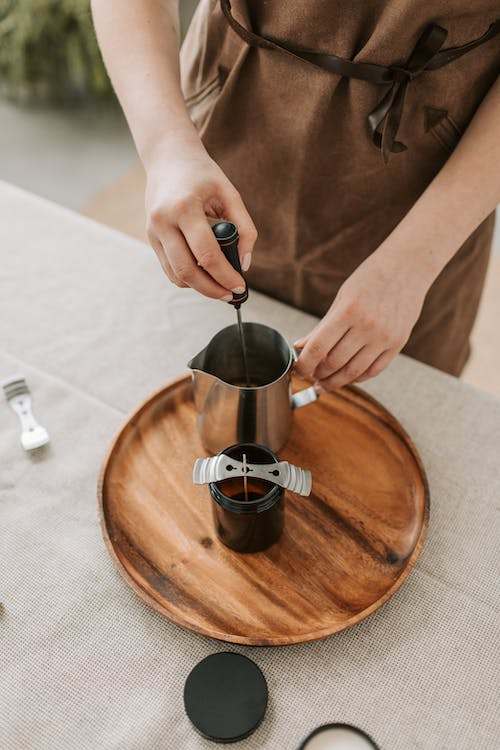
Stirring utensils, whether crafted from wood or silicone, are essential tools in candle making. They serve the crucial role of thoroughly mixing fragrance oils, colorants, and additives into the melted wax, ensuring a uniform distribution of these elements. It’s imperative that these stirrers remain clean and free of contaminants to maintain the purity and quality of your candle creations. These utensils contribute to the precise blending of scents and colors, allowing you to craft candles with consistent and desired characteristics.
Containers or Molds
Containers or molds are essential components in candle making, and your choice depends on the style of candles you wish to create. Containers, such as glass jars or tins, are commonly used for container candles, while molds, which can be made of silicone or metal, are ideal for shaping pillar or votive candles. Regardless of your preference, it’s imperative to ensure that your containers or molds are thoroughly clean and completely dry before use. This ensures that your candles will take on their intended shape and form, contributing to the overall quality and aesthetics of your candle creations.
Wicks
Wicks play a critical role in candle making, and selecting the right ones is paramount to the quality and performance of your candles. When choosing wicks, consider the type and size of your candle. Wick size is particularly crucial, as it directly influences the evenness of the burn. To simplify the process, pre-tabbed wicks with sustainer clips are a convenient choice, especially for container candles. These wicks come with a metal tab and clip that makes them easy to secure in your candle containers, ensuring they remain centered as the wax cools and solidifies. By carefully selecting the appropriate wicks for your candle type and size, you can achieve a balanced and consistent burn, enhancing the overall quality of your candles.
Wick Holders or Centering Devices
Wick holders or centering devices are indispensable tools in candle making. They serve the essential function of keeping the wick precisely centered in the container or mold while the wax cools and solidifies. This alignment ensures that the candle burns evenly, preventing issues like tunneling or uneven wax consumption. By using wick holders or centering devices, you can achieve consistent and high-quality candle results, making them a valuable addition to your candle-making toolkit.
Colorants
Colorants are essential for adding vibrant hues to your candles, enhancing their visual appeal. There are several options to choose from, including liquid or solid candle dyes, color blocks, and powdered pigments. These colorants allow you to customize the appearance of your candles, creating a wide range of colors and effects. When selecting colorants, it’s crucial to choose ones that are compatible with the type of wax you’re using to ensure proper integration and a consistent finish. Whether you opt for vivid or subtle shades, colorants provide endless creative possibilities in candle making, enabling you to craft candles that are both visually striking and uniquely your own.
Fragrance Oils
Fragrance oils are the aromatic heart of scented candles, infusing them with delightful scents. When using fragrance oils, it’s imperative to choose those explicitly designed for candle making. These oils are formulated to work harmoniously with the wax and burn cleanly, ensuring the best olfactory experience for your candles. Additionally, it’s essential to follow recommended fragrance load guidelines, which specify the appropriate amount of fragrance oil to use based on the volume of wax you’re working with. Adhering to these guidelines guarantees that your scented candles will have a well-balanced and long-lasting fragrance, delighting the senses of those who enjoy them.
Pouring Pitcher
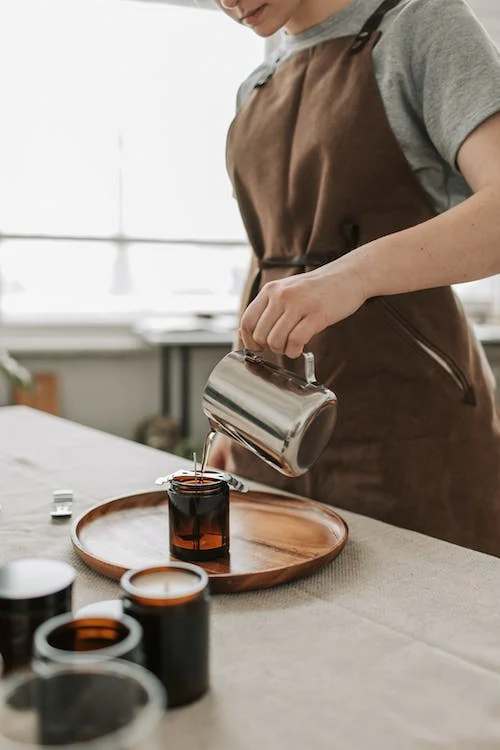
A pouring pitcher is a practical and convenient tool in candle making, especially when transferring melted wax into containers or molds. Equipped with a spout, it streamlines the pouring process, providing precision and control. This not only ensures that the wax is poured where it’s intended but also reduces the risk of spills and messes in your workspace. A pouring pitcher is a valuable addition to your candle-making toolkit, enhancing both the efficiency of your workflow and the overall quality of your candles.
Heat Source
The choice of heat source is a crucial consideration in candle making, and it depends on your preferred wax-melting method. Ensure that you have the appropriate heat source and associated equipment ready based on your chosen technique. For example, if you’re using a stovetop, have a designated melting pot or double boiler at the ready. If you prefer the microwave method, ensure you have a microwave-safe container for melting wax. For gel candles, a heat gun is often used to liquefy and manipulate the gel wax. By preparing the right heat source and equipment for your specific candle-making method, you’ll facilitate a smooth and controlled melting process, contributing to the safety and success of your candle creations.
Labeling Materials
Labeling materials, such as labels, stickers, or tags, are essential if you intend to sell or gift your candles. They provide crucial information to consumers, including candle type, fragrance, safety instructions, and burning guidelines. Additionally, these materials offer branding opportunities to showcase your candle-making business or personal style. Having these labeling materials ready ensures that your finished candles are both visually appealing and compliant with any legal or safety requirements if you plan to sell them. Effective labeling enhances the professionalism of your candle creations and provides valuable information to those who enjoy them.
Safety Gear
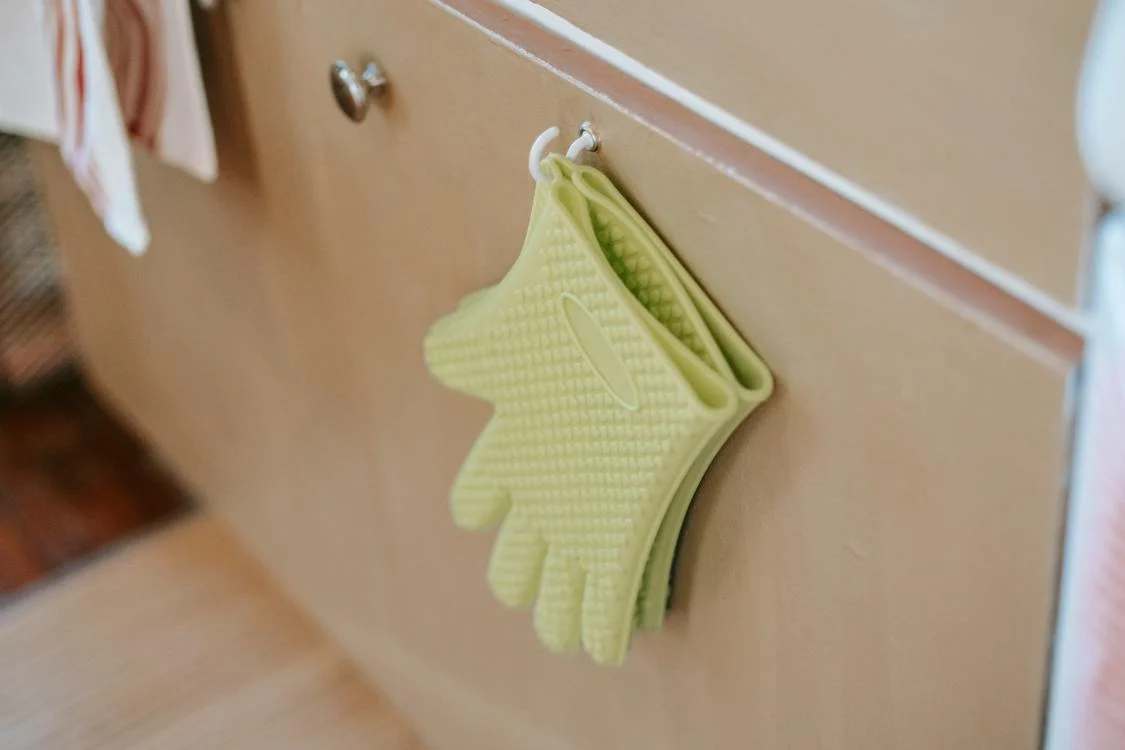
Safety gear is indispensable in candle making, and it consists of three essential components: heat-resistant gloves, safety goggles, and an apron. These items provide crucial protection against potential burns and wax splatters during the candle-making process. Heat-resistant gloves shield your hands from hot wax and surfaces, while safety goggles protect your eyes from splashes and fumes. An apron serves as a barrier against any stray wax or colorant drips. Wearing this safety gear ensures that you can work comfortably and confidently, reducing the risk of accidents and enhancing your safety throughout your candle-making endeavors.
Fire Extinguisher
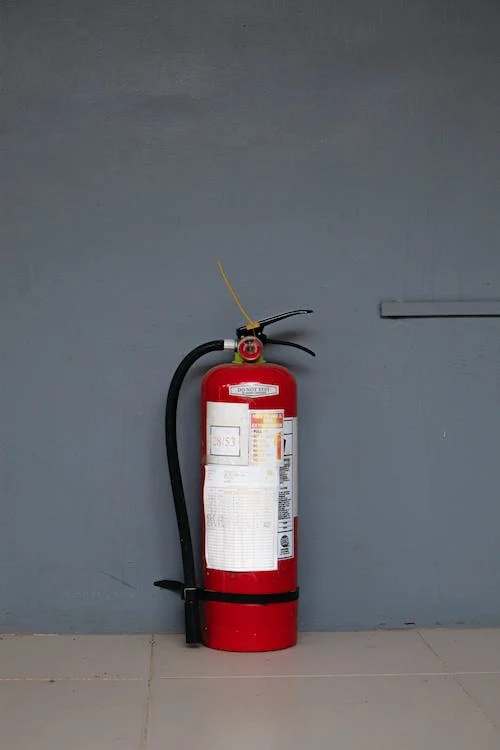
Having a readily accessible fire extinguisher in your candle-making workspace is an essential safety precaution. It allows for a quick response to potential fires caused by wax spills, overheating, or other unforeseen incidents. When choosing a fire extinguisher, ensure it is suitable for Class A (combustibles like wood, paper), Class B (flammable liquids like wax), and Class C (electrical fires) to cover all potential fire hazards. Regularly inspect and maintain the extinguisher, and ensure everyone working in the area knows how to use it effectively in case of an emergency.
First-Aid Kit
Having a well-stocked first-aid kit readily available in your candle-making workspace is essential for promptly addressing minor injuries or burns that may occur during the creative process. It provides the necessary supplies and tools for immediate care and can make a significant difference in ensuring safety and well-being. Make sure your first-aid kit includes items like bandages, antiseptic wipes, burn cream, scissors, adhesive tape, and any other materials needed to address common crafting-related injuries. Familiarize yourself and those in your workspace with the contents of the kit and basic first-aid procedures to ensure effective and timely response to any mishaps.
Clean-Up Supplies
Keeping a stock of clean-up supplies within reach in your candle-making workspace is crucial for swift and effective management of spills and messes. These supplies typically include paper towels, cloth rags, and appropriate cleaning solutions. Given that candle making can involve wax spills, colorant drips, and other potential messes, having these materials on hand ensures that you can quickly address any spills to maintain a clean and organized workspace. Regular clean-up not only enhances safety by reducing slip hazards but also contributes to a more efficient and enjoyable candle-making experience.
Storage
Storing your candle-making supplies in an organized and dedicated area is a crucial practice to maintain the quality and integrity of your materials between crafting sessions. By designating a specific space for your supplies, you can ensure that they remain clean, free from contaminants, and in optimal condition. This organized storage approach also streamlines your workflow, allowing you to locate and access your materials more efficiently when you’re ready to create candles. Whether it’s fragrance oils, colorants, wicks, or molds, proper storage helps prolong the shelf life of your supplies, ensuring they are ready for use whenever inspiration strikes for your next candle-making project.
Preparing the Molds and Containers
Preparing the molds or containers is a crucial step in the candle-making process, ensuring that your candles take on the desired shape and form. Start by thoroughly cleaning your molds or containers, both inside and out, to remove any dust, dirt, or residue. After cleaning, allow them to dry completely. For container candles, secure the wick in the center of the container, ensuring it is straight and properly centered to promote even burning. Wick holders or centering devices can assist in maintaining wick position in mold candles. If you’re using intricate or non-silicone molds, consider using a mold release agent for easy removal of the finished candle. For certain container candles, you may add decorative elements to the inside of the container, securing them with a small amount of melted wax. Finally, position your prepared molds or containers on a level surface in your workspace, ready for the pouring stage, to ensure a smooth and successful candle-making experience.
Basic Candle Making Techniques
Melting the Wax
Melting wax is a critical step in candle making. Select your wax type, cut it into smaller pieces, and melt it either in a double boiler or microwave. In the double boiler method, place wax in the top pot, which sits above simmering water. Stir occasionally and monitor the temperature with a thermometer. In the microwave, heat wax in short intervals. Stir in fragrance and color if desired. Exercise caution to avoid burns, and pour the melted wax into your chosen container, mold, or design. Cleanup is easier when you remove any residual wax from equipment while it’s still liquid. Melting wax is a foundational step that ensures your candles turn out beautifully, with the desired fragrance and color.
Adding Fragrance and Color
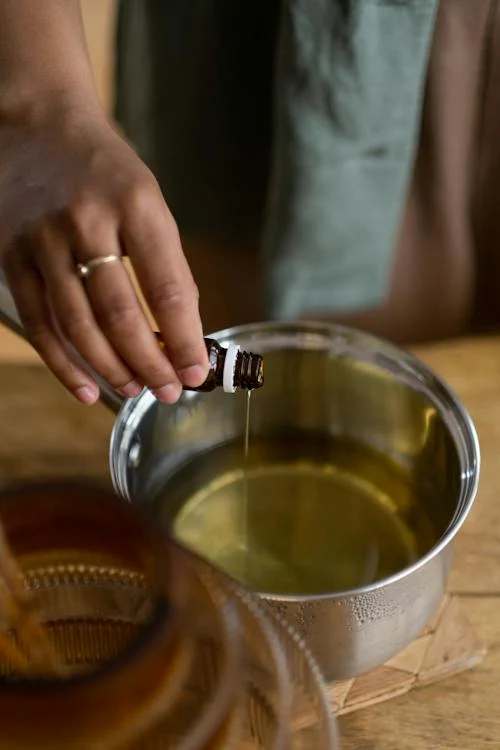
Adding fragrance and color to your candles is a creative process. When your wax is melted, typically in a double boiler or microwave, add fragrance oil following recommended guidelines (5-10% of wax weight). Stir thoroughly for an even scent. For color, choose suitable colorants and gradually add them to the wax until you reach your desired hue, stirring vigorously. Remember that wax color can change as it cools. Conduct a small test candle to check fragrance strength and color before proceeding. Work in a well-ventilated area for fragrance safety and follow safety guidelines for colorants. This creative step lets you craft visually appealing and fragrant candles to elevate any setting.
Pouring and Setting
In the pouring and setting phase of candle making, you pour the fragranced and colored wax into your chosen container or mold, ensuring the wick’s center for container candles. Let the candles cool and solidify completely, which may take a few hours for container candles and longer for larger or thicker ones. Trim the wick to about 1/4 inch above the surface, release molded candles from their molds if necessary, and smooth minor imperfections if needed. For candles intended for sale or gifting, consider adding labels with essential information and branding. This phase brings your candles to life, capturing your chosen fragrance and color for you to enjoy or share.
Advanced Techniques
Layering Colors
Layering colors in candle making is a technique that adds depth and visual interest to your creations. To get started, melt your wax for the first layer, adhering to the specific melting guidelines for your wax type. After that, introduce your chosen colorant to achieve the desired hue, ensuring it’s evenly mixed. Carefully pour this colored wax into your container or mold, making sure the wick is centered for container candles, and let it cool and solidify entirely. As this initial layer sets, prepare the wax for your next layer, which can be a different color or a complementary shade to create contrast and depth. When the first layer has fully cooled, gently melt and pour the wax for the next layer, taking care not to disturb the prior layer’s surface. Continue this process, adding more layers with varying colors or scents as desired. As a finishing touch, trim the wick to about 1/4 inch above the candle’s surface, and your multi-layered candle is ready to be lit and admired. The layered colors will create a mesmerizing visual effect as the candle burns, making it a captivating addition to any space.
Incorporating Herbs and Other Elements
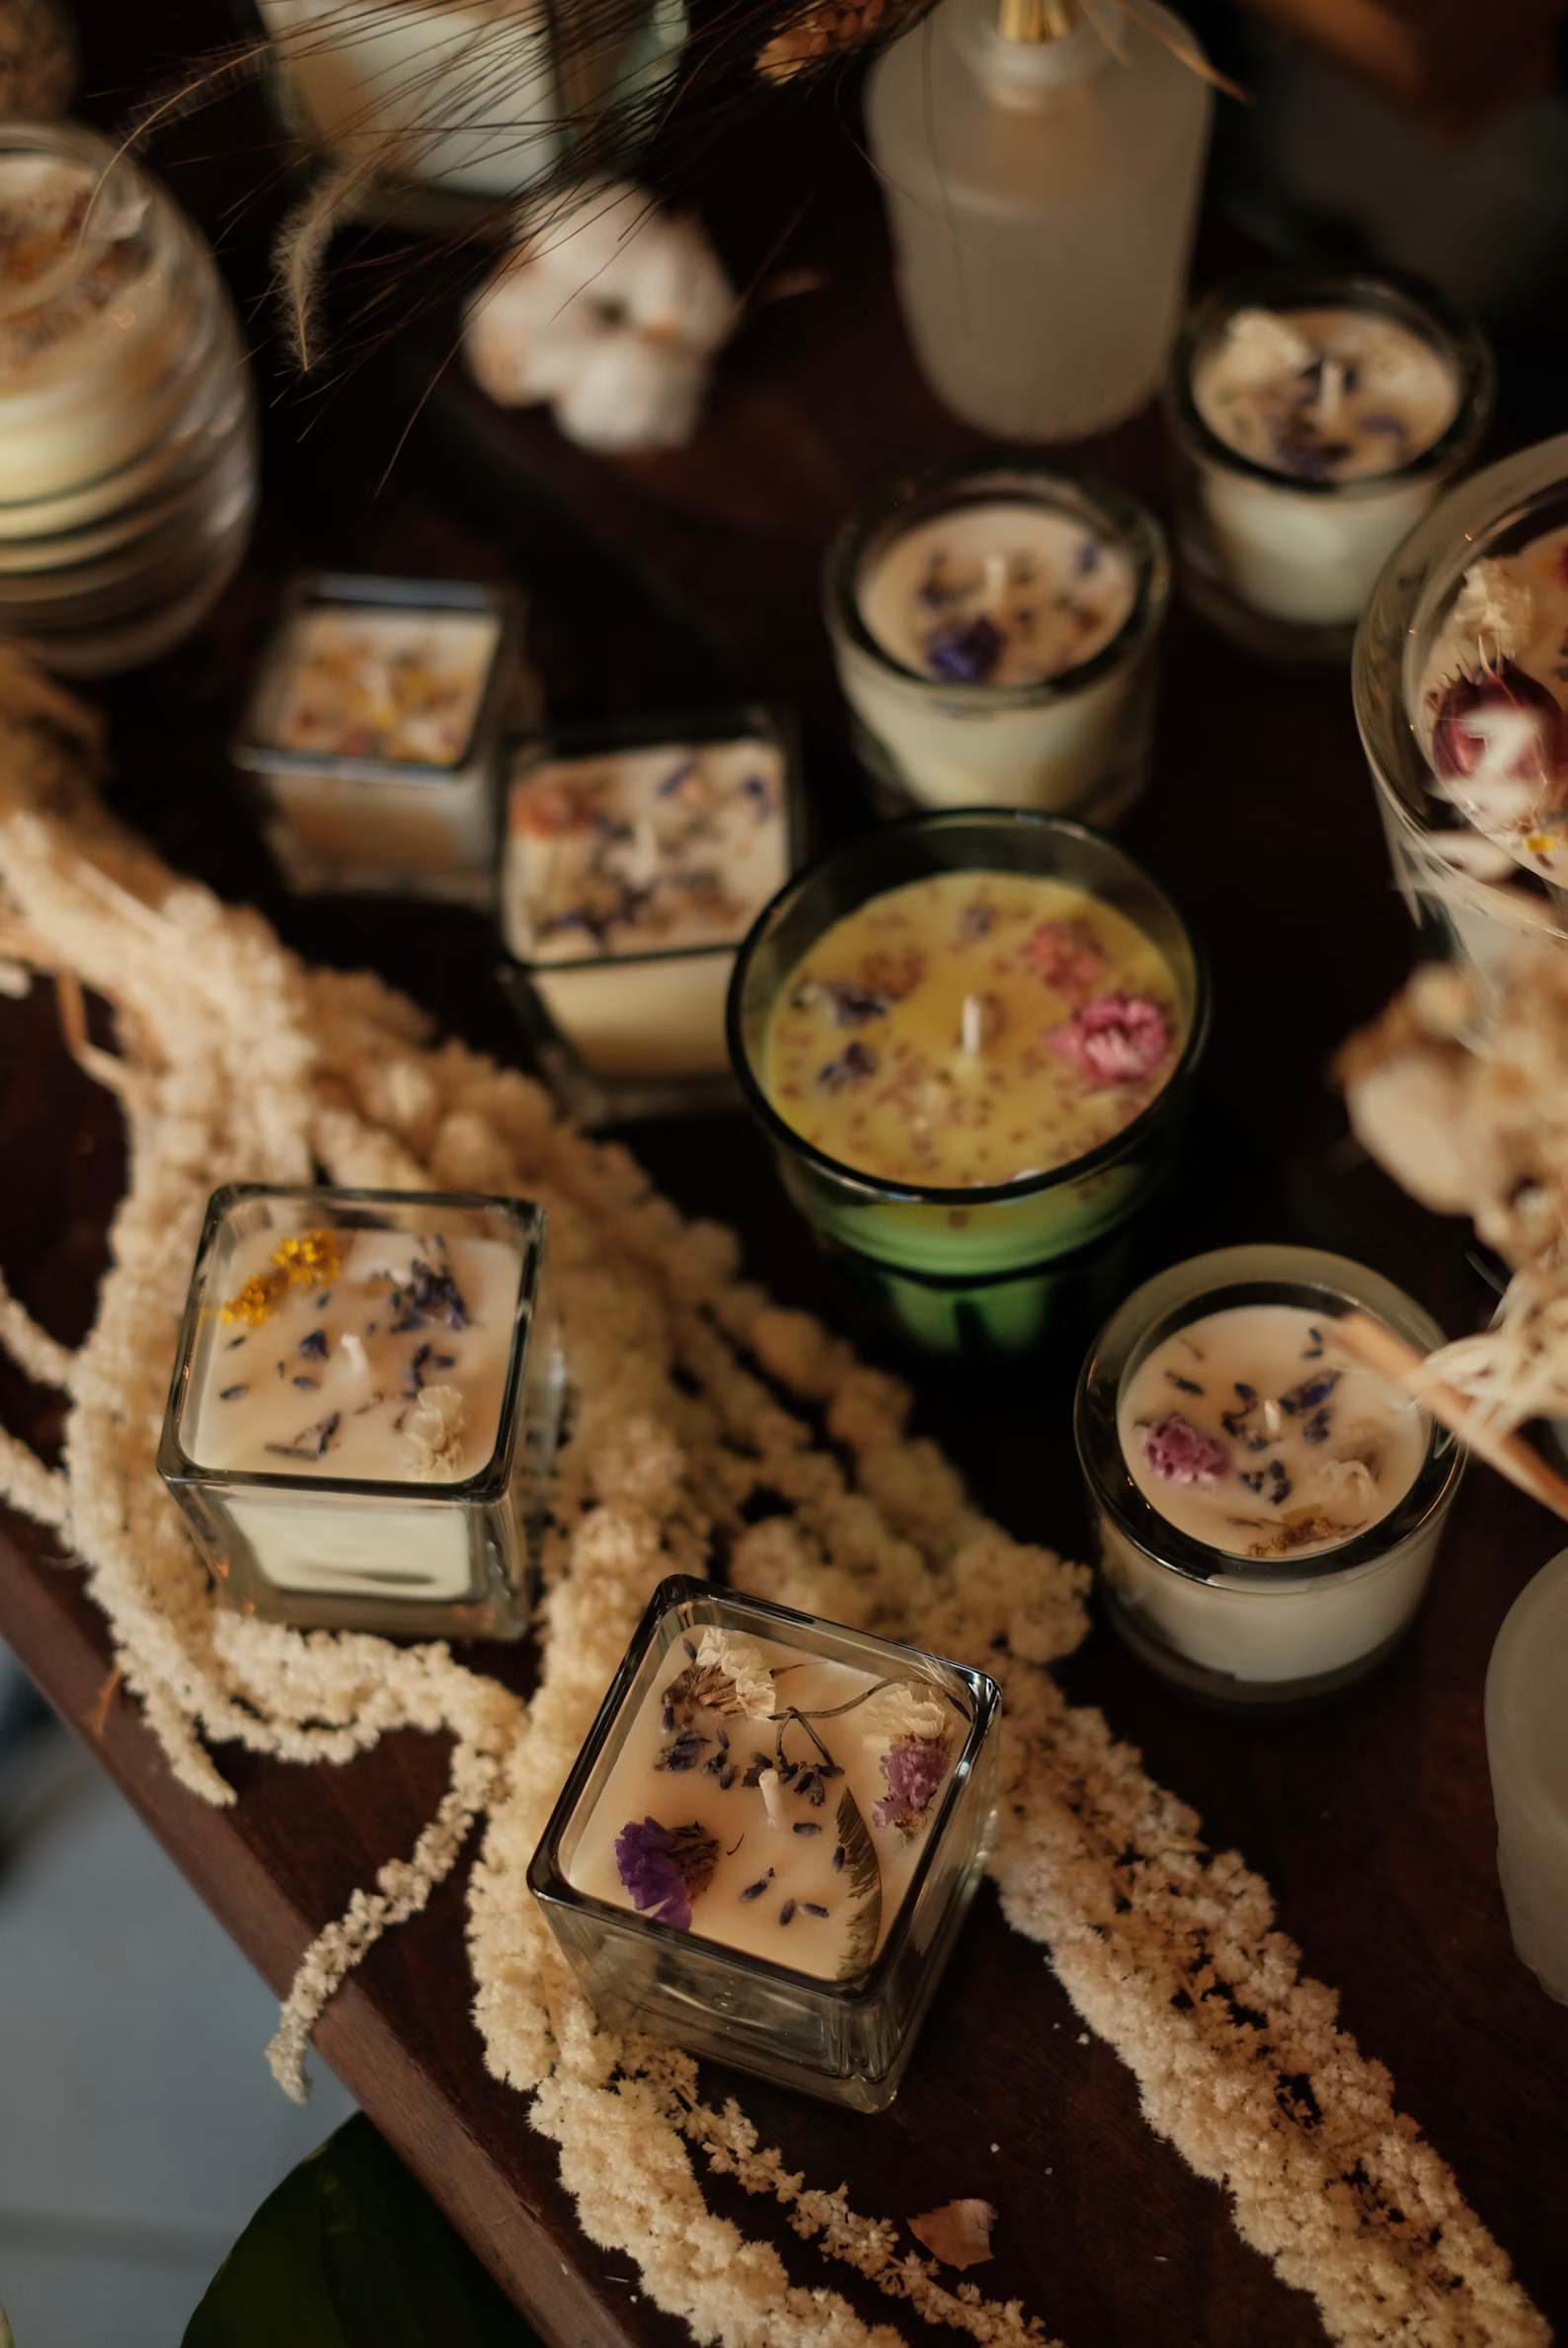
Creating textured candles is a captivating way to infuse your candle-making projects with a tactile and artistic element. To begin, melt your chosen wax and, if desired, add fragrance and color, ensuring even distribution. The key to textured candles lies in your chosen method: textured molds, textured tools like rollers or stamps, sculpting with specialized carving tools, or embedding textured objects onto the wax’s surface. Once you’ve determined your approach, pour the soft, textured wax into your selected container or mold, maintaining the desired shape and texture. Allow the candles to cool and solidify completely, which may vary in duration based on size and type. If you’ve used textured molds, gently release the candles from them. Trim the wick to the ideal length, usually around 1/4 inch above the candle’s surface. For added flair, consider enhancing the texture with paint, glaze, or supplementary decorative elements. The result is a sensory delight — visually and tactilely engaging textured candles ready to illuminate and adorn any space.
Trouble Shooting and Tips
Common Issues and Their Solutions
Sinking or Tunneling
When encountering the issue of sinking or tunneling in candle making, it’s essential to address this concern with a practical solution. This problem manifests as a depression or tunnel down the center of the candle, often due to inadequate initial pouring. To rectify this, the recommended solution is to create a well around the wick during the first pour and subsequently add more wax to this well. This corrective action helps distribute the wax evenly, ensuring a smooth and even surface for your candle. By applying this solution, you can produce candles that burn consistently and beautifully, free from the unsightly tunneling effect.
Frosting
Addressing frosting, a common issue in candle making, is vital to ensure the aesthetic appeal of your creations. Frosting presents itself as a white, powdery coating on the candle’s surface and often results from temperature fluctuations during the cooling process. To combat this issue effectively, the recommended solution is to place your candles in a draft-free area during cooling, which reduces temperature variations. Gradual cooling is essential, as it minimizes the occurrence of frosting, leaving your candles with a smooth and pristine finish. By adhering to these solutions, you can create candles that not only emit delightful fragrances but also boast an aesthetically pleasing appearance, free from the unwanted frosting effect.
Uneven Coloring
When faced with the issue of uneven coloring in candle making, it’s crucial to address this concern to achieve visually appealing results. Uneven coloring manifests as irregular or streaky coloration on the candle’s surface, often caused by inadequate mixing of colorants or inconsistent wax temperatures during pouring. To resolve this issue effectively, it’s advisable to thoroughly mix colorants to ensure an even distribution and maintain a consistent wax temperature during the pouring process. By implementing these solutions, you can create candles that exhibit a uniform and consistent color, enhancing their overall aesthetic appeal and visual charm.
Wick Issues
Wick issues can disrupt the tranquility of candle enjoyment, but with the right solutions, they can be easily resolved. When confronted with a wick that won’t stay lit or a candle that produces excessive smoke, it’s crucial to take specific actions. Firstly, select the appropriate wick size tailored to your candle type, ensuring it matches the diameter and requirements of the vessel or mold. Secondly, ensure the wick is centered in the candle, as an off-center wick can lead to uneven burning and excessive smoking. By implementing these solutions, you can enjoy candles that burn steadily, emit minimal smoke, and provide a serene and enjoyable ambiance.
Cracking
The issue of cracks developing in cooling candles can be a discouragement, but there’s a straightforward solution to this problem. Cracking often occurs when there’s a rapid temperature change, particularly when pouring hot wax into a cooler container. To mitigate this, it’s crucial to allow the wax to cool more gradually. By giving the candle ample time to adjust to the surrounding temperature, especially in the crucial cooling phase, you prevent sudden contractions that lead to cracks. Implementing this solution ensures that your candles cool uniformly, resulting in a flawless, crack-free finish, enhancing both their aesthetic appeal and structural integrity.
Wet Spots
Dealing with wet spots on your candles is essential for achieving a polished appearance in your creations. Wet spots appear as visible spots or patches on the candle’s surface and can detract from the overall aesthetic. To address this issue effectively, consider implementing the following solution. Begin by ensuring that you properly preheat the containers before pouring the wax. Additionally, pour the wax at the correct temperature, taking care to avoid extreme variations in temperature during the cooling process. By cooling your candles evenly and adhering to these recommendations, you can minimize the likelihood of wet spots, resulting in a visually pleasing and professionally finished product that enhances your candle-making endeavors.
Scent Fading
Experiencing fading fragrance in candles can be disappointing, but there are effective solutions to address this issue. When the candle’s scent weakens over time, it’s advisable to explore the following solutions. Firstly, consider experimenting with different fragrance oils to find those with better staying power and longevity. Each fragrance oil may have different characteristics, so finding the right one for your candle is essential. Additionally, ensure that you allow your candles proper cure time. During this period, the scent develops and becomes more pronounced, contributing to a longer-lasting fragrance experience. By implementing these solutions, you can enjoy candles that maintain their delightful scent throughout their burn life, enhancing the ambiance of your space.
Bumpy or Rough Texture
Achieving a smooth and visually appealing texture on your candles is crucial for their overall aesthetic. When encountering the issue of a bumpy or rough surface, it’s vital to consider the following solutions. Firstly, ensure that you stir the wax thoroughly to eliminate any trapped air bubbles, which can lead to an uneven texture. Stirring the wax diligently ensures a smoother finish. Alternatively, you can opt for smoother molds or containers that inherently contribute to a more refined surface. By applying these solutions, you can create candles with a visually pleasing, even texture that enhances their overall appearance and elevates the quality of your candle-making endeavors.
Filling Sinkholes
Dealing with sinkholes or small holes on your candle’s surface is a common issue that can be resolved effectively. When faced with this problem, it’s advisable to follow this practical solution. As the first pour of wax begins to set but is not fully solidified, you can use additional melted wax to fill any sinkholes or imperfections on the candle’s surface. By applying this solution during the early stages of cooling, you ensure that the surface remains smooth and flawless, resulting in candles that are not only visually appealing but also structurally sound. This method allows you to maintain the integrity of your candles and enhance their overall quality.
Wick Mushrooming
When you notice the wick developing a mushroom-shaped tip during burning, it’s crucial to adopt this straightforward solution. Before each burn session, trim the wick to the recommended length, typically around 1/4 inch. Trimming the wick regularly ensures that it remains at an optimal length, preventing excessive mushrooming and minimizing smoke production. By adhering to this practice, you can enjoy candles that burn steadily, produce minimal smoke, and provide a serene and enjoyable ambiance without the disruption of mushrooming wicks.
Dye Bleeding
Dye bleeding occurs when the candle’s color spreads or runs into adjacent layers or designs, compromising their distinctiveness. To effectively mitigate this problem, it’s crucial to adhere to the following solution. Firstly, ensure that you select colorants that are compatible with the specific type of wax you are using, as different wax types may react differently to dyes. Secondly, exercise patience and precision by allowing each layer or color to fully cool and solidify before adding the next. This careful approach prevents the colors from bleeding into one another, resulting in candles that exhibit clean, well-defined designs or layers, thereby enhancing their overall aesthetic appeal and visual charm.
Tips for a Perfect Burn
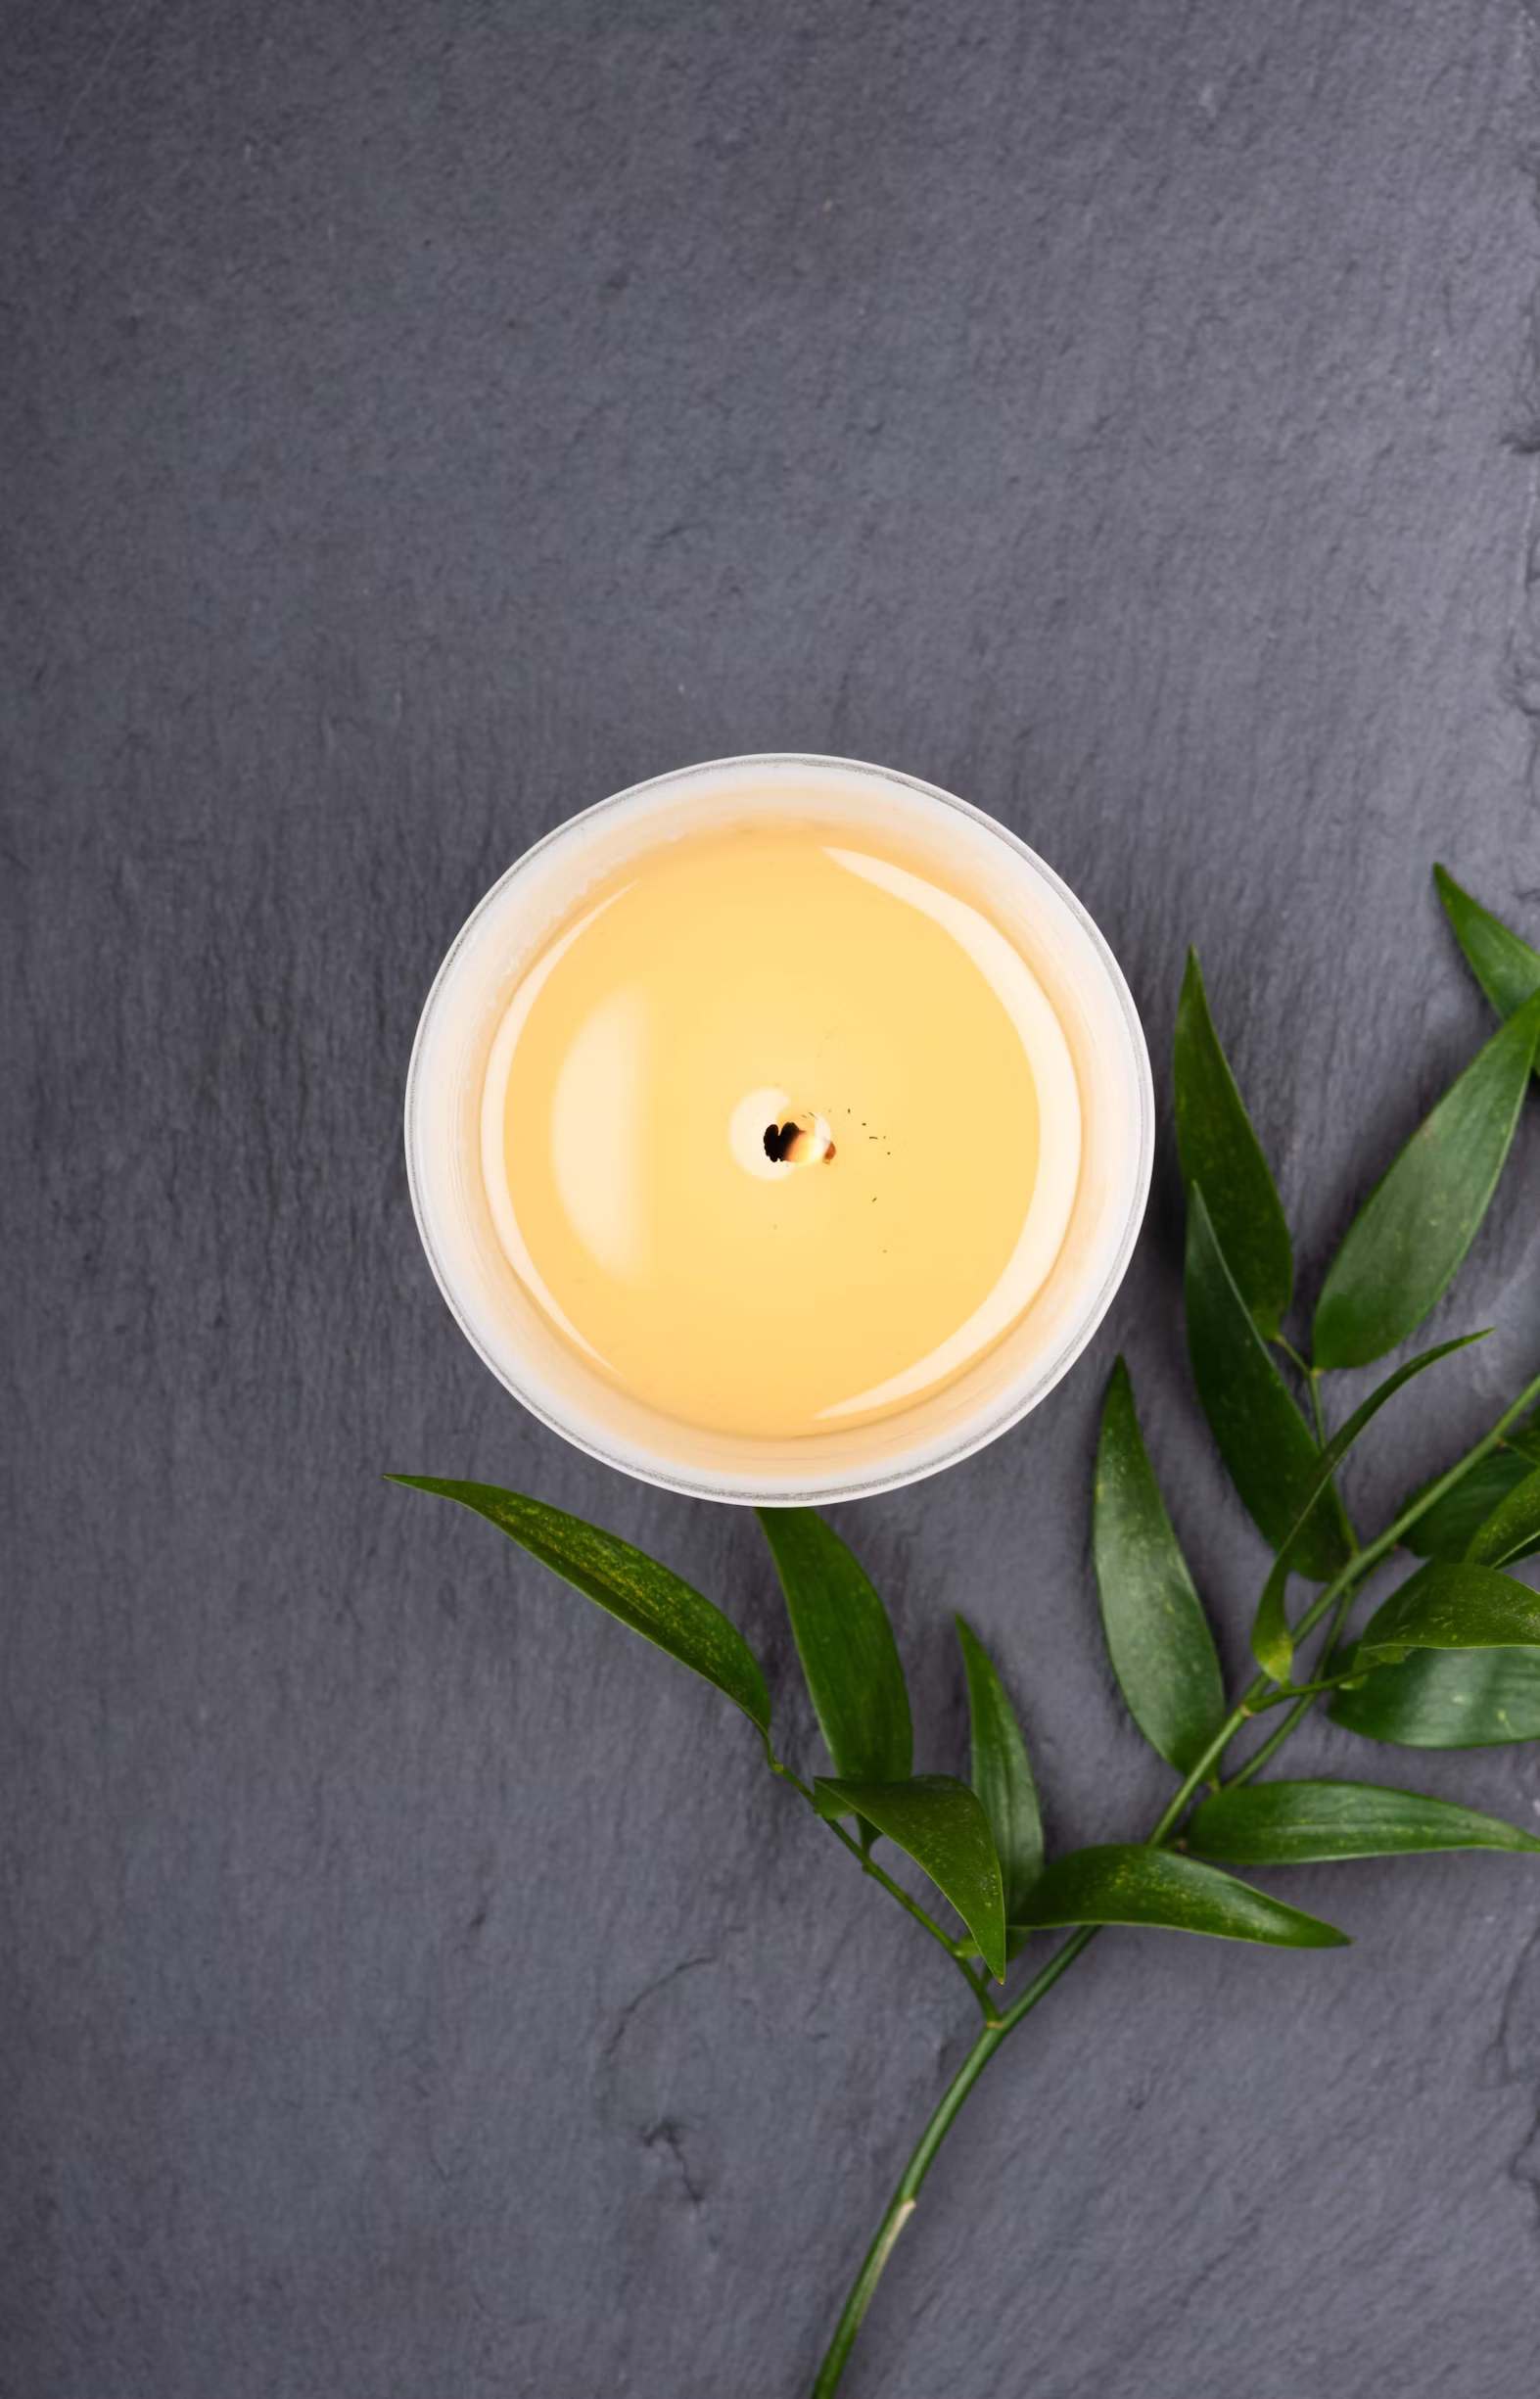
To achieve a perfect candle burn, start by choosing the right wick, selecting one that suits your candle’s size and type. Trim the wick to the recommended length, usually around 1/4 inch, before each use to prevent issues like mushrooming and excessive smoking. When lighting the candle, allow it to burn long enough for the entire top layer to melt and create an even pool of wax. This process, known as the “memory burn,” ensures that the candle will burn evenly during subsequent uses and avoids tunneling. Always place your candle on a heat-resistant surface, away from drafts, which can cause uneven burning and sooting. Keep the wick centered and straight to maintain a consistent flame and minimize smoking. Avoid burning candles for extended periods; limit each burn session to 3-4 hours to prevent overheating. Lastly, enjoy your candle safely by keeping it away from flammable materials, children, and pets, and never leave it unattended while burning. These tips will help you achieve a perfect burn, allowing you to fully enjoy the ambiance and fragrance of your candles while prolonging their life.
Making Candles Last Longer
To extend the burn time of your candles and savor their fragrance and ambiance for longer, consider these helpful tips. Start by selecting high-quality candles made from premium materials, as they tend to burn more efficiently and last longer. Before each use, trim the wick to about 1/4 inch to prevent excessive burning and a faster consumption of wax. During the initial burn, ensure that the entire top layer of wax melts to the edges of the container or mold; this establishes a “memory burn” and prevents tunneling in future uses. Place your candle in a draft-free area to avoid uneven burning and excessive smoking, which can shorten its burn time. When extinguishing the candle, use a candle snuffer instead of blowing it out to minimize smoke and prevent hot wax splatters. Limit each burn session to 3-4 hours to prevent overheating and ensure a longer-lasting candle. Allow the candle to cool completely before relighting. Proper storage, away from direct sunlight and heat, also contributes to a longer candle life. Additionally, consider the type of wax used, as different types have varying burn times. Soy wax, for instance, tends to burn slower than paraffin wax. Finally, if you have multiple candles, rotate their use to ensure they all last longer. By following these steps, you can make the most of your candles, enjoying their soothing glow and captivating scents for an extended period.
Conclusion
Candle making is a delightful fusion of artistry and craftsmanship, offering a rewarding avenue for creative expression and self-satisfaction. It empowers individuals to not only craft visually enchanting and aromatic illuminations but also to cultivate a profound sense of achievement and serenity. Prioritizing safety, patience, and a continuous learning mindset is crucial throughout this journey. Troubleshooting common issues and implementing valuable tips can significantly enhance the longevity and quality of your candles. From mastering the fundamentals to exploring advanced and artistic techniques, the possibilities are boundless, fostering ample room for personalization and innovation. As you embark on this creative adventure, relish the joy of experimentation, uncover novel fragrance and color blends, and nurture your unique style. Whether pursued for personal relaxation, heartfelt gifting, or even entrepreneurial endeavors, your handcrafted candles will imbue spaces with warmth, comfort, and elegance. Embrace this enchanting craft, let your creative spirit soar, and illuminate your world with the magic of candle making.
