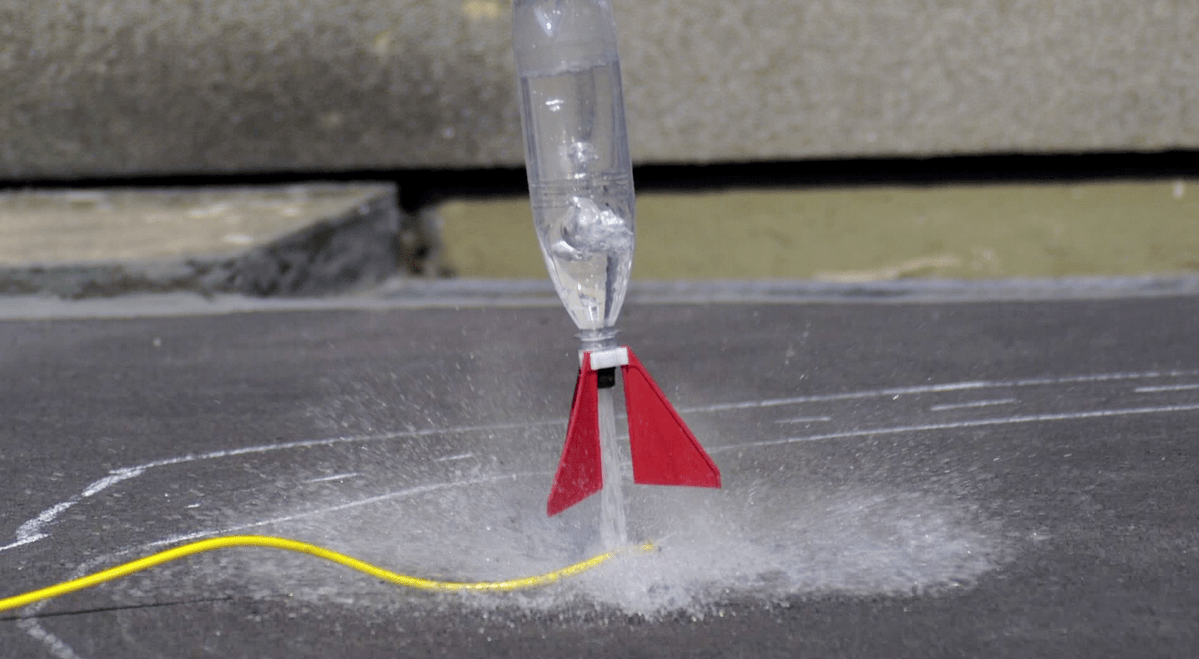
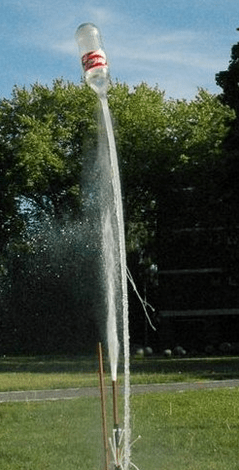
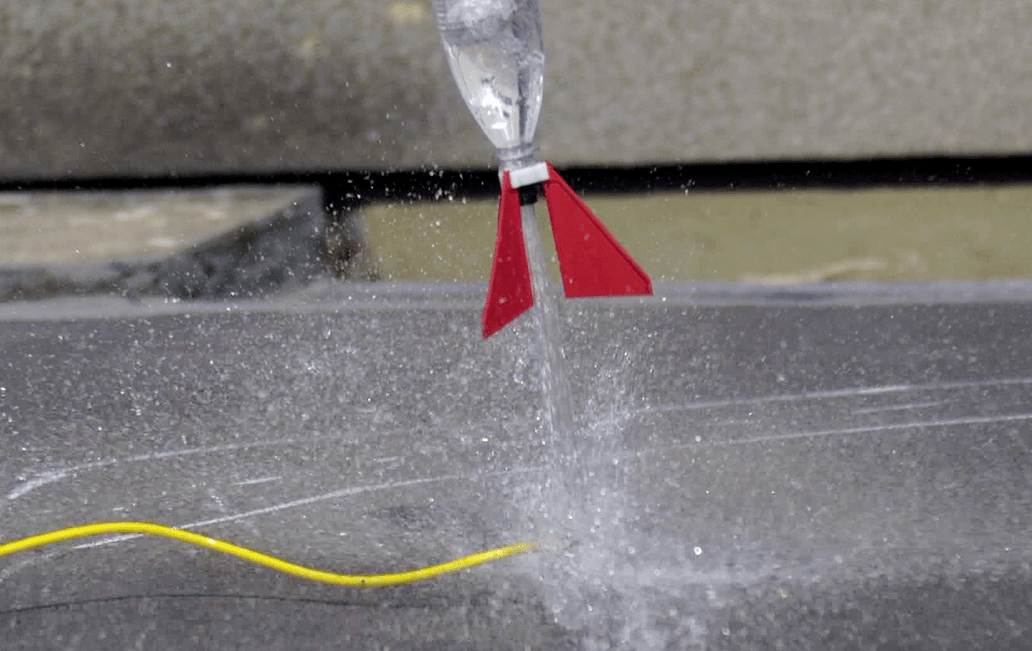
Water bottle rocket launchers are the safest and the least expensive way for children, students, and even adults to learn and understand the fundamentals of forces and a vehicle’s response to external forces. These water bottles are subjected to four different forces during the flight: thrust, weight, aerodynamic forces, and lift and drag.
These water bottle rockets work on the principle of the Third Law of Motion by Newton. That is why these rocket launchers can be fun to make while learning the laws of physics. If you enjoy doing things like coin collecting, the water bottle rocket experiment can be a great hobby as well.
If you don’t know how to make a water rocket launcher or how the whole thing works, worry not because you will know it all by the end of this article.
How Do Water Rocket Launchers Work?
Rocket launchers work in the same way as NASA rockets. A reaction mass gets ejected from a vessel using pressured gas, launching the payload into the sky. The pressurized gas can be air pumped using a bicycle pump; the reaction mass can be your regular water and the pressure vessel a soda bottle.
With these fundamentals, you can send a soda bottle hundreds of feet into the air and impress all the other kids in the playground. They are usually launched at science fairs and in backyards and are typically accompanied by special effects. These fundamental inventions have also broken certain aviation records, at least in comparison to other water rockets.
To know more about how water rocket launchers work, click here.
Uses of Water Rocket Launchers
Water rocket launchers are commonly used in classrooms to teach children about the fundamentals of aeronautics. Teachers can get an idea of how they want their demonstrations to look by looking at different designs on the internet.
These water rocket launchers are standard in science fairs. The viewers can easily see and understand the acceleration and thrust concepts that participants hope to demonstrate with their gadgets.
Main Components of a Water Bottle Rocket
1. Bottle
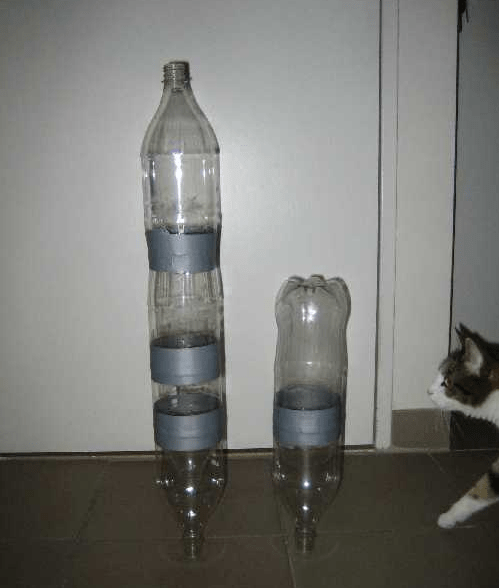
Firstly, you need a single Polyethylene Terephthalate (PET) carbonated soft drink water bottle to make a water bottle rocket. You can also make multi-bottle rockets by combining two or more bottles in a variety of ways.
For example, you can connect the bottles with the help of their nozzles by cutting the bottles apart and sliding the sections over each other. You can also join their opening bottoms and make a chain to increase volume. This increases complexity, and the expanded volume results in increased weight.
2. Gas
There are several ways to pressurize a water bottle. You can use a regular bicycle or car tire pump capable of producing at least 75 psi. You can also add water pressure to force all the air out in an empty water hose into the rocket.
Another way to pressurize a water bottle is by using an air compressor. You can use the once-in workshops to power pneumatic tools and equipment. Don’t modify a high-pressure compressor for using it as a water rocket power source or use high-pressure gases from cylinders as it can be dangerous. Other than that, compressed gases in bottles like nitrogen gas or carbon dioxide air can be used.
3. Nozzles
Water bottle rocket nozzles are different from combustion rocket nozzles as they do not have a diverging portion. This is because water is incompressible, and the divergent portion does not provide anything to the efficiency. It may worsen the performance.
There are two primary groups of water bottles to choose from. One is open, which is often known as standard or full bore. It has an internal diameter of 22mm, the usual size for a soda bottleneck. The other is restricted, and it includes everything smaller than the standard.
The interior diameter of the restricted nozzles is usually 9mm. The thrust produced by the rocket is affected by the nozzle size. When the nozzles are bigger in diameter, they accelerate faster and have a shorter thrust phase. Smaller nozzles, on the other hand, produce less acceleration and a more prolonged thrust phase.
4. Fins
The water bottle’s first movement diminishes its stability, causing it to start tumbling end over end, reducing its maximum speed and glide length. That is why people use fins and other stabilizers to lower the center of pressure and increase stability.
These stabilizers are put near the back of the bottle, close to the center of mass. The increase in stability provided by the fins is worth the extra drag. They also help in increasing the height to which the rocket can fly.
5. Landing Systems
The rocket will fly nose-first, thanks to stabilizing fins, giving it a substantially higher speed. However, the fins will cause the rocket to descend quicker if it is crashed to the ground. Furthermore, this may cause harm to things it strikes with when it lands.
One can also attach a parachute to their water bottle rockets to help prevent landing problems. These, however, may also experience malfunctions. To prevent damage or injury caused by a falling rocket, you can use rubber bumpers, crumple zones, and utilize safe launch practices.
6. Launch Tubes
Water bottle rockets also use launch tubes. This goes within the rocket’s nozzle and extends upward to the nose. It’s fixed to the ground. When the rocket starts to accelerate upward, the launch tube blocks the nozzle.
With this, water will be ejected until the rocket exits the launch tube. It enables the effective conversion of potential energy in compressed air to kinetic energy and gravitational potential energy of the rocket and water.
High efficiency is essential during the initial part of the launch because rocket engines are least effective at low speeds. The use of a launch tube can boost the speed and height of the water bottle rocket. These work best when you combine them with longer rockets.
To know how to make a water rocket launcher at home, click here.
Launching the Rocket
Once you have completed the construction and decoration of your rocket launcher, it’s time to test if it can fly. It would be best not to launch the rocket unless you have a vast backyard.
Even the best-made water rockets can be blown off by the wind, exposing any design defects with a trajectory that throws your rocket significantly off course. You should make sure to have enough space and that you are far away from buildings, trees, power wires, and other obstacles. Don’t be surprised if it ends up on your roof.
Tips for Safe Launch
A defective water rocket launch can cause injury because you put a lot of air pressure into such a small space, and they go pretty quickly, so be cautious.
- Don’t aim them in anyone’s direction.
- Don’t stand over them when putting air.
- Do not launch them near electricity wires.
- Ensure that everyone is clear of the vessel during the launch.
- Don’t overinflate the rocket.
- Fill one-third of the bottle with water for optimal height, but feel free to experiment with different ratios; it won’t hurt.
Water Rocket Launchers – Creative Ways to Learn Science
A water rocket launcher is one creative and interesting way to learn more about scientific forces and show kids practically how rockets would launch. They’re easy to make and will definitely keep your kids busy once it’s all set and ready. Kids love exploring and learning new things by experimenting, and they’ll surely love this as well. Therefore, water rocket launchers make an excellent hobby for small as well as big kids.
