Introduction
The Benchwork is the single most important component of the entire train model.
It decides how durable and stable the model will be. In addition to bearing the entire weight of the train model, it withstands movement and vibrations and the changing environmental factors such as temperature.
A sturdy benchwork ensures that the model is easily modified and survives the wear and tear of time and the surroundings. Also, a well-thought-out benchwork design can facilitate easier maintenance.
They can also be designed, painted, and decorated to create compelling, captivating, and comprehensively detailed landscapes that are stellar to look at.
Now let’s learn how to build a reliable benchwork for your train model.
What is Model Train Benchwork?
First, let’s define what it is. The “Benchwork” is the basis, the support structure of the model train layout. It comprises frames, legs, and other structural elements. It acts as a foundation for the entire model to stand including the scenery, tracks and trains, the wiring, etc.
For the best operations of the train model a sturdy, well-balanced benchwork is essential. If the benchwork is not level and is sloped even slightly, the train can derail. This can damage the train and other pricey components that you might have in the model.
Sturdiness also ensures the longevity and stability of the model. If not stable a train can derail which can be dangerous for the model and the children that usually engage with the model.
Additionally, sturdy, leveled benchwork can ensure that the weight of the model is evenly distributed. This ensures that the model doesn’t bend, sag or warp over time and subsequently adds to the life of the model.
There are different types of benchwork to choose from. There is the “Box frame” type which is a regular rectangular frame made of wood or metal. It can be free-standing or wall mounted. Then there is the “Tabletop” which stands on a flat surface with legs and is used for small layouts and is transportable.
There is a “Shelf” type which is made of rows and columns of shelves mounted on brackets. Another space-saving benchwork type is the “Fold-down” benchwork which is like a “Tabletop” mounted on hinges and brackets and can be folded against the wall when not in use.
Another type is the “Suspended benchwork,” which is suspended from a ceiling or a wall and offers a captivating appearance in addition to space-saving.
Materials and Tools for Building Benchwork
Some basic tools are necessary to make benchwork. The primary material is Wood and typically the 2×4, 1×2, or plywood is used. It is easy to work with and lightweight compared to other materials such as PVC, foam, metal, etc.
You will also need screws to hold the wood together and will require brackets to fortify the structure of the benchwork with additional support. Commonly used screws used in benchwork making are the drywall and wood screws and the brackets used are the T and L brackets.
Nails, staples, and other fasteners are also used to keep the frame together.
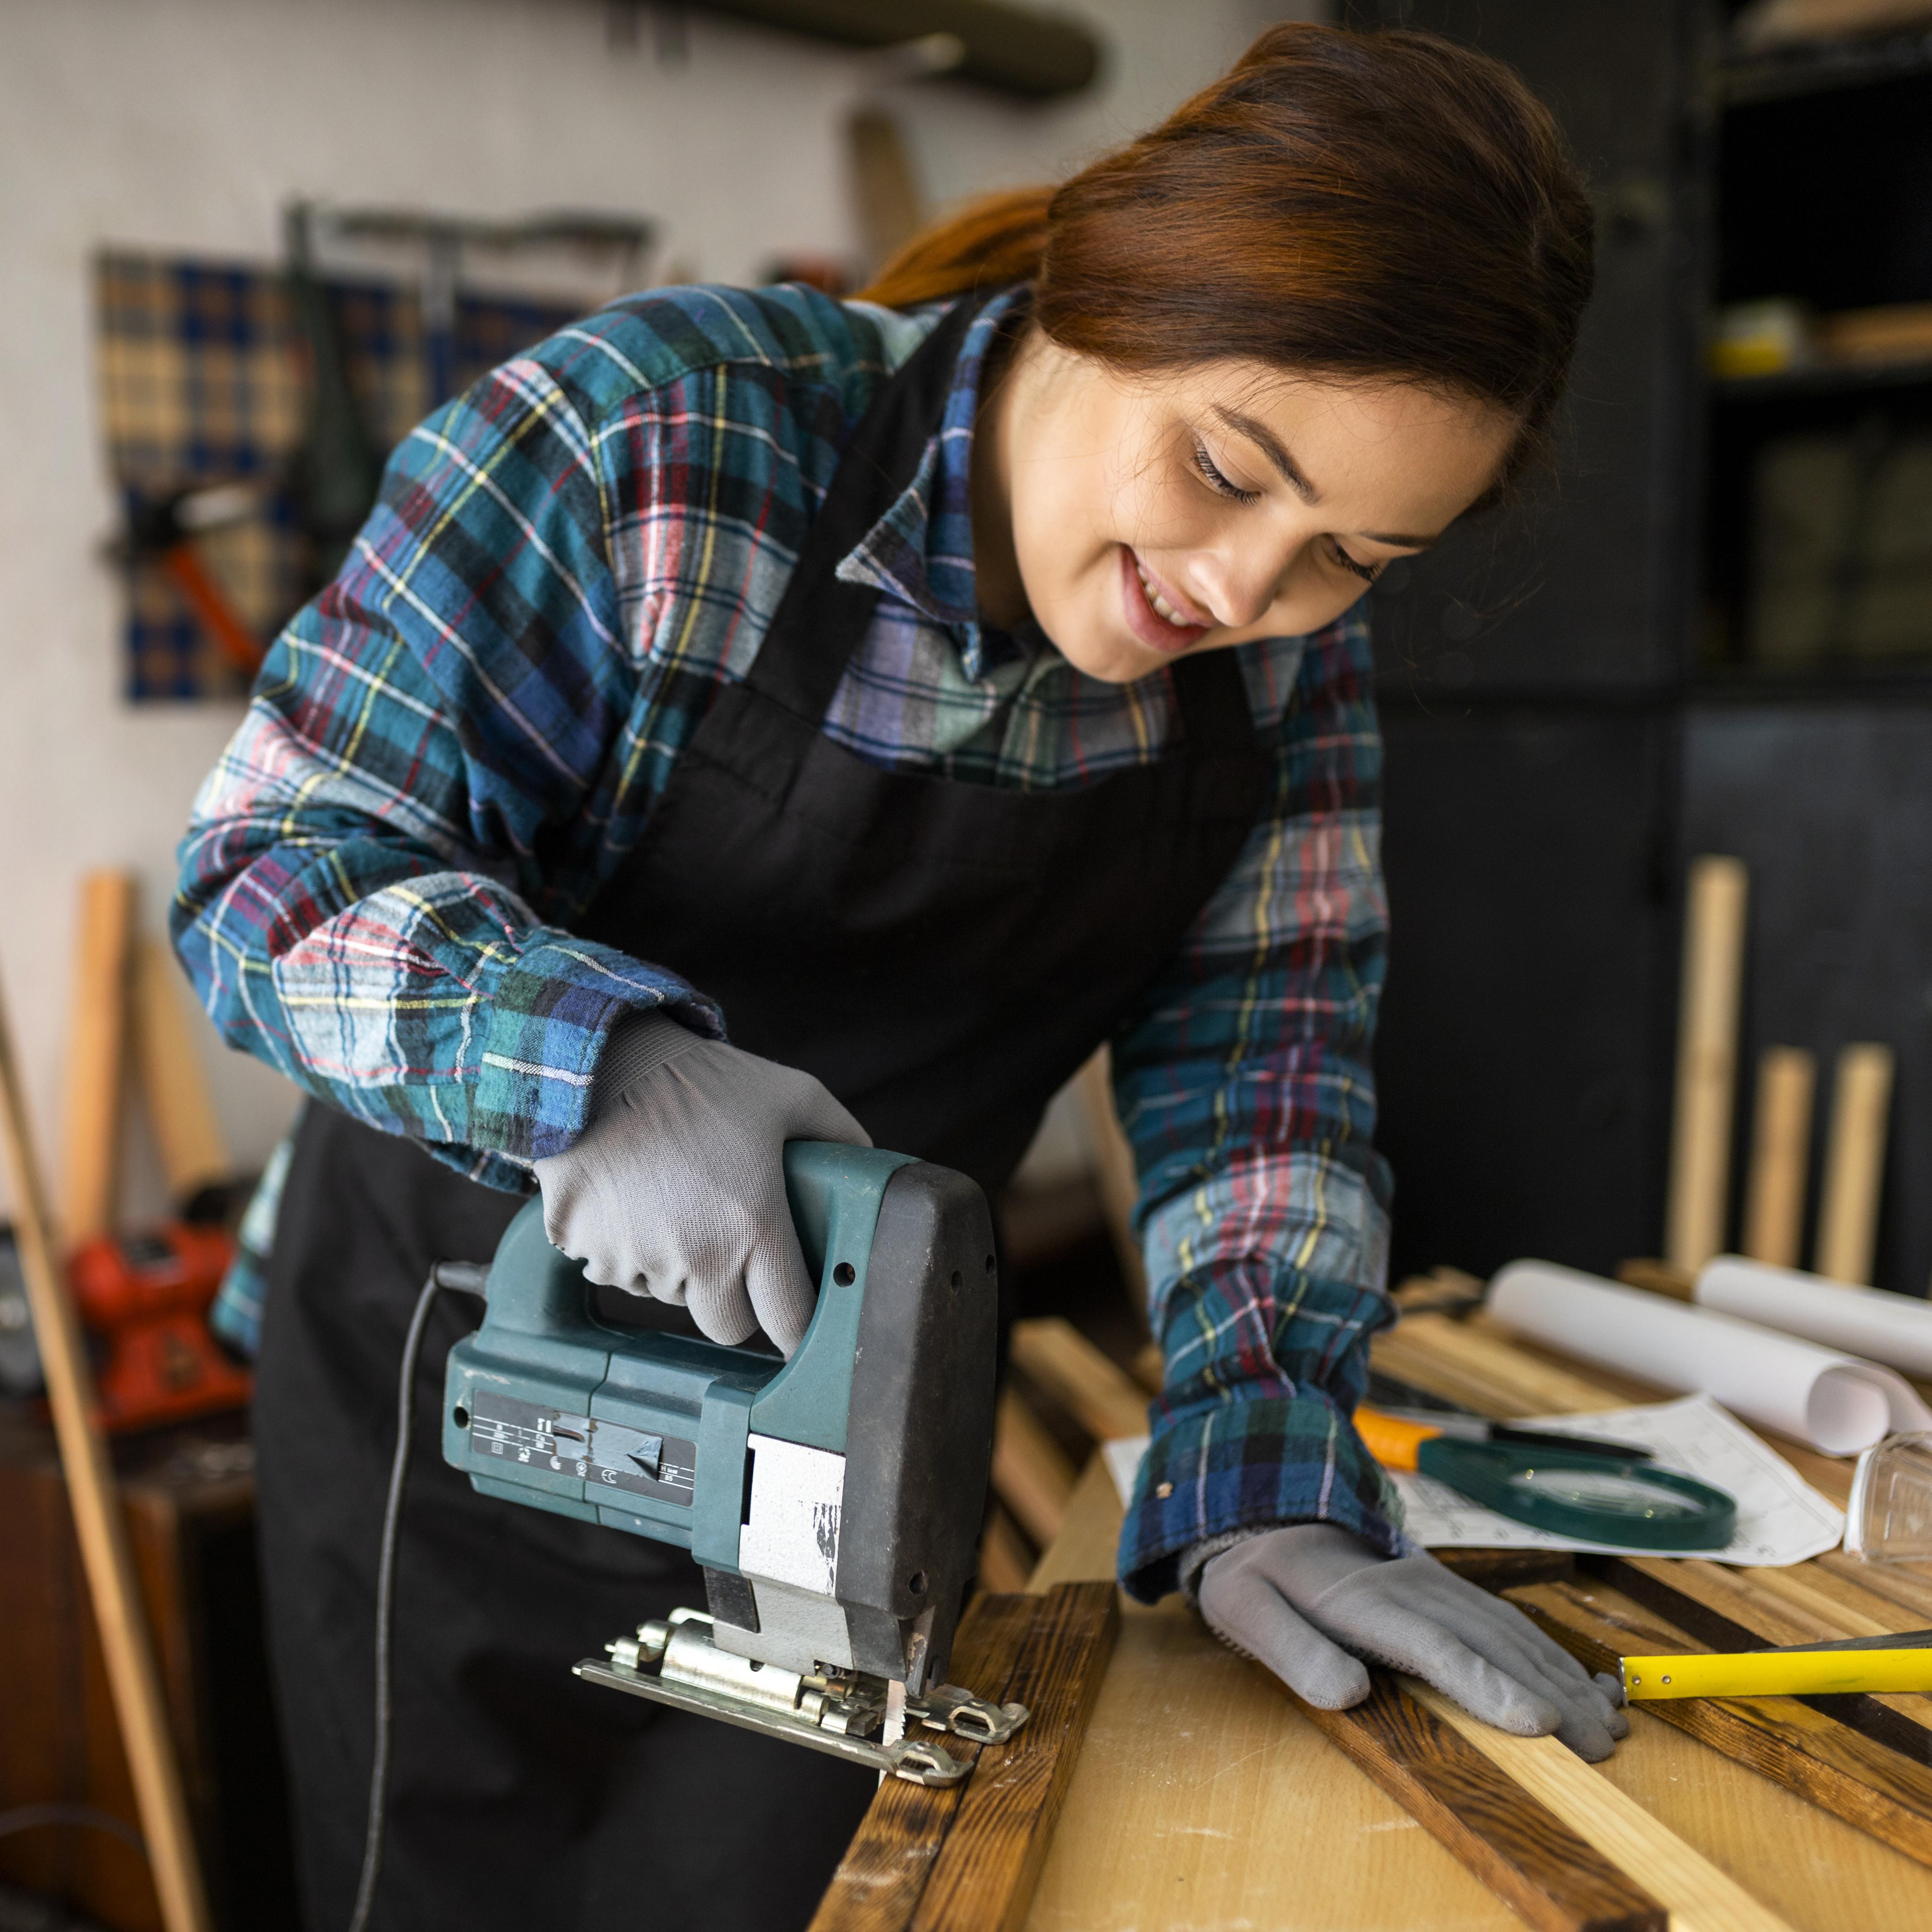
To shape and cut the wood you will need different saws like a circular or jigsaw. You will also need a drill to make holes in the wood for wiring and other components like metal brackets.
You will necessarily need a Level to ensure that there are no unwanted slopes and elevations in the frame to avoid out-of-order track laying.
Select the right tools, plan well, and invest in quality products. Choose a material that is easily workable and resistant to bending, moisture, and temperature. Also, keep the material and the size and weight in scope when buying tools.
Designing Benchwork for Your Layout
The design of the benchwork should be a perfect fit for your layout. This can help you avoid excessive sawing and shaping which often makes the frame weak and unstable. Also, a good design ensures optimal track alignment with special attention to curves and bends protecting against derailment.
A well-designed layout also ensures well-finished aesthetics and ease of access to every part of the track or scenery. Moreover, it ensures safety by making the frame stable and subsequently keeps the model from collapsing thus avoiding accidents.
A smart approach is to start with a rough sketch of the layout. Decide the length of the track and then see if you have the space available and adjust accordingly. Remember to make a design with easy access and keep room for components like wiring and effects.
Commonly used Benchwork types are the L-girder, open-grid, and Modular benchwork. The L-girders work best for bigger, heavier models as it consists of L-shaped beams screwed or bolted together.
The open grid is ideal for small models and is made of wooden grids of thin strips of wood assembled in a frame. A modular benchwork is best for large, movable models and is made of pre-built modules brought together to make larger models.
Building Benchwork for Your Layout
Here are the steps to make a sturdy workable benchwork:
- Measure and decide the shape and size of the layout.
- Arrange the tools and materials. Ensure you at least have all the basic ones for your use.
- Saw the benchwork according to the decided shape of the layout.
- Assemble the frame by bolting, screwing, and gluing the pieces obtained in the previous step.
- Add legs or support if required and adjust to ensure it is perfectly leveled and straight.
- Add features like risers, bridges, etc according to the plan.
- Test and adjust the frame to see if it is level and the right size.
- Finish it with paints and add scenery.
Some friendly tips. Don’t overburden the frame. Use screws instead of nails and use brackets as additional support. Only use high-quality lumber and if adding legs or support use the adjustable ones. Also, keep checking the level at every stage.
Most importantly, avoid careless mistakes. Take measurements carefully and with a sharp eye and a well-calibrated tool. Don’t use inferior quality material. Don’t overdo the model and overload the benchwork.
Secure each joint properly. Lastly and strictly, always keep checking the level after each small addition or modification. Avoiding these mistakes can ensure that your benchwork is firm, long-lasting, and updatable.
Adding Legs and Supports to Benchwork
Adding legs and supports to the benchmark can make the frame and model more stable. It also allows for better leveling and weight distribution to prevent bending or warping. Legs can also be used as an additional feature to hide wires or as storage.
There is a wide range of legs and supports to choose from. For example, you can use the basic “straight legs” to simply bring the benchwork to a desired height level. Then there are fold-up legs that are hinged and can be folded for transportation.
L-brackets can be used if you want to fix the benchwork on a wall. You can also add cross-braces as a support to strengthen the frame.
When selecting legs and support, consider the height of your working surface, and weight of your model, and durability. See if the working surface is level or uneven and consider going for ones that might offer additional features like storage or support attachments.
Installing Track and Scenery on Benchwork
To install the tracks first ensure that the benchwork is perfectly straight and level. Next lay down the track carefully joining them with track connectors and riveting them through screws or nails. Check the level again to see if there is no slope. Run a few tests and adjust accordingly.
Adding scenery is an elaborate task and there is no definite step-by-step guide for it. Only makes sure not to overburden the model with too much detail and leave a clearance area for fluid, unimpeded motion of the train.
You can use foam and paper for making different elements and use glue or similar adhesive for securing them on the benchwork.
Use level and straightedge to ensure that the track laid is straight. Use track connectors to attach different modules of the tracks and track nails and ballast to secure the tracks tightly. Also, use shims to fill in the gaps between the tracks.
Lastly, you must add scenery where you can experiment with ground cover made of grass and weed, and trees and foliage to mimic a rural or semi-rural setting. You can also experiment with rocks and boulders to set a rugged terrain or go urban with buildings, bridges, and roads.
You can add water bodies and use lighting and effects to enhance the ambiance too.
Conclusion
A train model is only as strong as the benchwork. You must make a sturdy benchwork that is perfectly level to ensure that the model stays balanced, lasts longer, is easily modified and the train operates smoothly without derailing.
Remember all the key details from the layout before making the benchwork, Understand the weights, size, and dimensions of the layout and plan and decide the material accordingly.
A final word of advice, don’t rush your train model construction, invest in quality products and materials, test the level on every level and stage, and test train operations thoroughly before finalizing the model. If you are planning on buying a new model train, you can read our Guide to Selecting a Model Train Set so that you will know which set is more suitable for you and which ones are better than the others.


