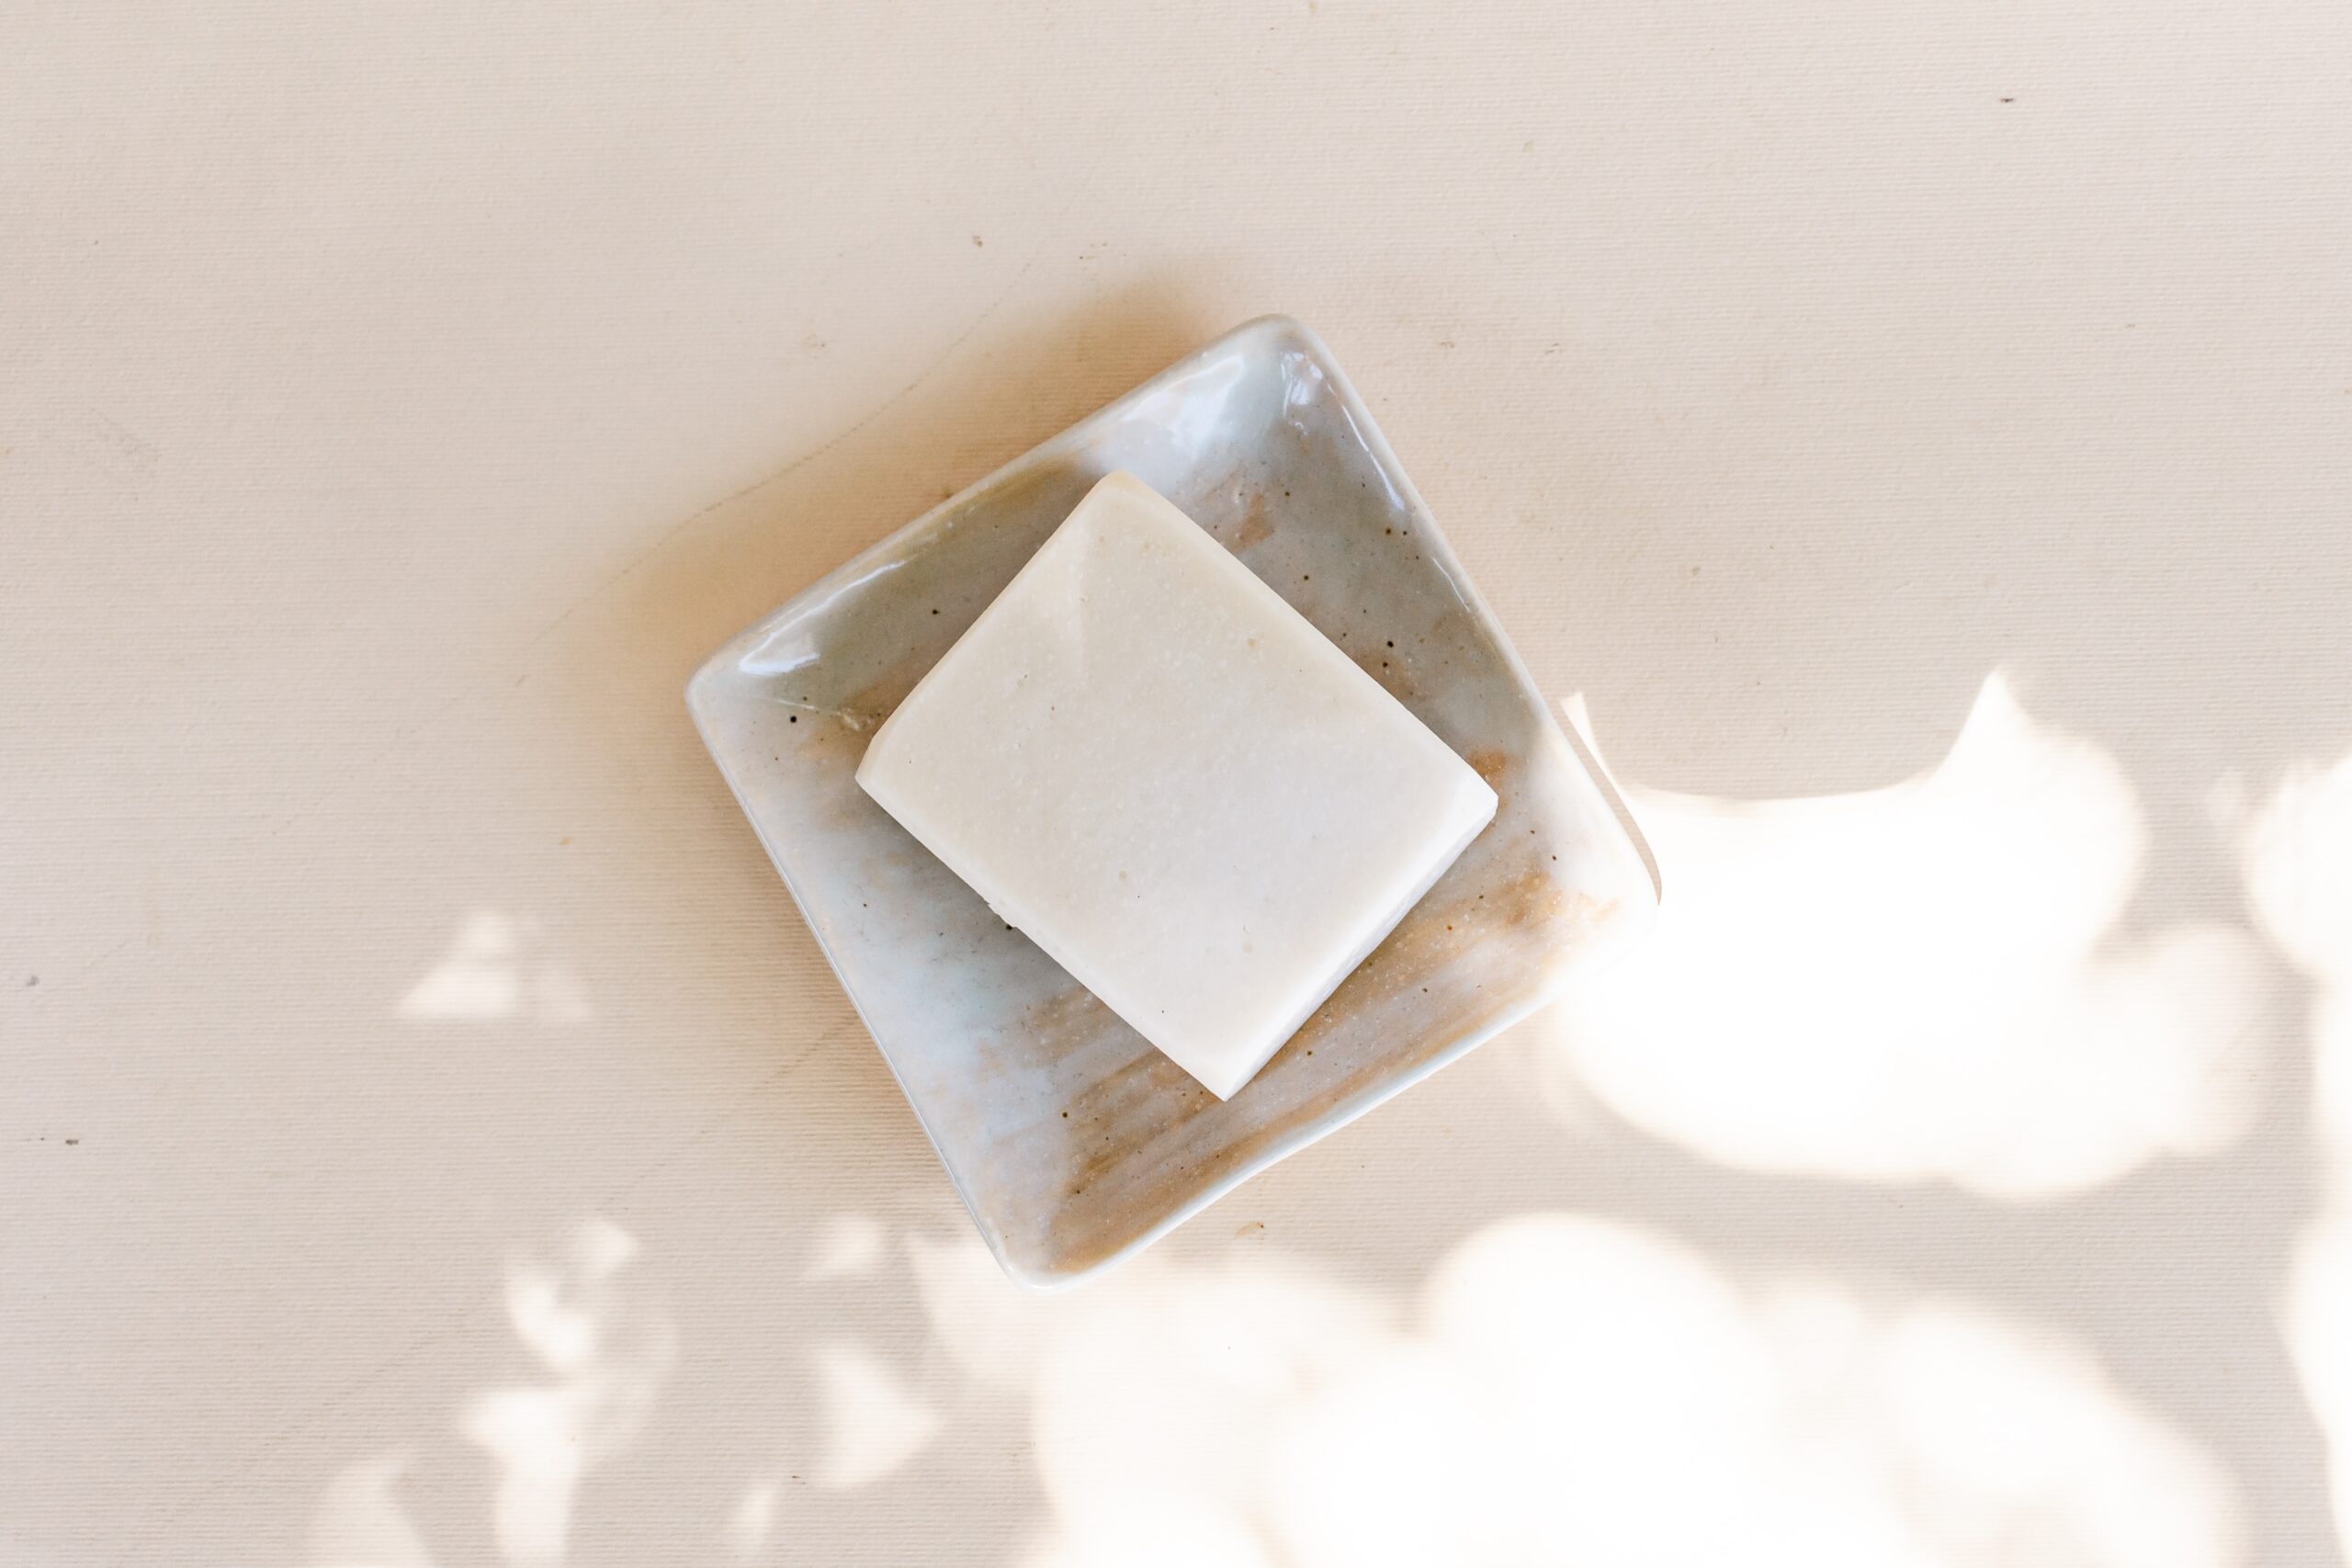
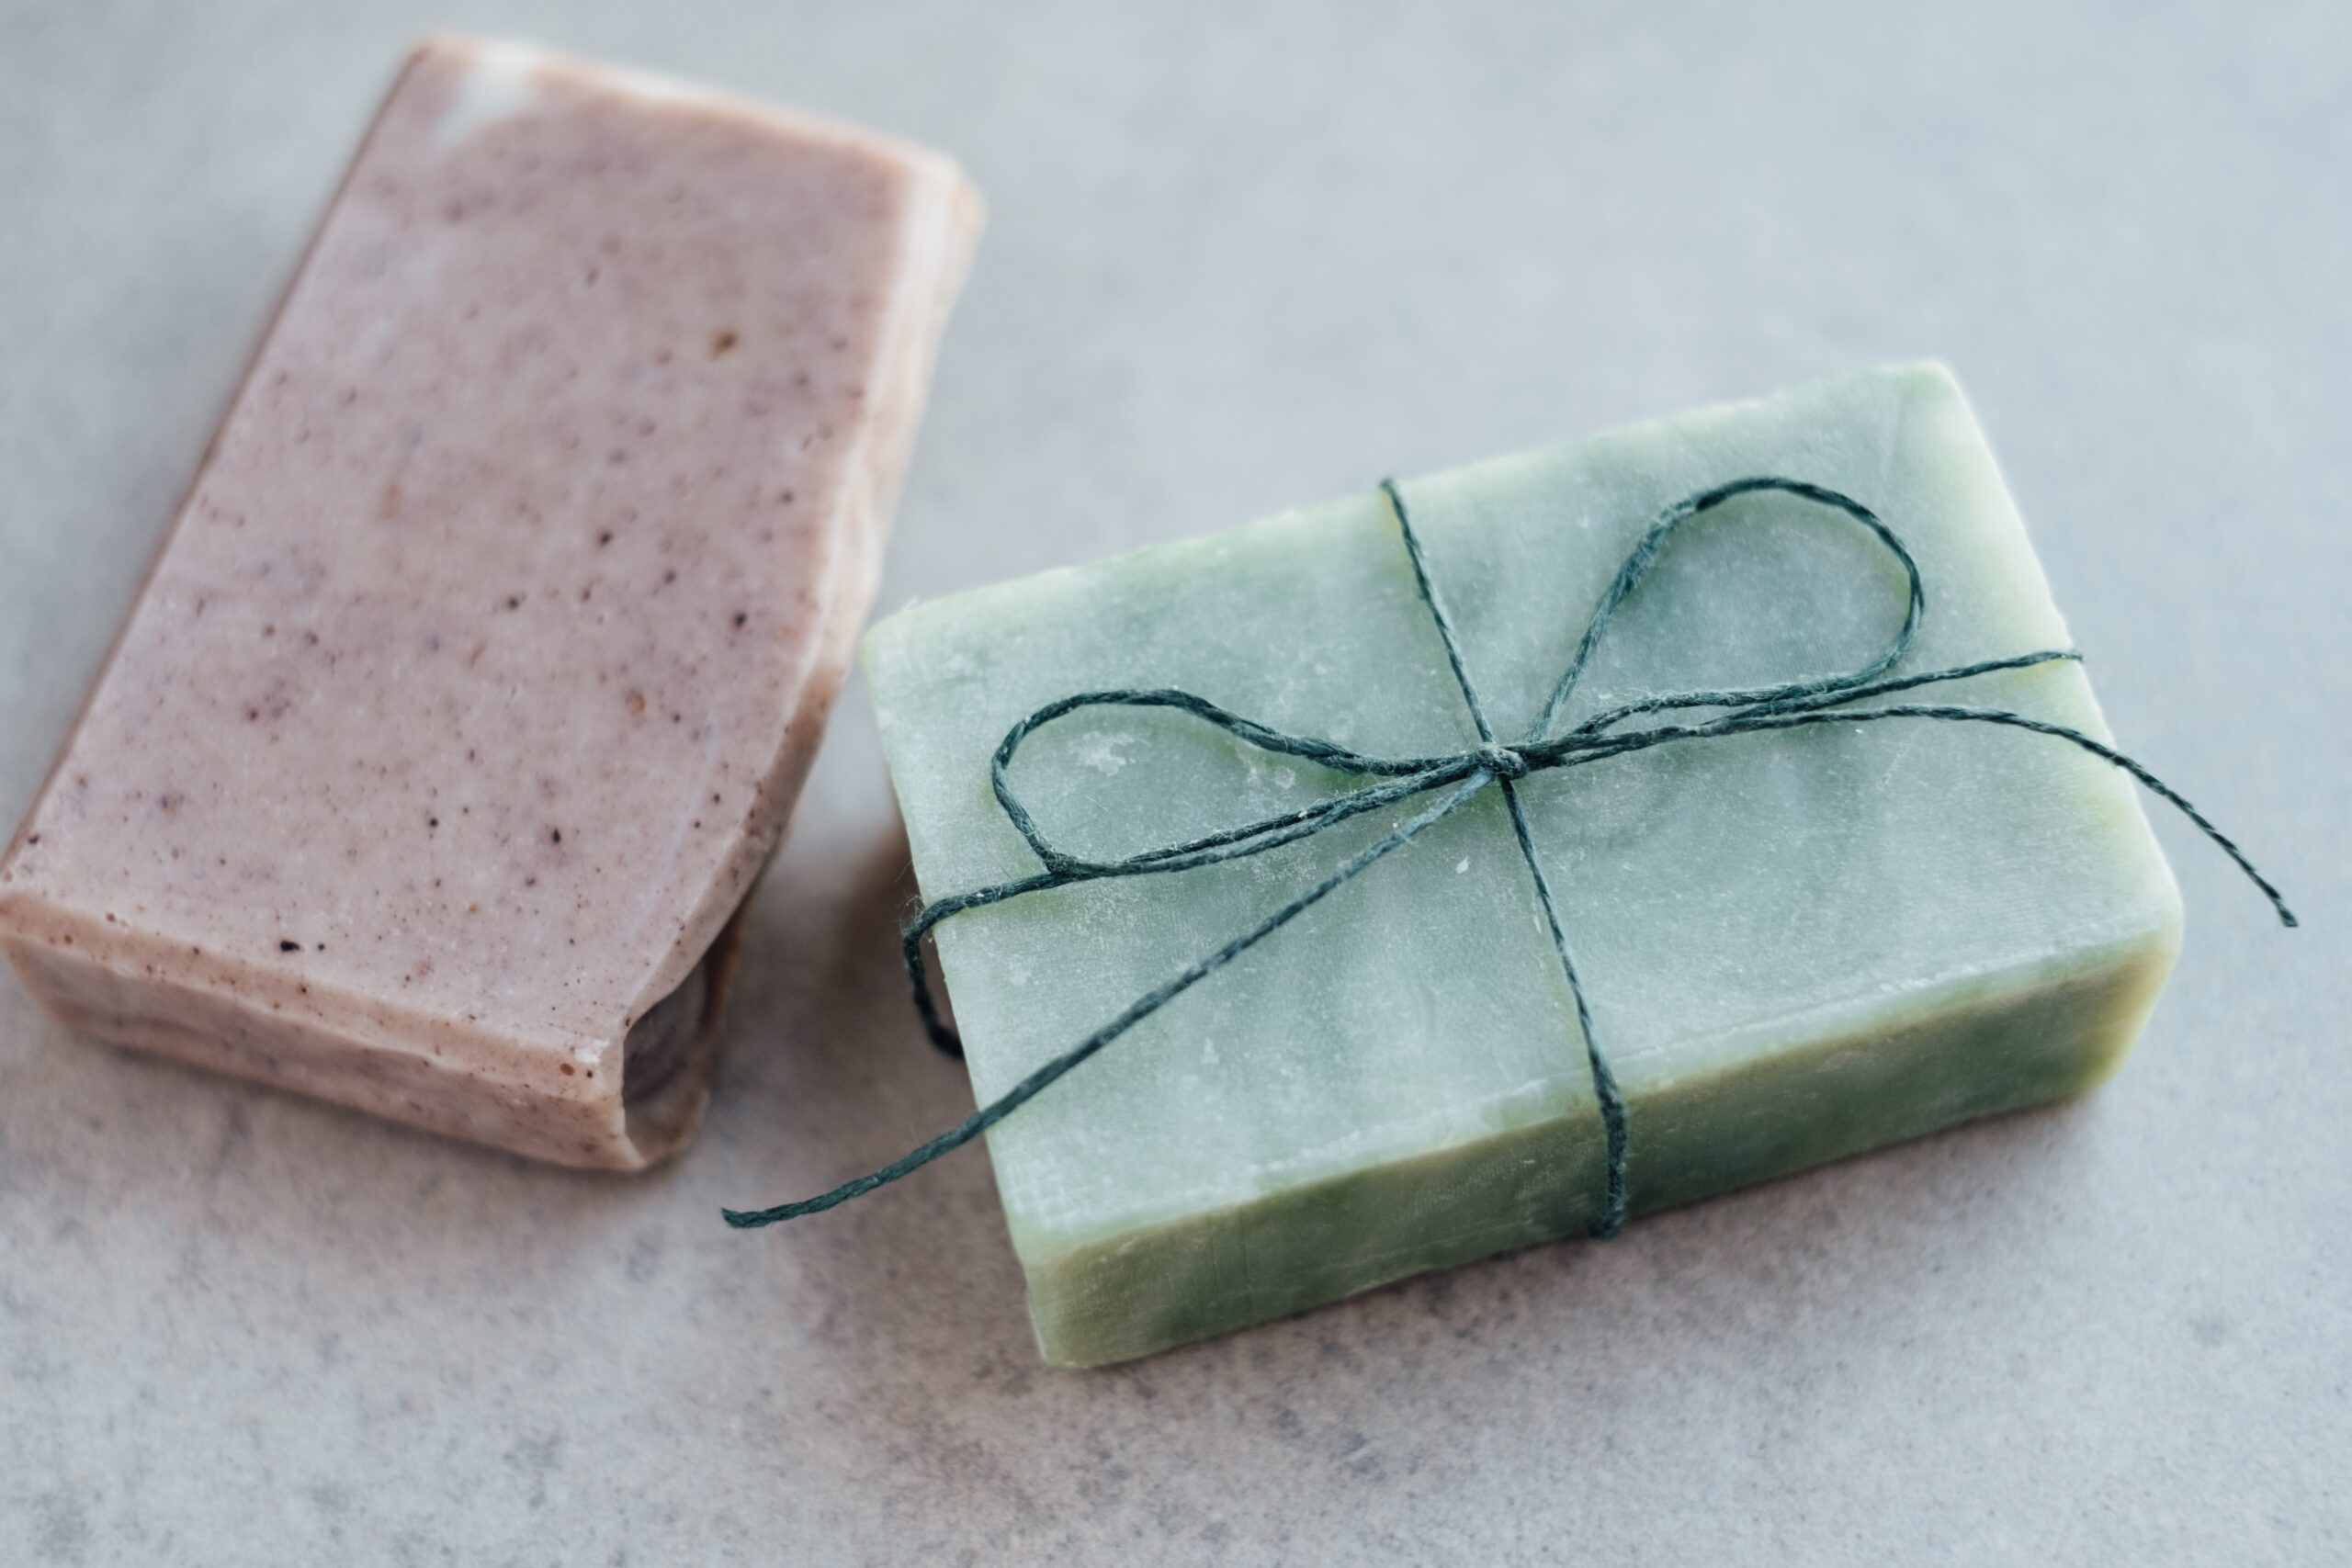
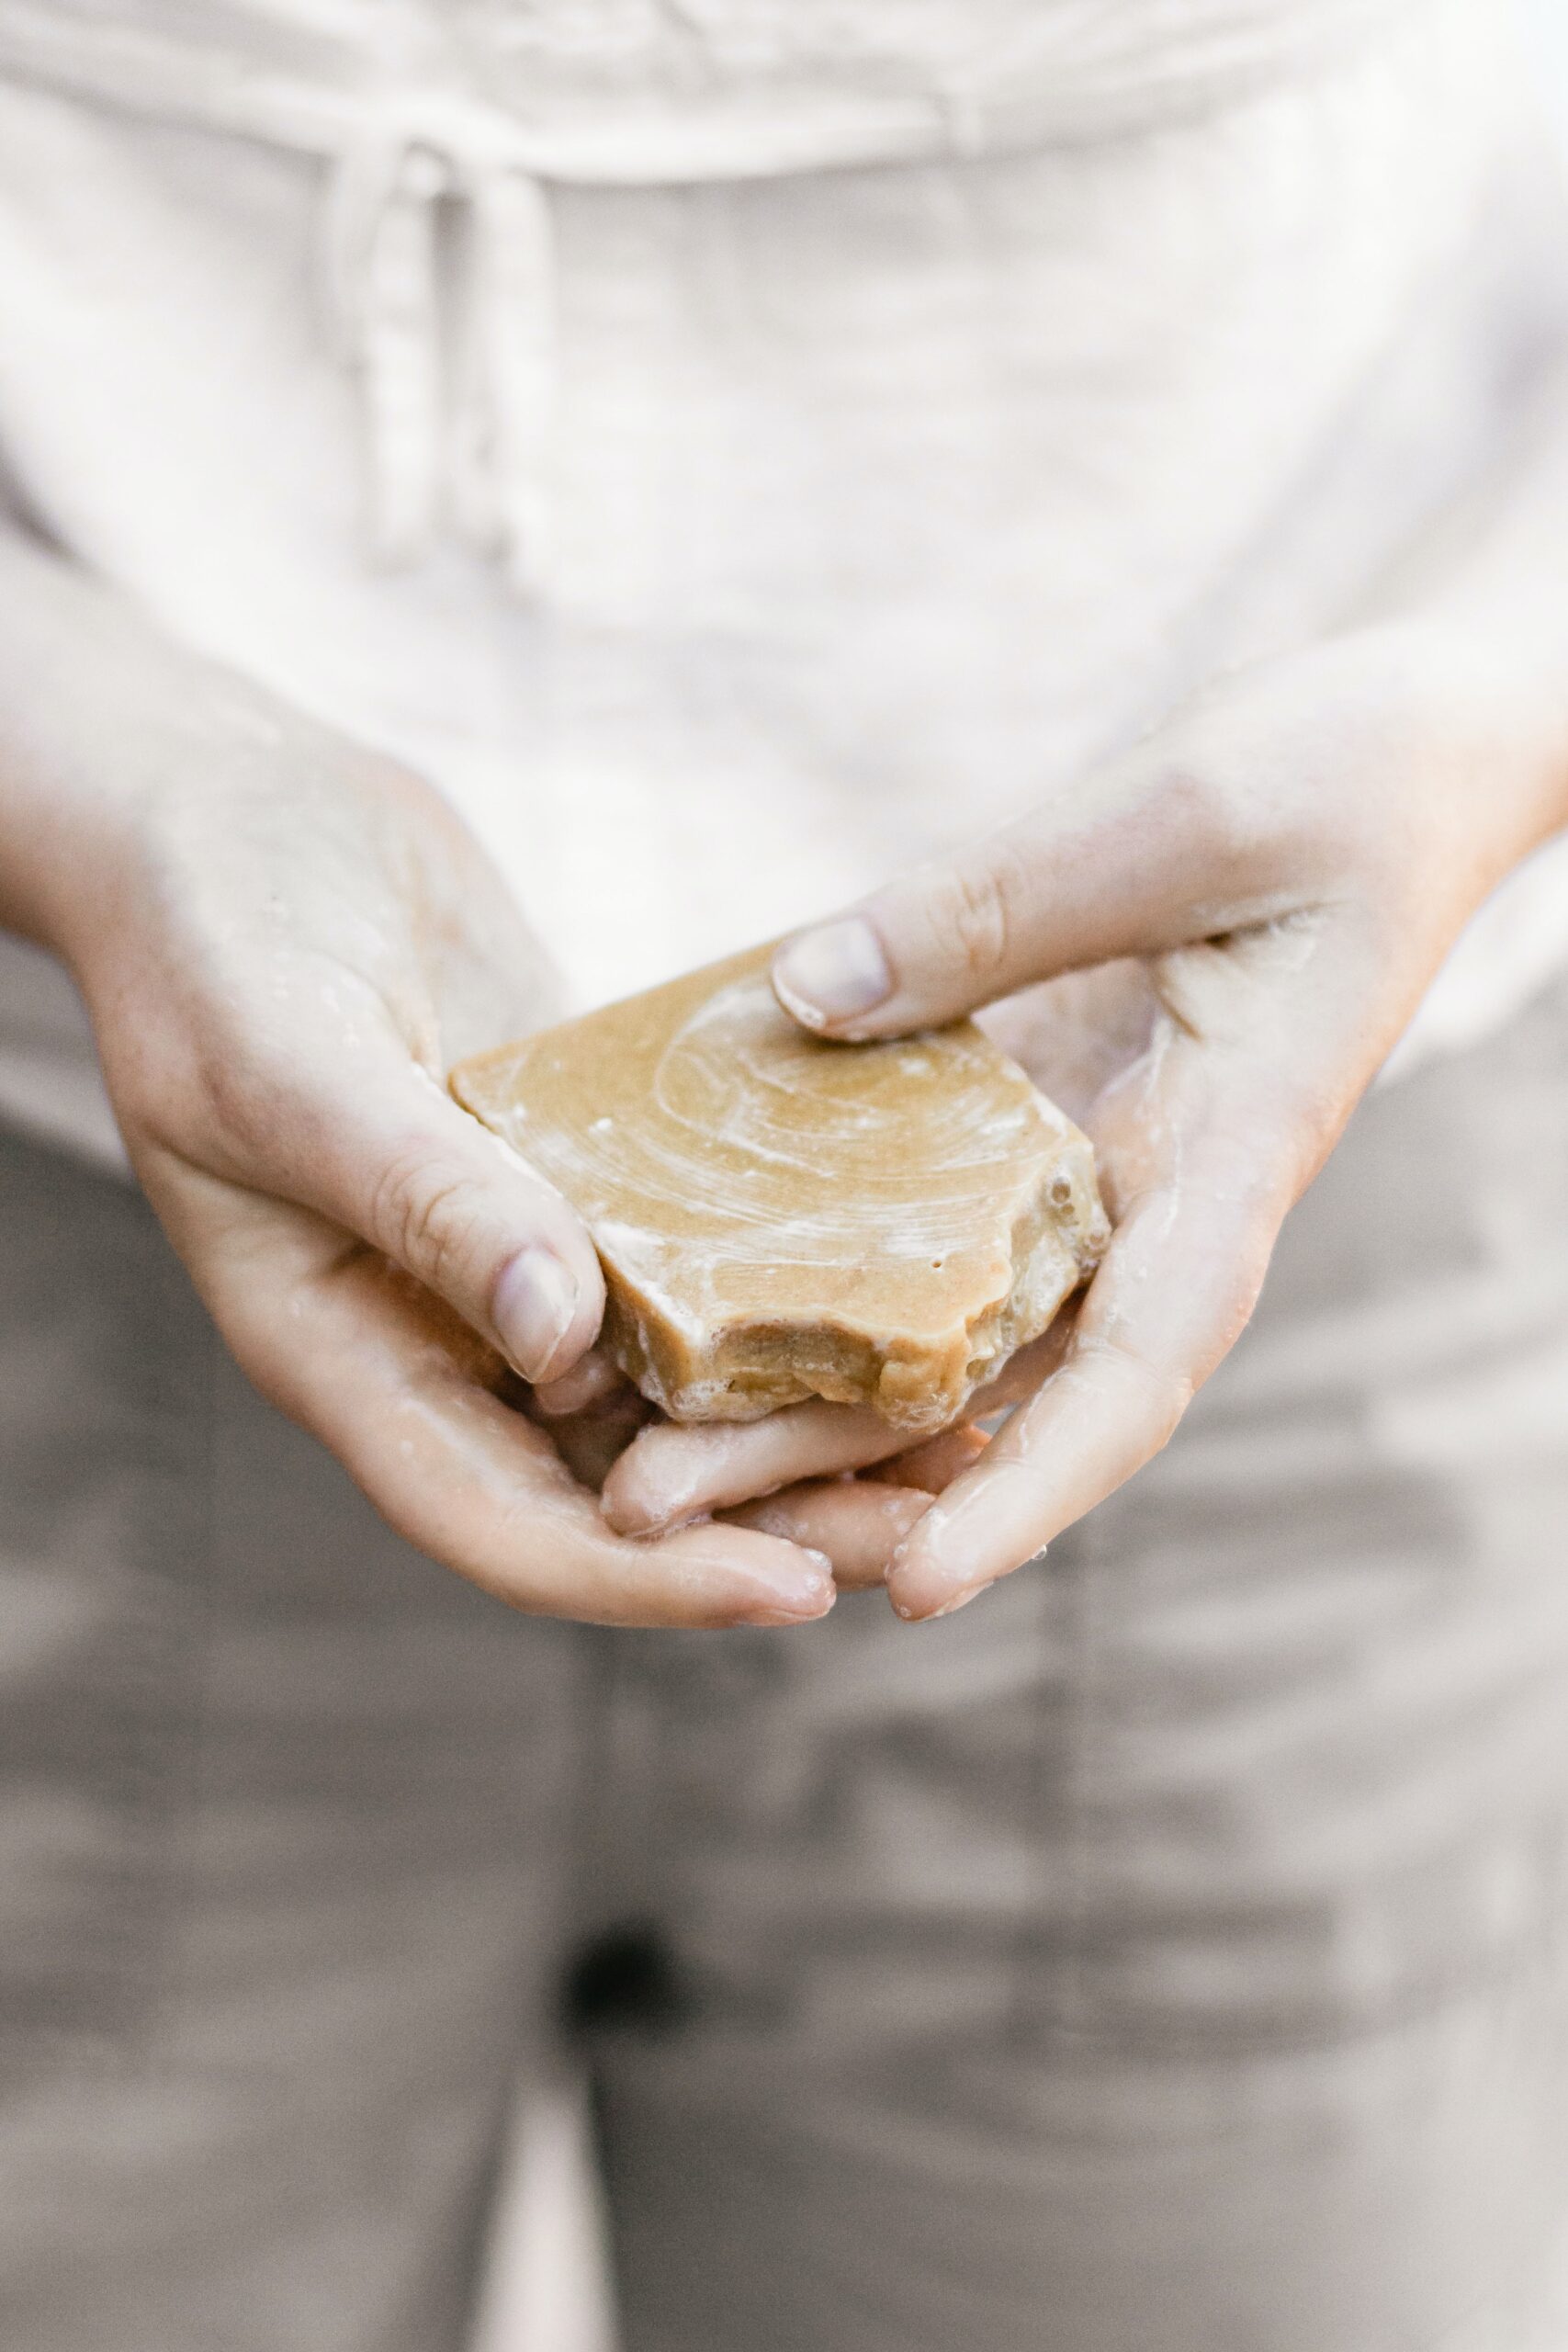
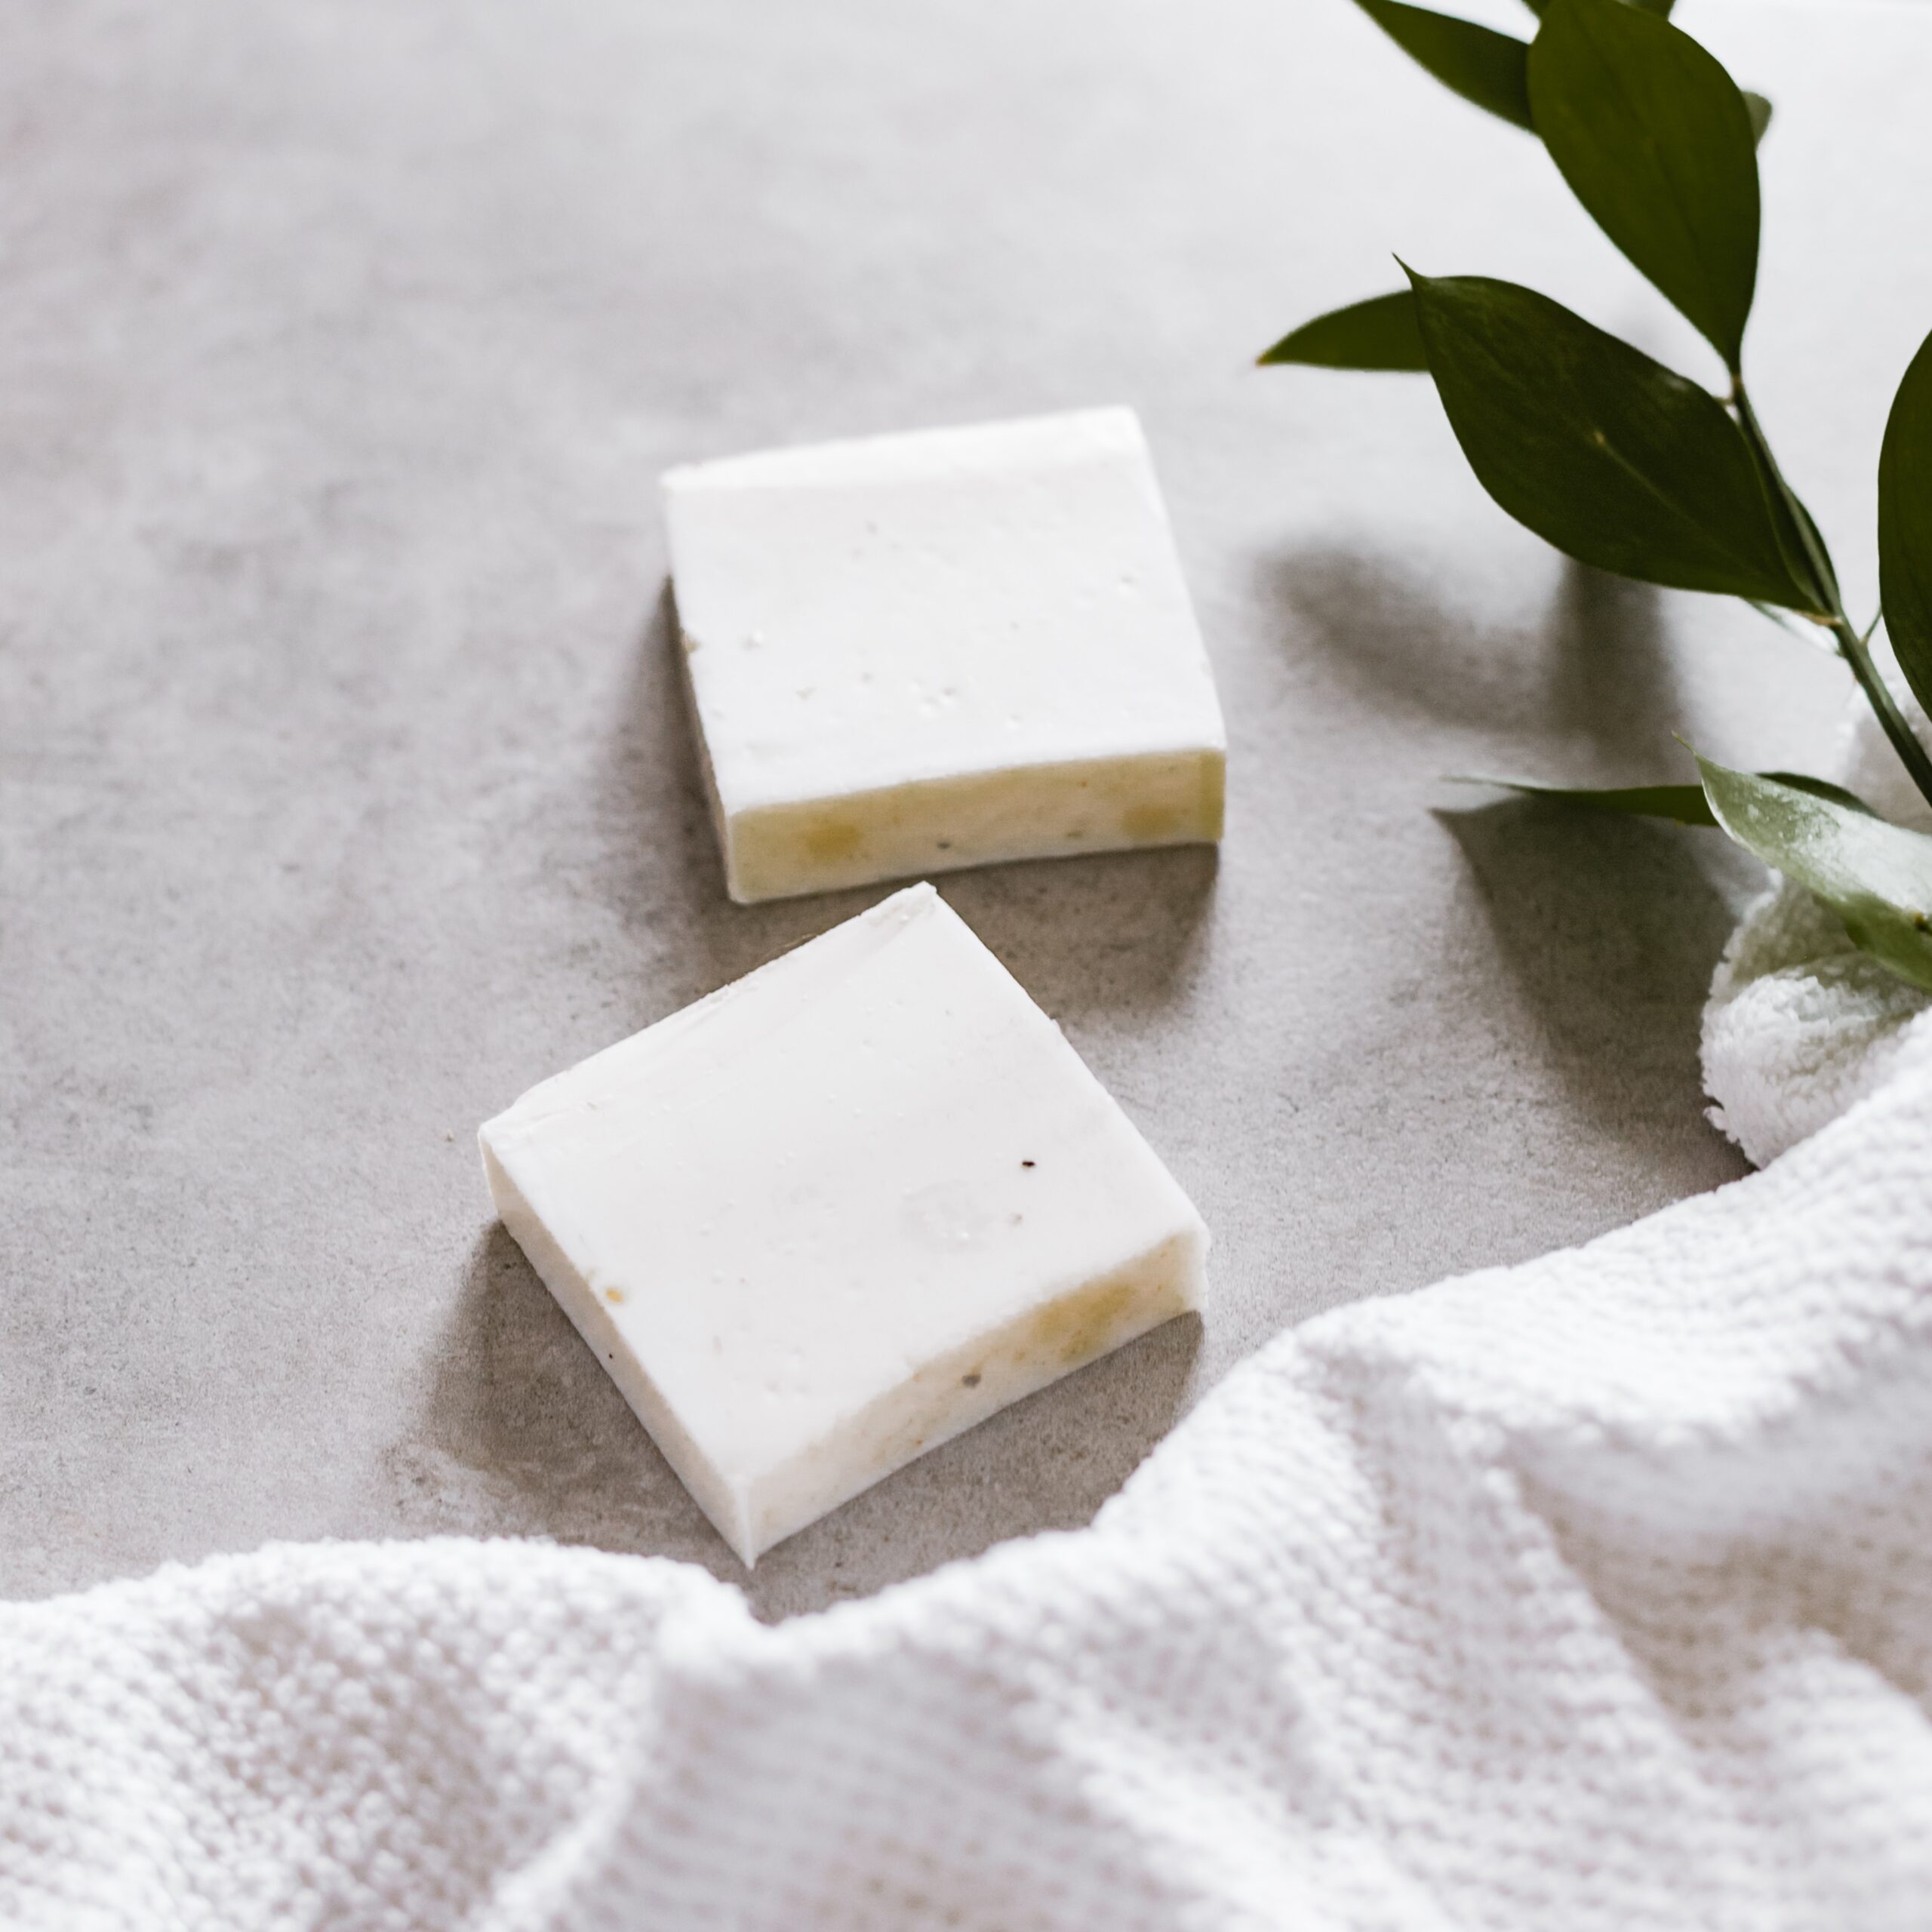
Living off the grid requires a strong connection to the surrounding natural world as well as a commitment to being completely self-sufficient. It’s a way of life that promotes being sustainable, being resourceful, and having a profound respect for the natural world around you. None of the many skills necessary for thriving in this self-reliant paradigm may be as fundamental as the art of crafting natural soap, but it’s up there.
Off-grid hygiene is best exemplified by the use of natural soap, which is free of all man-made chemicals and additives. It is a testament to the transformative power of straightforward and healthy ingredients. In addition to its efficacy as a cleaner, natural soap exemplifies a more holistic approach to health and wellness. It improves the health of the skin, works in harmony with the surrounding ecosystem, and acts as a conduit between our routine activities and the natural world that provides for our survival.
In this comprehensive guide, we will embark on a journey into the world of soap-making, unveiling the alchemy behind the transformation of basic elements into a bar of luxurious, environmentally conscious cleansing products. This guide will provide you with the knowledge and skills necessary to make your natural soap, regardless of whether you are an experienced off-grid enthusiast or a newcomer seeking to infuse your lifestyle with sustainable practices. The goal of this guide is to empower you with the knowledge and skills necessary to do so.
The Soap-Making Process
Making your soap is a rewarding skill that not only keeps your home clean but also enables you to create bespoke, environmentally friendly products that are specific to your needs and preferences. In this part of the guide, we will examine a variety of methods for making soap, each of which offers a distinct set of benefits and opportunities for creativity.
Cold Process Soap Making
When it comes to making natural soap, the cold process method is one of the oldest methods around and also one of the most common. It is accomplished through the process of saponification, which refers to the chemical reaction that takes place when lye (sodium hydroxide) is combined with fats or oils. A step-by-step guide to making soap using the cold process is as follows:
Materials Needed:
Fats or Oils: Select a mixture of high-quality fats and oils, such as olive, coconut, palm, or shea butter, and mix them.
Lye (Sodium Hydroxide): Please exercise caution and check to see that appropriate precautions have been taken.
Water: When it comes to consistency, distilled water is the best option.
Additives: Aromatic essential oils, aromatic herbs, natural clays, and other natural colorants and flavorings can be used.
Steps:
Safety First: Put on protective clothing and equipment, such as long sleeves, gloves, and goggles. Work in an area that has adequate ventilation.
Prepare Ingredients: Perform precise weighing and measuring of all of the ingredients.
Lye Solution: Always add the lye to the water first and never the other way around and stir constantly while adding it until it is completely dissolved. Let it cool down first.
Melting Oils: In a separate container, place the fats or oils of your choice over low heat and allow them to melt.
Combining Lye Solution and Oils: When both of the mixtures have reached a comparable temperature (around 100-110 degrees Fahrenheit or 38-43 degrees Celsius), slowly pour the lye solution into the oils.
Emulsify and Trace: Blend the ingredients until the mixture reaches “trace,” which is when the mixture reaches a consistency similar to that of custard.
Additives and Fragrance: At this point, you should incorporate any essential oils, herbs, or colorants that you plan to use.
Molding: After the soap mixture has been poured into the molds, cover them with a cloth.
Curing: Allow the soap to age for about four to six weeks in a dry, cool environment. This permits the excess water and lye to evaporate, which results in a bar that is less harsh and more durable.
Hot Process Soap Making
In comparison to the cold process, the hot process of making soap has a shorter curing time, which makes it a more appealing option for people who want to use their soap more quickly.
Materials Needed:
- Fats or Oils
- Lye (Sodium Hydroxide)
- Water
- Additives
Steps:
Safety Gear: Put on protective gear in the same manner as when making soap using the cold process.
Prepare Ingredients: Take the appropriate amounts of your oils, lye, water, and any additional ingredients.
Combine Oils and Lye: In a container that can withstand high temperatures, combine the lye solution with the oils.
Cooking Process: Warm the mixture in a saucepan over low heat, stirring it frequently, until it reaches the consistency of mashed potatoes and begins to thicken.
Additives and Fragrance: Add any additional components, such as flavorings, colorants, or essential oils.
Molding: Place the soap in the molds using a spoon.
Immediate Use: After allowing it to cool down for some time, hot process soap can be put to use, typically within twenty-four hours.
Melt and Pour Method
The melt-and-pour method is one of the easiest ways to make soap, as it only requires the use of a pre-made soap base and the addition of the ingredients of your choice.
Materials Needed:
- Pre-made Soap Base
- Additives: Essential oils, herbs, colorants
Steps:
Cut and Melt: The soap base should be cut up into smaller pieces before being melted in either a microwave or a double boiler.
Additives and Fragrance: Incorporate the additives that you have chosen.
Molding: Put the mixture into the appropriate molds.
Cooling: Wait a few hours for the soap to reach room temperature and become firm before using it.
Troubleshooting Common Issues
Making soap can be difficult at times regardless of the approach that is taken. The following is a list of common problems and the solutions to them:
Seizing: If the soap mixture you are working with thickens too rapidly, try working at a lower temperature and stirring it more gently.
Acceleration: The process of saponification can be accelerated by certain fragrances. Take care with the fragrances that you use.
Incomplete Saponification: It’s possible that your soap needs additional curing time if it’s too soft or doesn’t lather very well.
Soda Ash: On the surface of soap, this potentially harmful but aesthetically unpleasant white powder can accumulate. Rubbing alcohol can be used as a spray to help prevent the condition.
You’ll be well on your way to creating natural, off-grid soap that’s great for both you and the environment if you follow these methods and troubleshooting tips when you run into problems.
Customizing Your Soap
Creating your unique bar of soap is an exciting journey that can lead to countless different outcomes. Every aspect, from the enticing aromas to the energizing sensations of touch, can be modified to suit your preferences. Let’s take a look at the three most fundamental aspects of individualized design:
Adding Scents and Colors
The ability to customize your soap with the essence of your favorite fragrances is one of the many perks of making your bar of soap. When it comes to adding fragrance, natural essential oils are a fantastic option. They not only have a calming and comforting aroma, but they also have medicinal properties. Oils derived from lavender, tea tree, eucalyptus, and citrus fruits are frequently used. Because different essential oils come in varying strengths, it is important to familiarize yourself with the appropriate dosage guidelines before using any of them.
There is no reason you can’t infuse natural soap with a splash of color, even though natural soap typically features earthy tones. Brighter colors can be achieved in your bar of soap by using plant-based colorants like spirulina, turmeric, or madder root. As an alternative, you might want to think about using natural clays or activated charcoal to achieve soft and appealing shades. Experimentation is essential if you want to find the colors that most strongly resonate with you.
Texture and Exfoliants
The texture of your soap can make a difference in how enjoyable your shower is. To make your soap feel as smooth as silk, you should include ingredients such as colloidal oatmeal or silk fibers in the recipe. You can give it an earthier feel by mixing in some ground coffee, dried lavender buds, or even walnut shells that have been finely crushed.
Soaps that exfoliate help remove dead skin cells, leaving your skin feeling revitalized and reenergized after use. Pumice that has been finely ground, poppy seeds, or chia seeds are all potential candidates for inclusion in a product that has a mild exfoliating effect. You should just be aware of how coarse the exfoliant is and adjust it so that it works well with your skin.
Shaping and Molding
The process of shaping your soap into a variety of forms and shapes enables you to express your creative side. For traditional bars, you can make do with straightforward rectangular molds, or you can experiment with silicone molds featuring intricate patterns. Hand-shaped soap bars offer a one-of-a-kind, homemade allure, making them the perfect choice for a truly rustic touch. It is important to remember to oil the molds before pouring the soap into them so that the soap can be easily removed.
Stunning designs can also be achieved through the use of layered soap. Layers of different colored soap can be poured into the mold, and you should wait for each layer to become solid before proceeding to the next. Using this method, you can create lovely soap that has multiple dimensions and can be used for both decorative and practical purposes.
The Equipment Needed in Making Natural Soap for Off-Grid Hygiene Essentials
Making natural soap is a rewarding endeavor, especially in the context of off-grid living, which makes it all the more worthwhile to start down this path. Making your soap not only encourages self-sufficiency but also gives you the ability to control the ingredients, which ensures that you end up with a product that is efficient and kind to the environment. To get started, it is necessary to have the appropriate equipment available to you. In this part of the guide, we will discuss the equipment that is required for advanced soap making, as well as the protective gear that is recommended.
Basic Tools
Mixing Bowls: Choose mixing bowls that won’t react with the ingredients, preferably ones made of heat-resistant plastic or stainless steel. These are what will be used to combine your soap-making ingredients securely.
Heat-Resistant Spatula or Spoon: A sturdy implement for mixing oils, fats, and lye solution while also stirring the mixture. It is of the utmost importance to select a tool that is capable of withstanding the heat that is produced during the process of soap making.
Measuring Utensils: When making soap, having accurate measurements is necessary. Invest in a set of measuring cups and spoons that can be used for both liquid and dry components of a recipe. This guarantees that the exact proportions required for a successful batch are achieved.
Thermometer: To accurately monitor the temperature of your oils and lye solution, you need to have a reliable thermometer. This guarantees that they are at the appropriate levels for the chemical reaction known as saponification, which is what creates soap from oils and lye.
Mold: Select a mold whose dimensions and shape correspond to the finished bar of soap you want to create. Popular due to their adaptability and user-friendliness, silicone molds feature a design that makes it simple to pop out the finished soap bar.
Hand Blender or Stick Blender: Even though it’s not required, using a hand blender can significantly speed up the emulsification process. This ensures that the oils, fats, and lye solution combine thoroughly, which is necessary for the saponification process to be successful.
Plastic or Glass Containers: These are necessary for weighing and storing any additives, such as essential oils, herbs, or botanicals, that you might want to incorporate into your soap, and they are essential for doing so.
Safety Gear
Safety Goggles: Wear eye protection in case there is a splash of lye or any other substance that could irritate your eyes. Protecting your eyes from substances that could be hazardous to your health is the primary function of safety goggles.
Gloves: Make sure that your hands are protected from coming into contact with lye and the soap mixture by purchasing a pair of gloves that are resistant to chemicals. During the process of making soap, it is essential to wear protective gloves to keep your skin safe.
Long-Sleeved Shirt and Pants: Put on clothes that cover your arms and legs to reduce the amount of your skin that is exposed to any splashes or spills that may occur. Natural fibers, such as cotton, are preferable because they not only allow air to pass through but also add an extra layer of defense.
Closed-Toe Shoes: Make sure you have something to protect your feet in the event of any spills or accidental drops. During the soap-making process, wearing shoes with closed toes offers an additional layer of protection from potential hazards.
Well-Ventilated Workspace: When making soap, you should work in an area that has a lot of ventilation so that any vapors that are produced can escape quickly. It is necessary to have adequate ventilation to maintain a safe and comfortable environment.
Optional Equipment for Advanced Soap Making
Soap Cutter: A soap cutter can be an extremely useful tool for individuals who are interested in achieving a professional finish. By using this tool, you will be able to produce uniform bars, which will contribute to the overall aesthetic appeal of your finished soap.
pH Strips: You can use these strips to determine the pH level of your finished soap by following the instructions on the package. When making a soap that is kind to the skin, it is necessary to check the pH level and make sure it is within a safe range.
Soap Stamp or Branding Iron: Using a custom stamp or branding iron, you can give your creations a more individual look and feel. You will be able to leave a unique mark on your finished bars by utilizing this supplementary piece of equipment.
Soap Wrapping Supplies: If you plan to give your soap as gifts or sell it, you should seriously consider purchasing environmentally friendly packaging materials. Your creations will have a more polished appearance as a result of this, as well as a more professional touch.
By procuring these indispensable tools and safety equipment, one can adequately equip oneself for the commencement of their foray into the realm of natural soap production. It is important to prioritize safety at all times. By employing appropriate equipment and engaging in meticulous preparation, individuals can create natural soaps to fulfill their hygiene requirements in off-grid settings.
Curing and Storage
The Curing Process
Patience is Key: Curing is the process of leaving freshly made soap to dry out and become more solid over a period known as “curing.” The remaining water is allowed to evaporate during this process, which results in a bar that is more stable and lasts for a longer period. In general, soap needs to be allowed to cure for about four to six weeks. However, certain recipes might call for longer times, so make sure you check the instructions for your particular dish.
Optimal Conditions: Find a place that is cool, dry, and has good air circulation if you want the curing process to be successful. It is essential to store the soap in a location where it will not be subjected to excessive amounts of either direct sunlight or humidity. The ideal would be a spot with good air circulation, such as a shelf in a spare room.
How to Store Your Soap
Airflow: When your bar of soap has reached its final stage of curing, it is time to consider your options for long-term storage. You should store your soap in something that can breathe, like paper or fabric, so that it can maintain its quality. Plastic wrap and other airtight containers and wraps can trap moisture, which slows down the process of the substance hardening.
Avoiding Scent Contamination: If you have scented your soap, you should consider storing the various scents in separate containers to avoid any chance of them blending. You could use individual bags, or you could wrap each bar in wax paper. Both options are fine.
Shelf Life and Best Practices
The Art of Aging
Handmade soaps that have been properly cured have a shelf life that is significantly longer than that of their commercial counterparts. If they are stored correctly, they have the potential to last for more than a year. However, it is important to keep in mind that natural soaps may, over time, experience slight alterations in color or scent, which is a perfectly natural occurrence.
Labeling for Clarity
Labeling each batch with the date it was made and the components that went into it will help you keep track of all of your creations. This makes it easier to maintain a rotation system, which ensures that the stalest bars are used.
Avoiding Moisture
Be wary of moisture as you work toward achieving optimal storage conditions. It is best not to store soap in the bathroom, especially when people are showering because the high humidity there can change the texture and shorten the life of the soap.
If you follow these instructions for curing and storing your handcrafted soap, you will be well on your way to being able to use it for an extended period. Keep in mind that the effort and time you put into this stage will pay off in the form of a product that is of high quality, will last for a long time, and will be enjoyable to use.
Conclusion
This guide explores the realm of crafting natural soap. By acquiring proficiency in the fundamental principles of soapmaking, individuals possess the ability to fabricate customized, environmentally conscious hygiene necessities.


