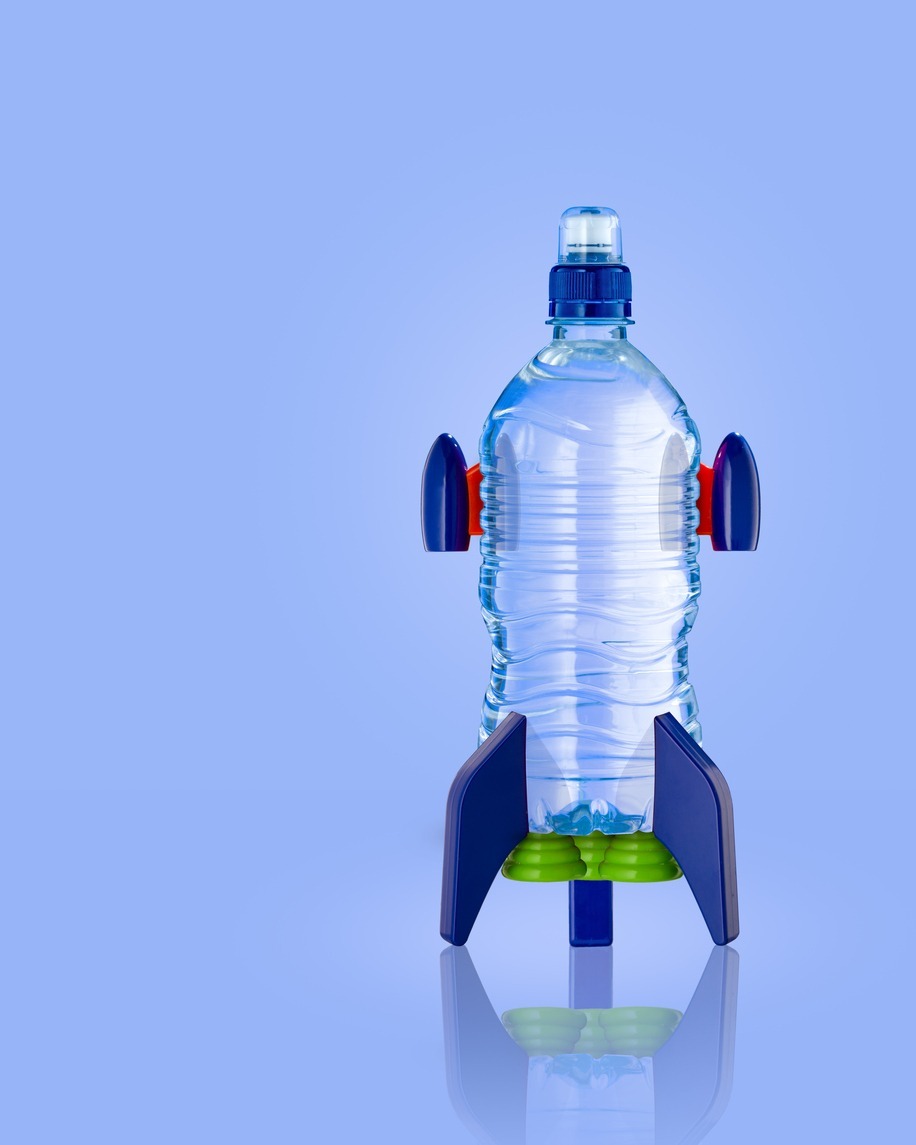
A water bottle rocket is a fun, easy-to-build project that can be enjoyed by people of all ages. However, in order to make a water bottle rocket that actually flies, you need each part to do its job properly. In this blog post, we’ll discuss the importance of each part of a water bottle rocket and how to make sure they are all working together correctly.
What is a Water Bottle Rocket
A water bottle rocket is a fun project that can be enjoyed by people of all ages. It is easy to make, and it flies high in the sky. It is usually created with simple materials such as a water bottle, a cork, and cardboard.
Furthermore, a water bottle rocket is an excellent activity, especially for kids, since it’s a great way to boost creativity and crafting skills. You get to enjoy designing and building your rocket, as well as watching it fly as high as it can.
The Importance of Each Part of a Water Bottle Rocket
Now that we know what a water bottle rocket is let’s discuss the importance of each part. There are various materials needed to build a water rocket launcher. Here is the importance of each part:
- The water bottle: This is the body of your rocket, and it needs to be strong enough to hold everything together. Make sure to use a sturdy water bottle such as a sports drink or soda bottle.
- The cork: The cork is used to seal the water inside the bottle. It needs to be snug so that no water escapes when you launch your rocket.
- The cardboard: The cardboard is used as fins for your rocket. They help stabilize the flight and keep it going straight up into the air. Make sure to cut them out in a symmetrical way so that they balance each other out.
- Pump with a Needle Adaptor: You will need this to pump air into your water bottle rocket. Make sure the pump needle is the right size for your cork so that it fits snugly.
- Water: This is what provides the power for your rocket. The more water you have, the higher your rocket will fly.
Assembling Your Water Bottle Rocket
Now that we know the importance of each part, let’s put it all together!
First, take your water bottle and fill it about ¾ of the way with water. Next, take your cork and insert it into the neck of the bottle. Make sure it is snug so that no water can escape.
Then, take your cardboard fins and attach them to the body of the bottle. Make sure they are symmetrical and evenly balanced.
Finally, take your pump with a needle adaptor and insert the needle into the cork. Pump air into the water bottle until it is full.
Now you are ready to launch your water bottle rocket!
As you can see, each part of a water bottle rocket serves an important purpose. Make sure to use sturdy materials and assemble everything correctly so that your rocket will fly high into the sky!
How To Launch the Water Bottle Rocket
Now that you have your water bottle rocket assembled, it’s time to launch it! But before launching your rocket, you need to check for a lot of things and make sure everything is clear to avoid injuries or damages. Here are the steps you can follow in launching the water bottle rocket:
- Find a place that has an open space, such as a park or field, where you can launch your rocket safely.
- Make sure there are no people or objects in the way.
- Put the rocket on the ground and stand a few feet back.
- Pump up the rocket until it is full of air.
- Hold the rocket with one hand and use your other hand to light the fuse.
- Quickly release the rocket and get out of the way!
- Enjoy watching your rocket fly high into the sky!
Tips to Make Your Water Bottle Rocket More Interesting
Now that you know how to launch a water bottle rocket, you might want to add more details to make it more interesting. As mentioned earlier, a water bottle rocket requires creativity to make the most out of it. Here are some tips to make it more interesting:
- Add decorations to the outside of your rocket, such as paint or stickers.
- Change the shape of your fins to see if it affects how high or far your rocket flies.
- Experiment with different types of water, such as adding food coloring or using sparkling water.
- Try using a different size or type of bottle, such as a plastic soda bottle.
Have fun and be creative! There are endless possibilities when it comes to designing and launching your own water bottle rocket. This could be a process of trial and error since some designs are not capable of flying the way you want them to. But with a little rocket science, patience, and dedication, you can make your water bottle rocket a fantastic project!
By following these simple tips, you can create an awesome water bottle rocket that will fly high in the sky!
Final Thoughts
Water bottle rockets are a fun and easy way to experience the power of rocket science. More so, the different parts of the water bottle rocket play a significant role in making this simple project fly. With a little bit of creativity and some simple tips, you can make your own water bottle rocket that is both interesting and exciting to watch. Make sure to always take safety precautions when launching your rocket, and have fun experimenting with different designs and materials!

