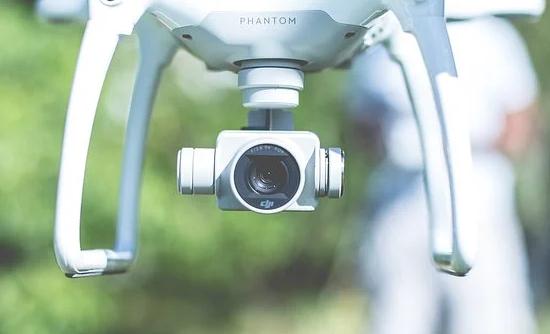
The 21st century has brought about a massive evolution to technology and we can see that from the various forms of modern inventions and developments to existing products. Earlier there were simple drones. On the other hand, there were conventional imaging techniques. Now, the two have been joined together and we can see that modern imagery is being done via 3D Image modeling drones.
What Is 3D Image Modeling With a Drone?
3D images are made by joining together multiple points, made on the x, y, and z-axis. The object is scanned before the data is sent to 3D software, which creates a three-dimensional model of it. For large objects, a drone is used as a scanner. The images taken by the drone are converted to a 3D model, through a process called photogrammetry.
What Is Photogrammetry?
Photogrammetry is the science of making measurements using photographs. Images of an object are taken from different angles and are all used to make realistic measurements. These measurements are used to create points on the x, y, and z-axis, and consequently, form a 3D model. The reason why these images are way more accurate than a normal camera is that the drone is capturing all the angles from different positions making every frame count.
Types of Images You Can Take
Oblique Images
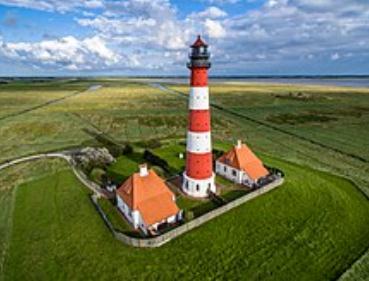
Oblique images are taken at an angle from the object, instead of from directly above. Mostly, this is at an angle of 65 to the subject. A good shot takes a focused image of the object, excluding the horizon and other extremities. Oblique images are perfect for huge areas like entire blocks. However, when working with single structures, nadir images are better. Oblique images are important for adding details to the appearance of the model.
Nadir Images
Nadir images are taken from the exact top of an object. These images give a very clear idea of the dimensions of the entire object, so are perfect for single objects or buildings. In contrast, when dealing with large expanses of land, these images fail to deliver. Oblique images have to be taken in these cases, to get the right measurements of the area.
Things to do to Create the Best 3D Models Using Drones
Buy A Drone
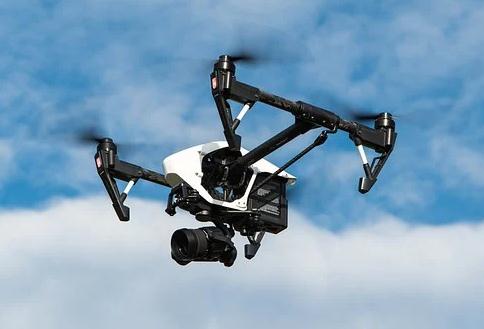
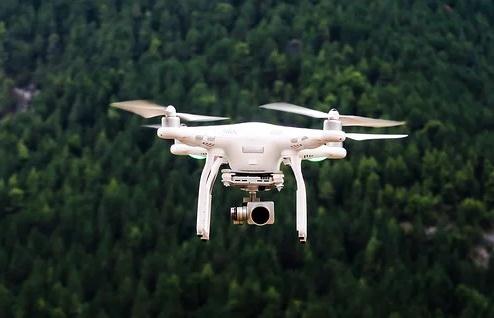
First, you need to invest in a good-quality drone. Things to consider when buying a drone are its battery time, weight, and its controls. If the drone has little battery time, you run the risk of its running out of battery in the air. If the controls of the drone are very hard, it will take you considerable time to learn to control it. Keep in mind that a good-quality drone may even cost you more than $1000. However, we always recommend going basic at first, learn the imagery process, and then move on to the bigger and better versions.
Fly Your Drone At the Right Time
The time, and even day you choose to get your imagery is very important for the outcome. You need to pick a day when the sky is mostly clear, and there are no strong winds. The pressure from the winds will make flying the drone very difficult. Also, choose the time of the day that has good lighting, but there isn’t a lot of glare from the sun.
We recommend a day, and time that has slight cloud cover. Also, be sure to avoid noon, when the sun is at its highest. The sunlight at this time will create a lot of shadows. Don’t go too early in the morning, or fly very close to sunset. Both these times are when the shadows are the longest and will affect measurements the most.
We recommend you go between 7-10 am, and 4-6 pm in the day. These are times of good lighting, but don’t create any harsh shadows. The images you take will be clear, and precise measurements will be made. It may be difficult for you to understand and follow all these instructions in the beginning but once you are consistently flying the drone, you will be able to learn these instructions.
There are only a few drones that can be used in rainy conditions.
Set Your Flight Plan Beforehand
Using mapping software helps plan the flight route. You simply outline the perimeter of the subject, and the drone follows that pre-planned route. This is useful when taking nadir images, however, this proves ineffective for oblique images. This is because the area the drone is supposed to fly is too vast, and so a fixed route cannot be planned. The mapping softwares is a bit difficult for beginners but once you are good at them, it will be perfectly fine.
Make Use of Both Oblique and Nadir Imagery
Nadir images are perfect for taking the best measurements of a subject. They get the best view of the perimeter of the subject. Still, this isn’t enough. A 3D model represents the object in all three planes. You need a view from the sides of the objects, which requires oblique imagery.
We recommend taking clear shots from the exact top of the image. Then run two orbits around the subject, taking images of the sides. Doing this will create a detailed and high-quality model of the subject.
Run both orbits at different altitudes and radius, to get clearer measurements. We recommend you take oblique images manually. But if you feel like you can miss shots, set the timer to take pictures every 4-6 seconds, and keep the speed of the drone extremely slow. This will prevent you from missing any details.
Overlap Your Images
Overlapping images are essential when making a 3D model using drones. These overlapping images will make sure you get the complete details and will help the software connect all these images. This way, the final model will be complete and thorough.
Practice
If you’re just starting with taking images using drones, you need to practice as much as you can. People new to the field make a lot of mistakes. You may not be overlapping your images enough or taking enough clear shots to make a detailed image.
Flying a drone is another thing you have to master, and controlling its speed takes time. If your drone is too fast, and you’re taking your images slowly, you might miss details. If your drone is too slow, the whole process will be extremely time-consuming.
There are many other uses of drones too.
Use a Good 3D Software
There is a lot of good 3D software on the market. All of these use the images taken by a drone, and convert them into a three-dimensional model. The most popular 3D software on the market is DroneDeploy. This software is easy to use, provides clear instructions, and generates a relevant 3D model. You can upload a lot of images to the software, and it will arrange and scan them, itself.
Reality Capture is another good option. You upload your images here, which takes only a few minutes, and the software takes care of its texture, design. The software runs quality control as well. The 3D model is ready within a few hours.
Conclusion
3D Imaging has evolved in numerous ways over the past few years. The reason is that there has been massive development in technology and many businesses are trying to create prototypes using this technology. 3D imaging via drones has not only bought efficiency but has also brought about a cheaper solution to modern imaging as well.
