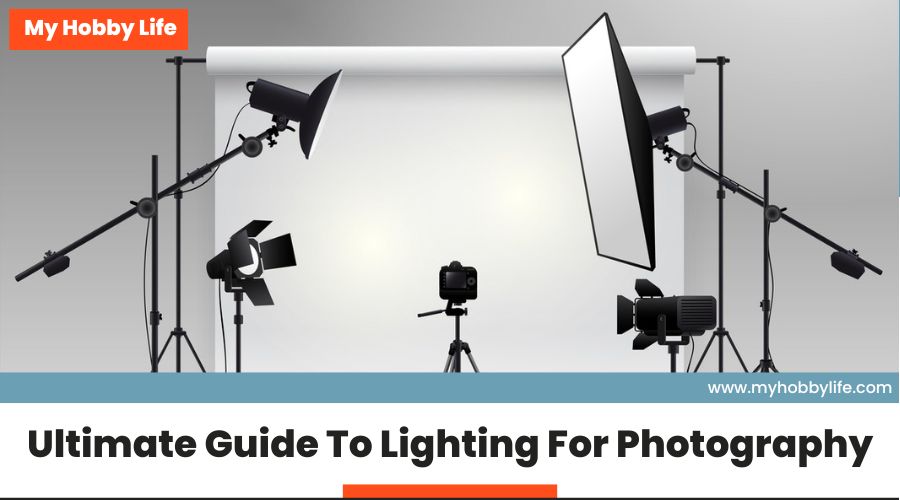
Ultimate Guide To Lighting For Photography
Photography is a powerful medium that can be used to tell stories, capture special moments and convey emotions in ways that words alone cannot. One of the primary ingredients in creating impressive images with a camera is lighting. Whether you’re shooting a landscape scene or a portrait, the quality and direction of the light you’re using will determine the success of your shots. Lighting can make or break a photograph, and getting it right can be the difference between a mediocre and a stunning shot.
Lighting can be used to emphasize certain features or areas, enhance image contrast and clarify shadows. It allows photographers to set the mood of an image and add dimension or depth to an otherwise flat scene. Light can also be used to create an atmosphere or evoke emotion in the viewer while still staying true to the subject matter. In addition, light plays a critical role when it comes to introducing color into an image.
Understanding the basics of how light works and how to utilize it effectively can drastically improve your photography skills. In this post, we’ll explore the ins and outs of lighting for photography. We cover different varieties of lighting, the technical aspects of using light to bring out the best in your photos, and the latest tools and techniques to help you get the perfect shot.
Types Of Lighting
Different types of lighting have different effects. Lighting for photography is primarily classified into two types: natural and artificial.
Natural Lighting
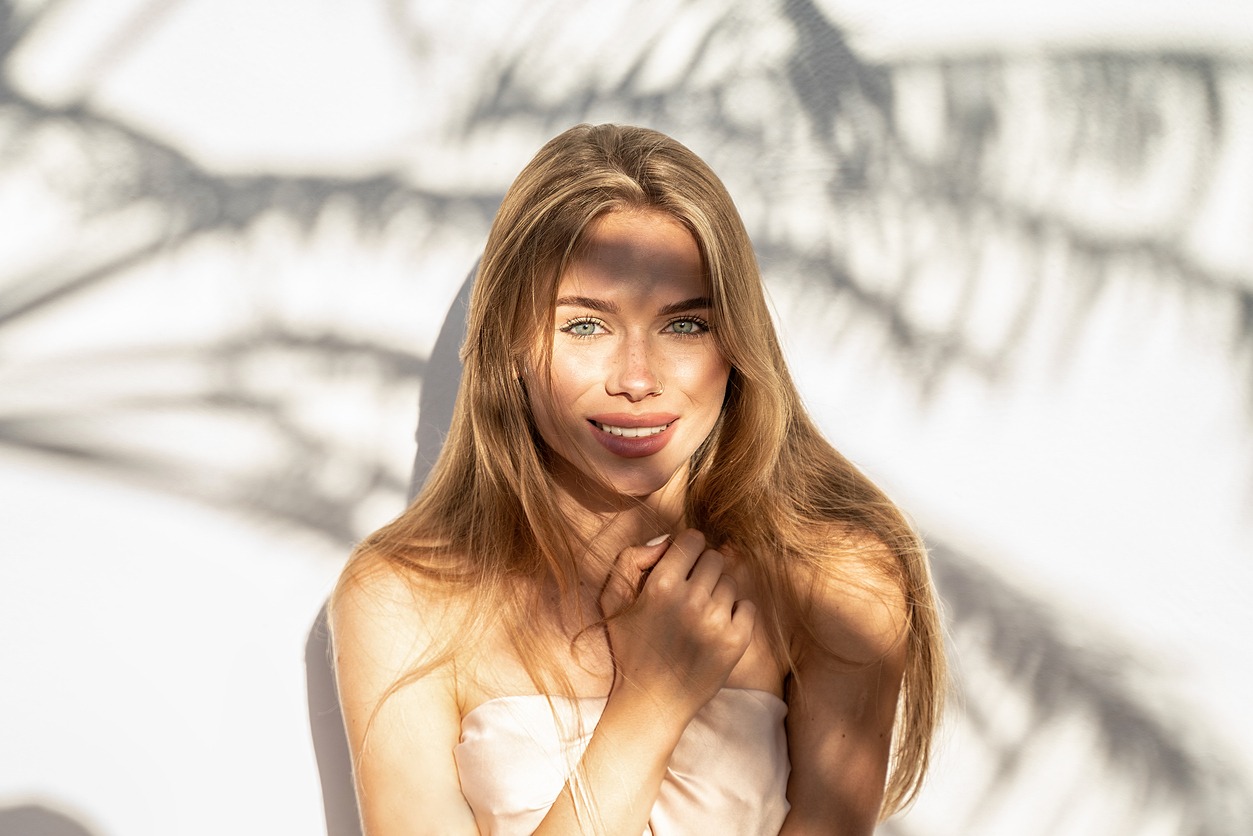
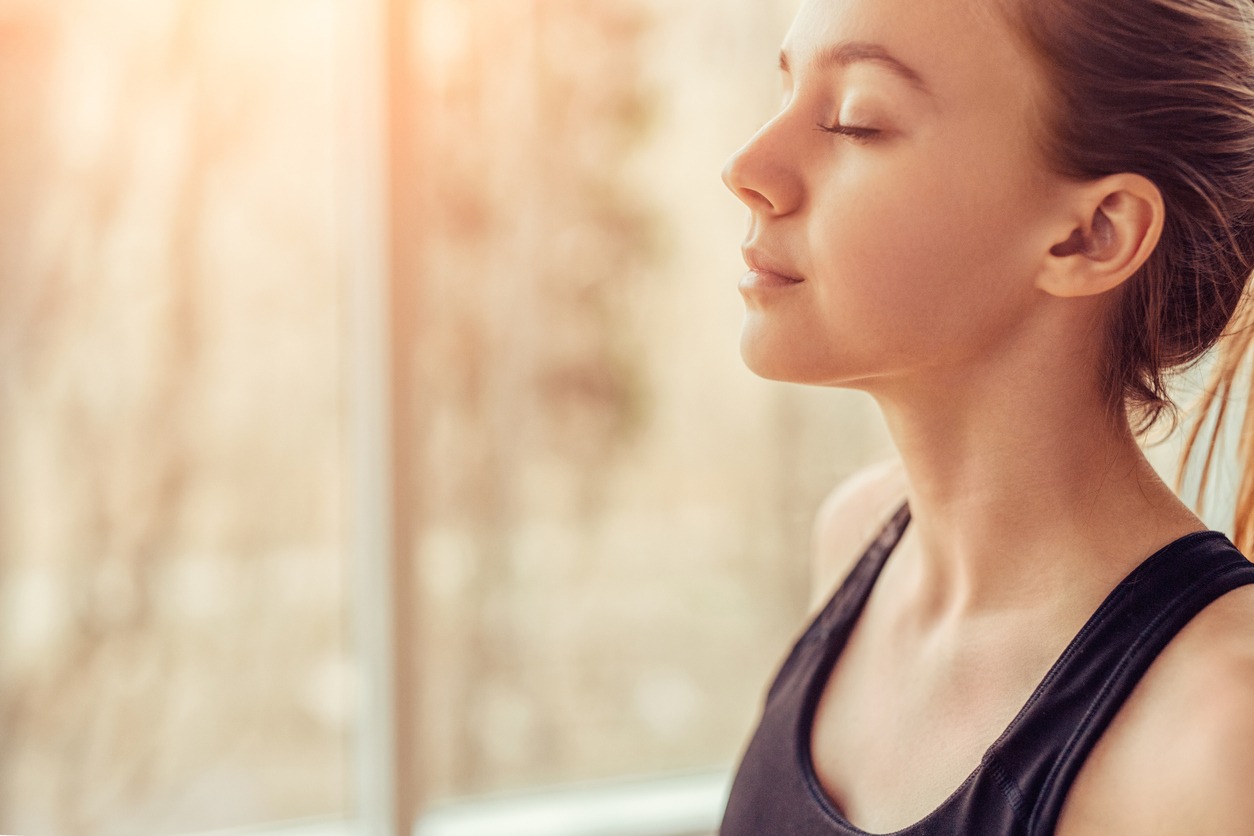
Natural lighting is the sunlight coming through windows, doors, or other openings. It is generally softer than artificial lighting and casts warm tones on subjects, giving them a near-to-life look and feel. This type of lighting offers increased flexibility as it is constantly changing due to weather, time of day and time of year. It is the best option when available because natural sunlight offers seemingly endless possibilities.
Artificial Lighting
Artificial lighting generally refers to lamp or flash units powered by electricity that are designed for photography purposes. This type of lighting provides greater control and enables photographers to create exactly the kind of look they want for their images. Some popular types of artificial lighting include tungsten, fluorescent and LED lamps, flash units and strobes.
Photographers must understand how each type works together in order to create the most natural-looking photos possible.
Types of Lighting Effects

Here are some types of lighting effects commonly used in photography:
Soft vs Hard
Soft light produces diffused shadows with softer edges that fade gradually towards their edges. Hard light, on the other hand, creates harsh shadows with sharp edges that abruptly cut off at their ends. Soft light is often more flattering for portraits and close-ups, while hard light can be used for more dramatic shots with harsh contrasts between light and dark areas.
Natural vs Flash
Natural lighting comes from sunlight but can also be enhanced using flash units or strobes as part of off-camera flash setups. Flash units typically produce higher levels of illumination than natural light and are versatile. They allow photographers to make detailed adjustments depending on their desired effect. Check this Neewer LED Lighting Set to create various lighting effects for photography.
The combination of natural sunlight and flash works really well, but you have to make sure that both match each other. For example, if your ambient light is soft, the light coming from your flash should also be soft. And if the sun rays are harsh, a hard flash will help keep the image consistent.
Reflectors
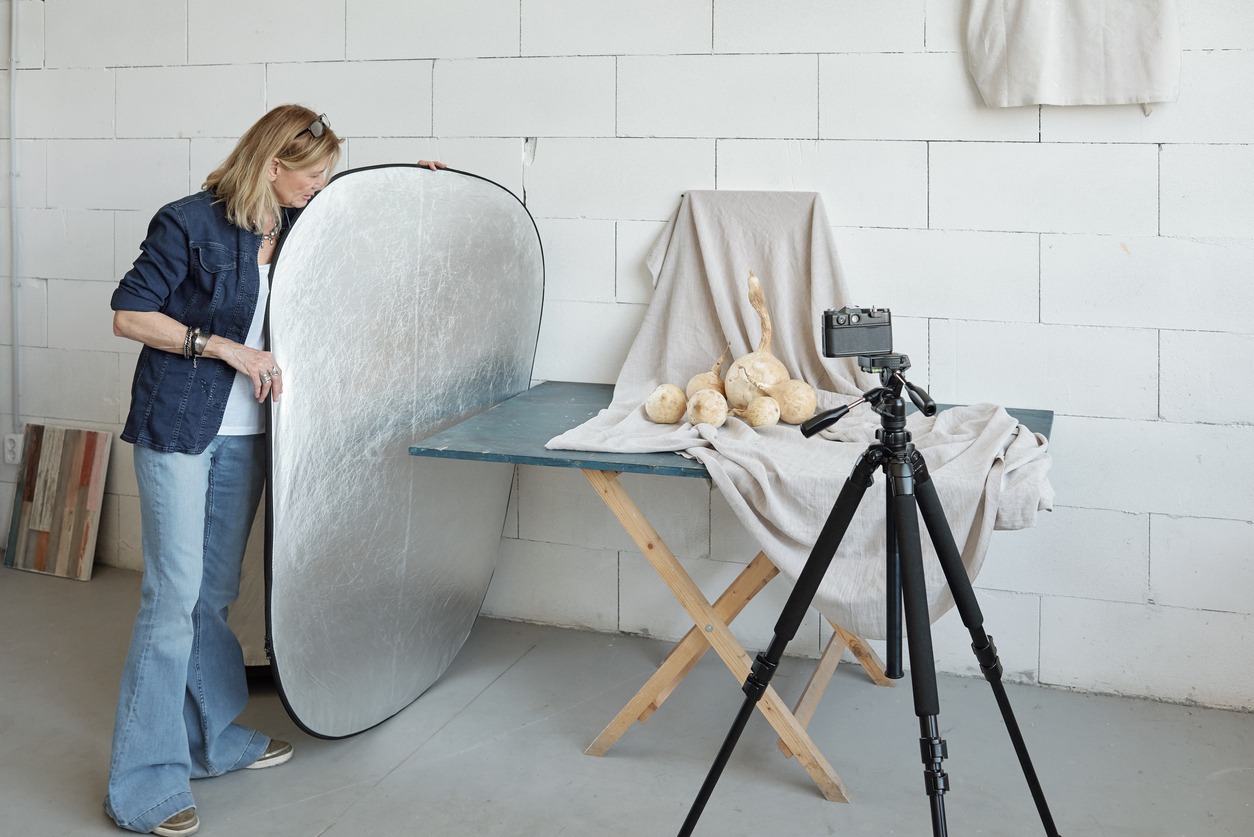
Reflectors add additional light in a scene by bouncing off any available natural or artificial light sources present in your environment. They add softer highlights or fill-in shadow areas depending on how they are placed relative to your subject or scene. These are available in various shapes and sizes, so finding one that works best for each situation is key for successful use of reflectors in photography. The Selens Collapsible Light Reflectors are an amazing option as this product comes as a set of five reflecting surfaces to create five different photographic effects.
Diffusers
Diffusers are designed to soften strong light by spreading out any direct rays over a wider area. This helps reduce peak highlights on lighter surfaces while preserving details in darker areas at the same time. They can be made from paper or fabric, suspended from a frame or even handheld if necessary. The Neewer Diffuser Panel is a great choice for most photographers as it is both effective and convenient.
Some photographers even opt to make their own diffusers using everyday items such as a frosted shower curtain or semi-transparent white sheet. Such items give them greater control over the results without spending too much money on expensive equipment.
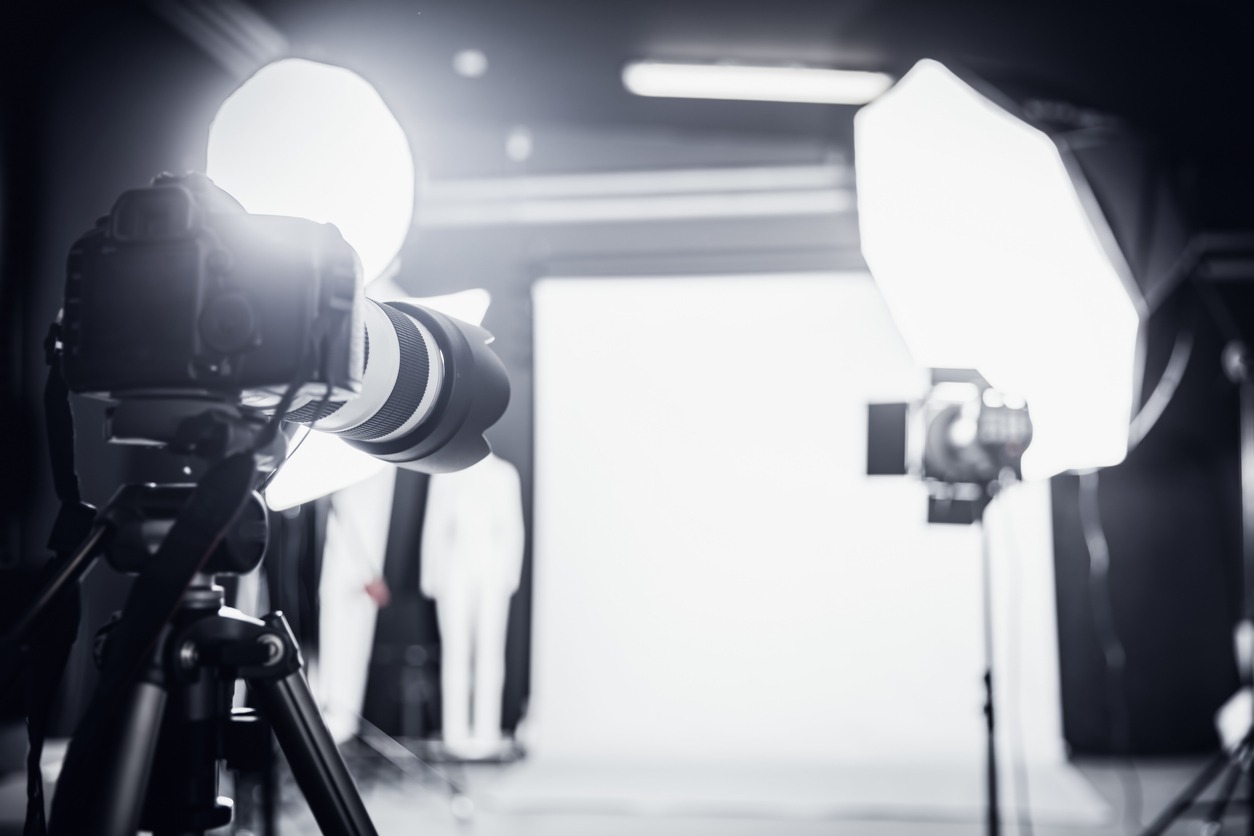
Strobes
Strobes are generally used in studio settings. They are typically used by photographers who have complete control over their environment and need light sources that are both powerful and consistent for lighting intricate set up, usually involving multiple flashes.
Strobes offer a range of features, such as modeling lights, different color options and adjustable power outputs designed specifically for studio photography. Their intensity can range from 1/16th power up to full power with very short recycling times. Having a strobe light means you will never miss that perfect shot! The Neewer Vision 4 is a powerful cordless strobe light with short flash duration and fast recycle time.
Functions of Lighting in Photography
Light has four main functions when it comes to photography: key light, fill light, backlight and rim light. When used correctly together in various combinations alongside other techniques like diffusers or reflectors, they can help create unique lighting effects.
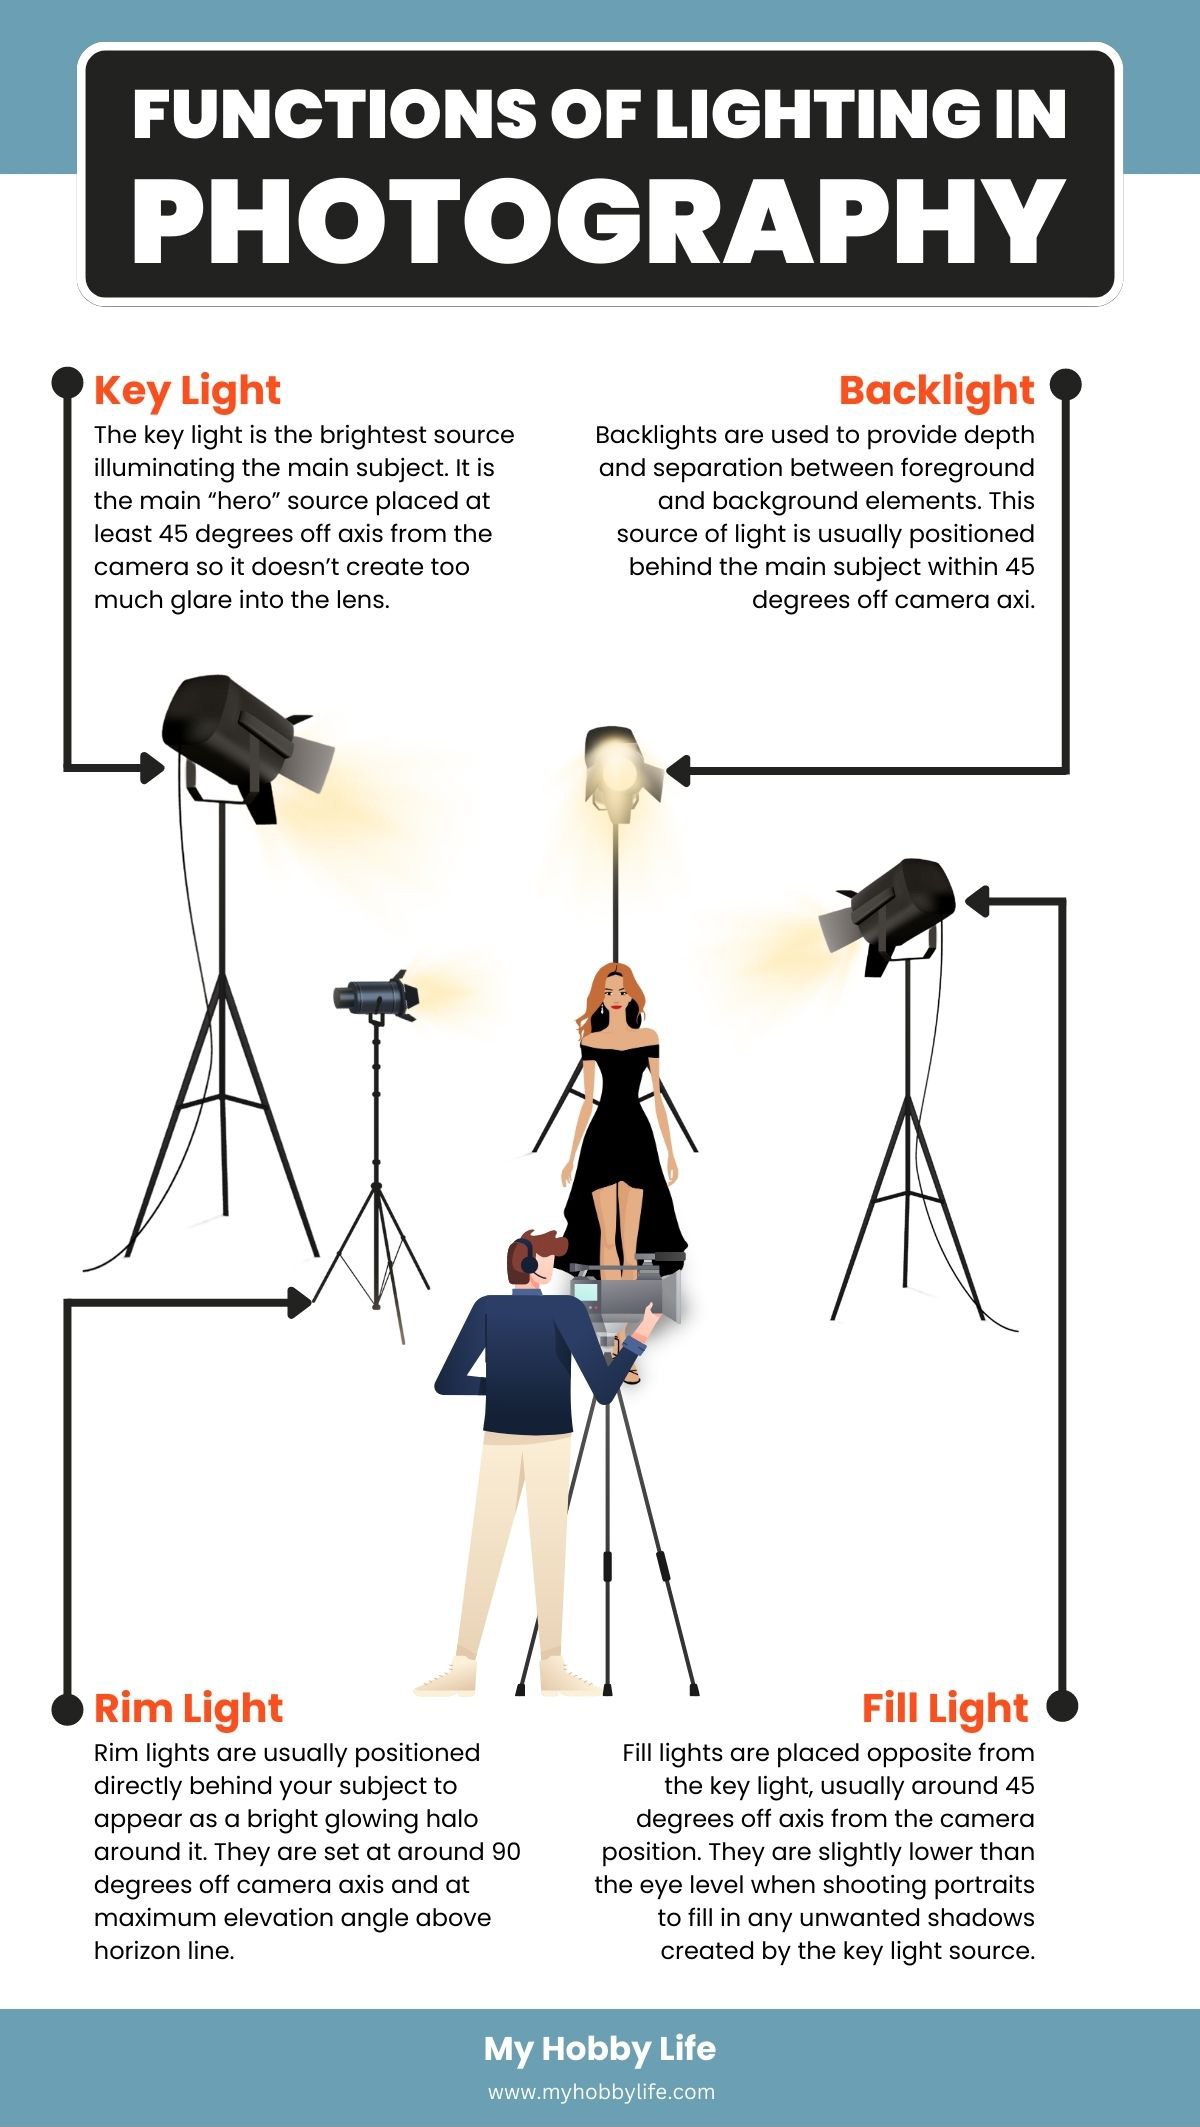
Key Light
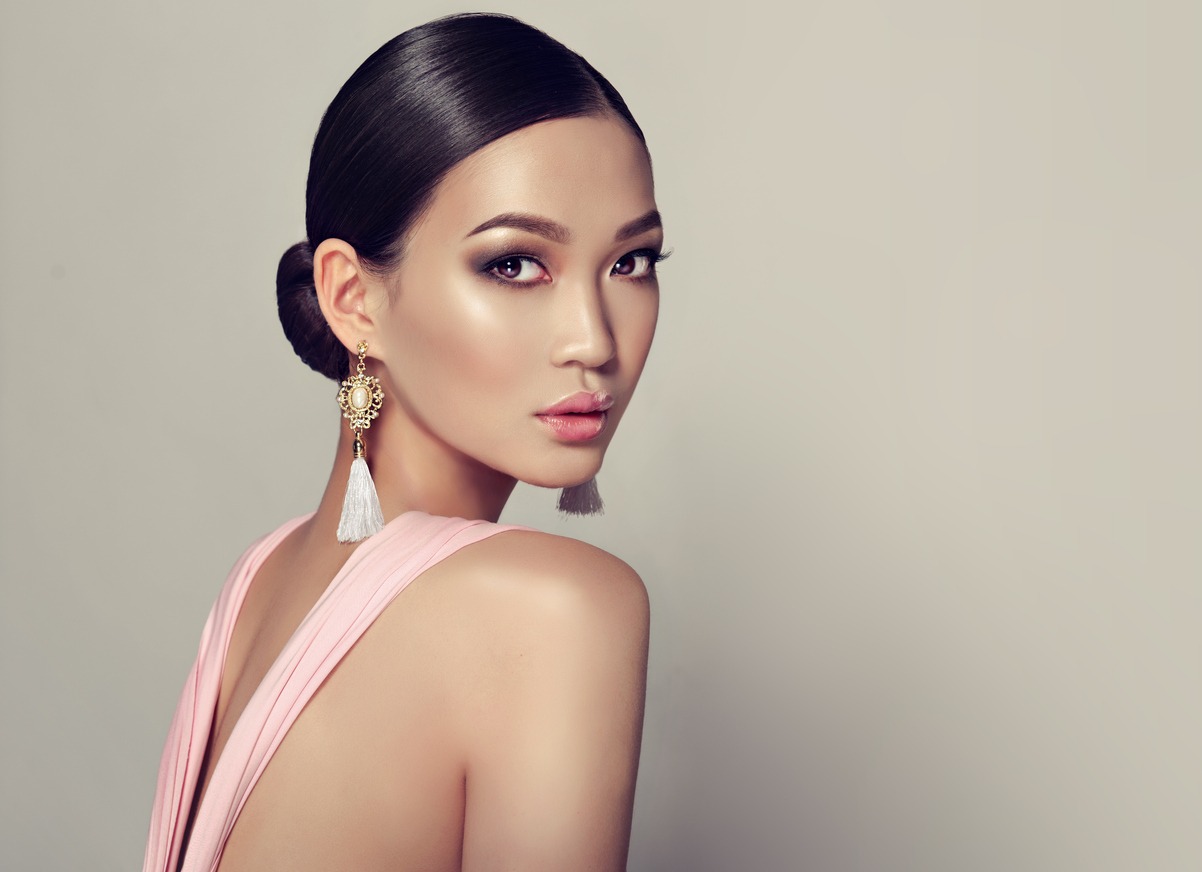
The key light is the brightest source illuminating the main subject. It is the main “hero” source placed at least 45 degrees off axis from the camera so it doesn’t create too much glare into the lens. When pointed directly, it can cause lens flares or optical aberrations which can ruin an otherwise great shot.
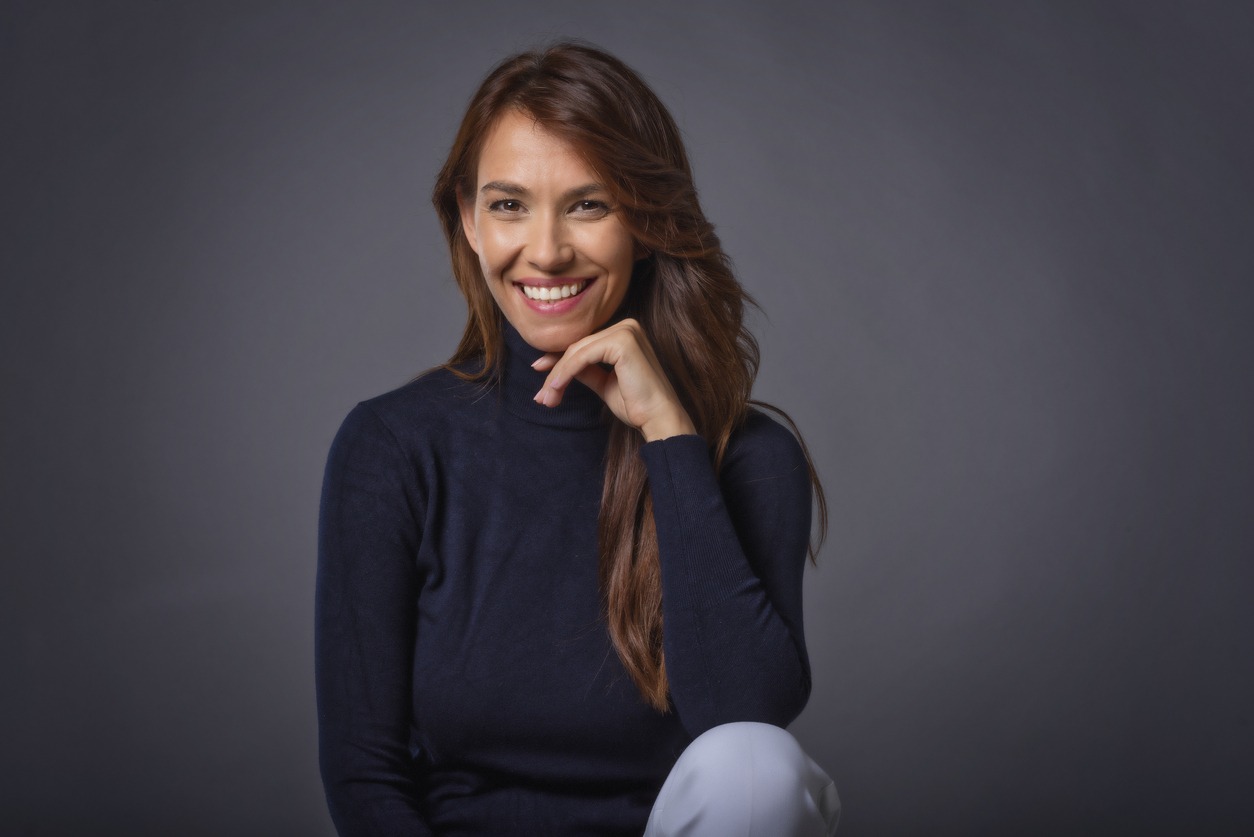
When shooting portraits or head shots, the key light is usually set slightly higher than eye level. Doing so gives your subject more depth by creating shadows beneath their eyes, nose and chin which highlights features like cheekbones better than just frontal lighting would do alone.
For a low key setup, choose a stronger key light placement. However, use these sparingly as they tend to become unnatural if not done correctly.
Fill Light
Fill lights are placed opposite from the key light, usually around 45 degrees off axis from the camera position. They are slightly lower than the eye level when shooting portraits to fill in any unwanted shadows created by the key light source. The purpose here is mainly to even out any uneven illumination caused by using only one source, so creating enough separation between these two lights generally results in better looking images.
You can also add a third smaller reflector opposite from both these lights to further reduce any unwanted hard shadows directly beneath the nose bridge area. The end result is a beautiful, bright and balanced shot.
Backlight
Backlights are used to provide depth and separation between foreground and background elements. This source of light is usually positioned behind the main subject within 45 degrees off camera axis, at around 45 degrees elevation angle above horizon line. This setup gives your shots more visual interest and naturally adds a 3D feel onto a 2D frame.
Rim Light
Rim lights are usually positioned directly behind your subject to appear as a bright glowing halo around it. They are set at around 90 degrees off camera axis and at maximum elevation angle above horizon line.
These lights work best with directional sources such as focused spotlights to create a nice smooth gradient along outline edges and cut-off lines like those created by harder sources. Plus, having direct rim lights pointed towards the camera achieves interesting double exposure effects. If your desired results are not achieved right away, experiment further using different sources and modifiers.
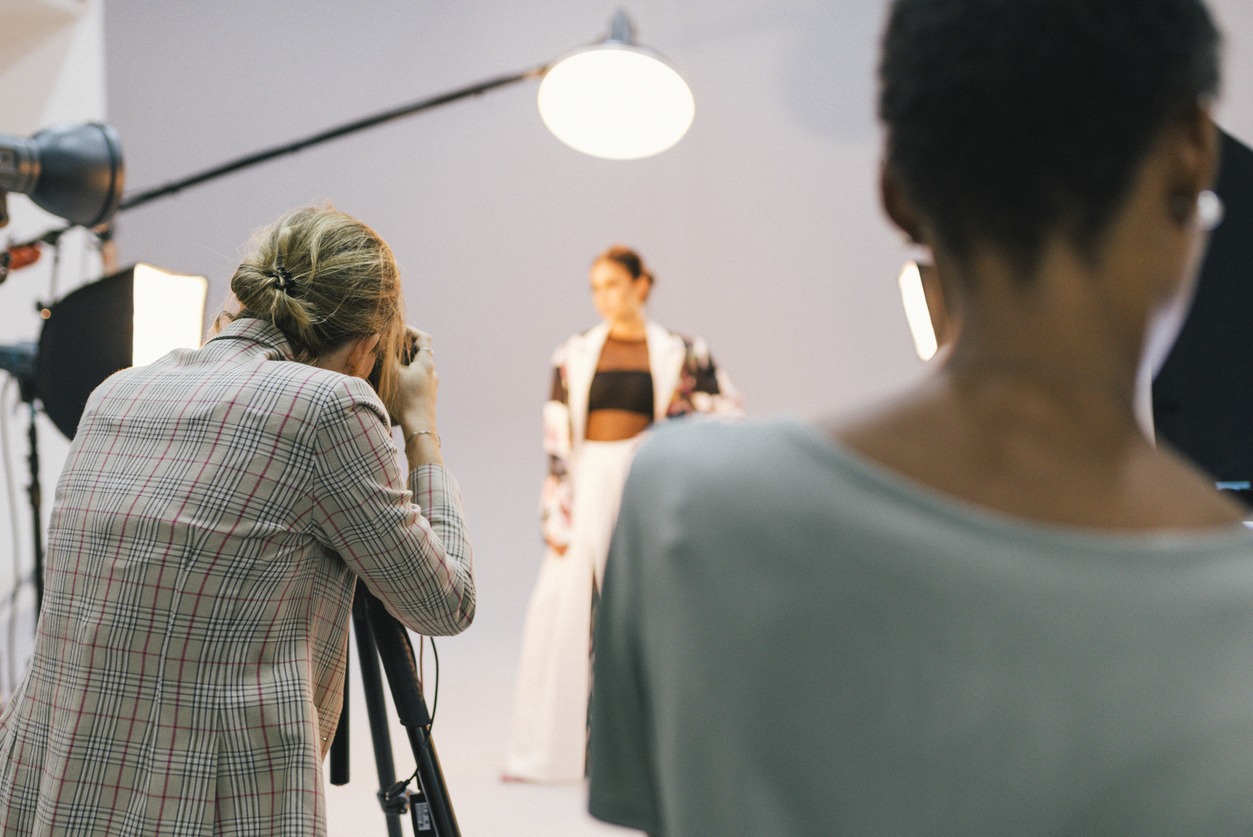
Common Lighting Techniques
Different lighting techniques used to illuminate range from one light setups to more complex multiple light setups. Knowing which technique to use for any given situation can be the difference between a mediocre and a great photo. Here are some of the most popular lighting techniques:
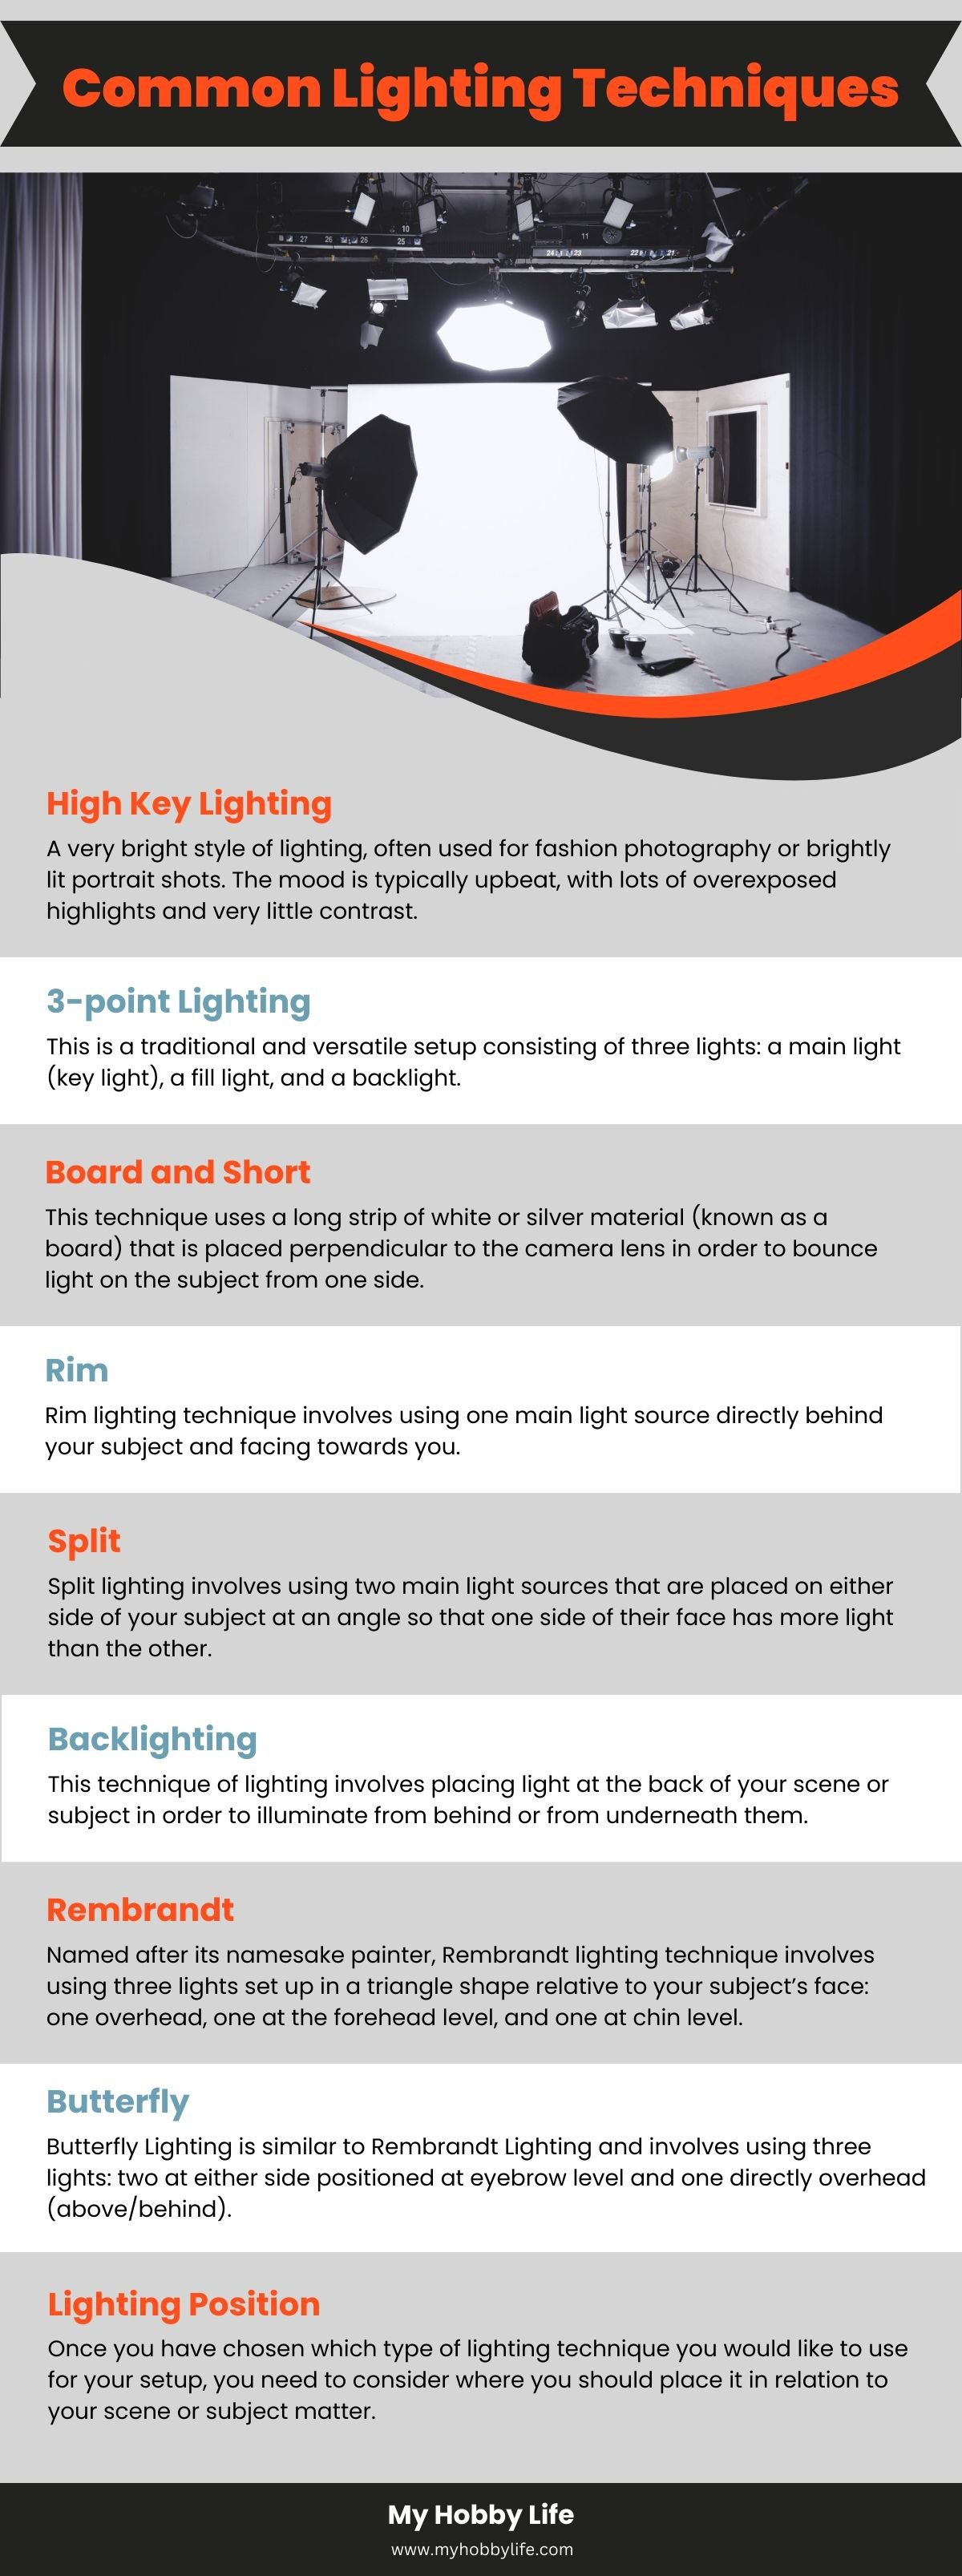
High Key Lighting
A very bright style of lighting, often used for fashion photography or brightly lit portrait shots. The mood is typically upbeat, with lots of overexposed highlights and very little contrast.
3-point Lighting
This is a traditional and versatile setup consisting of three lights: a main light (key light), a fill light, and a backlight. The key light is usually placed slightly above the subject and towards the side or center, the fill light is placed near the camera and slightly lower than the key, and the backlight is placed behind and above the subject for a bright background halo effect.
Board and Short
This technique uses a long strip of white or silver material (known as a board) that is placed perpendicular to the camera lens in order to bounce light on the subject from one side. It is often used in architectural or landscape photography.
The short stands for short lighting, meaning that instead of a flat board, two (or more) smaller reflectors are used in order to create more highlighting detail on the subject’s face or body.
Rim
Rim lighting technique involves using one main light source directly behind your subject and facing towards you. Because of its position behind your subject, it can also be referred to as “backlighting”. While it can create an ethereal look, rim lighting should be used sparingly as it can increase contrast dramatically.
Split
Split lighting involves using two main light sources that are placed on either side of your subject at an angle so that one side of their face has more light than the other. This effect produces very strong shadows which can be used for dramatic effects in photographs.
Backlighting
This technique of lighting involves placing light at the back of your scene or subject in order to illuminate from behind or from underneath them. Backlighting can be used to create depth by drawing focus away from certain elements in your shot; however, it can also be used to make certain elements stand out by providing an extra layer of contrast.
Rembrandt
Named after its namesake painter, Rembrandt lighting technique involves using three lights set up in a triangle shape relative to your subject’s face: one overhead, one at the forehead level, and one at chin level. This technique produces contrasty shadows which make for striking portraits when done correctly.
Butterfly
Butterfly Lighting is similar to Rembrandt Lighting and involves using three lights: two at either side positioned at eyebrow level and one directly overhead (above/behind). Unlike Rembrandt Lighting however, Butterfly produces deeper shadows along either side rather than under the nose/chin area, which is why it is often used for glamor photography.
Lighting Position
Once you have chosen which type of lighting technique you would like to use for your setup, you need to consider where you should place it in relation to your scene or subject matter. It is always a best practice to move your lights around until you have achieved an even distribution across your scene. However, depending on where you place them this can affect both shadow placement and white balance.
When changing positions, make sure you double check that you have not affected the color temperature. Using Auto WB ensures you get accurate color reproduction in your image each time you move your lights around.
White Balance and Color Temperature
To get lighting right, understanding white balance and color temperature is essential. These two terms are related and often used interchangeably, but there is a slight difference between them. Color Temperature is represented in K (Kelvin) and refers to the color of the light in terms of coolness or warmth. On the other hand, white balance refers to the ability of a camera to adjust for various color temperatures to produce accurate/neutral/desired colors in the final image.
White Balance
White balance is the term used to refer to how warm or cool light is. Different light sources have different color temperatures, and as a photographer, it is important to be aware of these color temperatures to get the exact look you are aiming for.
Being mindful of white balance ensures that colors appear accurately without giving off any odd tints or hues. These days, many digital cameras come equipped with an Auto White Balance (AWB) function which simplifies matters by automatically detecting and adjusting the white balance depending on your scene’s light source.
Color Temperature
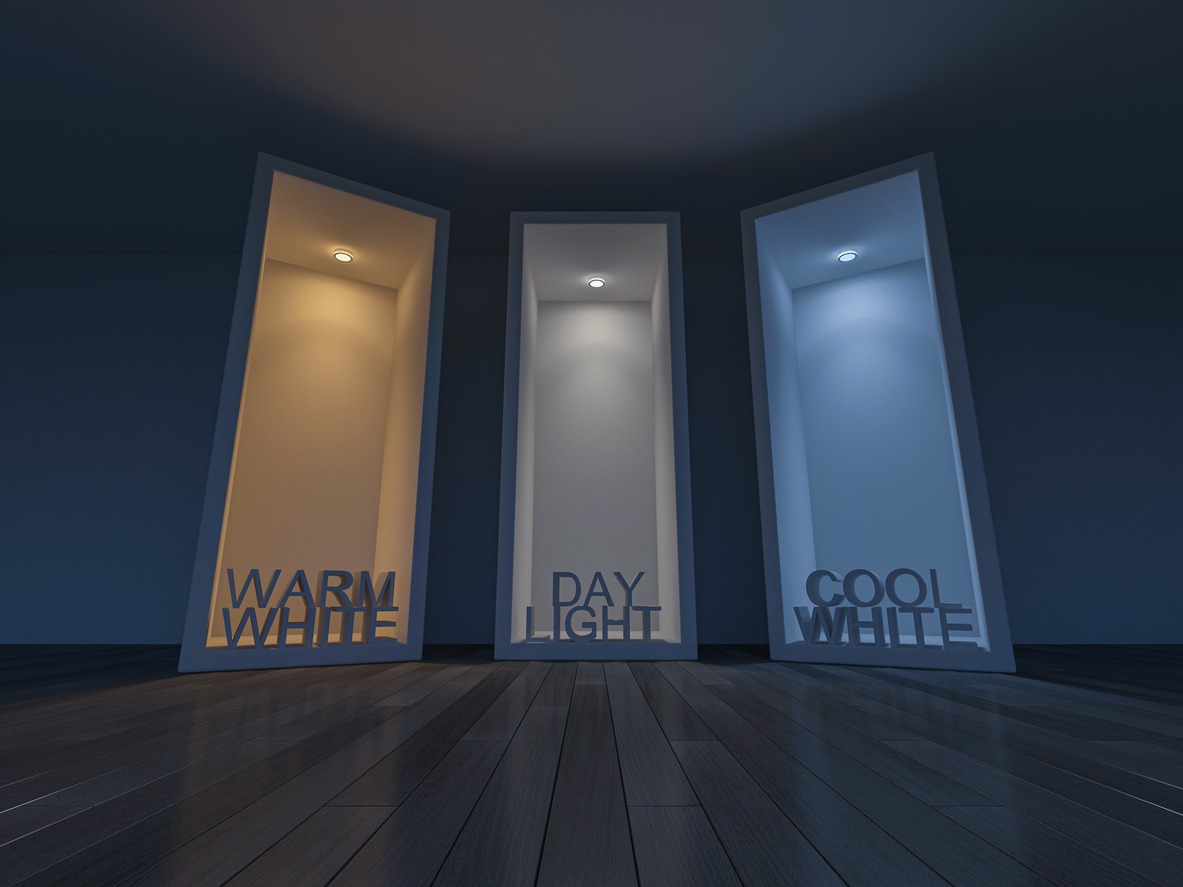
The other aspect to consider when determining the correct lighting position is color temperature. This is an aspect which dictates how warm or cool colors appear in a photograph based on their respective color temperature measured in degrees Kelvin (K). Higher Kelvin values give off a bluer tone while lower values are associated with a more yellow/red tone.
Photographers should be aware of what effect they are seeking to create with their photos before setting their color temperatures. A sunny day outdoors typically has a color temperature around 5500K-6000K, which produces vibrant colors with clearer contrasts compared to a cloudy day which has a higher Kelvin value, around 7000-8000K.
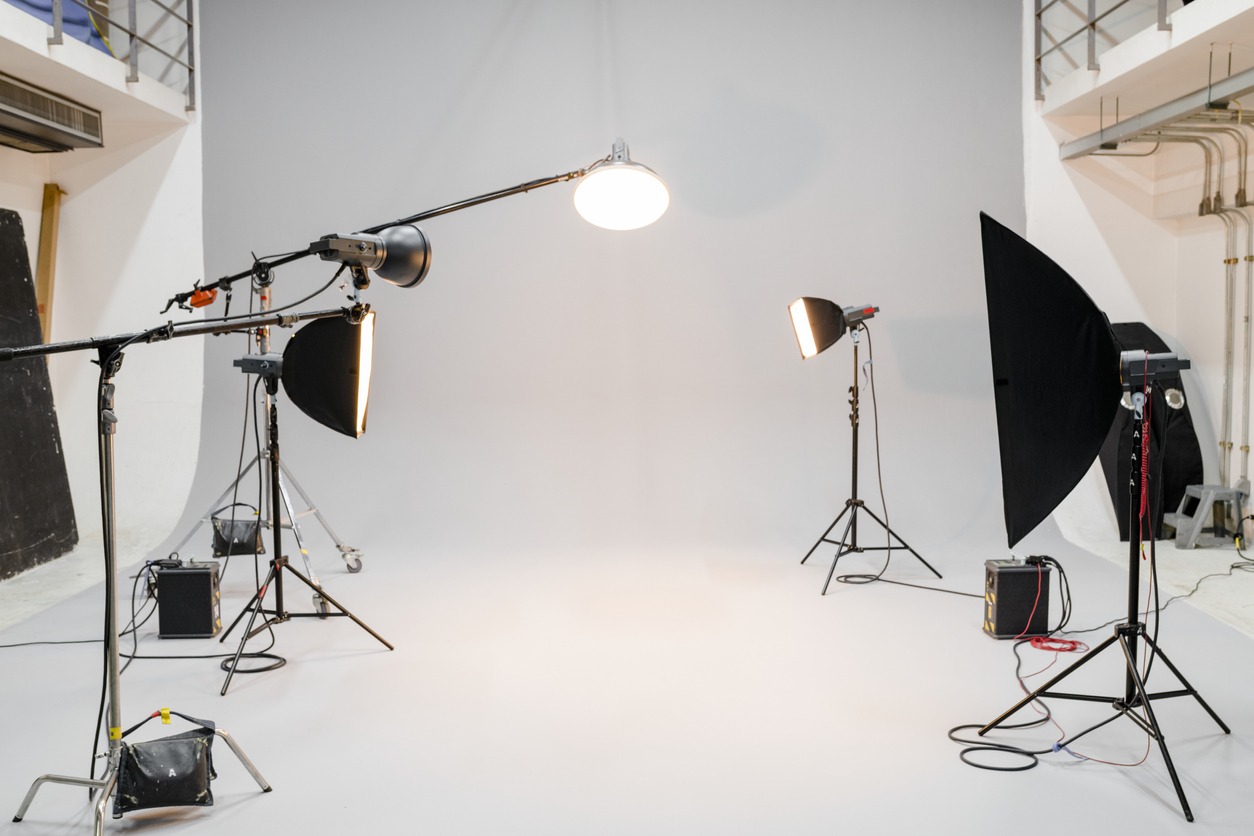
Equipment Needed For Good Photography Lighting
In order for good quality, low noise photographs with consistent exposures, you will need some basic photographic equipment. What you get depends upon how complex/simple you want your setup to be and what kind of look you are trying to achieve in-camera rather than post-processing later on down the line. Here are some important items to consider:
- Powerful strobes (like Neewer ML300)
- Speedlights (Check out the Neewer TT560 Flash Speed lite)
- Sync cords like Foto&Tech Sync Cable)l or wireless triggers (such as Neewer Wireless Trigger)
- Wireless remote controller (such as Pocket Wizard)
- Diffusion panels (look at Neewer Soft Diffusion Disc)
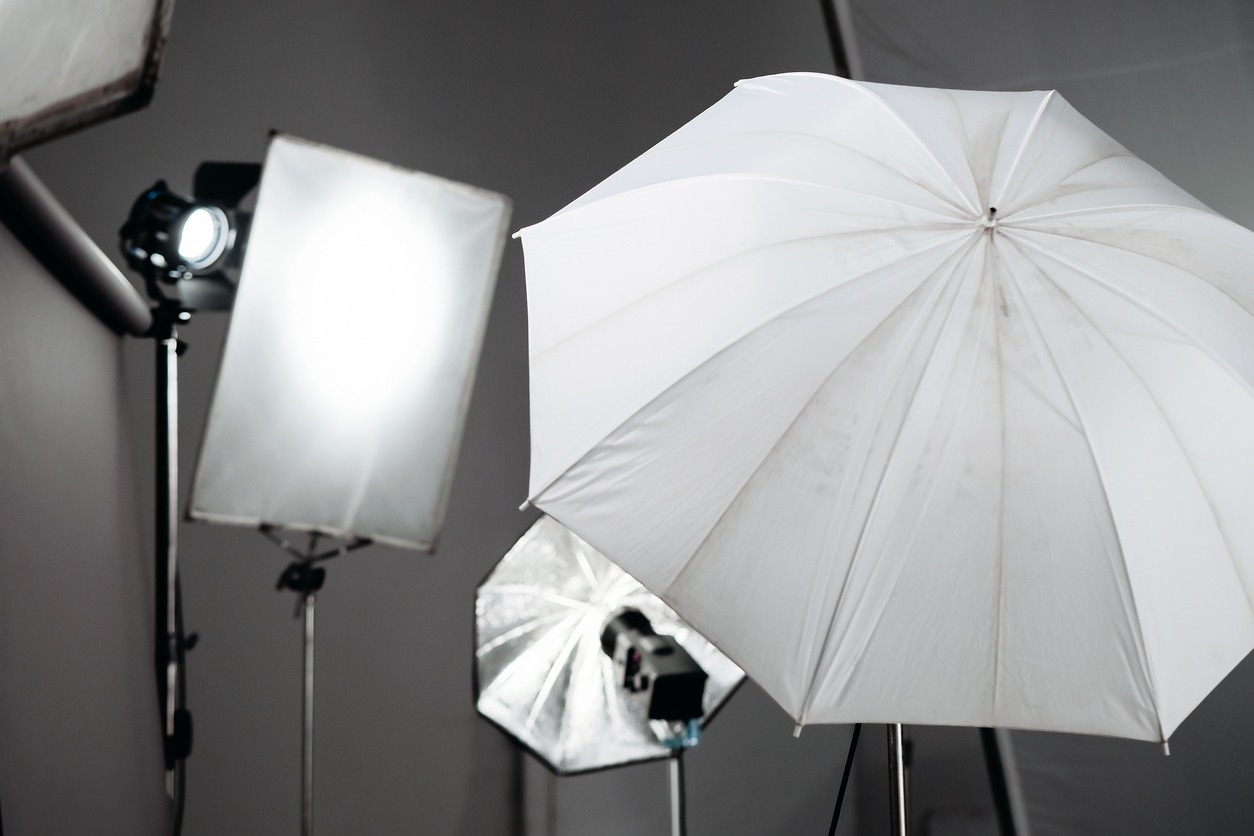
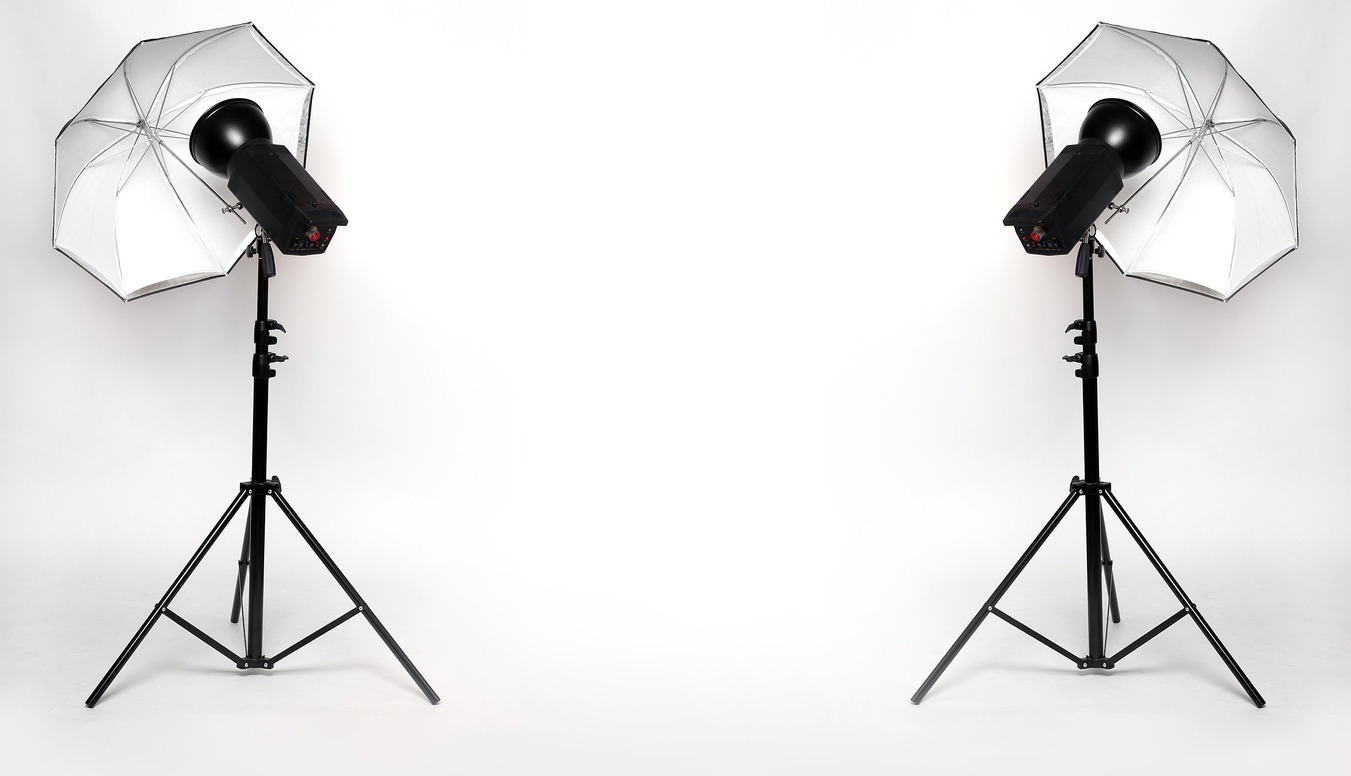
- Umbrellas (Check out Selens Photography Umbrellas)
- Softboxes (like Selens Softbox)
- Snoots (the SUPON Conical Studio Snoot Kit is a good choice)
- Gels (Neewer Universal Photography Gels are a good choice)
- Reflectors (Selens Oval Reflectors are good too)
- Flags (like Neewer Metal Flag Panel) etc.
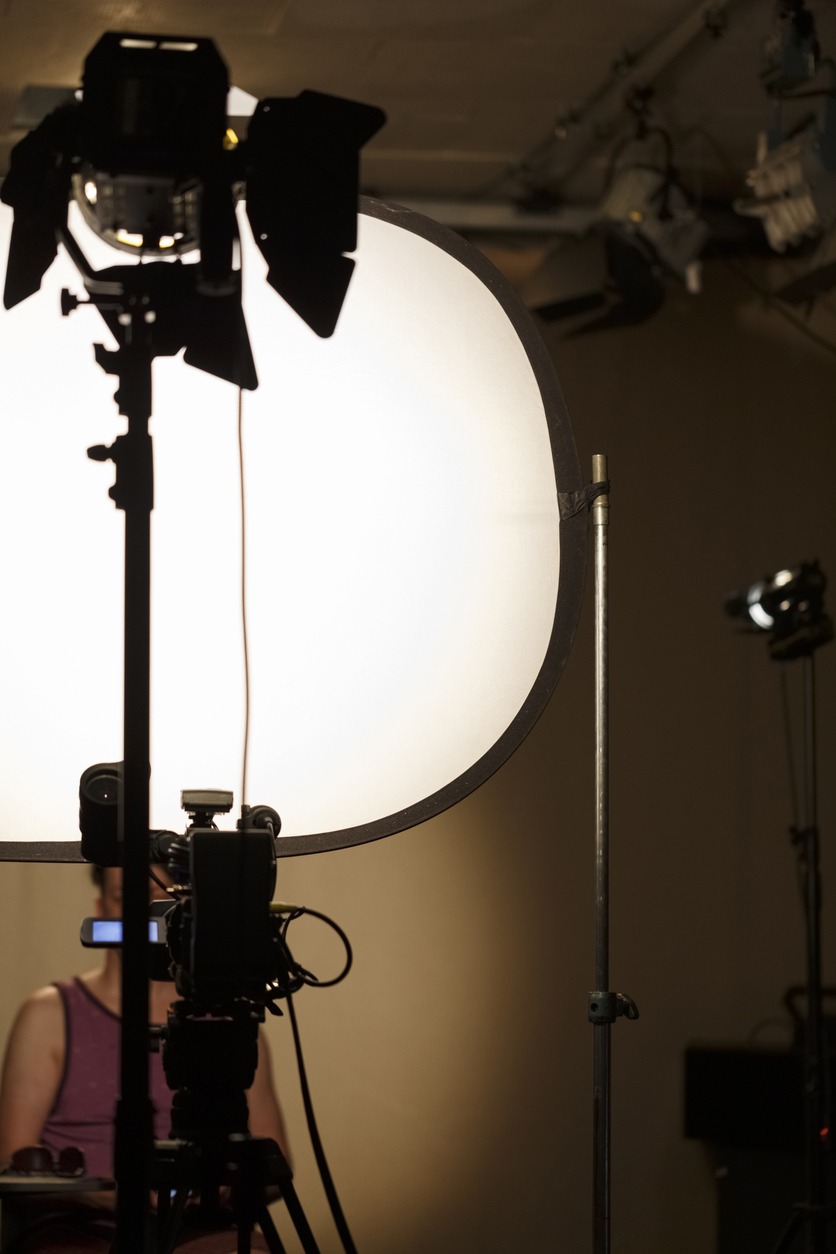
Lighting Modifiers
A lighting modifier diffuses and spreads out the light so that it's not too concentrated in one area creating harsh shadows on your subjects. They are great for reducing hotspots (areas with too much direct output) while still maintaining high levels of illumination elsewhere in your scene creating an overall softer look. Lighting modifiers include equipment like:
- Umbrellas
- Softboxes
- Snoot
- Scrim
- Barn
- Gobo
- Fresnel Lens, etc.
Misc Lighting Gear
Other items such as stands or boom arms may also require consideration if they aren't already included with the product you choose when starting out with photography lighting equipment. There are additional pieces of gear which many photographers find helpful when setting up their lighting equipment, including:
- Power sources
- Sandbags
- Clamps
- Stands
Conclusion
Whether you’re a professional photographer or just starting out, having the right lighting is essential to capturing the perfect image. But lighting can also be one of the most challenging to master. Especially with various types and setups to choose from.
While this guide aims to educate readers about different types of lighting techniques and how to use them to your advantage, the importance of natural lighting is undeniable. It is a dependable light source that almost always works without much hassle. But if you need directional lighting, artificial lighting may prove to be more useful.
When photographing subjects, consider their positioning relative to the lighting equipment. Experiment with different lighting positions before setting with one that creates the right white balance. You can also make use of the list of equipment given above to find the right photography lighting equipment for your needs.