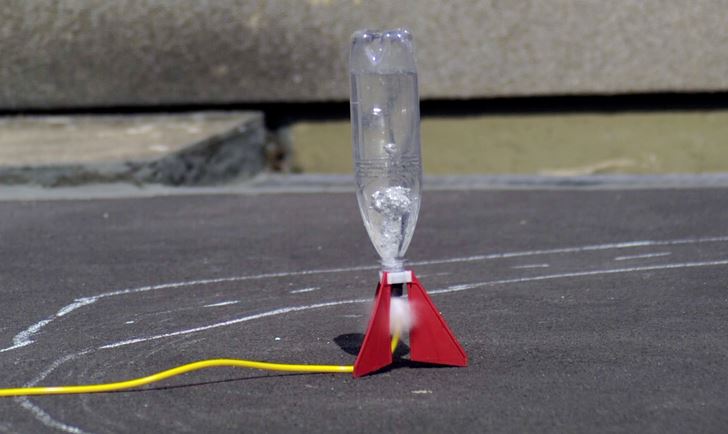
Water bottle rockets are delightful and thrilling to watch both for children and adults. Be it in the backyard, science fairs, or festivals, the fun is always the same, witnessing these simple devices successfully whiz to the sky. Yet, be sure to document every launch through video. Not only will it allow you to relish the experience anytime you like, but it can also serve as an incredible tool to improve the flight of your rockets.
If you’re not sure how to film your water rocket launch, don’t fret! Continue reading below as we’ve collated the best tips on how you could do so.
1. Get the right main camera.
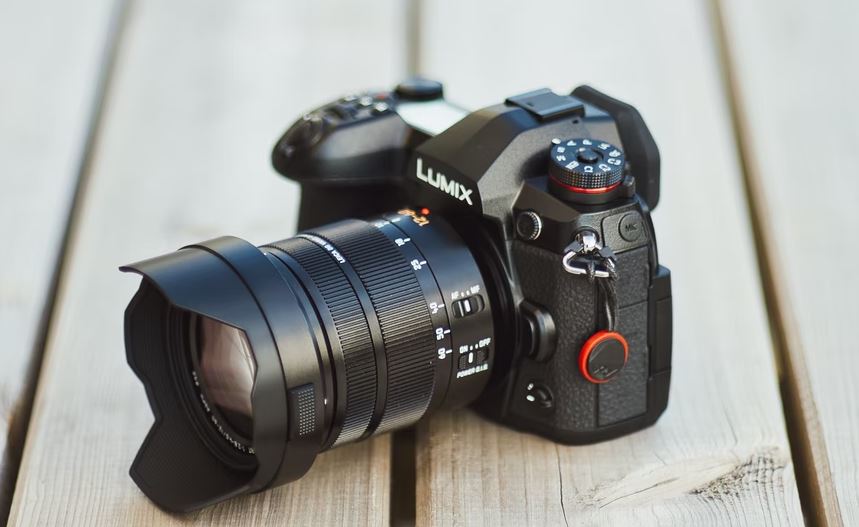
Like with any activity, videoing your water rocket launch entails having the right equipment. Whenever you can, it’s best to use a DSLR camera as the main camera. Its quality nearly matches what you can see in the movies, so imagine having the same for your water rocket launch. Plus, DSLR cameras are more comfortable to use and provide more creative control when filming. Be minded that you don’t need to invest in buying one. You can get them from rental services or borrow one from your colleagues. Try inviting them as well to share the experience.
2. Turn the focus lock on the main camera.
As you’re dealing with a fast-moving object, you will be better off using the focus lock feature so sharpness won’t go ballistic as well as the water rocket launches to the sky. You can do this in four simple steps. First, set the lens to A-F mode. Next, zoom in onto the water rocket. Lastly, adjust the focus manually until it’s sharp and you’re ready to shoot. By using this feature, you’ll still get suitably sharp video.
3. Diversify your shot by using two other cameras.
You can use two more cameras to make the video more entertaining. It doesn’t mean that you should be getting or renting two more DSLR cameras. Your smartphone and a GoPro are often enough to help you diversify your shots.
Use your smartphone to get a stunning worm’s eye view from the ground up. Angle it in a way that it covers the beautiful sky, while also taking in ample view of the ground and the launching pad. For your GoPro, you can simply strap onto the water rocket and witness a completely different view that will seemingly make you feel like you’re the rocket itself.
4. Observe proper distance.
Note that you need to shoot ideally 5 to 20 meters away from the launch pad. Getting too close and you won’t be able to document the entire flight. Not to mention that you will also get wet and water droplets on the lens will ruin the footage. If you get too far instead, chances are the subject would be too small and you won’t be capturing good details. If you’re launching multiple rockets, you can experiment with the distance to see which one suits your preference best.
5. Shoot under good lighting.
Shooting outdoors doesn’t always guarantee good lighting. If it’s too dark or the sun’s too bright, skip or wait for a few hours until the conditions get right. Generally, it’s advisable to shoot your water rocket launch when there are ample clouds to cover some of the sun’s rays or during the golden hours. At these times, natural lighting is at its best. Expect to see dramatic and cinematic natural lighting to enhance your water rocket launch video.
6. Start recording a minute or two before the launch.
A common mistake of many is recording exactly at the same time the rocket launches. Often, it entails being half a second late, missing to catch a few details on video. For your best interest, it’s best to begin recording a minute or two prior to the launch. That way, you can be assured that you won’t be late. Plus, you can check the video afterward for any condition that may have affected the flight of the water rocket. Remove your finger or thumb from the record button and move it to the other part of the camera. Through that, you’ll avoid accidentally stopping the record.
7. Continue filming a few seconds after landing.
Allow a few seconds before cutting the video after the water rocket rests on the ground. If you’ve invited spectators, try panning the video to them to see their reactions after the launch, or if the rocket accidentally crashes into something. Don’t worry about the extra time before and after the clip, as you can always edit the video later.
8. Utilize zoom only when the water rocket starts to descend.
Zoom is a valuable tool to capture your subject closely. While using it is a great wildlife photography tip, you won’t be able to apply that into a water rocket in the ascent stage. Even if you try, you’ll surely have a hard time tracking the water rocket’s flight with its high speed. Instead, use the zoom in the descent phase under the parachute. Follow the water rocket as it journey’s back to the ground after it soared majestically into the sky.
9. Capture other vital scenes apart from the launch itself.
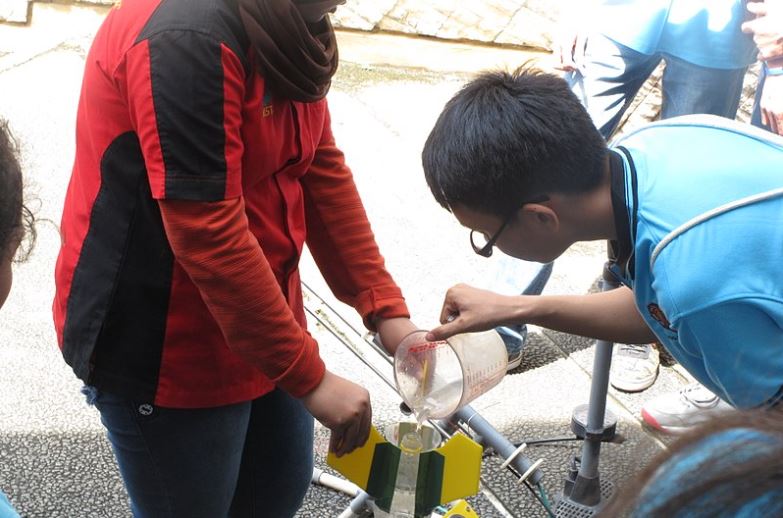
Remember, you’re not confined to videoing the launch itself alone. You can capture other vital scenes essential to the launch. You can start shooting while collecting the necessary materials, building the rockets, folding parachutes, and setting up the water rocket in its launch pad. It will make your video even more enticing to watch, as your viewers’ can seemingly follow a story. Your video will surely delight any water rocket enthusiasts and it can also be used by teachers and students for educational purposes.
10. Add vital information, suitable sound, and effects.
During the editing stage, you can also add vital information to further inform your viewers of the science behind water rockets and what’s happening with the project. Use texts to list down materials, indicate steps, display maximum flight height and total time, and other details you deem necessary. You can also use it as a reference for your future videos.
Choose a soundtrack that will complete your video. Avoid getting one with lyrics or too familiar songs to avoid distracting your viewers. When it comes to effects, make it minimal, especially with the transition. Not because the video editing software you’re using has lots of available effects doesn’t mean you need to use them all. Perhaps the most important effect you’ll be using is “slow-motion” as it’s always exciting to see how everything unfolded closely and slowly after the water rocket’s quick flight.
Takeaway
Follow these tips and videoing your water rocket launches will be smoother, easier, and yield better outputs. Just be mindful that filming ensues constant learning. You’ll learn more tricks as you practice and execute your shots along the way. Don’t hesitate to explore and make your videos even more exciting. Happy filming and water rocket launching!


