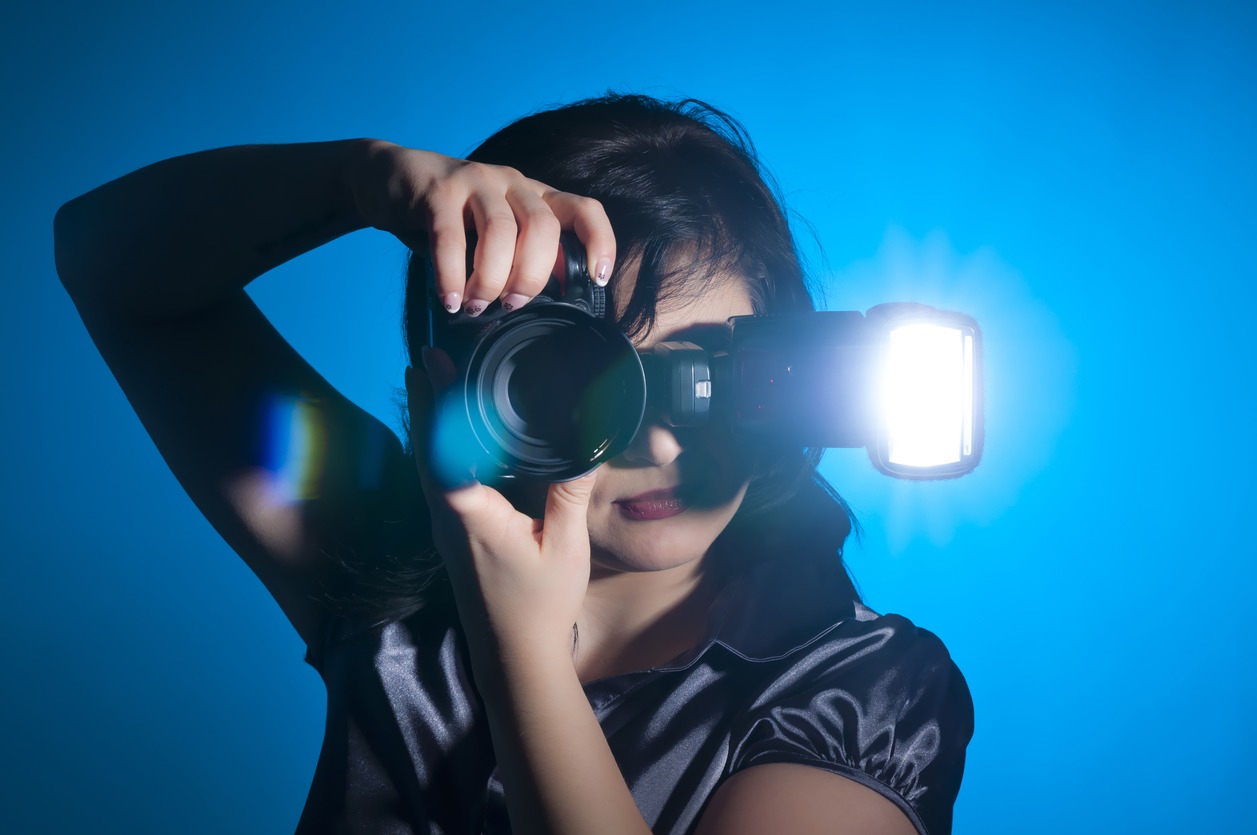
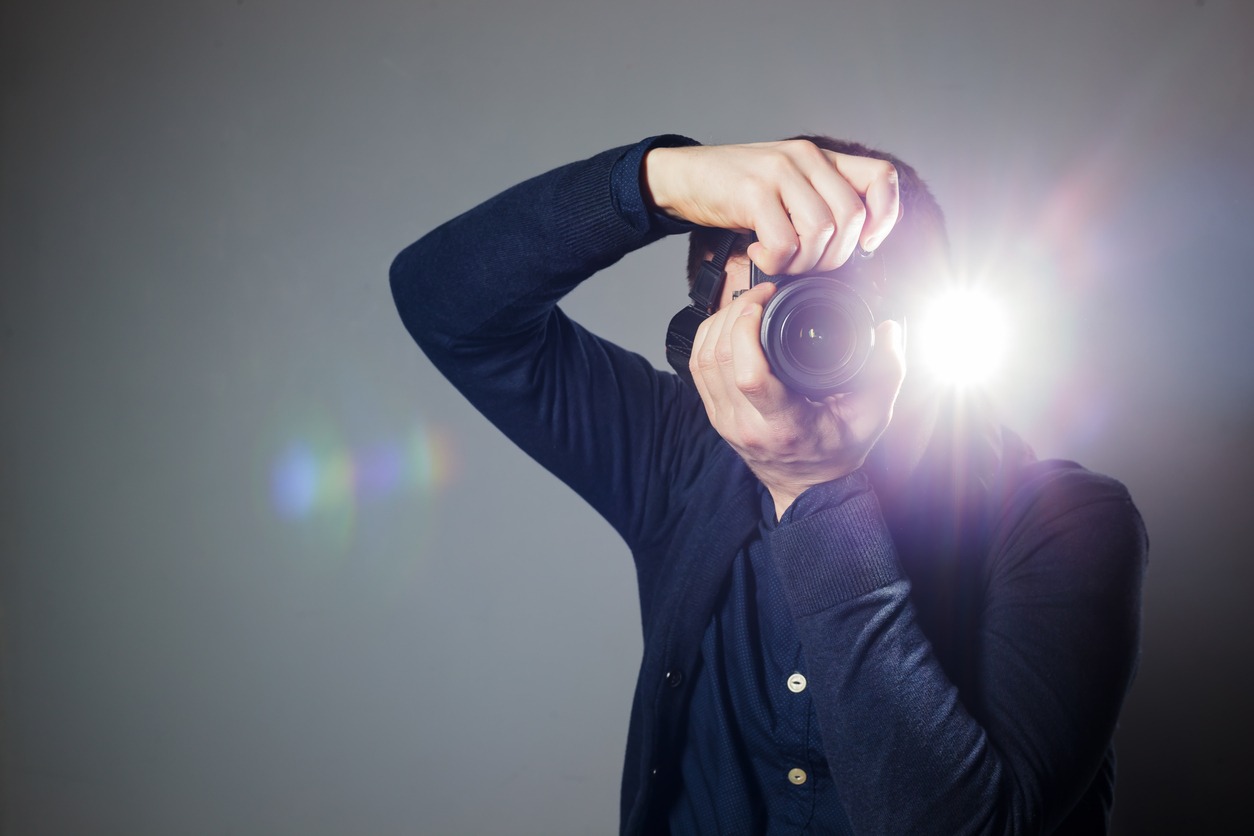
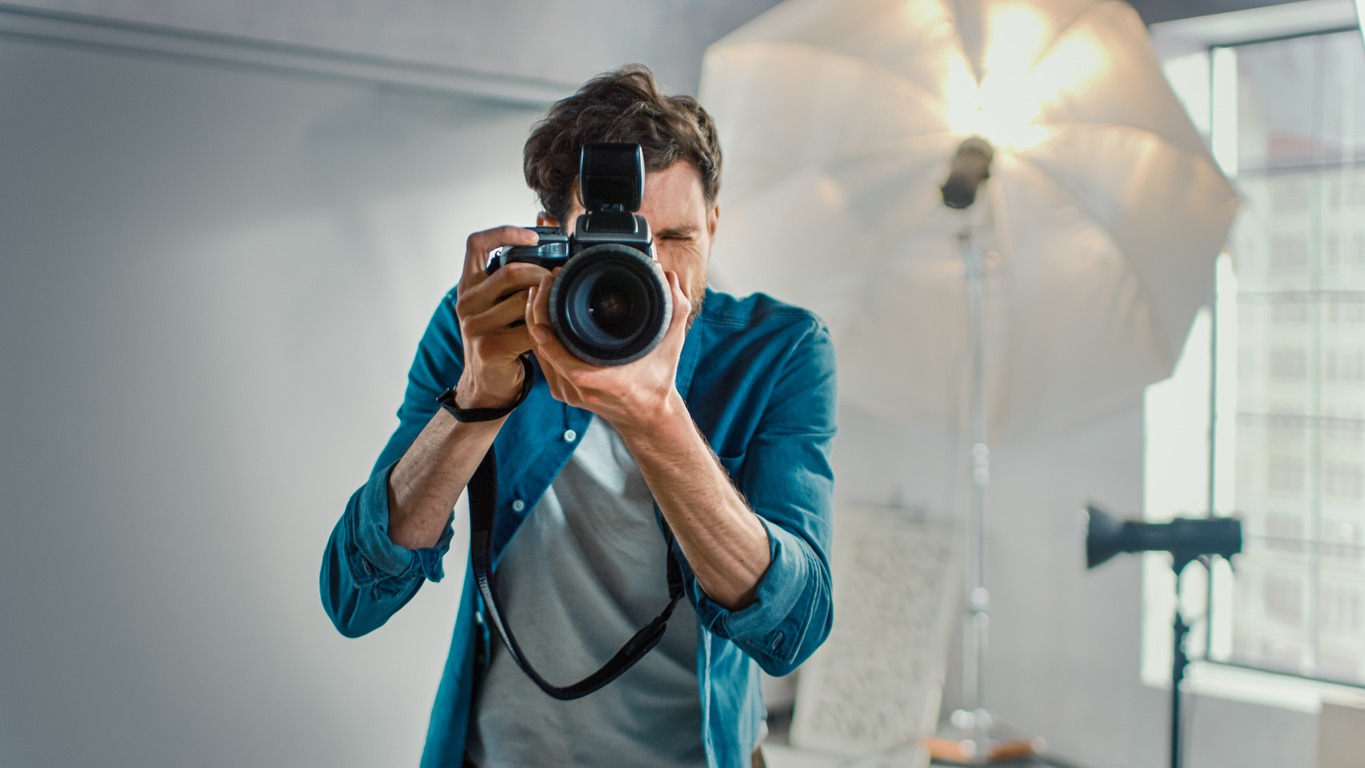
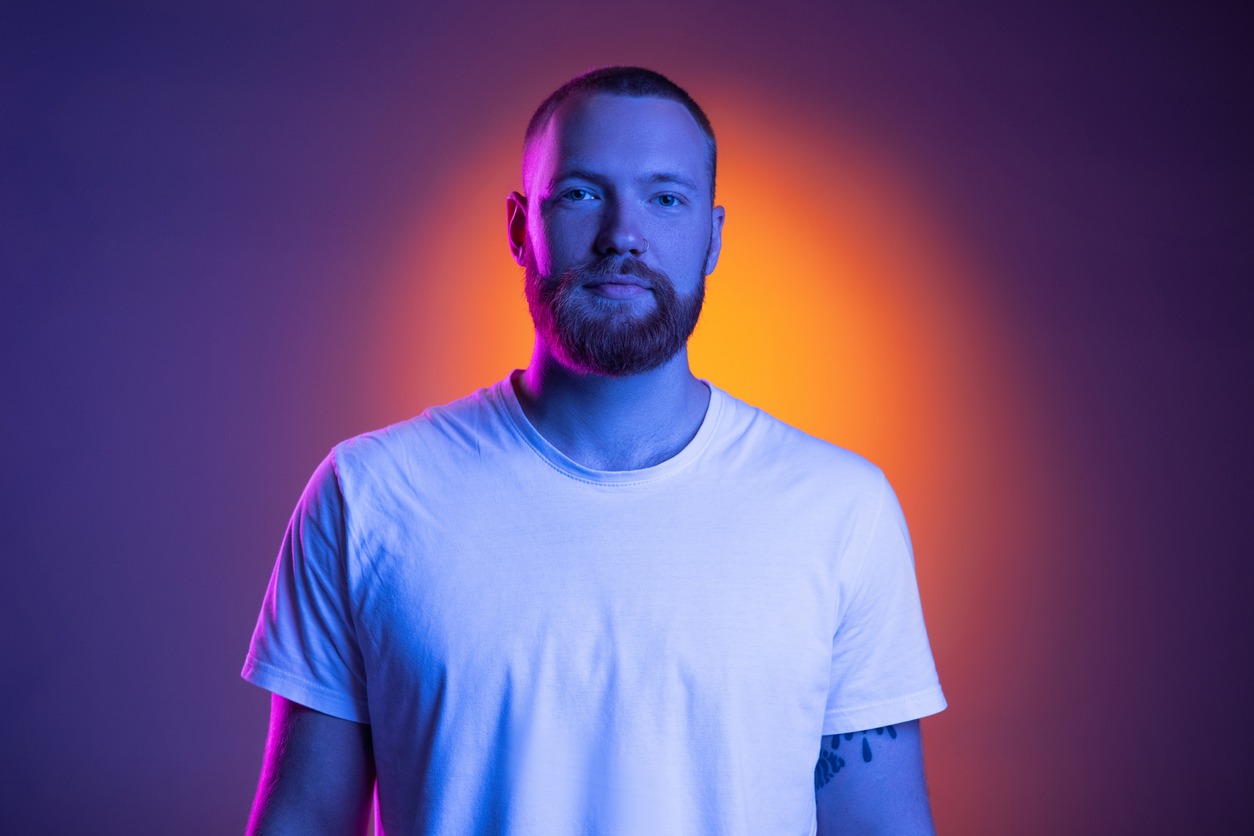
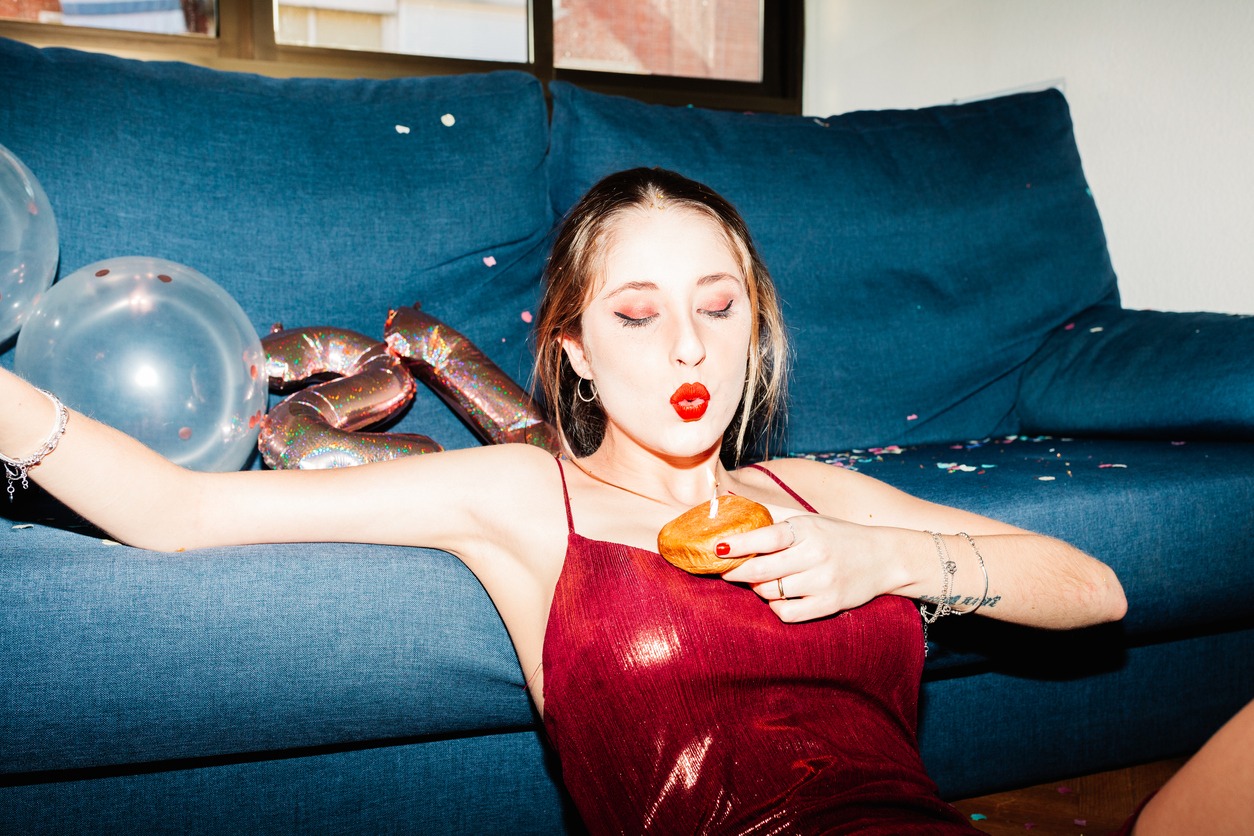
When used in photography, flash refers to a brief burst of lighting provided by electronic flash units. Whether on a DSLR or smartphone, the flash is used to illuminate subjects and provide a well-lit photo. Flash photography has its own techniques and tips that can be used when executing different types of shots.
The Mechanism of a Camera Flash Explained
To be better at flash photography, you first need to know how the flash unit on your camera works.
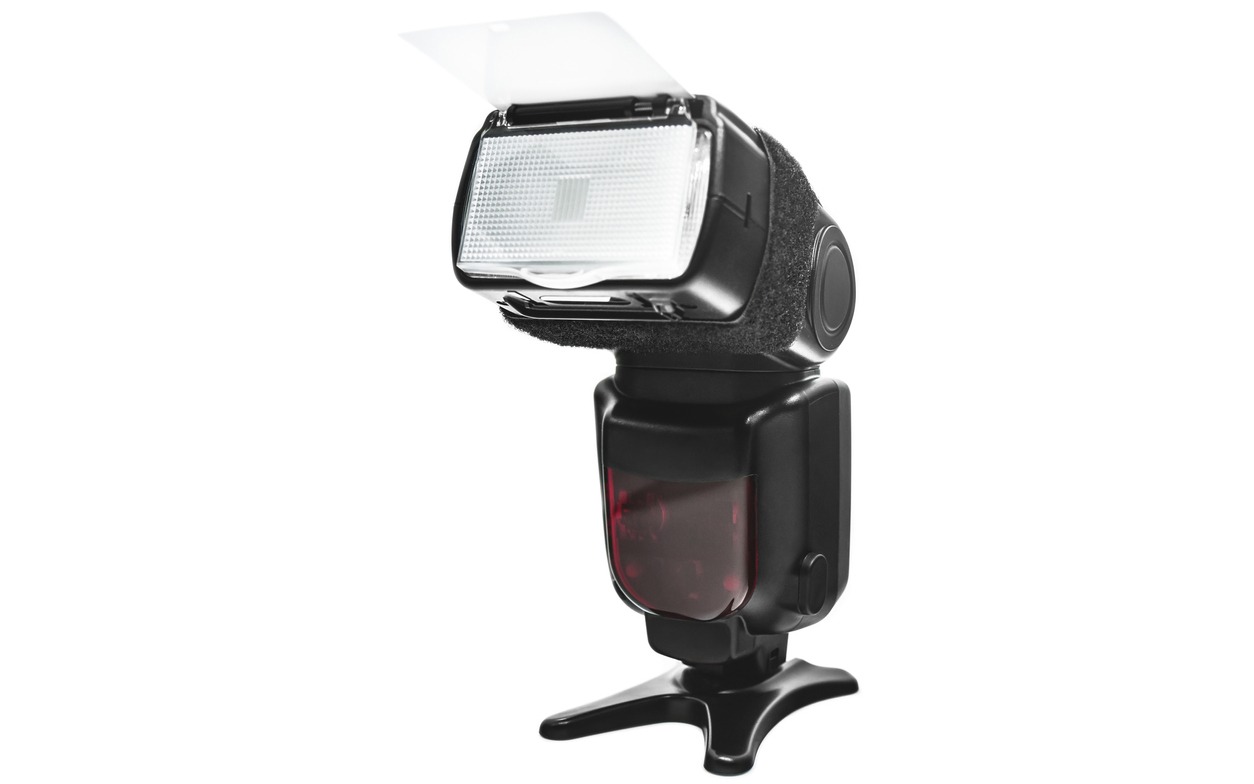
A flash unit contains a light source (usually an electronic flash tube) and a reflector, which directs the light downward toward the subject. The light then bounces off of a diffuser, which spreads it out to produce soft shadows and eliminates harsh highlights. The diffuser can be made from plastic or glass and is usually translucent white or frosted.
The flash fires for approximately 1/1000th of a second when you press the shutter release button. It’s important not to confuse this with the shutter speed, which determines how long your camera’s shutter remains open when taking pictures with ambient or natural light.
The shutter speed when using flash varies, depending upon the model of the camera, and can range anywhere from 1/250th second (for low-light situations) to as long as several seconds (when taking pictures in bright sunlight).
Factors to Consider when Doing Flash Photography
Why and When to Use a Flash
If you’re going to use flash, then you have to understand the reasons why. If your shots are too dark, then a flash will help you. If your shots are well-exposed but look flat, a flash can help you with that too.
The point here is that a flash can be used for many different purposes, not just to illuminate when it’s too dark. The main reason why people use flash is to add more dimension and depth to their shots by using shadows as an artistic element in their images.
In short, you should use flash when you want to control the:
- Light
- Color of light
- The direction of light
- Amount of light
- Quality of light
TTL vs. Manual Flash
TTL stands for Through-the-Lens and refers to the fact that the camera measures the amount of light reflected from the subject being photographed and then adjusts for proper exposure.
The flash will communicate with the camera in TTL mode. When you press the shutter release, the flash will provide enough light for your subject in accordance with the ambient light and your current exposure settings.
TTL flash is ideal when the distance between the flash and the subject changes, such as during a wedding. If you are photographing a wedding on manual flash mode, your exposures will be wildly inaccurate because of changing lighting. TTL (Through the Lens) flash metering automatically adjusts the flash output as the distance between you and the camera changes.
In most scenarios, manual flash is the best way to control the light coming from your flash. Manual flash also works well with subjects that don’t move quickly or far from the camera.
It is difficult to recreate the same lighting pattern twice when shooting in TTL mode. This is because you don’t know what settings the camera will decide for you.
Direct Flash vs. Bounce Flash
Direct flash produces the brightest light possible but can also cause harsh shadows and red eye. The best way to avoid these problems is by using a diffuser — a device that softens the light from your on-camera flash. A simple DIY diffuser can be made from tracing paper or cardboard.
On the other hand, bounce flash allows you to use less power than direct flash by reflecting light off nearby walls or ceilings. This helps even out the lighting in your scene, giving your subjects more flattering skin tones and reducing the risk of red eye.
You can also use bounce flash as a fill light when shooting outdoors during daylight hours — it’s essentially an alternative to using reflectors or other modifiers with your on-camera flash unit.
Remember the Five Common Light Patterns
Following are the five most common light patterns you should learn and remember when doing flash photography.
1. Flat Light
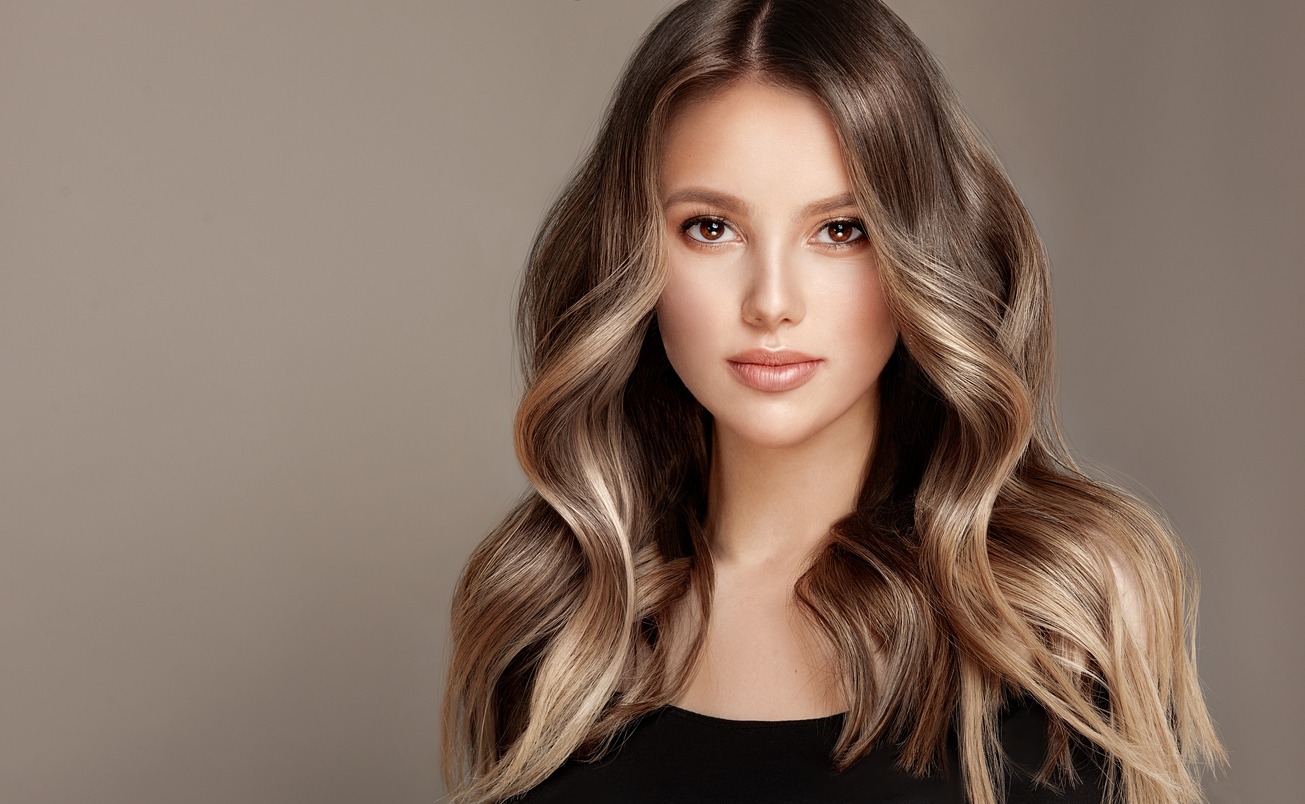
Flat lighting is produced by positioning a light source directly in front of the subject at a 90-degree angle from the lens. This type of lighting is less dramatic than other lighting patterns because it casts few shadows and highlights on the subject’s face.
2. Butterfly Light
It is placed directly in front of and above the subject’s face, creating shadows below the facial features.
3. Loop Light

Loop lighting is a variation of flat lighting in which the light source is placed directly above the subject but not directly in front. Loop lighting produces fewer shadows than flat lighting while still allowing definition.
4. Rembrandt Light
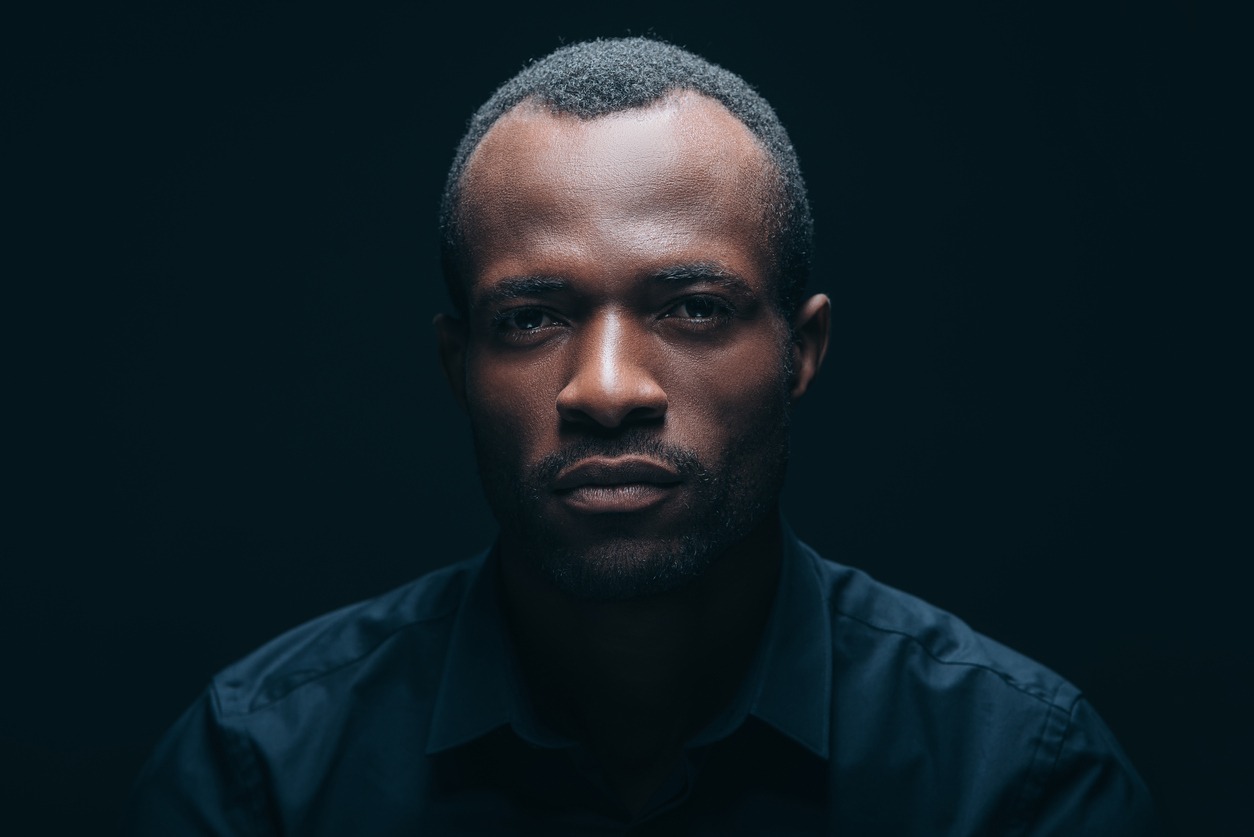
Rembrandt lighting is common technique photographers use to create flattering light on a subject’s face. It is named after the Dutch painter Rembrandt, who was famous for using this type of lighting technique in his portraits.
Rembrandt lighting is typically produced by placing a light source (usually a flash) at a low angle behind the subject, with another light source placed at an opposite high angle in front of the subject (or at least above eye level).
The result is that one side of the face is well-lit and appears to be on-axis with the camera lens, while the other side is in shadow and appears off-axis.
5. Split Light
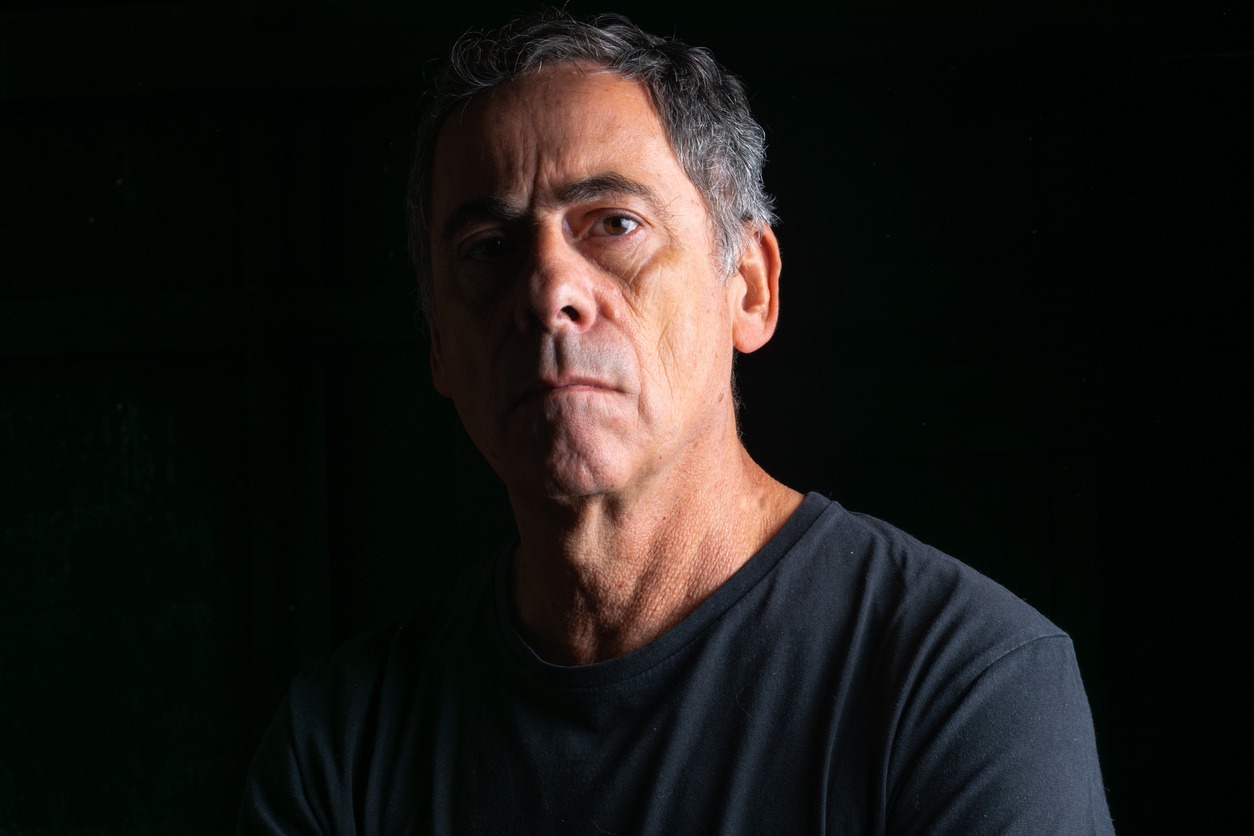
The easiest way to get good flash exposure is to set up the flash and subject so that the flash is on one side of the camera and the subject is on the other. This technique is called split lighting or cross-lighting.
Split lighting works because it creates a shadow under the nose, which helps eliminate “catch lights” in the eyes. In addition, it adds drama to portraits by giving them a more dramatic feel.
The Tips
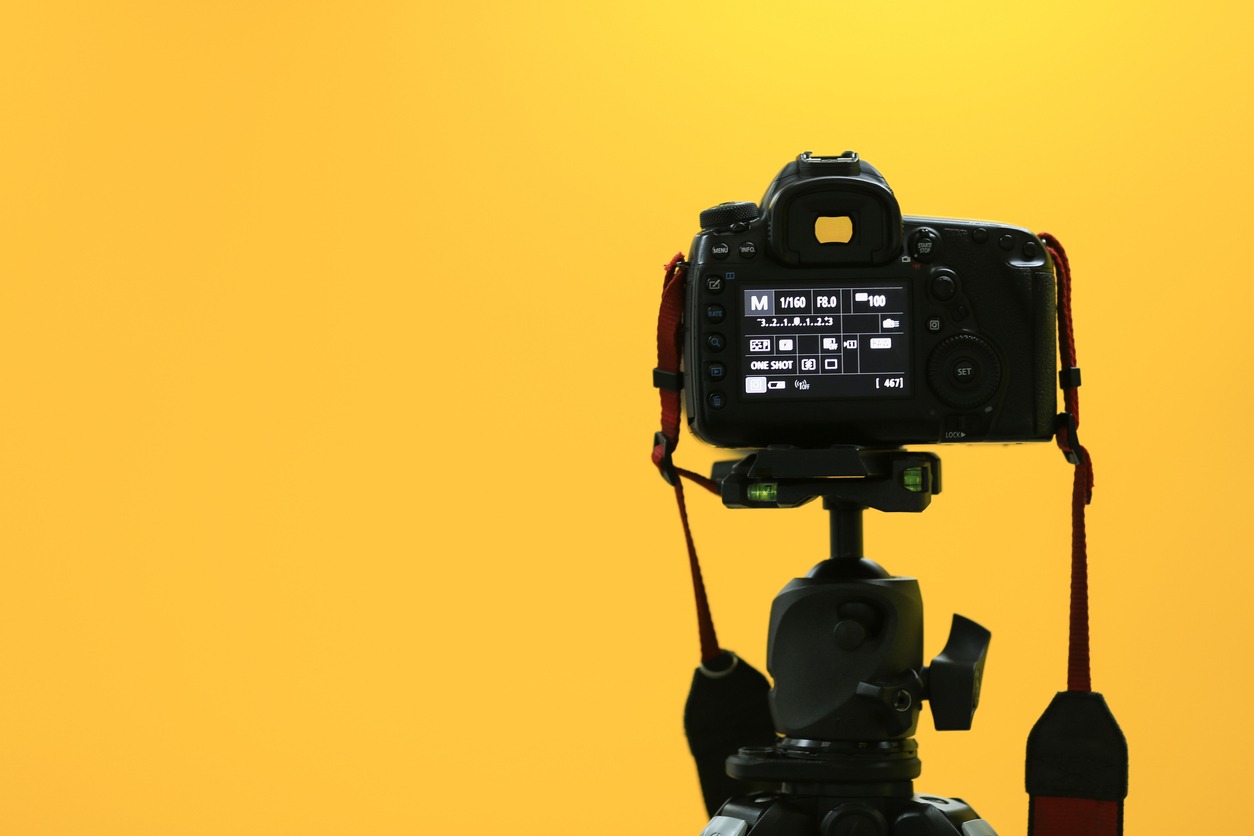
Use a Tripod
Flash photography requires long exposure times, so your camera mustn’t move during the exposure. Using a tripod will keep your camera steady and prevent blurred images caused by camera shake.
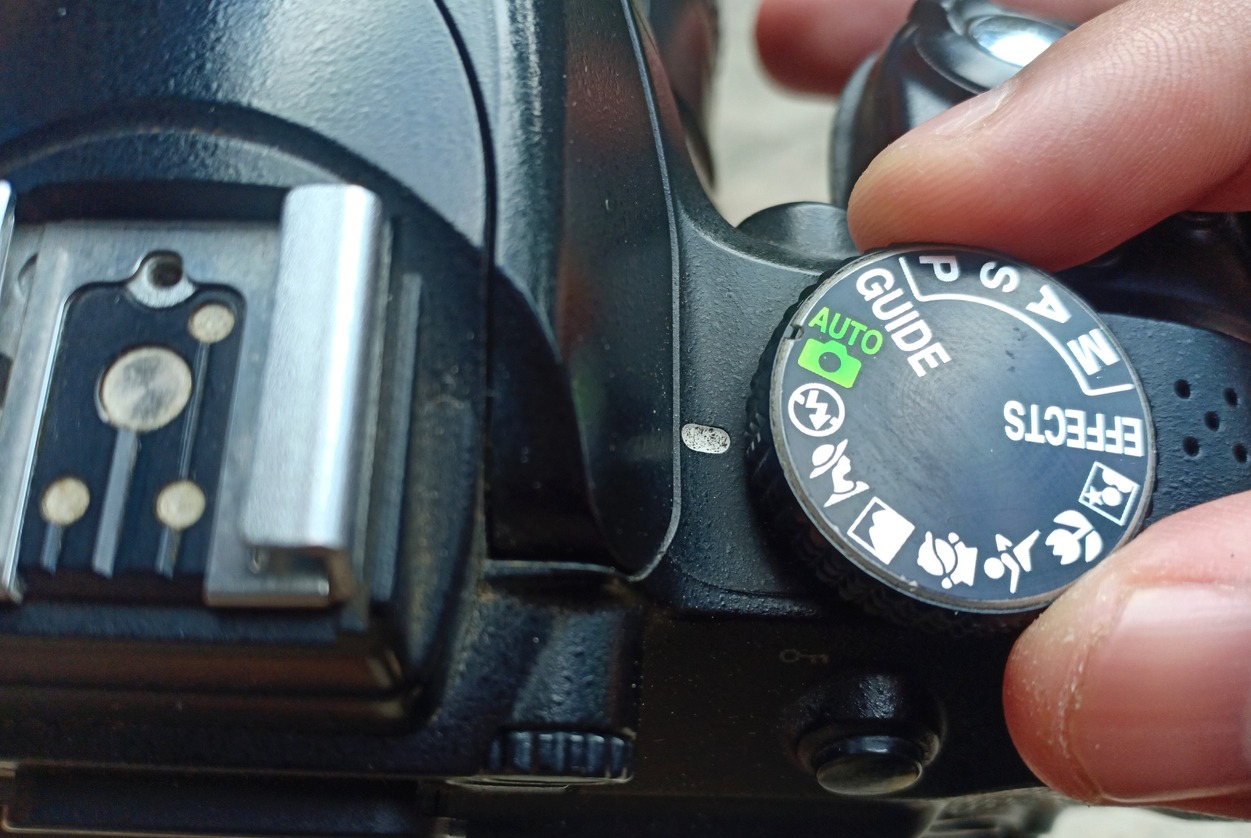
Use Manual Mode
In order to get perfect exposures in both highlights and shadows, you’ll need to know how your camera works in different lighting conditions and how different settings affect exposure, aperture, and ISO. Learn how these three things affect each other so you can adjust them accordingly when shooting under various lighting conditions.
Use the Right Flash
The most common flash units are either built-in or external hot shoe flashes that attach to your camera’s hot shoe mount by way of a sync cord (or cable). These flashes usually have an adjustable zoom head and use rechargeable batteries.
If you’re looking for more power, there are also large studio strobes that require AC power and offer more features than small hot shoe flashes.
Get Familiar with Your Camera’s Flash Modes
Most cameras offer at least two different ways to control the flash output: manual mode, which lets you set the power manually depending on how much light is needed; TTL (through the lens) metering mode, which takes into account the distance between subject and camera when determining proper exposure; and automatic fill flash mode (sometimes called “auto-fill” or E-TTL).
Bounce the Light
One of the easiest ways to improve your flash photography is by bouncing the light from your flash off of a nearby surface like a wall or ceiling. This will help fill in shadows and add more natural-looking light to your subject without washing them out with direct flash. It’s especially useful when shooting indoors with ambient light sources that are too dim for proper exposure alone.
Make Use of Ambient Light
If you’re out at night and there’s a lot of ambient light, use it! A flash is meant to fill in the shadows caused by that low-light setting, not add a whole lot of light on top of it. You’ll get better results than if you try to use your flash alone.
Get in Some Colored Flash Gels
Add color to your photos by using colored flash gels. The gels are available in many colors and can be attached directly to your flashgun or the camera’s hot shoe. You can also use them with softboxes, umbrellas, and other modifiers.
You should experiment with different colors until you find one that works well for you, but red is an excellent place to start because it’s bright and eye-catching. Yellow is another popular choice because it warms up skin tones (especially when shooting portraits).
Use Multiple Flashes
When taking photos of people, a single flash is often not enough to properly illuminate the subject.
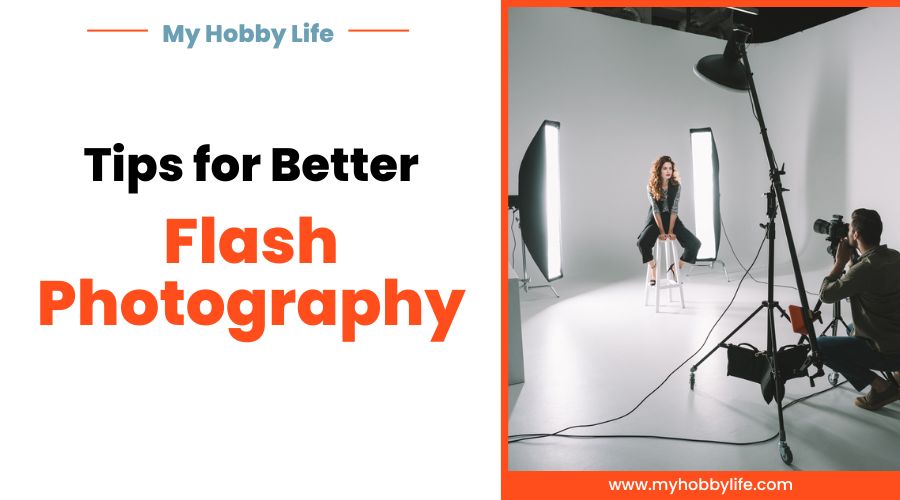
To create the traditional studio lighting setup known as three-point lighting, you’ll need a key light positioned on either side of your camera and close to it, a fill light facing your subject and positioned near (but not too close to) your camera’s other side, and a backlight (placed behind your subject).
Moreover, you can also use a two-point setup in which the key light is paired with either the fill light or backlight.
Conclusion
The camera flash allows you to illuminate a subject or object in a way that makes it pop out and stand out from the background. You shouldn’t take your camera’s flash for granted, however, as it’s rather powerful and can be used to create imagery you might not have expected.
So, the next time you’re trying new things with flash photography, don’t think of it as an afterthought but as an integral part and apply the tips mentioned above.
