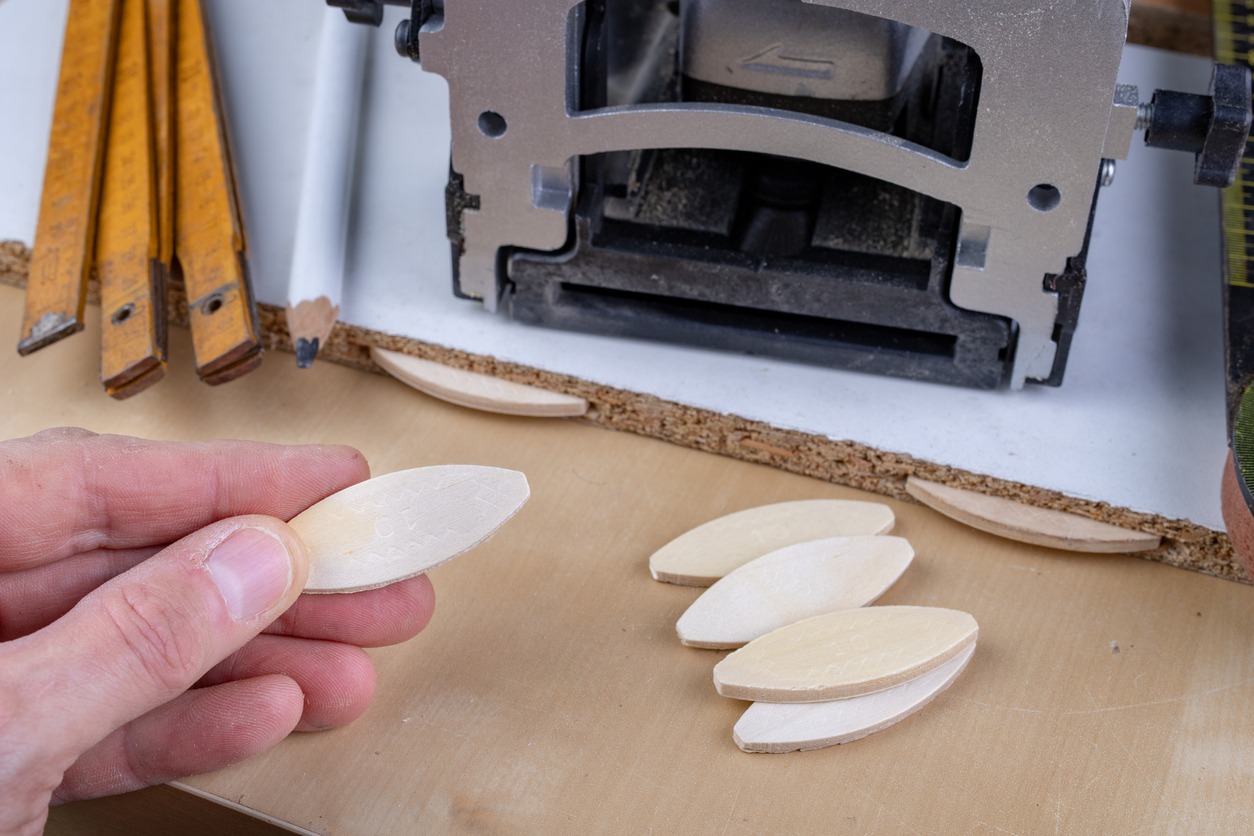
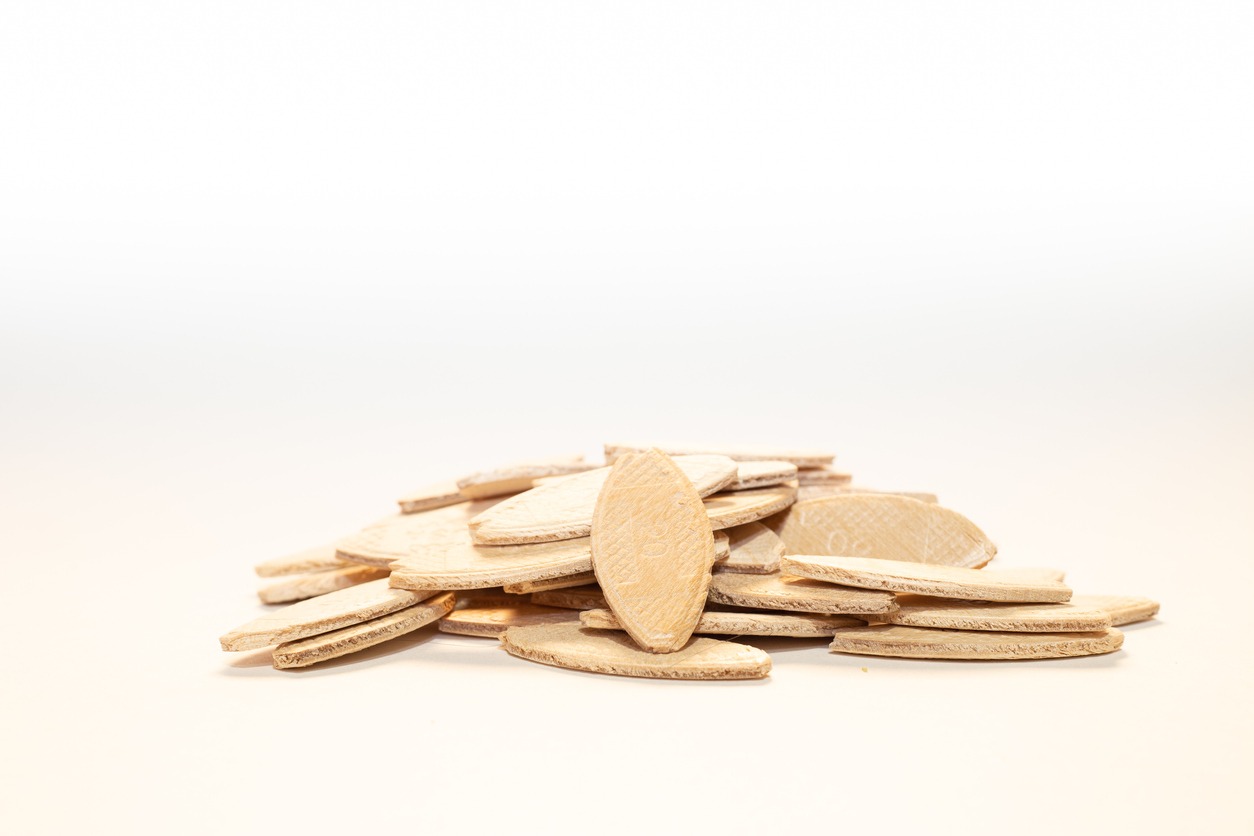
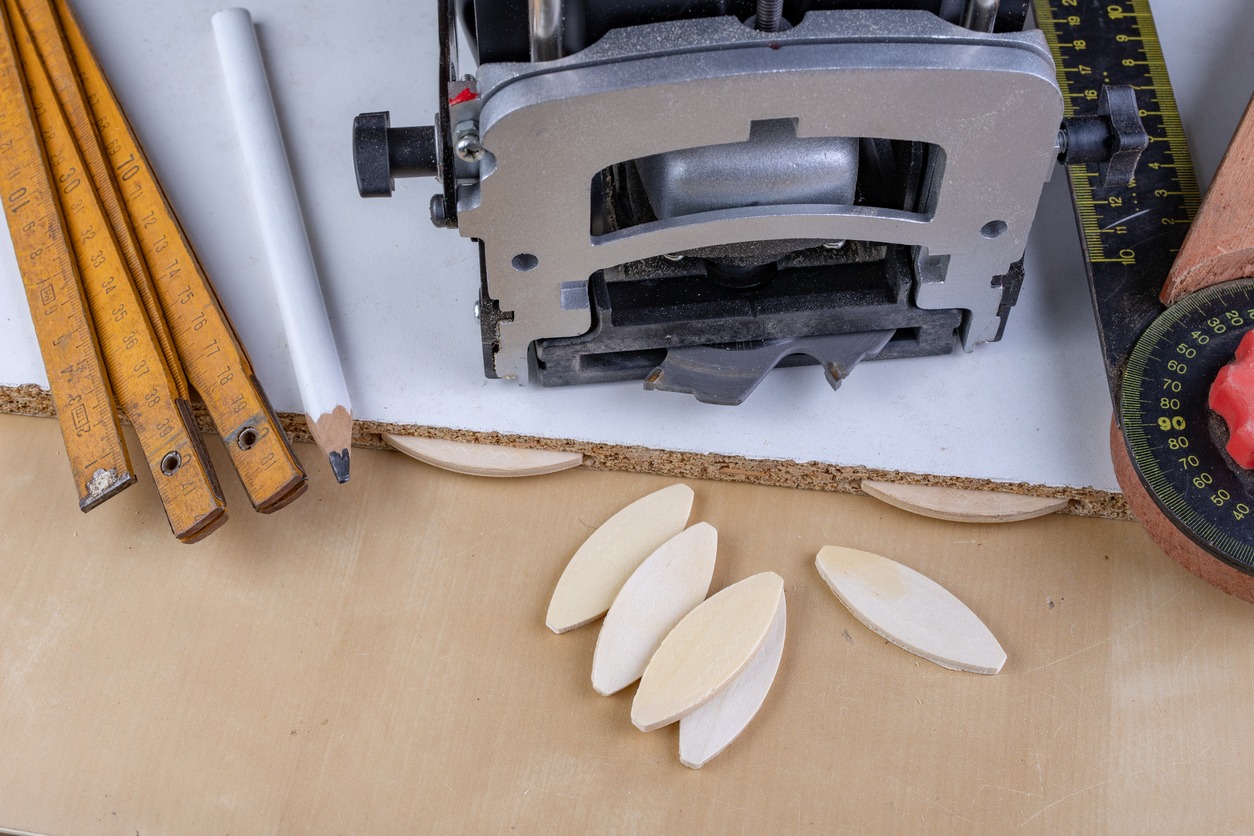
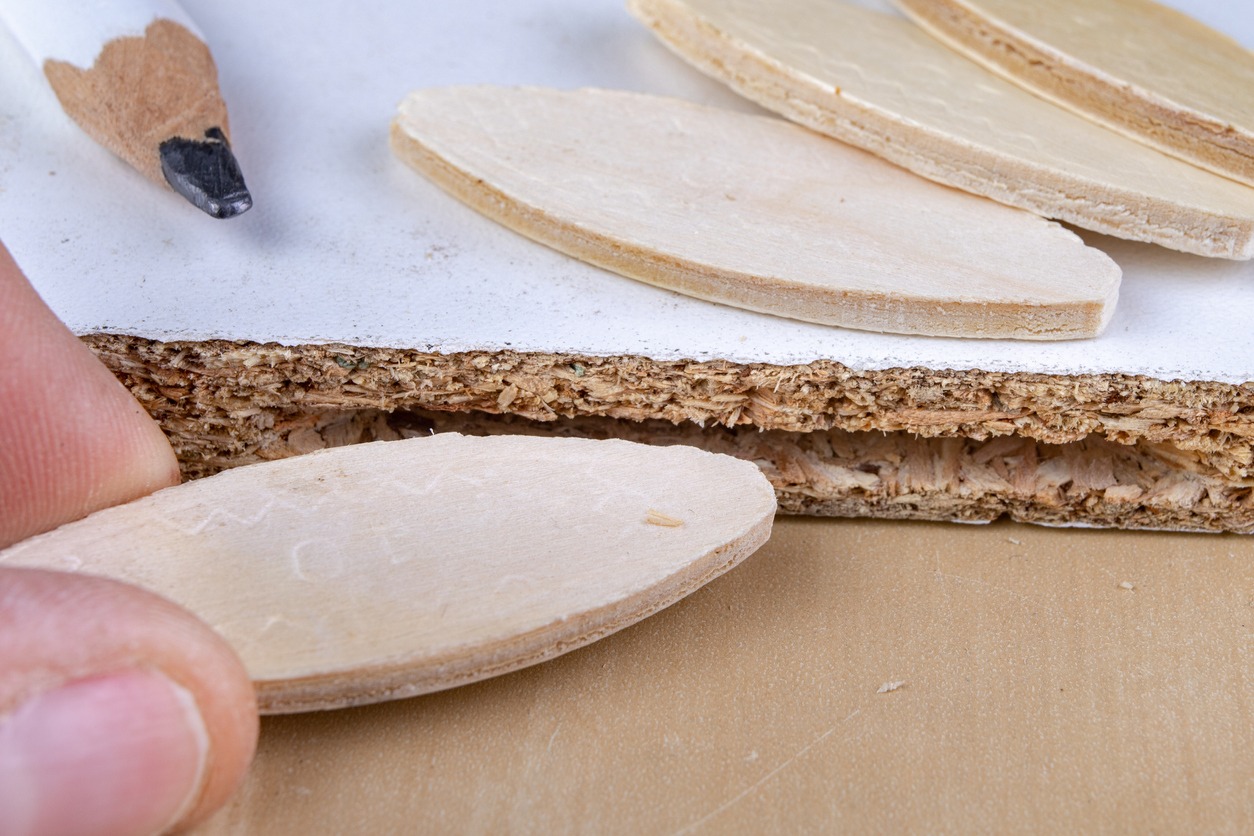
A biscuit joint, also known as a plate joint or biscuit joinery, is a woodworking technique used to combine two pieces of wood. It involves the use of small, thin, oval-shaped wooden discs called “biscuits” (hence the name) that are made from compressed wood or a similar material. These biscuits are typically made of beech wood.
In this article, get to know biscuit joiners and how to use them.
What is a Biscuit Joint?
A biscuit joint is a way of joining two pieces of wood by inserting a football-shaped wooden piece (the biscuit) into slots cut into both pieces. These slots are made using a tool called a biscuit joiner or plate joiner, which creates half-moon-shaped openings in the wood. Adding glue and the biscuit swells and locks the joint in place, making it strong and well-hidden for clean and precise connections. Biscuit joints are often used for specific woodworking joints like edge-to-edge, miter, T, and corner joints.
Here’s how biscuit joinery works:
- A biscuit joiner or plate joiner is used to create matching slots, or mortises, in the pieces of wood that are to be joined. The joiner has a circular blade that cuts a crescent-shaped hole, which is the size of the biscuit.
- Once the mortises are cut, you insert biscuits into these slots. The biscuits are coated with glue before insertion.
- The two pieces of wood that you want to join are brought together, with the biscuits aligning in the corresponding mortises. The glue on the biscuits bonds the wood pieces together.
- To ensure a tight and secure joint, clamps are often used to hold the pieces in place while the glue dries. This helps to create a strong and stable connection between the two pieces of wood.
Biscuit joints provide added stability and help prevent the wood from shifting or misaligning over time. However, it’s essential to note that the primary strength of biscuit joinery doesn’t lie in the biscuits themselves, which are made of compressed wood and aren’t exceptionally strong. Additionally, biscuit slots are relatively shallow compared to mortise and tenon joints. As a result, biscuit joints are best suited for lighter-duty applications like tabletops, bookshelves, trim work, and similar uses. Heavy load-bearing applications are better suited for stronger joinery techniques.
What is a Biscuit Joiner?
A biscuit joiner, also known as a plate joiner, is a handy power tool with a circular saw blade designed for cutting slots in wood. These slots are meant to accommodate biscuits, which are thin dowels made from compressed wood and used to join slotted pieces of wood together. This tool helps woodworkers create furniture with sleek, hidden joints. Beyond the aesthetics, a plate joiner simplifies the process of joining boards, making it faster and more precise.
Choosing the Right Biscuit Size
Biscuits come in various sizes to suit different types and thicknesses of wood. A good rule of thumb is to use the largest biscuit that fits the bill because bigger biscuits provide more gluing surfaces and stronger connections. However, if you’re working with narrower pieces of wood, consider using smaller biscuits for a snug fit. Here are some common sizes:
- FF: ½” wide, 1 ⅜” long
- 0: ⅝” wide, 1 ⅞” long
- 10: ¾” wide, 2 ⅛” long
- 20: 15/16” wide, 2 ¼” long
To match these biscuit sizes, biscuit joiners have adjustable depth settings. Simply dial in the right depth (usually indicated on the biscuit joiner), and the tool will ensure the blade cuts at the correct depth for a snug and sturdy joint.
Biscuit joiners also feature adjustable fences that help maintain the slot’s height and ensure consistent results with materials of the same thickness. This feature comes in handy when extra joint strength is needed, such as when using double biscuits.
When to Go for a Biscuit Joint
Biscuit joints are ideal when you want to prioritize ease, speed, and consistency over sheer strength. The tools for creating biscuit joints are user-friendly and provide dependable outcomes.
For example, when building a bookshelf, you can easily create even and parallel shelves using a biscuit joiner. By aligning the cabinet’s side and drawing reference lines across both boards, marking biscuit locations becomes a breeze. With a straight edge clamped in place, you can bore the slots in seconds.
In the case of tabletops, using biscuit joints between boards is much faster compared to milling tongue-and-groove joints on a router table. Biscuits help align the boards, resulting in a very flat surface that requires minimal sanding.
Here are a few applications where biscuit joints are ideal:
Joining Edge Grain to Edge Grain
The most frequent use for biscuit joints is joining the edge grain of wood to more edge grain, as seen in tabletops crafted from multiple wood pieces.Biscuit joiners ensure consistent slot heights, helping align boards during the gluing process. They also provide some lateral flexibility – a feature lacking in tenons or dowels.
To create a stable tabletop, arrange the boards side by side with alternating end grain directions. Mark the centerlines for biscuit slots at intervals along the joints. Adjust the biscuit joiner to the appropriate size (often the large #20 size for edge-to-edge joints) and cut the slots, ensuring they align with your pencil marks. Apply glue in the slots, insert the biscuits, and connect the boards. Clamp the assembly without over-tightening to avoid squeezing out excess glue. Wipe off any squeezed-out glue to maintain a clean finish.
Miter Joints
Biscuits work well for miter joints, as the biscuit cutter excels at creating slots between the two mitered pieces, offering more gluing surface than a traditional mitered joint. This is handy for window and door casings, picture frames, standard frame-and-panel cabinet doors, and various woodworking projects.
End-to-Edge Joints
When it comes to solid wood end grain, it doesn’t adhere well, often soaking up glue and forming a weak bond. This is where biscuits shine by increasing the glued surface area and reinforcing the end-to-edge connection. This technique proves helpful for tasks like installing wainscoting or crafting furniture like dressers, benches, or tables.
Butt Joints
Biscuit joints can reinforce an end-to-end butt joint, providing more than just an end grain for the glue to grip onto. While this joint might not support significant weight on its own, it helps prevent the separation of two butt ends over time.
Offset Joints
Woodworkers often use offset joints to introduce character and depth to their projects, creating what’s known as a “reveal.” A reveal occurs when two pieces of wood intentionally have an offset, like when the table apron is slightly inset from the table legs. Biscuit joints excel in such projects, making it easy to achieve consistent and even reveals on all corners without the need for complex measurements.
Double Joints
When additional strength is required, consider a double biscuit joint. In this technique, you cut the slot twice, adjusting the biscuit joiner after the initial cut. This allows you to install two biscuits, making the joint more robust and providing extra adhesive area.
Parts of a Biscuit Joiner
Before investing in a biscuit joiner, it’s essential to understand how it works. Here are the key parts that make up this power tool:
- Handle: The part you grip for holding, carrying, and controlling the joiner.
- Motor: The electric motor that powers the cutting blade. It can run on a rechargeable battery or connect to a wall outlet via a cable.
- Power switch: Used to turn the machine on and off.
- Blade: A circular cutting disc with teeth. It extends from its guard when the tool presses into the workpiece and retracts when lifted.
- Blade lock button: Secures the blade in place, preventing rotation during blade changes.
- Cutting depth adjustment knob: Together with a fine-adjustment screw, it controls the depth of the blade’s cut. Users can select the cutting depth based on the biscuit size they plan to use.
- Fence: A guard resting on the workpiece stabilizes the plate joiner. It often includes markings to simplify height and angle adjustments.
- Horizontal and vertical center marks: These parts indicate the blade’s horizontal and vertical centers. They denote both the thickness and axis centers of the blade.
- Cutting width mark: Shows the blade’s width when fully exposed, helping users estimate the necessary spacing between biscuits.
- Direction-of-rotation arrow: An engraved arrow that reveals the blade’s rotation direction.
- Anti-slip bumpers: Prevent the biscuit joiner from slipping during the cutting process and keep it firmly in place.
Features to Consider When Choosing a Biscuit Joiner
When selecting a plate joiner, understanding its essential features is key for comparing different models and mastering how to use it. Here are some of the important features to consider:
1.Motor Power
Power is rated in amps (A) for corded plate joiners, while cordless ones use volts (V). A corded joiner with 5-7 A is excellent for most DIY projects, handling softwood, particle board, and some harder materials. If you prefer cordless, a 14-volt model offers similar performance, but pros and hardwoods might require more powerful motors.
2. Blade Size
This refers to the cutting blade’s diameter, with the standard being a 4-inch disc that cuts slots for common biscuit sizes. If you need smaller slots for smaller biscuits, a 2-inch blade is handy.
3. Cutting Speed
The blade’s spinning rate is linked to the motor power. Most corded joiners spin between 10,000 and 11,000 revolutions per minute (rpm), suitable for hardwood. Higher speeds result in cleaner cuts in materials prone to splintering.
4. Adjustable Fence
Look for a biscuit joiner with a fence that can be adjusted to 45 and 135 degrees. This feature streamlines cutting. Some fences only tilt to 45 degrees, which requires you to flip the workpiece to cut both sides. A dual-angle adjustable fence saves time and simplifies cutting miter joints.
5. Dust Collection
Plate joiners create sawdust, and many come with dust bags to keep your work area clean. Some models offer dust ports for connecting to workshop vacuums, enhancing dust control.
6.Handle Styles
When it comes to biscuit joiners, they come in different handle styles. Manufacturers offer models with barrel grips or D-handles.
- Barrel Grip: This style extends the tool’s body and provides a larger grip area, enhancing control. Wrapping your hand around a barrel grip allows for easier maneuvering.
- D-Handle: If you anticipate long sessions with your biscuit joiner, a D-handle model might be your best bet. It offers a more ergonomic grip and is comfortable for extended use.
7. Corded vs. Cordless
Biscuit joiners also come in two power options:
- Corded: These units boast more powerful motors, enabling faster cutting. They also run for extended periods since they don’t rely on batteries.
- Cordless: If portability is a priority, cordless biscuit joiners are a great choice. They’re well-suited for fieldwork and small projects without the hindrance of a power cable. For continuous work, having spare batteries is wise to minimize downtime.
How to Use Biscuit Joiner
A biscuit joiner, or a plate joiner, is your key to creating sturdy, aligned joints. Follow these simple steps to set up your joiner for a typical joint:
Step 1: Begin by marking the locations for biscuit slots across the joint between the two boards you intend to join. First, mark one board and then transfer those marks to the second board.
Step 2: Adjust the plunge depth to match the size of the biscuit you’ll be using. For maximum strength, opt for the largest biscuit that suits your joint.
Step 3: Align the slot-centering marks with your layout lines. Similar marks can be found on the base’s underside for vertical use.
Step 4: Typically, you’ll want to center the slot in the wood. When the joiner rests on a flat surface, it’s preset to center the cut in 3/4″-thick stock.
Step 5: Hold the joiner using the bale and the barrel (or handle), engage the power switch, and plunge the blade into the wood.
Step 6: Once you’ve cut slots in your workpieces, it’s time to apply glue and insert the biscuits, then clamp the joint securely. With these steps, you’re well on your way to creating perfectly aligned biscuit joints.
Some helpful tips and tricks for using a biscuit joiner include:
- Working one board at a time: It simplifies the process.
- Applying dry lubricant: A couple of drops between the motor assembly and the tool’s base can help parts move more smoothly.
- Using a jig: Complement the fence with a jig to secure the workpiece, enhancing cutting accuracy.
Conclusion
Biscuit joinery offers a quick and consistent way to create joints. While it may not be the strongest form of joinery, it’s user-friendly, allowing you to work efficiently and complete your project. For lighter-duty joints, biscuits are certainly worth considering.


