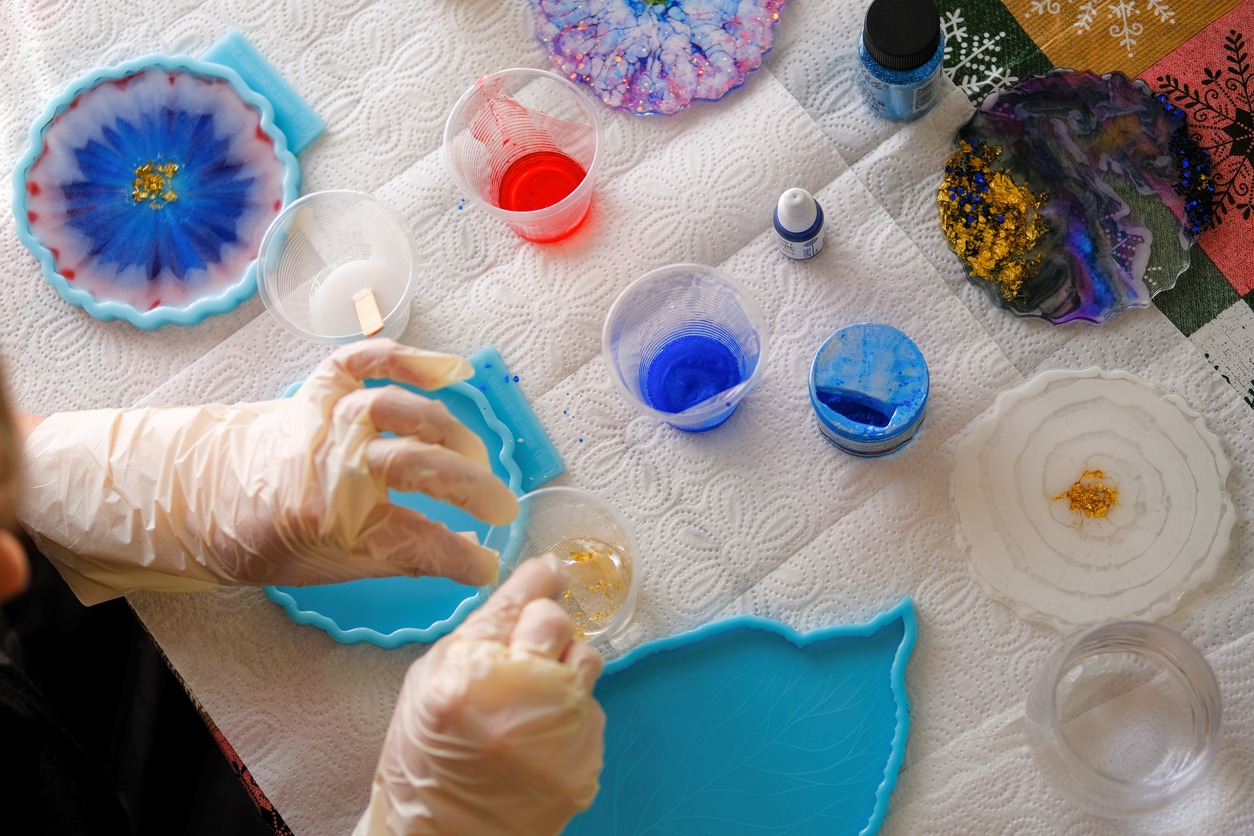
Resin art is beautiful. Have you ever seen a pendant necklace with dried flowers suspended inside? Or a coaster with different shades of the sunset designed on it? In itself, resin looks like a clear and lifeless canvas, but with pigments, you can make vibrant masterpieces.
Whether you’re a seasoned resin artist looking to expand your color palette, or a curious novice eager to try out this medium, understanding the secrets of mixing and utilizing pigments is your key to unlocking a world of imaginative expression.
Liquid vs. Powder Pigment
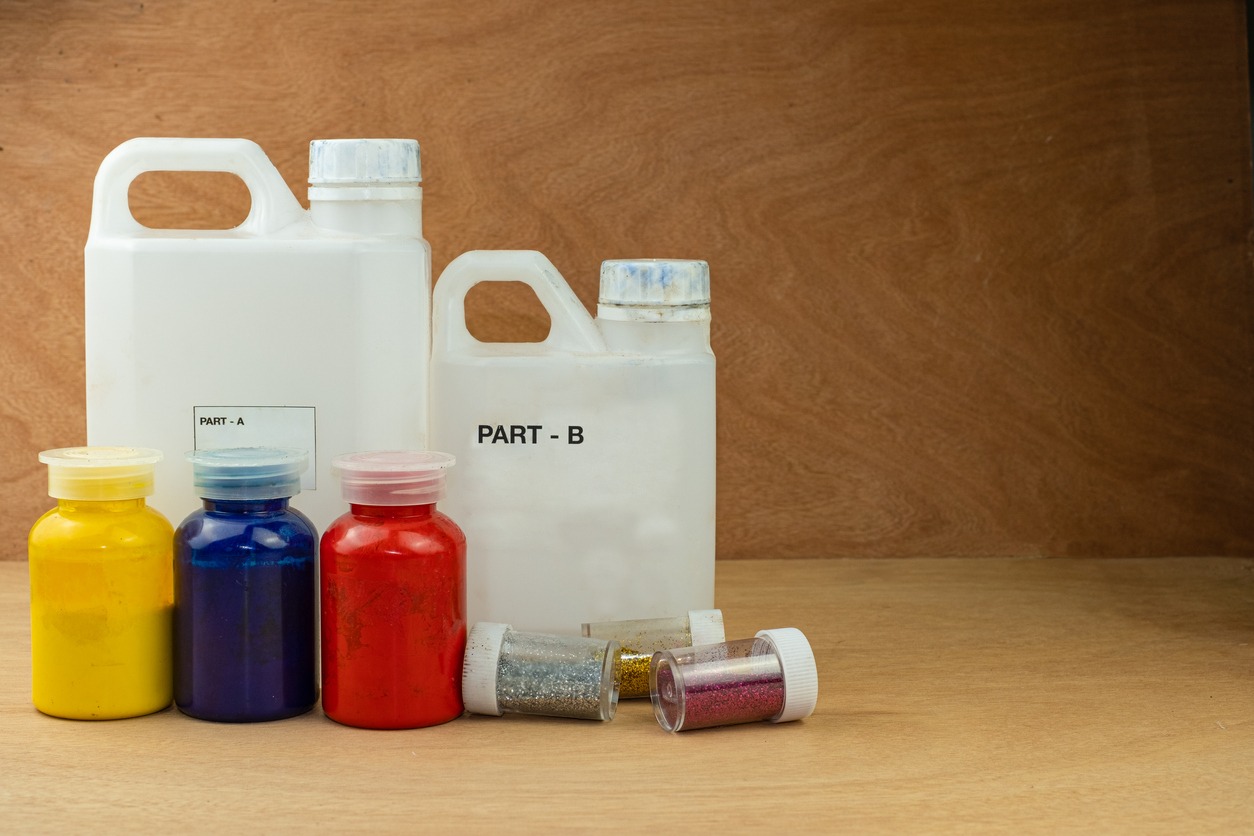
There are two main types of resin pigments: liquid and powder form. When deciding whether to opt for liquid or powder pigments, envision your desired outcome. Your choice depends on the type of resin artwork you’re creating and your personal preferences. Each coloring method has its pros and cons, but grasping the unique effects they offer is key to achieving the best results.
Liquid Pigment
If you want a consistent solid color and a translucent effect, go for a liquid resin pigment. Liquid pigments also blend effortlessly, making it a flexible option when creating custom shades. However, they have a shorter shelf life compared to powders, and proper storage is essential to prevent it from separating over time. Adding liquid color can slightly alter the resin-hardener ratio, so it’s best to test a small amount before using it in larger projects.
Meanwhile, powder pigments are dry, solid additives that can bring in special effects and an element of movement. They can add sparkle, shine, and dimension to your resin art pieces.
Resin Powder Pigments
Resin powder pigments come in different types, such as:
Mica Powder
In the resin art community, mica powder is an all-in-one resin pigment and thego-to powdered pigment material. It adds a vibrant color and an iridescent luster to any resin art. When you mix these shimmery pigments into your resin, they create a certain depth, almost like an extra-fine glitter with a pearly effect.
Made from natural mica mineral coated with iron oxide/titanium dioxide, mica powders won’t dissolve in resin. Instead, they stay suspended, producing a mesmerizing array of cells, 3D effects, and a shimmering finish. It’s the artist’s favorite for a reason.
True Metallic Pigment
If you’re after that metallic look, true metallic pigments are your answer. These pigments are, in fact, made of real metals like copper, zinc, and aluminum, ground down to powder. When added to the resin, they give your project an authentic golden or silvery appearance, often resulting in opaque finishes. The magic here lies in their minuscule particle size, meaning you need just a tiny amount to add luster to your projects. They mix easily, and some particles even seem to float in the resin, creating a captivating “liquid metal” or that floating-gold effect.
Sparkle and Glitter
Adding a bit of sparkle to your resin art is always fun, and glitter is the way to go! If you want a sparkling texture and a touch of color, use fine, soft glitter. Chunkier glitter is often used only for adding highlights and decorative details – they don’t work well for coloring resin because they are tricky to blend seamlessly and won’t dissolve.
How to Mix Powder Pigment with Resin
Mixing powder pigment with resin is a breeze, and we’ve got two simple methods to get you started. But first, here are four essential things to keep in mind before you continue:
- Mix your resin and hardener together before adding the powder pigment. The powder pigment should go into resin after they’re already mixed.
- Make sure your powder pigment is completely dry before you introduce it to the resin. Excess moisture can interfere with the resin curing process or leave it with a soft finish.
- Remember that powder pigment makes a resin opaque. If you want a translucent look so you can add other design elements you may want to suspend in resin, go for a liquid pigment.
- Powder pigment can be used with opaque liquid resin colors, but it won’t be that noticeable. However, it can give a pearlized or metallic effect to transparent resin colors.
Now that you’ve got these vital details down, here’s how to do it:
Option 1: Direct Mixing
Simply sprinkle a bit of powder pigment onto your cup of mixed resin and give it a good stir. It’s a good idea to start with less than you think you need because you can always add more if necessary.
For finely ground powders, this method works like a charm. Just remember not to exceed 1 part powder to 4 parts mixed resin.
Option 2: Create a Paste
Some powders, especially the heavier ones, don’t dissolve as easily. Mixing them in can make your resin look lumpy. In cases like this, you can pour a bit of resin onto a non-stick surface and then add the powder. Move it around and use your mixing tool to get rid of those lumps. This mixture becomes your stock solution, which you can then add to your mixed resin.
As for what your powder pigment colors will look like in your resin, it’s pretty straightforward. They’ll appear in your resin the same way they do in the container. So, if your powder has a metallic sheen, that’s what your resin will get.
How to Mix Liquid Pigment with Resin
Mixing liquid pigment with resin is fun! There’s something truly captivating about the rich jewel tones and vibrant hues that colored resin can bring to your projects. Watching those colors swirl and blend as you stir in some pigment is a sheer delight. Learn how to mix resin colors as we break down the basics of color mixing so you can create your own stunning colored resin pieces.
Step 1: Get to Know Color Theory
Let’s begin with a little color theory and how it connects to resin colorants.
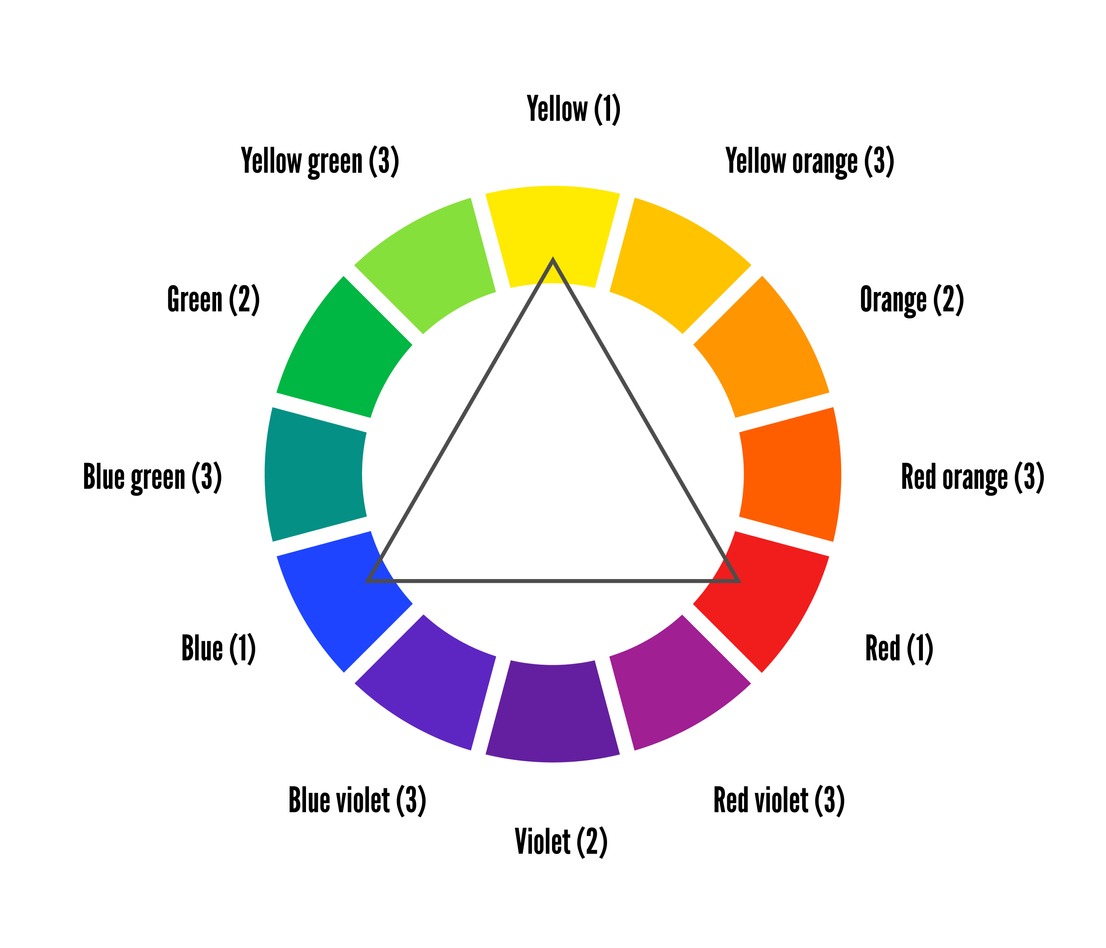
Primary Colors: These are your core colors—red, blue, and yellow. They’re the foundation of all other colors, and you can mix most shades using a combination of these three. So, if you’re thinking about which resin dyes to grab, these primary colors are the most important ones to have.
Secondary Colors: These are orange, purple, and green – the results of mixing two primary colors. The color wheel diagram shows you how each pair of primary colors creates a secondary color. Keep in mind when mixing resin dyes, different colorants may use unique formulas, so the secondary colors can vary.
Tertiary Colors: Tertiary colors come into play when you combine a secondary color with an adjacent primary color. This mix yields shades like amber (yellow + orange), violet (red + purple), and lime green (yellow + green). Play around with the proportions, and you’ll unlock a world of colors.
A quick tip: Mixing primary and secondary colors that aren’t adjacent often results in muddy or brownish shades.
Many resin colorant sets include red, yellow, and blue, along with pre-mixed secondary and tertiary colors that you can use as-is. But if you want to get creative and blend secondary or tertiary colors into new shades, a little testing is needed in order to ensure you achieve the colors you expect.
Step 2: Add Color
When adding liquid pigment to the resin, remember these important things:
- Stick to the color name on the label, or use a sample for reference. What you see in the container might not match the real deal because these dyes are super concentrated.
- Give those color bottles a good shake often. Most dyes consist of tiny color particles suspended in the liquid, so thorough mixing is the key to consistent color results.
- Start with adding a tiny drop of pigment, then add more in little increments. It’s way easier and cost-effective to deepen a color by adding more dye than trying to lighten it by pouring in extra resin. Once you’re familiar with a specific product, you can become a bit more adventurous.
- Keep notes of your color experiments so you can replicate your favorite hues.
Step 3: Mix the Colors
Now, give those colors a gentle but thorough mix. The trick is to avoid adding a bunch of extra bubbles as you stir. Once the dye is fully blended, check the color you’ve created. This will be your guide for the next step. If you see a significant change in color, start by adding just one drop of dye at a time. However, if the change is subtle, you can experiment with a few drops at once.
A crucial note: Remember that the color’s intensity can vary for each brand of dye and even within the same brand. Mixing in a white cup will help you see the true colors more clearly during the mixing process.
Step 4: Amp Up the Color as Needed
Continue adding dye a drop or two at a time, and then mix until you reach your desired color intensity. This method gives you plenty of control, allowing you to achieve various shades right from the dye bottle. Some dyes may appear to change color during this process, like my pale pink transforming into red.
For bolder, non-transparent colors, or if you want your resin to be completely opaque, you can turn to opaque colorants. Note that opaque pigments can be used with epoxy resin and polyester resin. If you’re using UV resin, remember to test it first since UV light is needed for the resin to cure.
Step 5: Mix More Colors (Optional)
When it comes to crafting your own secondary and tertiary resin colors, you’ve got two main techniques to explore:
- You can add multiple dyes directly from their bottles and mix them into one portion of clear resin.
- Alternatively, you can mix colors separately and then blend them in another cup.
As you experiment with adding dyes and mixing, remember to assess the true colors you’re getting during each addition.
To make secondary transparent colors, take a small amount of each primary color and put drops into a fresh cup. Use a clean stirring stick for each color. Ideally, I’d love to tell you to use equal parts of each primary color, but resin dyes don’t always work that way.
Give it a good mix, and check the color. If you need to intensify one of the primary colors, consider adding a drop or two directly from the dye bottle. And guess what? You can use this same process to craft tertiary colors, too!
On the other hand, to create secondary opaque colors, you need to do the same steps. However, you might find that the proportions are different, resulting in lighter shades when incorporating the blue resin into other colors.
Note: White dye can lighten dark resin, but it’s worth testing a small amount to see the effect, as it might alter the color, occasionally creating a pastel shade.
Step 6: Blend in the Pigment
Give each primary color a good stir to fully incorporate the paste into the resin. If you want richer and more intense colors, you can use the paste that’s left on the sticks from stirring. This will yield dark, deep hues.
Now that your resin is all dolled up with color, you’ve got some quality time to work with it before it starts to set. Keep in mind that the working time can vary based on factors like the brand you’re using, temperature, humidity, and more. With your colored resin, you’re free to pour it into molds, create freeform shapes on parchment paper, fill bezels, and fashion an array of items like necklaces, keychains, doorknobs, and endless creative possibilities!
Choosing the Right Resin Pigment
Now that you’ve got the lowdown on the key differences between epoxy resin powder and liquid pigment, it’s time for the exciting part – making your choice based on your project’s needs.
First things first, think about the effect you want to achieve. If you’re after a sleek, matte, and uniform color, liquid pigment is your go-to. For a more textured and eye-catching outcome, give pigment powders a try. When it comes to smaller pieces, mica or fine glitter can add just the right touch of sparkle without going overboard.
Don’t forget to consider shelf life. If you’re a sporadic resin artist rather than a daily creator, liquid pigment may spoil before you get the chance to use it all.
Conclusion
In choosing between resin pigment powder and liquid, there’s no wrong choice. You have a whole toolbox of options – liquids, mica powders, metallic pigments, or glitters – to create unique effects. To find your perfect match, don’t be afraid to experiment and let your creativity run wild. Get mixing and discover what works best for your resin art!


