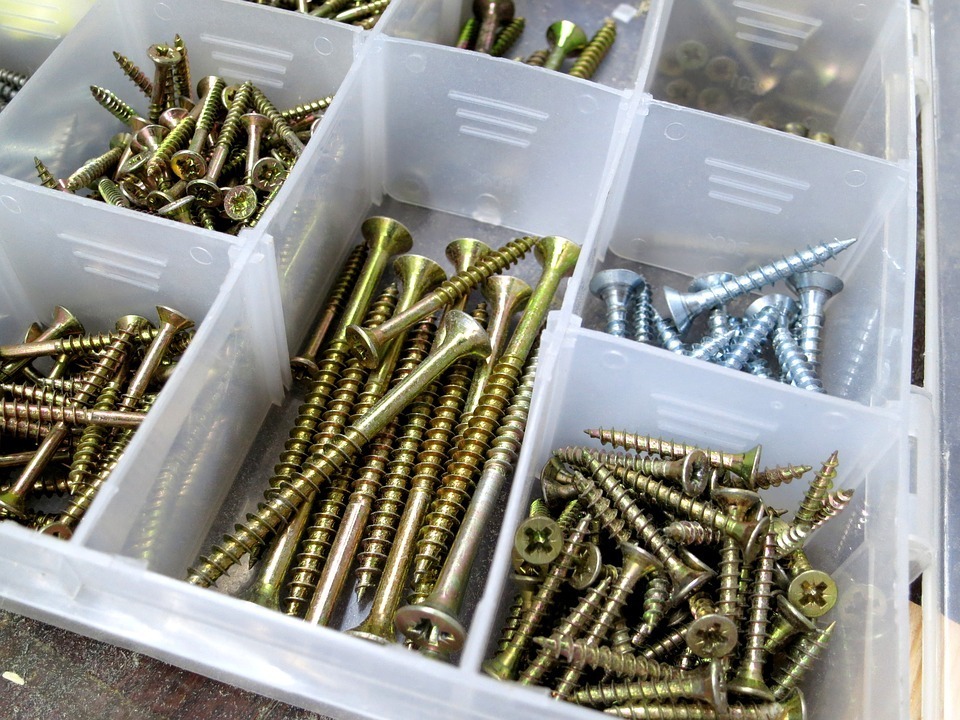
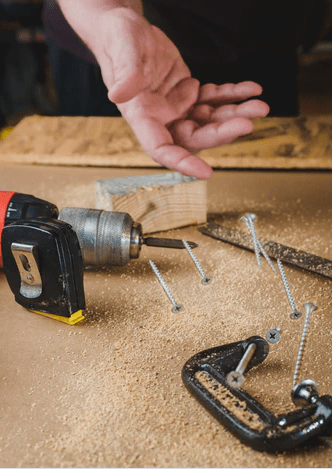
Every person who likes to be handy around the house must have a box filled with nails, screws, and everything in between. Organizing all those tiny things can be a hassle. It might even make you feel like it is pointless and impossible to arrange all the screws, nuts, and bolts in one place, but it’s worth it.
However, organizing everything is an excellent way to make your home improvement work more manageable and allow you to spend less time finding the things required. Therefore, an organizer box will prevent items from being misplaced, lost, and even stolen.
The best thing about these DIY organizer boxes is that they are easy to make and come in handy in your daily life. It helps avoid the hassle and situations where you are constantly looking and wondering where your things went.
Things Needed For Making an Organizer Box
Cardboard
To make an organizer box, you will need cardboard or wood. You can use regular cardboard or pine boards or even plywood. The goal here is to look for something solid, provide a suitable foundation and structure for the organizer box, and ensure safety.
Glue
You will need glue or any suitable adhesive for connecting different parts of the box. However, make sure that the glue you choose can work on the materials at hand without creating a mess. Hence using the best glue or adhesive is preferred.
Band saw
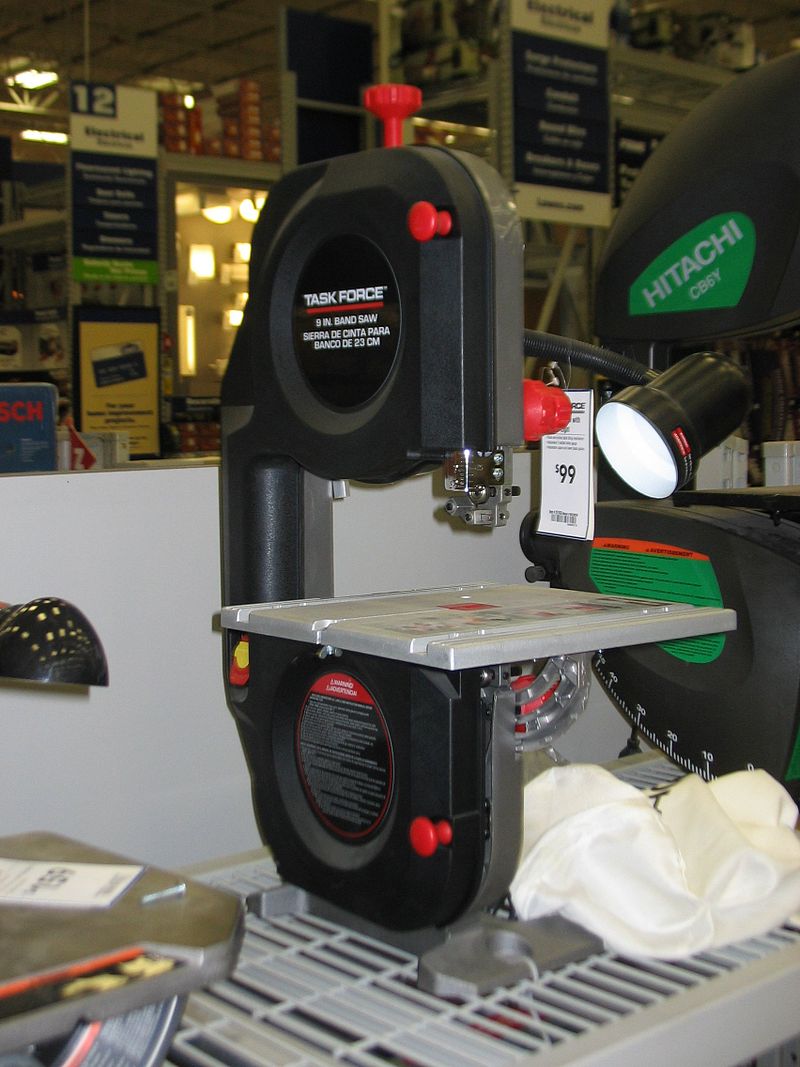
A band saw is a power-saw with a long and sharp blade consisting of a continuous band of toothed metal stretched down between two or more wheels to cut the material. You might need it for cutting hardboards and wood, which would help shape the sides of the box. Be careful, though, as this tool is very sharp and dangerously prone to causing damage to the body.
Variable Box Joint Jig
Keeping a variable box joint jig would also come in handy to cut different-sized box joints. It works very well, and you can easily cut 60 boxes using it. You can make boxes that have a size of 1/8 inch to ½ inch sized joints. You can use Baltic birch for most parts and mahogany for the wheel, handle, and other small parts.
Hammer
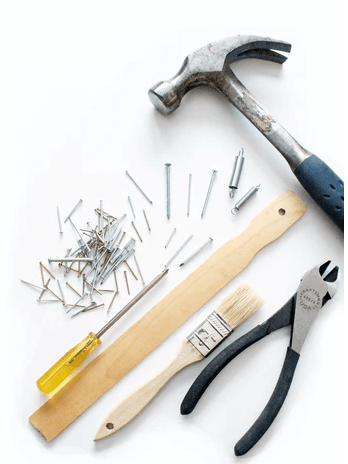
Hammer is a necessary tool to have here since you will be using a lot of nails to hold the box down in place.
Drilling Machine
You could also need a drilling machine to make holes in the wood or board to fit the screws in and keep it in place.
HVLP Spray Gun
HVLP spray gun is used for professional paint jobs where the spray’s flow control is essential. These HVLP sprays are great for painting interior walls, exterior jobs, and crowns. You might also need it to give a professional finish to your organizer box.
Steps for Creating a Large Organizer Box
1.Build a Big Box
First of all, you need to make a big box (2 to 2.5 inches would be good). You can use a bolt joint jig; if you don’t have one, you can also use some other construction methods that you like, such as butt joints, pocket joints, etc.
2.Glue Up the Big Boxes
Once you have all the pieces, glue up everything inserting the shelves in dados, and clamp everything in place for drying.
3.Little Boxes
Now to fill up the box, you can make several small boxes. You can use a band saw to resaw some material and the miter saw to cut to size. You can make 36 boxes to fit the big box.
You can use the variable box joint jig again and go for 1/8 inch joints. The best thing about the jig is that you can make joints of any size that you want without needing a dado stack.
4.Semi-Circle Hole
To make a hole on the side of each box for easy grabbing, set up a jig on the drill press with a 1 1/8” Forstner bit to create a semi-circle in each piece. It will work out great if you do it right and will be a lot faster and easier than cutting the hole on the band saw.
5.Glue up the Little Boxes
Once you have all the pieces cut, the only thing left is gluing up the boxes together. You can use small clamps to keep the boxes in place as the glue dries. If there are a lot of boxes, you can do it in several batches.
6.Dividers
You can wait until this step to cut up the dividers because each one is slightly different. The dividers can measure like 5 ½ x 2 ½ x 3/8, but it is not recommended to cut all the boxes. Instead, you should calculate and cut the dividers for one row at a time.
7. Sanding and Bottoms
Once all the boxes are glued, you can sand each one to make them nice and smooth. Next, you can use a 1/8 inch plywood for the bottom by cutting out, drilling it, and nailing it with finishing nails. You can also chamfer the edges.
8.Finishing the Boxes
When finishing large and small boxes, you can use an HVLP sprayer with polyurethane. Using a sprayer is the best thing you can do as it gets the job done quickly compared to when you do it by hand.
9.Installing and Putting it Together
You can place the box made on a French cleat wall, so you can install a 45-degree French cleat plywood board at the back and then slip it into the wall. Once the large box is in place, it is time to fill up all the tiny boxes with screws, bolts, and nails. You can empty the plastic cases and organize everything in the wooden boxes.
Organizer Boxes – An Effective Way to Keep Track of Your Tools
Figuring out how to arrange the tools the right way is an art, and you can do it by having everything in one place. Hence by doing so, you’ll have the peace of mind that your screws, nuts, bolts, and other tools are in one place, and you won’t have to find them all over your house.
