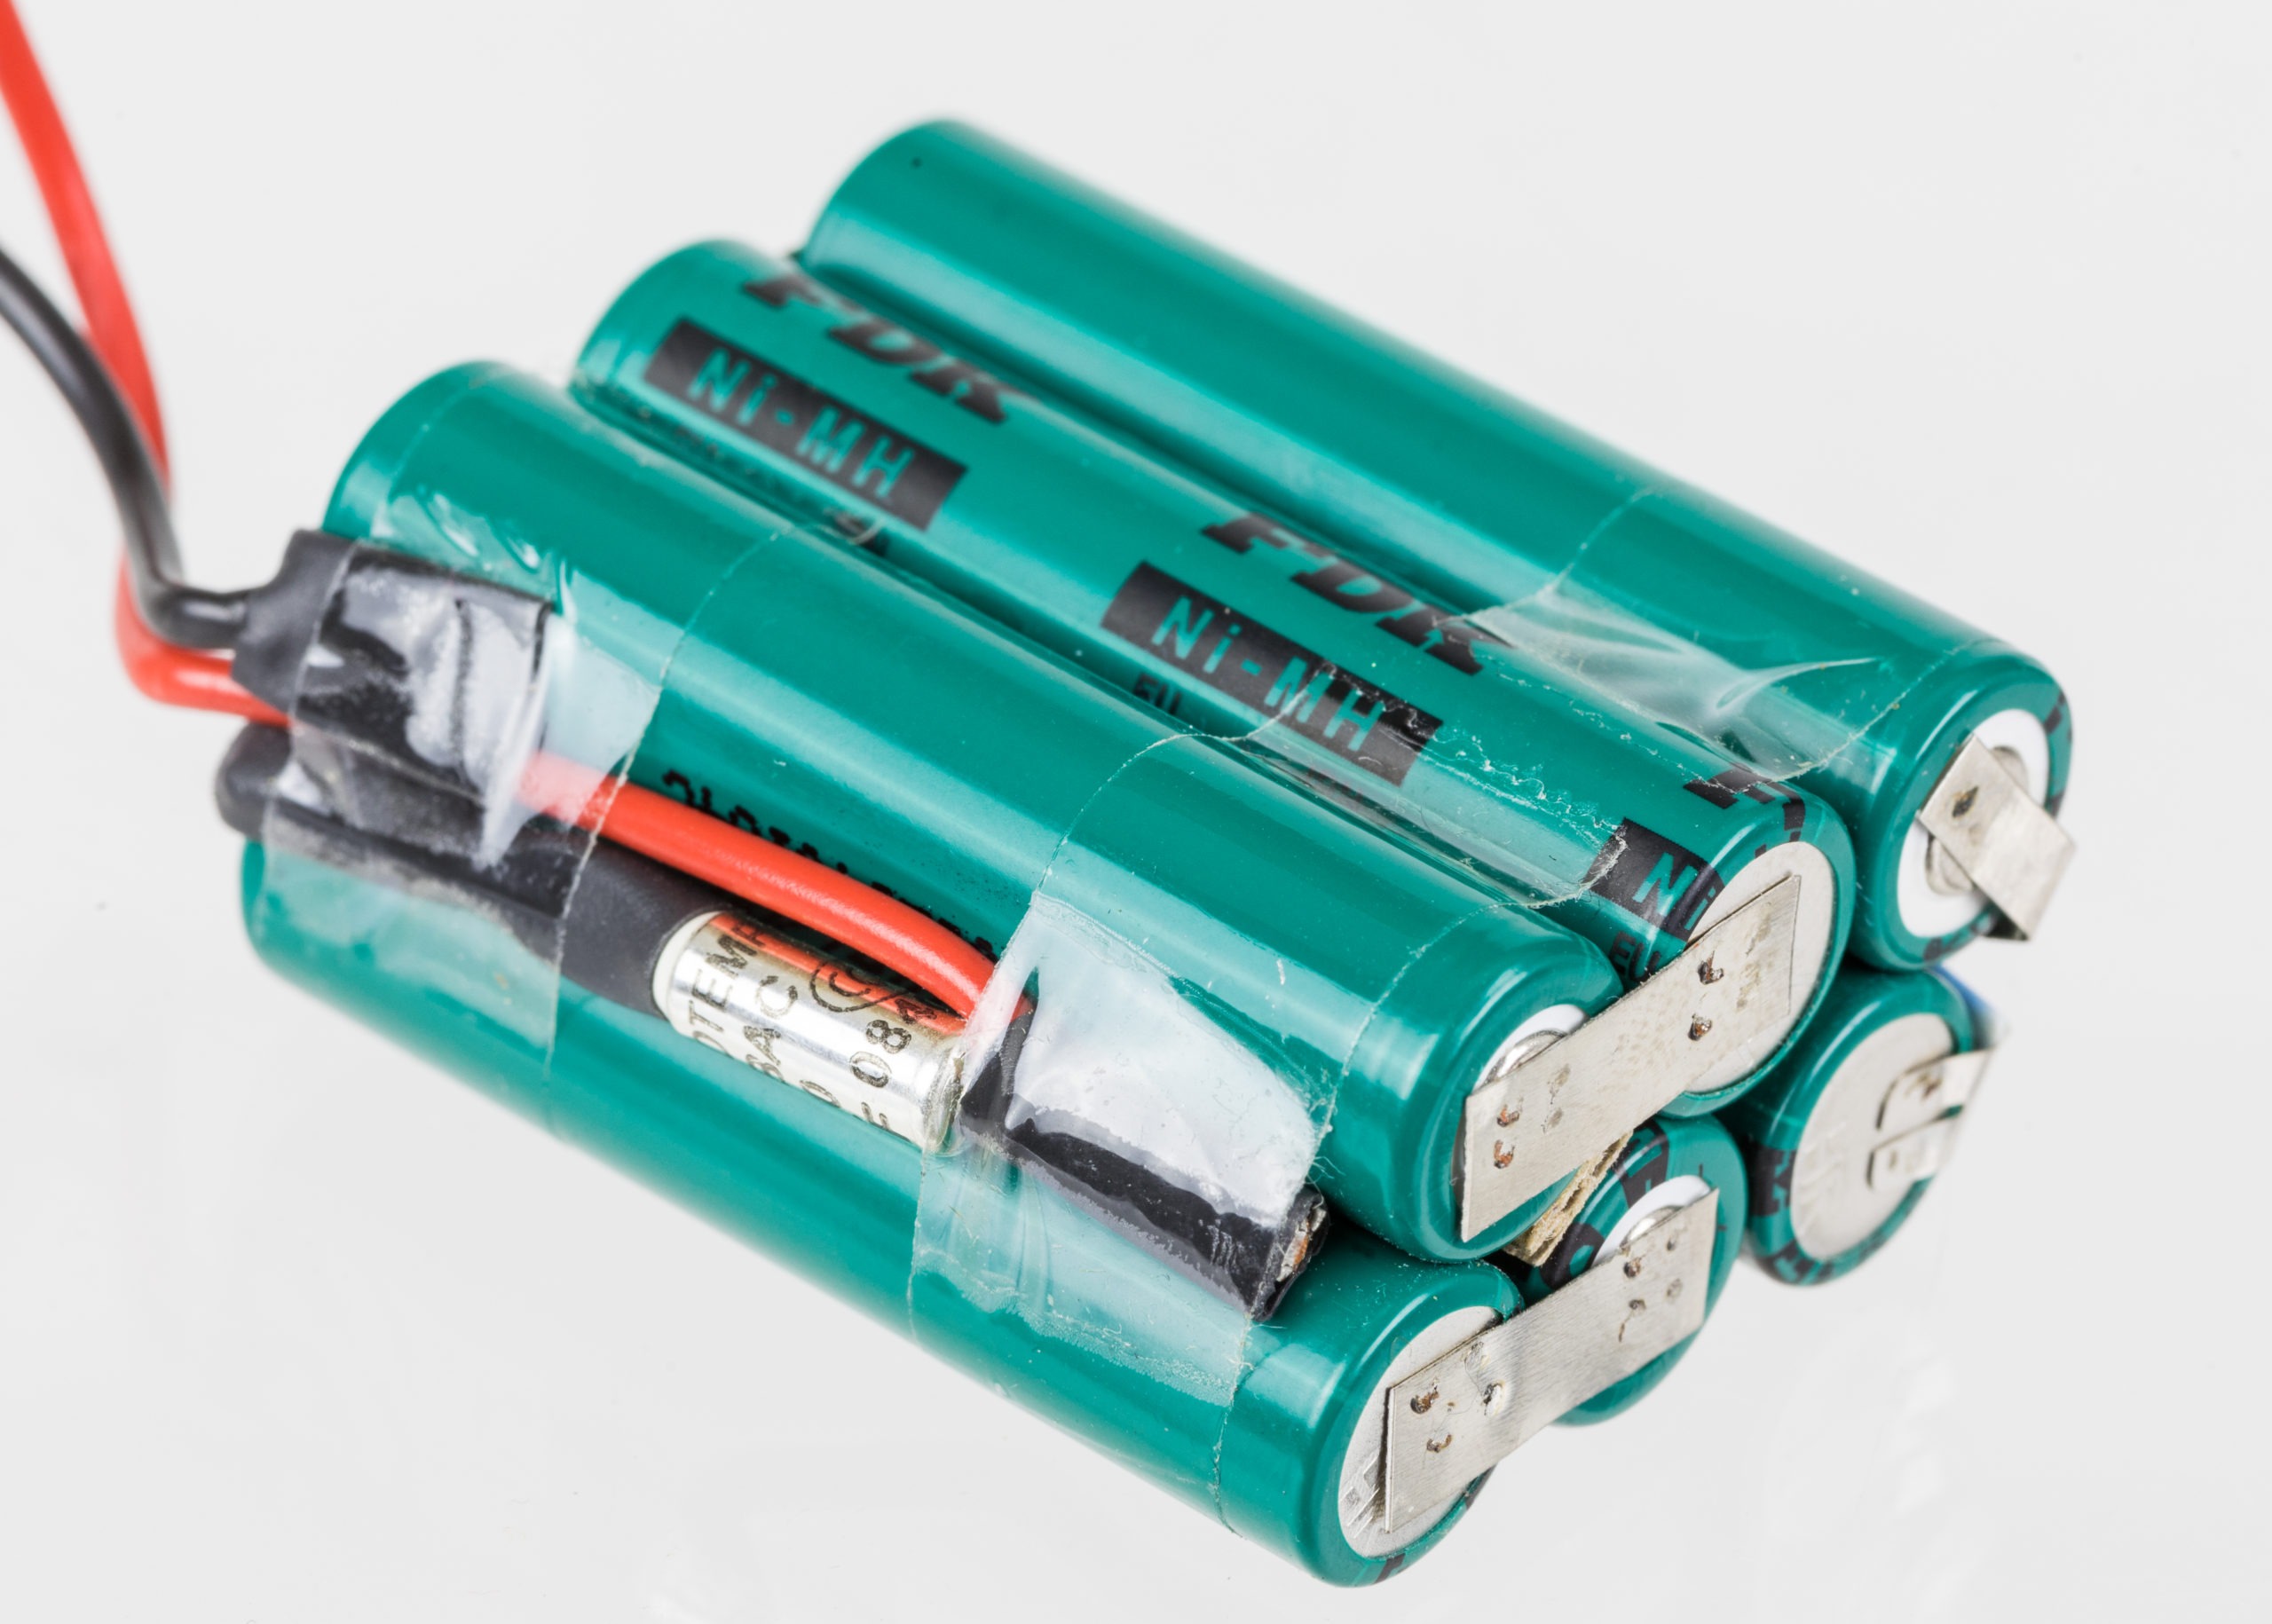
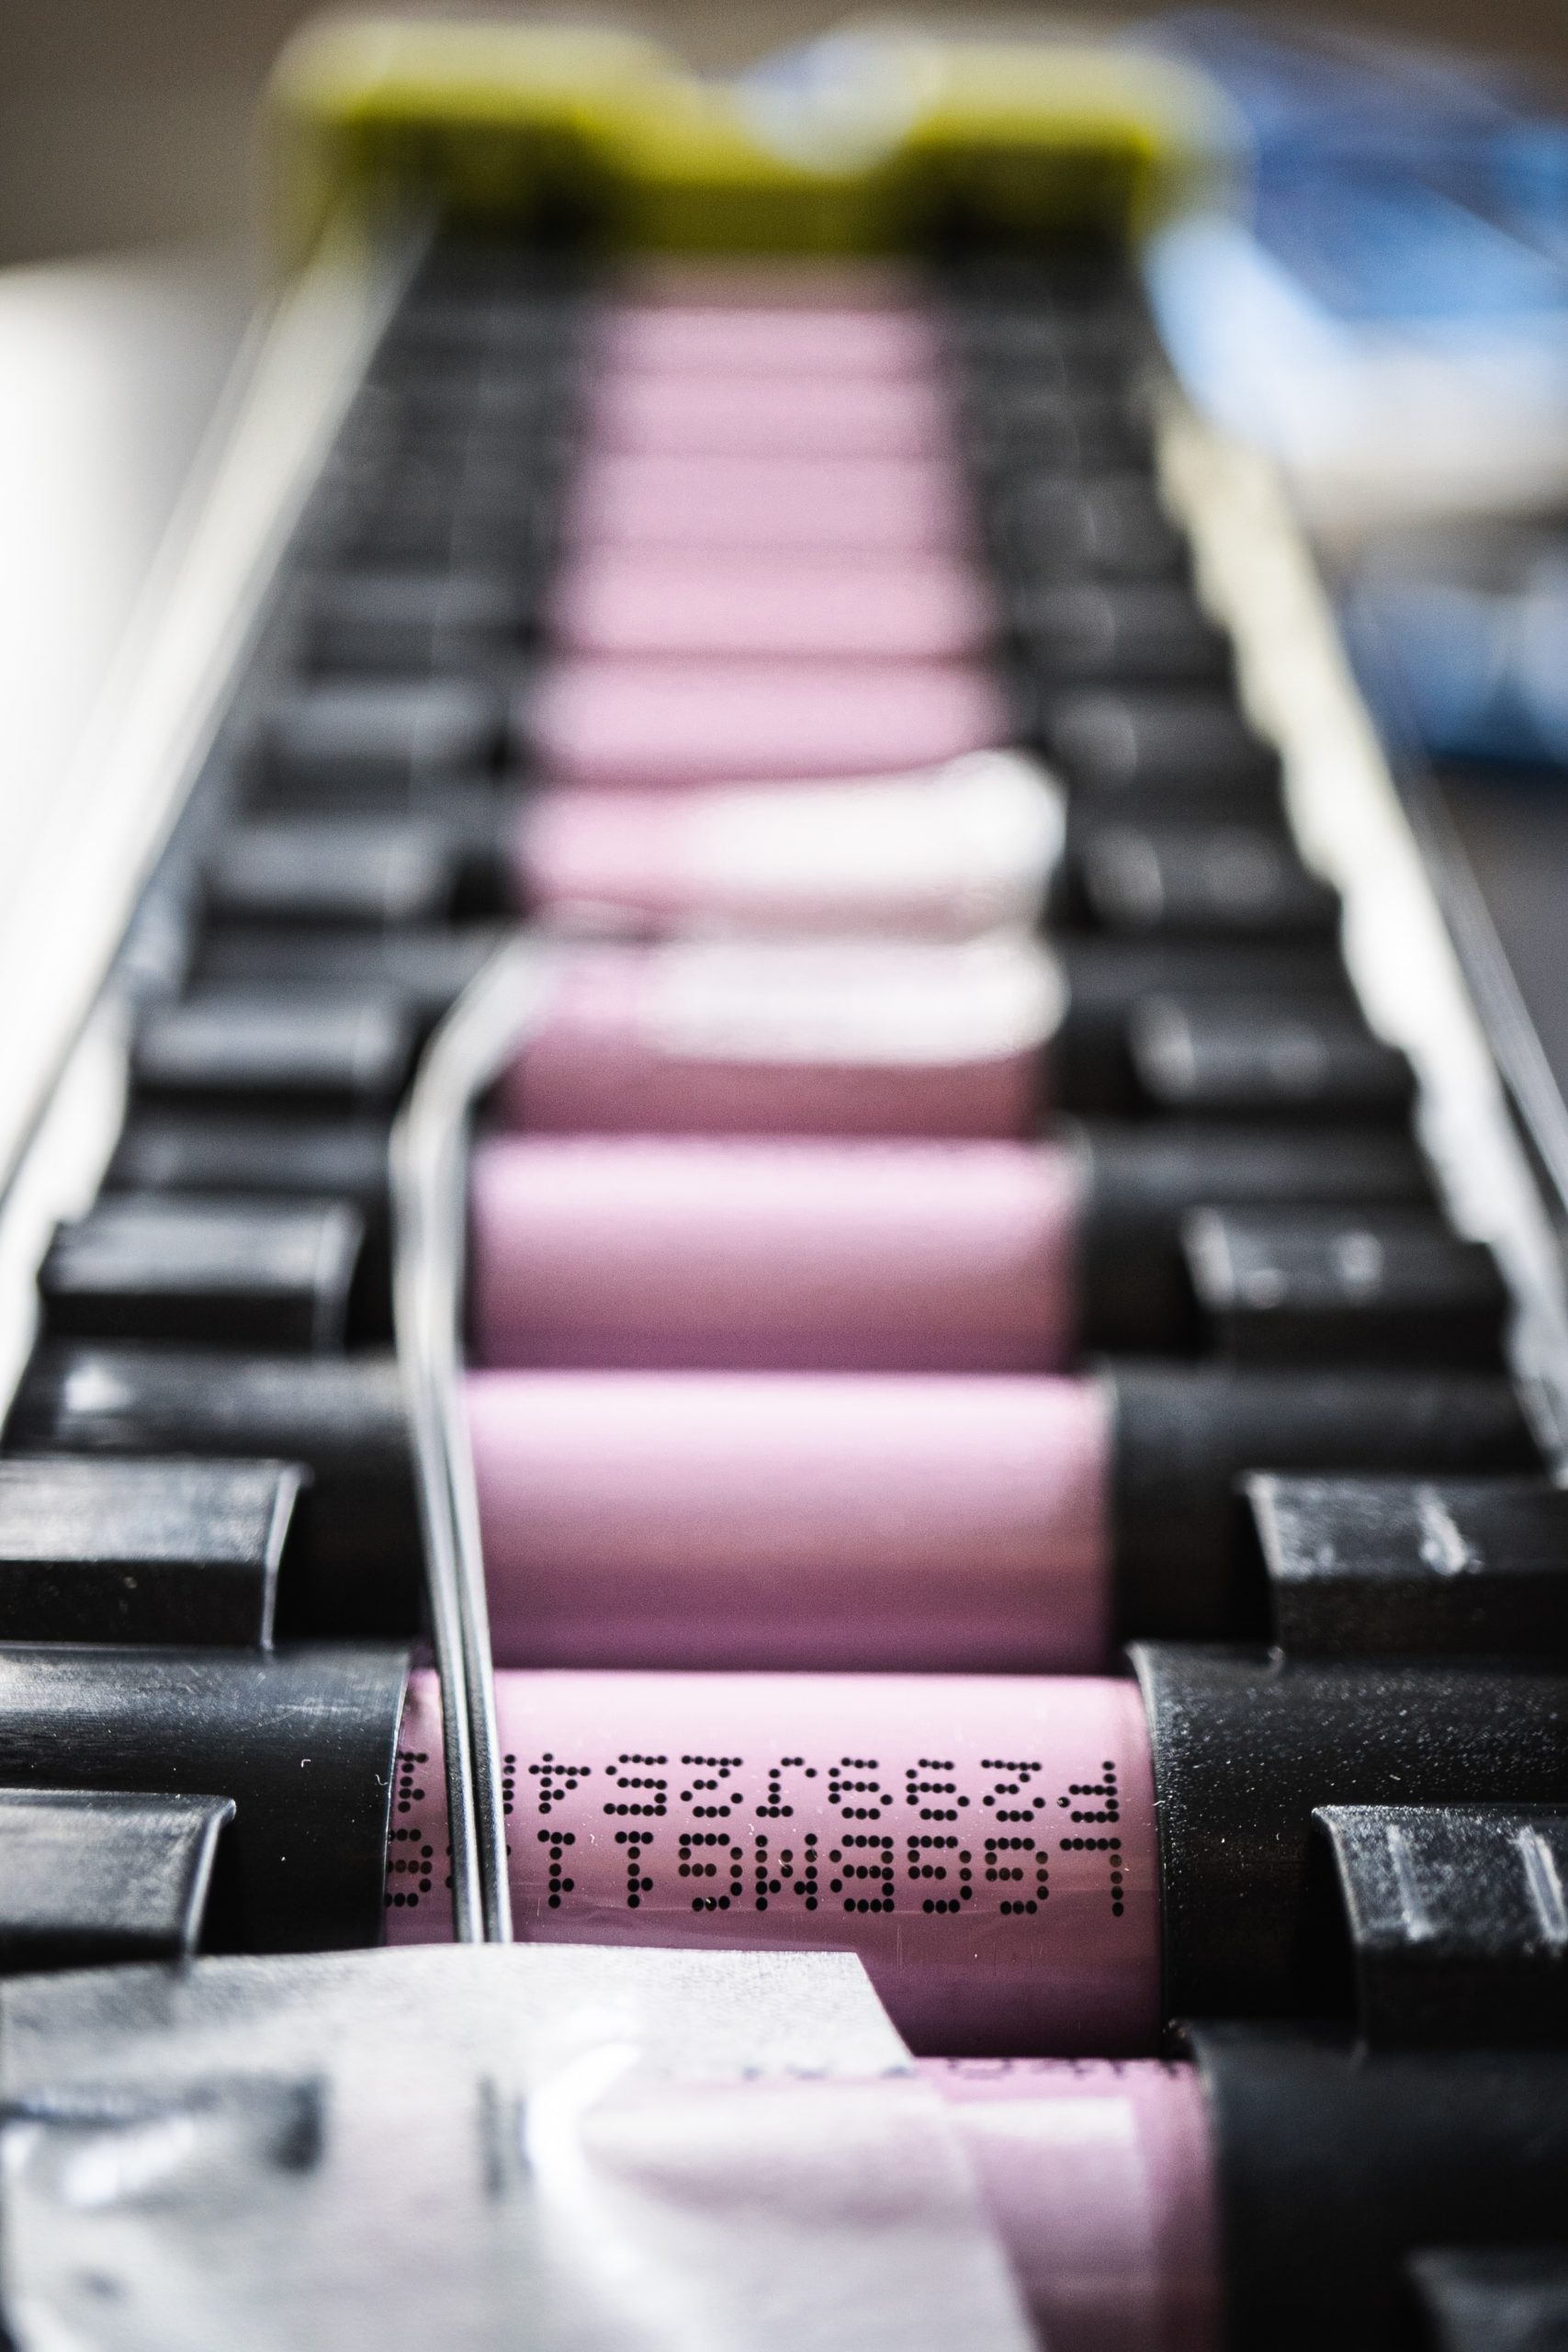
A battery pack refers to a set number of batteries in a pack that is used to deliver a particular output. The arrangement of the batteries can be parallel, in series, or both.
Battery packs range from a small pack of two or three for a flashlight or similar small device to a large set that absorbs and redistributes solar power with any number of options in between.
A battery pack should always contain batteries that are the same. Preferably, they should be exactly identical to each other or at least the same type. The most common battery packs are those found in remote control toys or specific flashlights and power banks for recharging mobile devices like cell phones and tablets. Battery packs are usually rechargeable but can also be made of disposable batteries.
Building a homemade battery pack
There are three output elements – voltage, power density, and capacity. A battery pack is made to deliver a certain level of one or more of these.
Replacing a battery pack can cost you considerably. Sometimes a new battery pack costs more than the original device. However, building one at home is easier than one might think and usually costs much less.
Materials needed:
- Pure nickel strips
- Battery case holder
- Heat shrink wrap
- PCB protection board
- 18650 9800 mAh Li-on rechargeable batteries
- Multimeter
- Safety glasses
- Insulated safety gloves
The first requirement is voltage. The pack being replaced will usually tell the voltage, but if it does not, the device itself will often list the voltage requirement. Add up the individual batteries to reach the required voltage. If using disposable alkaline batteries, the individual battery voltage for AA, AAA, C, and D is 1.5 volts, while rechargeable batteries of exact sizes put out 1.2 volts each. Physical size is equal to capacity, so a device requiring a larger voltage will also need a larger battery pack.
If the battery pack will be used to recharge a device instead of simply power one, it will require other components – a booster module and a charger module. Lithium-ion (Li-ion) batteries designated 18650 are the best for this type of pack due to their high capacity (3000-5800 mAh, depending on the battery). These are slightly larger than a standard AA battery, sometimes called a 14500. These numbers indicate the diameter and length of the batteries – the 18650 is 18mm in diameter with a 65mm in length).
For those unfamiliar, 18650 contains a higher voltage than AA cells, meaning that it takes fewer 18650 cells arranged in series to generate a voltage that’s good for use in consumer electronics. In addition, 18650 cells have far lower internal series resistance (ISR) than an AA battery. It makes it so less 18650 cells are required to achieve a given current-carrying capacity.
The battery will require a holder of some type – these holders can be purchased or handmade from PVC pipe or other non-conductive material. The battery holder is then attached to the charger, which is attached to the booster, which is attached to the charger, which is attached to the battery holder. That is, the charger has two positives and two negatives: one set is attached to the battery holder and the other set is attached to the DC-DC booster.
Batteries for large-scale uses, such as powering an entire camping setup, including a mini fridge, lights, and other devices, can also be built. While portable power at this level is available commercially, the products tend to be pretty expensive. Building a homemade version often costs half or even a quarter of the price of commercial portable power. One camping family built their own using a 35Ah battery, a battery box, a charge controller, 12V outlets and a 12V charging plug. The controller and outlets are attached to the battery box externally, with the battery inside. This involves drilling a few holes in the battery box for wires to go through, but it keeps the battery safe. The 12V plug attaches to the controller and allows the battery to be recharged through the vehicle’s charging port (cigarette lighter port) while the engine is running.
Most battery packs require a spot welder to attach the batteries. You can buy a spot welder at a store or commercially or homemade. But those who have yet to study welding and electricity may want to skip trying to make the spot welder themselves. A new device is in the works, allowing batteries to be snapped together easily. Originally on Kickstarter, the bricks and connectors may be available elsewhere soon.
Even homemade batteries and battery packs may have periods of not being used. During this time, it is essential to know how to store batteries for longer life. This usually involves keeping them at cool room temperature (the best temperature for storing batteries) while disconnected from anything that may drain their charge.
Need more help?
Here is a couple of books that can be helpful when creating a DIY battery pack:
- DIY Lithium Batteries: How to Build Your Own Battery Packs – Written by Micah Toll, the creator of the bricks and connectors to DIY pieces, this book details how to put together a safe but effective battery pack that suits your own needs.
- DIY Lithium Batteries: Beginners Guide to Building Your Own Battery Pack – Because lithium batteries can be quite pricey, building one seems an attractive idea. This book, written by Grayson H. Sissney, details the process of building a pack and using it, defines the terminologies used, and offers step-by-step instructions to complete a project that works.
Conclusion
Making a DIY battery pack certainly saves you money. However, there’s some bit to consider when building your own battery pack from 18650 cells. It can be pretty difficult, especially for a busy person, to even just learn all the terms when they really only want is a battery. Before building a battery pack, make sure you are aware of the safety guidelines when working with lithium-ion cells.

