
With technology advancing rapidly, everything once considered unique is starting to become available to the general public, and drones are no exception. Using drone kits, you can construct your very own drone, which was something only engineers could think of doing in the recent past.
This guide includes the crucial needed to build a drone using a drone kit, including an overview of the essential parts, the options you have, and instructions on how to construct and fly a drone.
What is a Drone Kit?

A drone is an unmanned aerial vehicle (UAV) that you control using a remote control. Basically, it is a flying robot with a variety of applications. A drone kit makes drones much more accessible as they generally come with the parts that you need to build a drone and instructions how to do so. This allows you to construct the drone and customize it to an extent.
Drone Kits vs. Ready-to-Fly Drones

Ready-to-fly drones and drone kits are the most common among the many kinds of drones. Ready-to-fly drones, or RTF Drones, are built and ready to fly right out of the box. Every single part is included, and you don’t need to alter anything. You might still have to put together a few parts as manufacturers have to keep the packing compact, but it does not involve the kind of work required in building a drone using a drone kit. These kinds of drones are cheap and readily available. If you want to enjoy flying a drone and not build it, these kinds of drones are the right choice.
On the other hand, if you want to enjoy the process of building a drone, you should opt for a drone kit. These come with most of the parts you need to build your drone and a set of instructions to make your job easier. They are perfect for beginners and professionals who want more customization options. Drone kits help beginners learn how different components work and how customizing these can improve performance.
The Benefits of Building Your Own Drone

Although buying a ready-to-fly drone means it takes less time and effort to get started, there are many benefits associated with building one using a kit including the following.
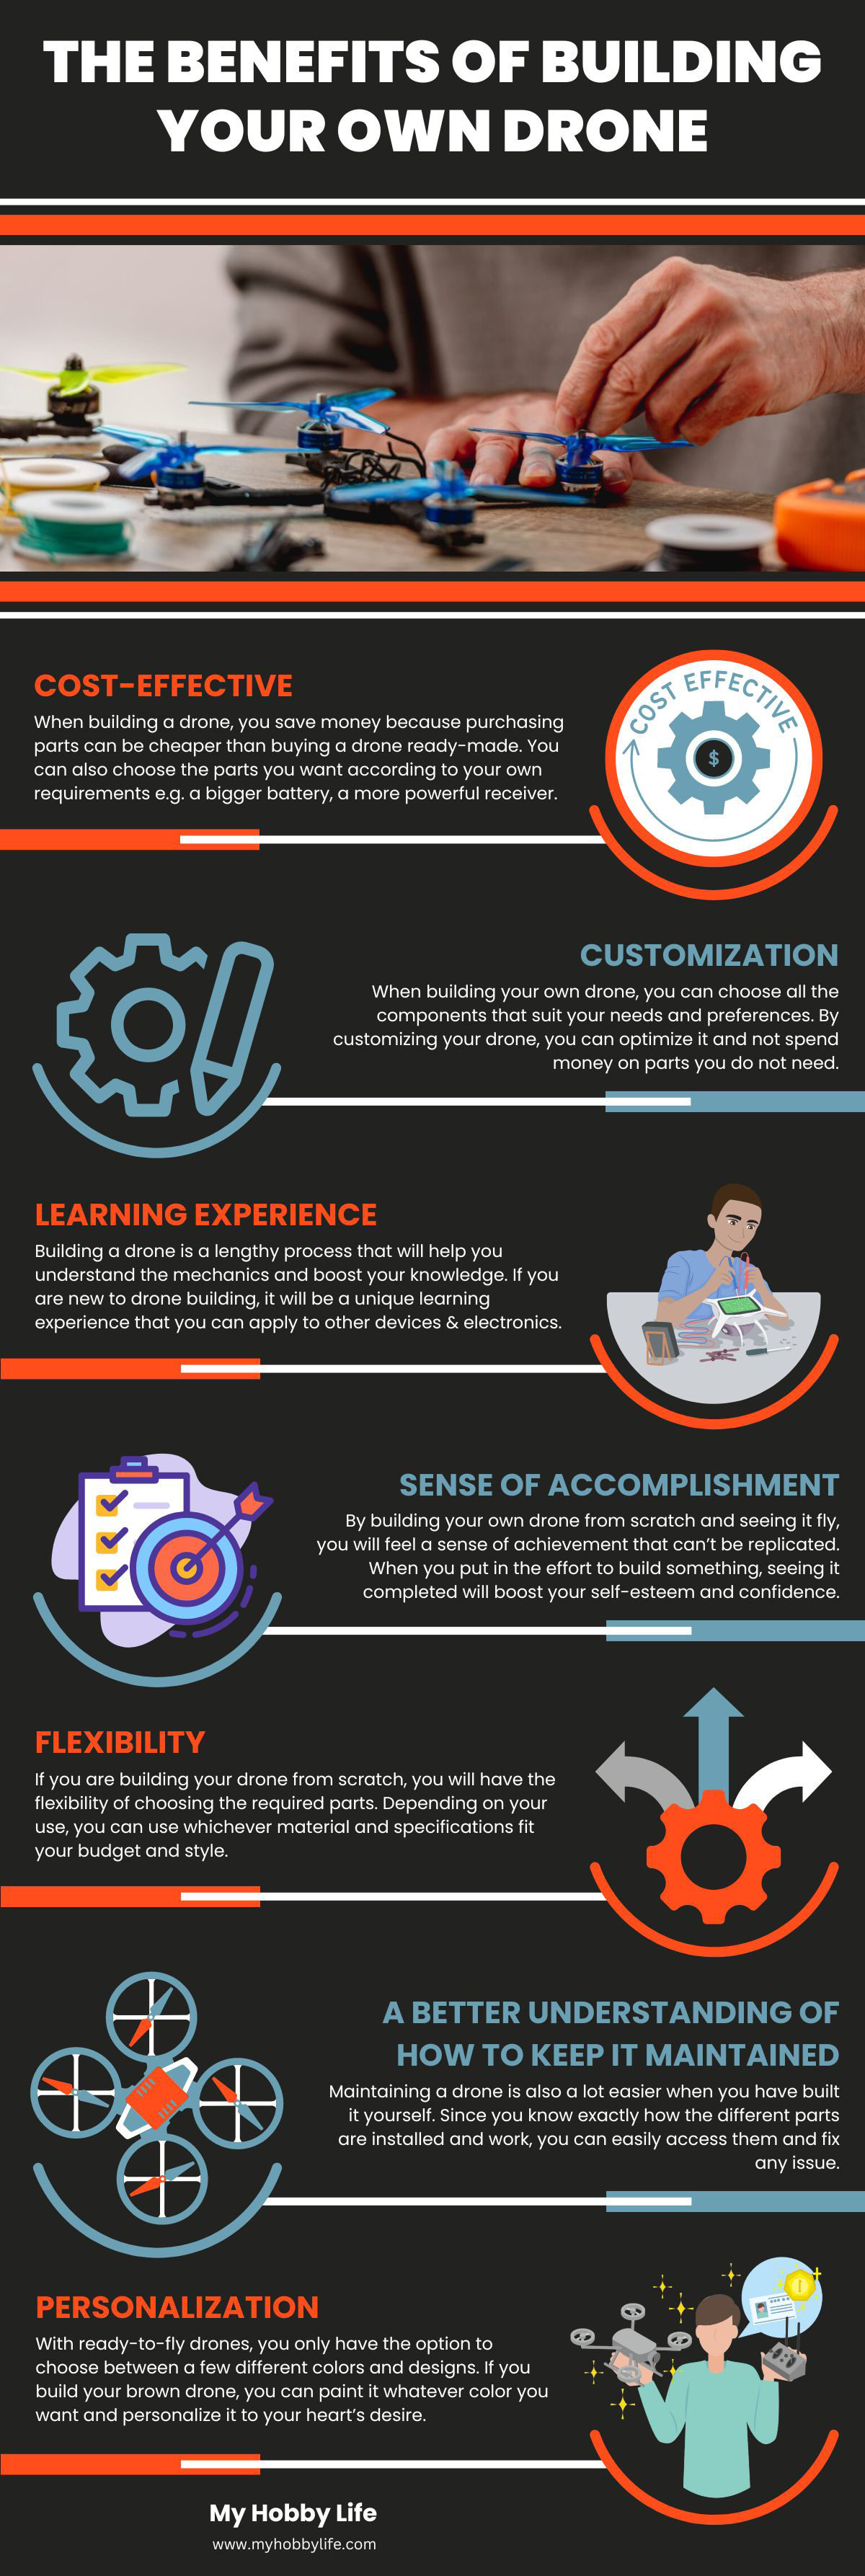
Cost-effective
When building a drone, you save money because purchasing parts can be cheaper than buying a drone ready-made. You can also choose the parts you want according to your own requirements e.g. a bigger battery, a more powerful receiver. This also means you don’t have to pay for extra features and sensors you don’t plan on using.
Customization
When building your own drone, you can choose all the components that suit your needs and preferences. By customizing your drone, you can optimize it and not spend money on parts you do not need.
Learning experience
Building a drone is a lengthy process that will help you understand the mechanics and boost your knowledge. If you are new to drone building, it will be a unique learning experience that you can apply to other devices and electronics.
Sense of accomplishment
By building your own drone from scratch and seeing it fly, you will feel a sense of achievement that can’t be replicated. When you put in the effort to build something, seeing it completed will boost your self-esteem and confidence.
Flexibility
If you are building your drone from scratch, you will have the flexibility of choosing the required parts. Depending on your use, you can use whichever material and specifications fit your budget and style. You also have the option of changing it up later on without having to buy a new drone. For example, if the motor malfunctions, you can replace it with a new one.
A Better Understanding of How to Keep it Maintained
Maintaining a drone is also a lot easier when you have built it yourself. Since you know exactly how the different parts are installed and work, you can easily access them and fix any issue.
Personalization
With ready-to-fly drones, you only have the option to choose between a few different colors and designs. If you build your brown drone, you can paint it whatever color you want and personalize it to your heart’s desire.
Advantages and Disadvantages of Drone Kits
| Advantages | Disadvantages |
| Offer more flexibility and customization options. | They require assembly, which can be difficult. |
| You can change parts and maintain them more easily. | Issues of compatibility can arise. |
| You feel a sense of accomplishment when you are done building a drone. | Things can also go south and technical hiccups are not so uncommon. |
| Are cost-effective. | You cannot do a pre-flight check before purchasing to make sure everything works. |
Things to Consider When Buying a Drone Kit

When purchasing a drone kit, it is essential to consider all the critical features to ensure that you are buying one that fits all your needs. Here are a few things that you should consider.
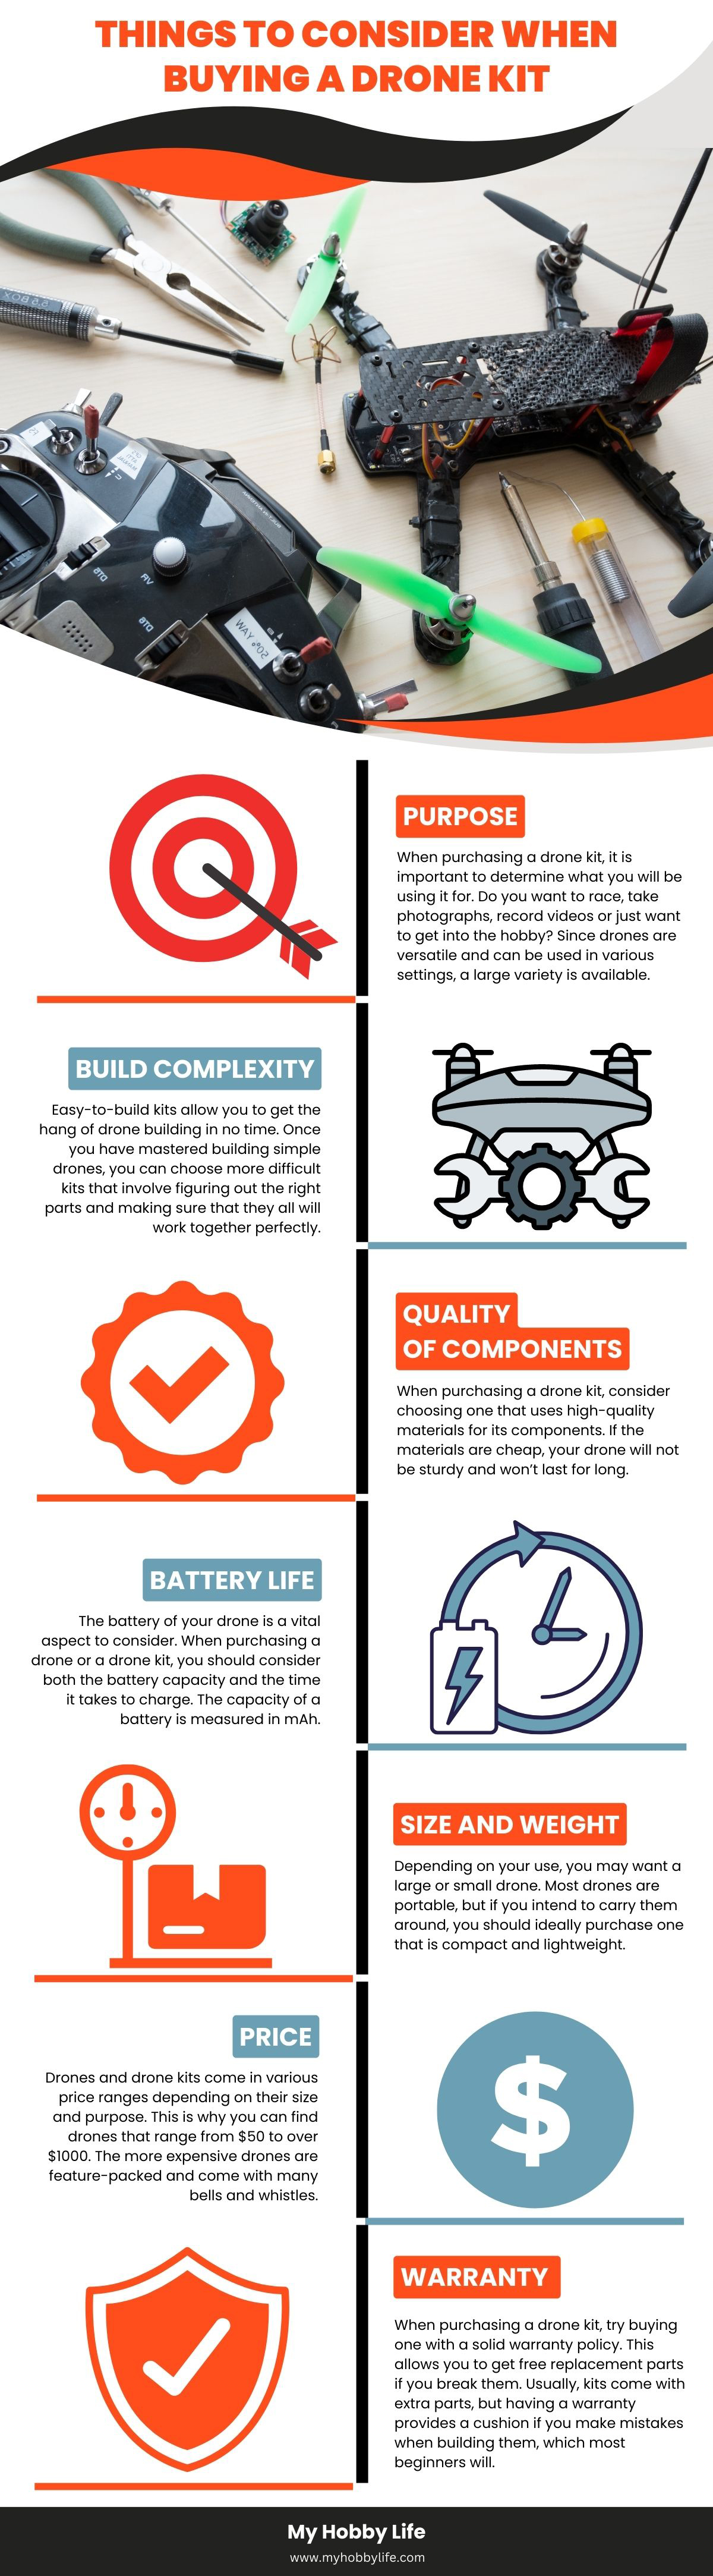
Purpose
When purchasing a drone kit, it is important to determine what you will be using it for. Do you want to race, take photographs, record videos or just want to get into the hobby? Since drones are versatile and can be used in various settings, a large variety is available. If you know what you will use it for, you can choose one with all the necessary features and sensors to get the job done.
Build Complexity
Easy-to-build kits allow you to get the hang of drone building in no time. Once you have mastered building simple drones, you can choose more difficult kits that involve figuring out the right parts and making sure that they all will work together perfectly. Beginners would not want to buy an overly complex kit; otherwise, it may be too difficult to build.
Quality of Components
When purchasing a drone kit, consider choosing one that uses high-quality materials for its components. If the materials are cheap, your drone will not be sturdy and won’t last for long. Drone frames are made using various materials, including carbon fiber, thermoplastics, aluminum, etc. Of these, carbon fiber is the best option since it is tough yet lightweight, but also the most expensive.
Battery Life
The battery of your drone is a vital aspect to consider. When purchasing a drone or a drone kit, you should consider both the battery capacity and the time it takes to charge. The capacity of a battery is measured in mAh. Battery timing depends on various factors, including the speed and load of the drone, camera settings, and the weather conditions. Purchase a drone kit that comes with a high-capacity Lithium-ion battery, so that you do not have to replace or recharge it mid-flight. Up to 1500 mAh battery is considered to be adequate for small drones, while a 3,000 mAh battery is recommended for larger drones.
Size and Weight
Depending on your use, you may want a large or small drone. Most drones are portable, but if you intend to carry them around, you should ideally purchase one that is compact and lightweight. When purchasing a drone kit, you can opt for a modular one as they are easier to disassemble and move around.
Price
Drones and drone kits come in various price ranges depending on their size and purpose. This is why you can find drones that range from $50 to over $1000. The more expensive drones are feature-packed and come with many bells and whistles. On the other hand, cheaper drones are much more straightforward and simple. However, dirt-cheap drones should be avoided as they tend to fail and fall apart fairly quickly.
Warranty
When purchasing a drone kit, try buying one with a solid warranty policy. This allows you to get free replacement parts if you break them. Usually, kits come with extra parts, but having a warranty provides a cushion if you make mistakes when building them, which most beginners will. Additionally, warranty also shows the faith manufacturers have in their own products.
Key Components of a Drone Kit

Once you have purchased a drone kit, you will find that many of them have more or less the same components, such as frames, motors, propellers, and remote controllers. Here are some of the most common components of a drone kit.
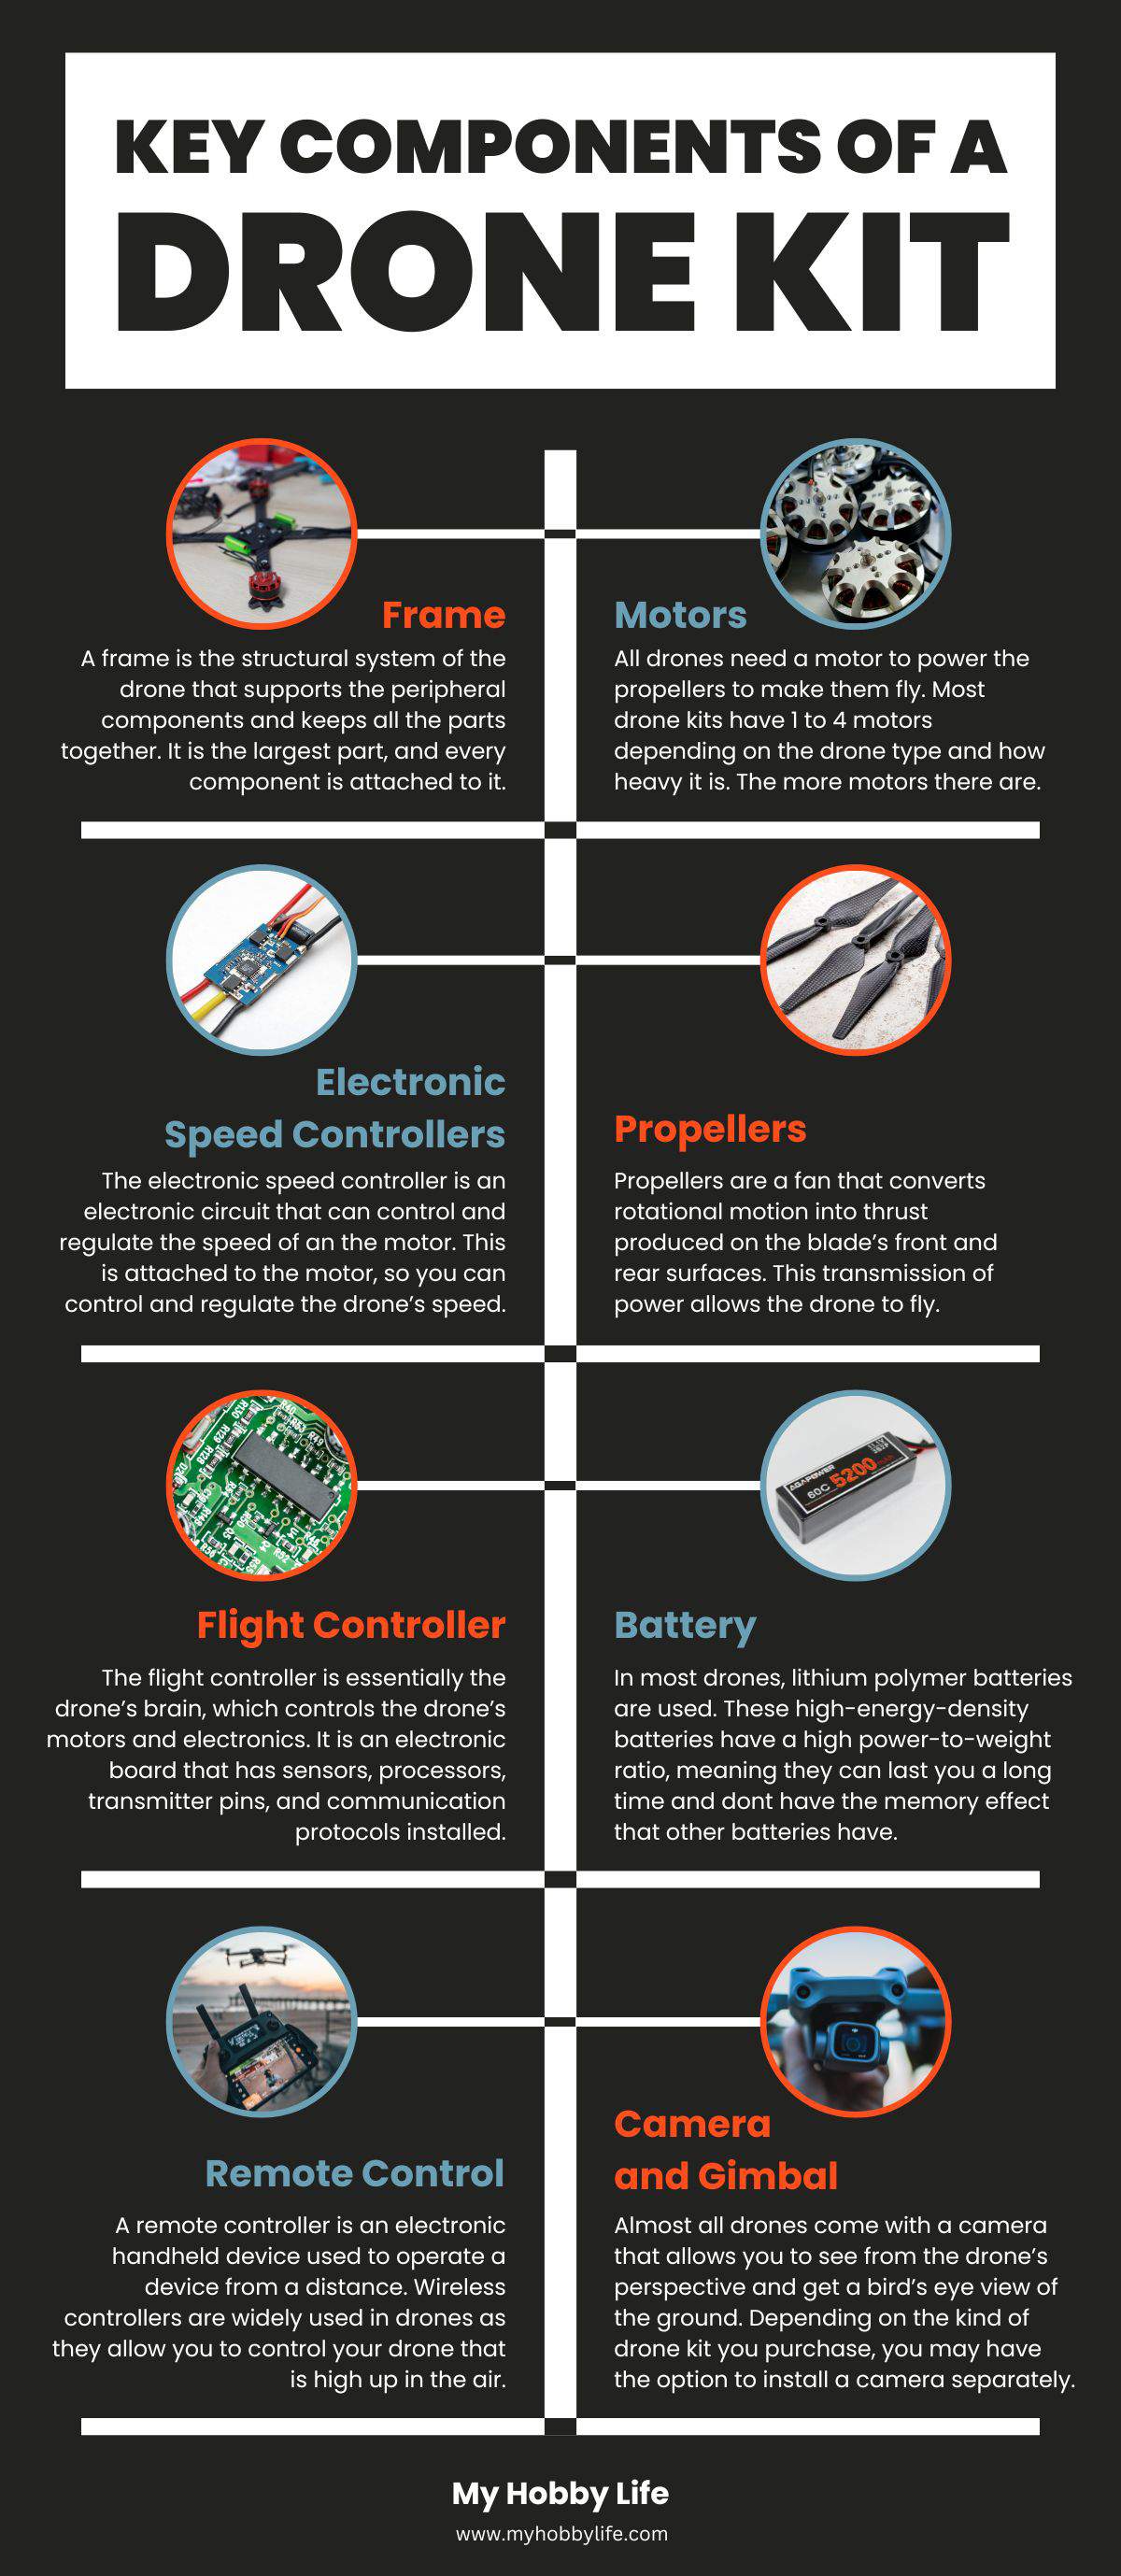
Frame
A frame is the structural system of the drone that supports the peripheral components and keeps all the parts together. It is the largest part, and every component is attached to it. There are different types of drone frames, including quadcopter (most common), hexacopter, octocopter, fixed-wing, folding, X-shaped and H-shaped frames.
Drone frames are made using different materials, with plastic being the cheapest option. Carbon fiber is a strong and lightweight material, but comes at a premium, while some of the more affordable, yet durable materials include aluminum and fiberglass.
Motors
All drones need a motor to power the propellers to make them fly. Most drone kits have 1 to 4 motors depending on the drone type and how heavy it is. The more motors there are, the more powerful your drone will be. These motors are controlled using a remote controller. Most drones have brushless motors, which is something you need to consider as these are efficient and last longer than brushed motors.
Electronic Speed Controllers (ESC)
The electronic speed controller is an electronic circuit that can control and regulate the speed of an the motor. This is attached to the motor, so you can control and regulate the drone’s speed.
Propellers
Propellers are a fan that converts rotational motion into thrust produced on the blade’s front and rear surfaces. This transmission of power allows the drone to fly. Drone kits usually contain a minimum of four propellers. If your propellers are damaged, your drone will not fly or will be hard to control.
Flight Controller
The flight controller is essentially the drone’s brain, which controls the drone’s motors and electronics. It is an electronic board that has sensors, processors, transmitter pins, and communication protocols installed. This allows you to control the drone using your remote controller.
Battery
In most drones, lithium polymer batteries are used. These high-energy-density batteries have a high power-to-weight ratio, meaning they can last you a long time and dont have the memory effect that other batteries have.
Remote Control
A remote controller is an electronic handheld device used to operate a device from a distance. Wireless controllers are widely used in drones as they allow you to control your drone that is high up in the air. Not all drone kits come with a remote controller, so when buying one, you need to know RCs compatible with your drone kit.
Camera and Gimbal (if needed)
Almost all drones come with a camera that allows you to see from the drone’s perspective and get a bird’s eye view of the ground. Depending on the kind of drone kit you purchase, you may have the option to install a camera separately. It is important to note that a camera drains a lot of battery, so if you are filming and taking pictures, your drone battery will run out much faster. A power hungry camera also means you have to install a battery of higher capacity.
Drone Size
Drones come in various shapes, sizes, and weights and, accordingly, have unique capabilities and features. The size of the drone you purchase has a lot of implications. It affects the number of features, its portability, and more. Here are the most common drone sizes available on the market.
Micro
Microdrones are are the smallest and usually weight only a few grams and measure around 2 inches. These can be flown in really tight spaces and have excellent maneuverability.
Mini
Mini drones are bigger than micro drones yet still small enough and usually weight less than 250 grams. These drones are usually palm-sized, and can weigh around 200 to 1000 grams, so you don’t need a license to fly these in most regions.
Medium
Commonly known as prosumer drones, medium-sized drones are weigh between a few hundred grams to a few pounds. They are usually the ones used for aerial photography and have the ability to carry professional cameras and other types of payloads..
Large
Large drones are often used for commercial applications as they can measure up to several feet and have heavy-duty carrying abilities. They can be used for carrying cargo and are being used in different industries, including commercial activities such as package delivery.
TW Ratio
The TW ratio is the thrust-to-weight ratio, which needs to be determined before you decide on the optimal thrust of your drone motor. Most drone motor manufacturers express this thrust in grams or ounces. The thrust-to-weight ratio is the weight a single motor can lift off the ground. When building a drone, you should plan out your drone TW ratio to be 2:1, as this will allow your drone to hover at just half the throttle.
The higher you keep the thrust-to-weight ratio, the easier it will be to control your drone and the more load it can carry. If you plan to take your drone out for gentle flying, a 2:1 ratio is the recommended option.
Tools Needed to Build a Drone Kit

Hobbyists need a few tools in order to put all the pieces of a drone kit together. Some of the tools you will need are common such as a screwdriver, pliers, hex wrenches, adjustable wrenches, drills and drill bits, scissors, and knives.
You will also need a soldering iron to securely attach the components to the frame. Wire cutters and strippers help in the wiring process, and a heat gun helps stick small parts together. A multimeter is also a must-have tool, as you can use it to measure multiple electrical properties such as voltage, resistance, current, etc. It ensures that you have made all the connections correctly and the drone is working as per specifications.
Step-by-Step Guide to Building a Drone from Kit

1. Gather all the essential tools and materials you need: To build your own drone kit, you need to have all the necessary components, including a frame, propellers, motors, battery, and remote controller. You should also have all your tools, such as a hex wrench, soldering iron, and more, ready as well.
2. Read the instructions thoroughly: Most drone kits come with an instruction manual, so you should take the time to read through it and make sure you understand each step beforehand. This will help make the whole process a lot easier and streamlined.
3. Assemble the drone’s frame: The first step is to take all the frame parts and assemble them to form the main body, where you will put all the different components. Since the frame is the house of all the other parts, ensure that all the frame parts are securely attached to one another.
4. Mount the flight controller: The next step is to mount your flight controller to the drone frame. Ensure that you add a soft material underneath the controller, as it helps reduce vibrations. With a securely attached flight controller, your drone should stay stable in the air despite wind changes.
5. Solder the ECSs to motors. If you are not good with soldering, ask someone to help instead of experimenting with an expensive device
6. Mount the motors and propellers: To build up your frame, you will need to attach the drone’s motors and propellers to it. If you are using a kit, it may already come with mounts for your motors. Otherwise, you will need to make holes and attach the motors and propellers yourself.
7. Connect the battery and power distribution board: Since the battery powers your drone, you need to attach it and the power distribution board and use the battery connectors to connect it.
8. Attach the radio receiver and transmitter: Determine where in the frame you have space and attach the radio receivers and transmitters.
9. Connect any additional sensors or cameras: The next step is to attach any additional sensors and cameras to the drone. The placement of these parts is crucial because the images and reading it will be able to take depends significantly on where they are placed.
10. Calibrate the sensors and test the drone: Once all the different parts are attached, you need to double-check everything. You can connect the drone to a GCS and calibrate all the sensors on your drone. When testing the drone, choose a safe location and slowly throttle up your drone. During its first flight, aim to fly it at a low altitude to be on the same side in case it malfunctions.
11. Fly your drone: Once everything is set, you can take your drone out into an open field where you can fly and have fun with it.
Accessories for a Drone Kit

Depending on the use and your own requirements, there are plenty of accessories that can enhance the functionality and improve the flying experience. Some of the most useful drone accessories include:
- Extra batteries
- Propeller guards
- Carrying case
- Landing gear
- Sunshade hood
- Battery charger
- Remote control
- FPV goggles
- Extra Propellers
- Software updates
Tips for Flying Your Drone Safely and Responsibly
When flying your drone, it is vital that you are safe and responsible. Here are some tips that you can follow.
1. Always keep your drone in your line of sight. This helps you track it and ensure it does not get lost.
2. Fly your drone at the recommended altitude. Most drones have a limit on how high they can go. Keep within those limits, which is usually around 500 meters in most regions.
3. Keep away from airports and people when flying your drone to avoid awkward or dangerous encounters.
4. Check the weather beforehand. The ideal weather for drones is a clear day with little to no wind. You should avoid flying your drone in heavy rainfall and strong winds.
5. When flying your drone, keep it at a safe distance from obstacles such as trees, people, animals, and buildings.
6. Most places have laws and regulations regarding drone flying. Ensure you are aware and that you follow them.
7. Most drones have cameras attached to them and are used to record certain areas. Ensure that you respect other people’s privacy and do not film them or their property without prior consent.
Maintaining Your Drone and Keeping it in Good Condition

To prolong the life of your drone, it is essential that you keep it in good condition. Here are a few tips on how to maintain your drone.
1. Have a cleaning schedule for your drone.
2. Always check for damages after each flight.
3. Update the firmware as soon as it is available.
4. Purchase a carrying case so that you can store it properly and avoid damaging it.
5. Before using it, check the battery to ensure it is fully charged.
6. Every few months, you should check for wear and tear and replace any parts that have worn out.
7. Avoid flying a drone in harsh weather conditions, such as heavy rain, strong winds and snow.
Drone Kit Sensors
Most drone kits come with many built-in sensors, while you can also attach more sensors for added functionality. There are a variety of sensors available that can help you gather data, navigate, measure distances, gauge water levels, etc. Here are some of the most common sensors included/or can be installed in drone kits.
- GPS for keeping a track of location
- Barometer to measure the atmospheric pressure, helping in maintaining a stable altitude
- Magnetometer measures the direction and strength of magnetic field and essential for navigation
- Accelerometer measures tilt and acceleration in 3D and used to adjust direction and speed
- Gyroscopes helps in keeping a drone balanced
- Optical Flow Sensor measures the movement with respect to the ground or surrounding objects
- Infrared sensor is useful for various purposes, including obstacle avoidance, surveillance and object tracking
- LiDAR (Light Detection and Ranging) sensors are usually used to create a 3D map of the surroundings, but some drones also use them for obstacle avoidance and navigation
- Ultrasonic Sensor is often used in combination with other sensors such as LiDAR and infrared sensor to create a more accurate picture of the surroundings and avoid obstacles
Brands
When purchasing a drone kit, it is essential that you purchase one from a reputable brand. As there are many different brands out there, it can be challenging to choose one. There are a large number of brands to choose from, each having its own set of advantages over other brands. Here are a few brands that target different niches, ranging from premium to budget.
DJI
DJI drones are well-known in the market for their reliability and features. Many hobbyists and enthusiasts use these as racing drones. Some of the best DJI drones include the DJI Mini 2 Fly More Combo and the DJI Mavic 3 Cine Premium Combo.
Autel
Autel specializes in manufacturing commercial and consumer drones that can be used for a variety of applications. One of the most popular models from the company is the Autel EVO Lite Plus Premium Bundle.
QWin Out
The company is popular among budget buyers and offers a variety of options for those who want more features while staying in a particular budget. Some popular models include the QWinOut 330mm and QWinOut DIY F450 450mm with GPS.
Conclusion
Drone building might seem challenging, but it becomes easier with the right knowledge, proper tools and a little bit of curiosity. The important thing is to understand your needs and pick a kit that fit your needs, and build following manufacturer’s instructions. It’s not just about building a drone, it’s also important to take care of your drone and practice safe flying. When your drone is in perfect condition and properly maintained, you can expect it to last for a long time and can enjoy flying as it’s meant to be.