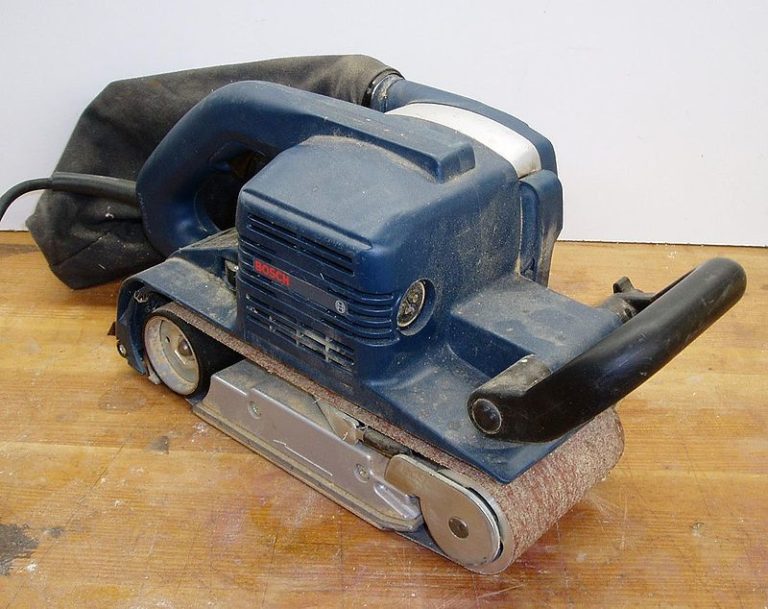
Smoothening the surface of a wood by manually sanding it can be time-consuming, depending on how much are you going to sand or how rough the surface can be. A belt sander is the perfect tool for quicker, less laborious and less time-consuming sanding.
A belt sander is a machine used to sand, smoothen and level the surface of a material like a piece of wood. This tool has a pair of rollers or wheels into which a belt of sandpaper is mounted. Actually, belt sanders aren’t used much DIY work, and unless you have a lot of sanding tasks at hand, you won’t see a belt sander as a must-have item in your toolbox. In general, a belt sander is not recommended for beginners as working with this tool needs a careful precision. It is a powerful tool ideal for rough work, and you need to be fully aware of what you are you going to do with it.
If you are going to purchase a belt sander anyway, it’s important keep in mind that you should use this machine properly and carefully. If you are under-doing it, it would take you forever to finish sanding. But if you’re sanding way too much, you will end up creating ugly gouges on the surface which can be irreparable.
To place the sandpaper belt into the belt sander, unlock the tension between the two rollers. Flip the tension lever, and push the front roller against the work surface. Underneath the sandpaper belt are arrows which will guide the direction of the spin of the roller. There are also non-directional sandpaper belts which can be installed either way.
Slip the new sandpaper into the machine with the arrows pointed to the direction of the spin. Flip the release to bring the tension back on to the belt and secure the sandpaper belt to the machine. Test to see if the sandpaper belt slips away from the machine by turning it on. If the belt does slip, adjust the tracking knob to keep the belt centered.
Unlike other sanding tools such as orbital and vibrating sanders, the belt sander’s sanding action is linear, so move the machine only in line with the grain. Even if you’re dealing with coarser surfaces, you can use the belt sander to sand with the grain and still get a perfectly smooth finish even just on a couple of passes, especially if you’re using it correctly. Do not press the belt sander too hard on the surface or else you will end up ruining your project – just let the machine do the work.
Belt sanders are ideal for:
- Removing old paint, varnish or any other old finish
- Working on broad surfaces (such as doors and tabletops)
- Smoothening and flattening rough or raw surfaces
- Correcting uneven cuts of wood or other materials
- Re-finishing wood or other materials
Important reminders when using a belt sander:
- Wear a hearing protection – belt sanders are really loud!
- Wear a pair of goggles, since belt sanders produce an awful amount of sawdust which can fly into and irritate your eyes.
- Wear a dust mask (never an ordinary face mask) – you don’t want to breathe a lot of sawdust.
- In placing and replacing a loop of sandpaper in the belt sander, it is important to check first that the machine is unplugged to avoid hitting its trigger accidentally.
- Make sure that the trigger is off before plugging the belt sander in. Sounds like a no-brainer, but you don’t want to get the trigger running especially if you rest the belt sander on top of your workpiece.
