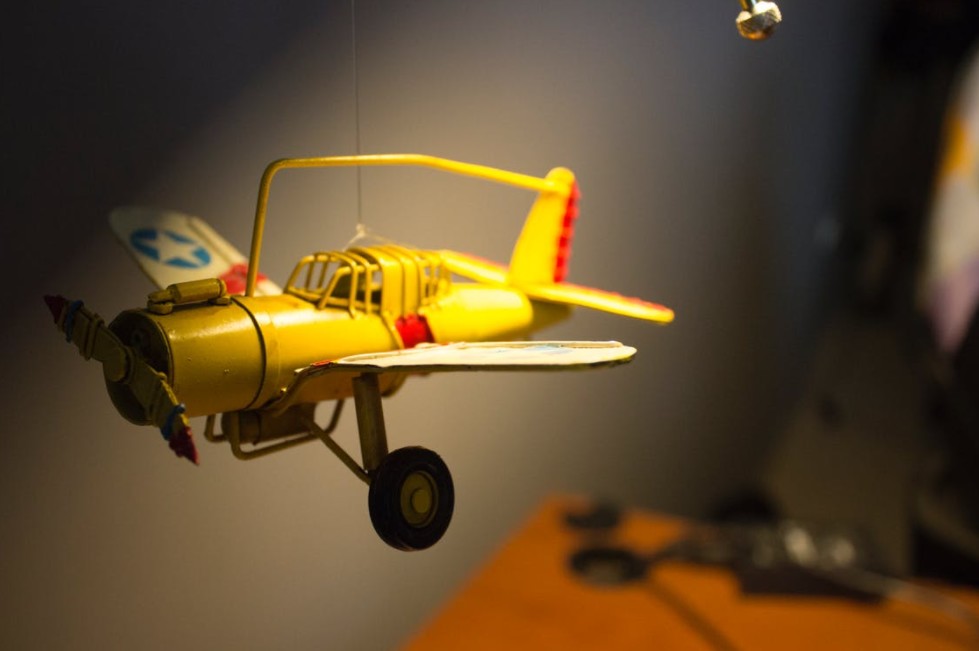
Working on model airplanes is indeed an enjoyable and exciting hobby. It might take you several days or weeks to finish your model kit, but all of your hard work is undoubtedly a worthwhile experience. After seeing the finished product, you would have a sense of achievement, wherein you want to show the world your masterpiece. Taking your family and friends home is often the ideal way to showcase your model airplane. But if you want to flaunt your work of art to a lot more people, taking a decent picture and uploading it online should do the trick.
With the advanced technology, we have today, sharing photos of your model airplane online is a truly simple task; just take a picture, upload it on your computer or mobile device, then you are good to go. However, taking a good picture of your model airplane is not as easy as it seems. There are various factors you need to consider to take the best photo of your artwork. Such techniques would make your image more attractive so that other people could appreciate your model airplane more. That is why in this article, we are going to look into various tips on how to photograph your model airplane.
Choose the Best Camera
When taking a picture of your model airplane, the first thing you need to check is your camera. Choosing the best camera does not necessarily mean that you need to spend hundreds of dollars. Investing money on a decent camera is a great option, especially if you are on a tight budget. Always be mindful of your camera’s specs and make sure you are comfortable in using it. Familiarize yourself with the camera’s features to maximize its potential. If needed, you can also invest in some add-ons for your camera, which includes additional lenses, and so on.
Use a Light Box
If you are taking a picture of an average size model airplane, using a lightbox would be an excellent choice to fill the frame with enough light. From the name itself, a lightbox is a then that has five to six walls, which usually resembles a box shape. The walls are often made from translucent fabric that is best for diffusing light, giving the perfect soft effect in images. Lightboxes are usually used for taking photos of products, which we see in online advertisements and TV commercials. The same technique could be used to take pictures of your model airplane, giving it ample lighting and a soft finish. Utilizing a lightbox reduces the shadow of your images, which results in a clearer and brighter picture.
Add a Background
When taking a picture of your model airplane, another best practice you can consider is to add a background. Sometimes, having a plain white background is not enough to make your picture attractive; that is why some photographers consider adding a background to make their image more interesting and realistic. Choosing the best background for your model airplane could be anything from natural sceneries, as well as other objects that improve the overall looks of your model airplane. However, be careful in choosing your background as it could steal the attention from your model plane.
Use a Tripod
Taking photos by hand has its advantage and disadvantages. There are times that you would have a difficult time focusing your image, mainly because of your hands or arms getting tired. This could result in blurry images that could reduce the overall quality of your picture. That is why when taking photos of your model airplane, it is best to use a tripod. Using a tripod works wonders when taking the best picture of your artwork. It is a great tool to stabilize your camera, which reduces unwanted movement; have a stable camera would help in focusing your image and giving a more precise shot. Knowing the fundamentals of using a tripod could help save time and effort when having a photoshoot. Just make sure to set the height and angle properly to achieve the best image for your model airplane.
