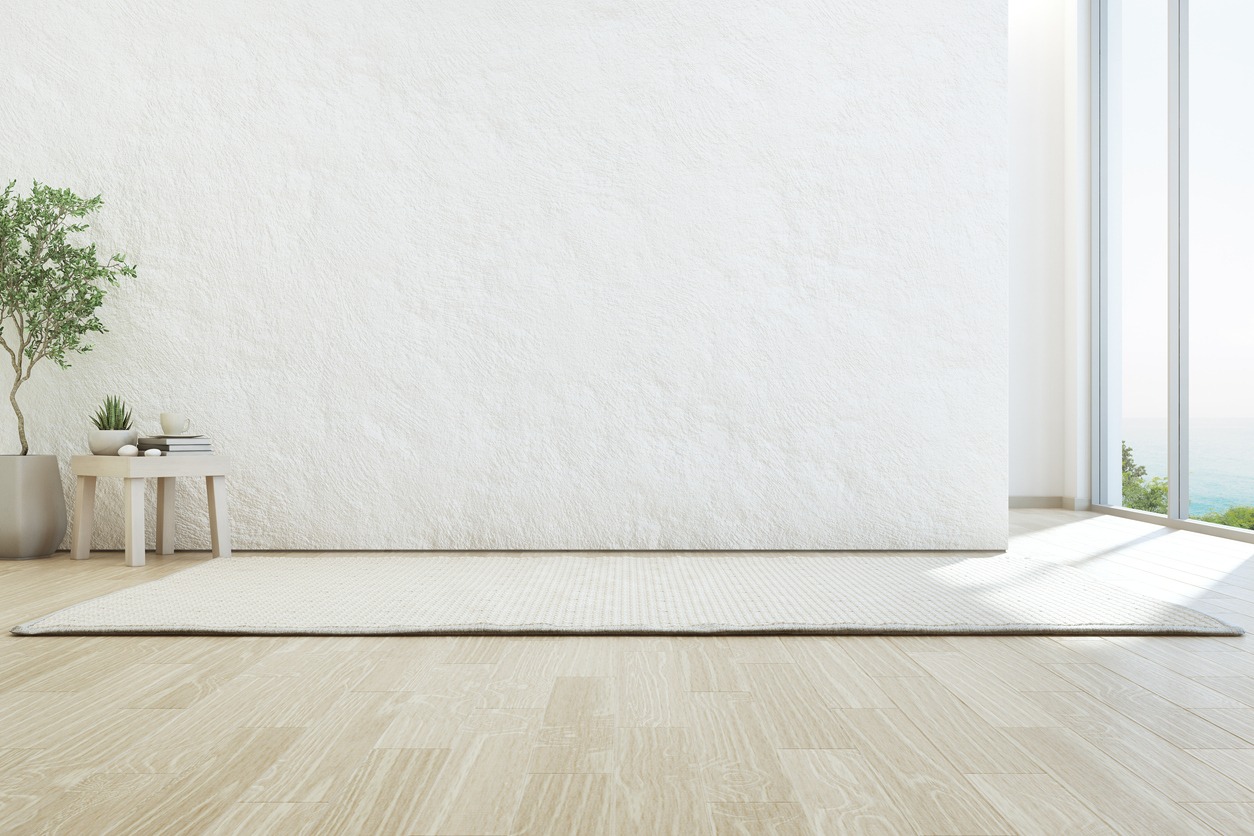
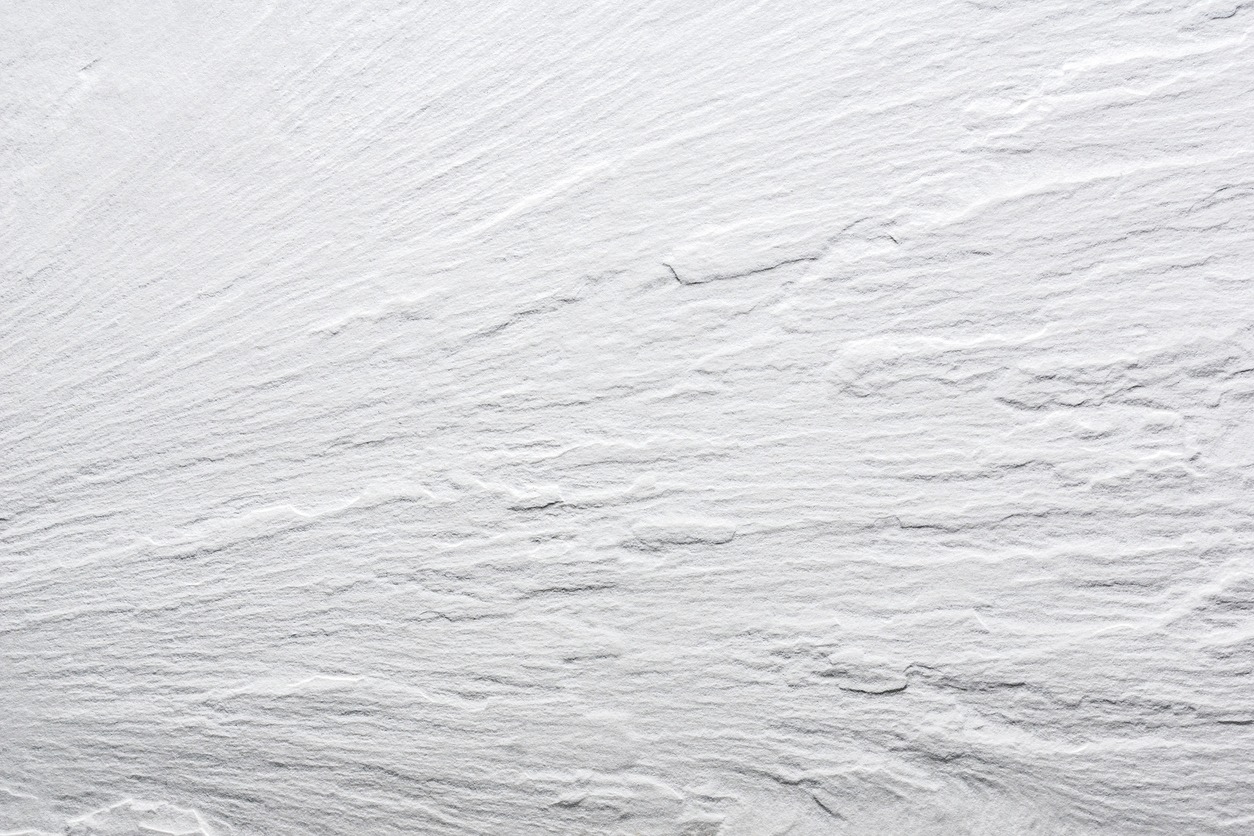
A home with a textured ceiling or walls presents a unique and lovely appearance. Wall and ceiling textures can add a new character to rooms, and they can easily bring an interesting effect to the whole ambiance.
Yes, it’s easy to paint your ceiling and walls and consider it done. However, if you really want to pull a room together or make it more stylish, putting a textured effect on the wall or the ceiling is a great way to add impact to any room’s décor. Aside from that, textured walls and ceilings can also help camouflage imperfections such as cracks and evidence of water damage. With the addition of the texture compound, it’s easier to blend old and new if you’re remodeling your home. Of course, textured walls also snazz up the background of any pictures you might take for social media!
How to Get that Textured Appearance for Your Walls and Ceiling
The safest and surest way of getting a textured wall or ceiling is to call in an experienced professional team. They will be able to get the job done very quickly and guarantee lasting results. However, a professional texturing job will also cost a decent amount.
If you want to create some textures for your walls and ceilings at home, you don’t really need to spend much. It’s possible to get that textured effect by working on the walls and ceiling yourself, especially if you are like most DIYers who are familiar with different drywall textures. There are different drywall texture types that you can do, and each of them requires certain tools. There are some very simple texture options, while others are shockingly complex. The best part of trying out a textured surface yourself is that you will learn a lot along the way. Start with the simple designs; once you’ve gotten the hang of it, you can try a more complicated option on another wall or sometime in the future.
Tools Needed to Texture a Ceiling or Walls
If you are looking into incorporating a new texture into your home, or if you want to identify that unusual pattern on your wall or ceiling, you’ve come to the right place. Today, we are going to give you a list of the different tools you need to be able to texture your ceiling and walls at home.
Before the tools, though, we should take a look at the various steps in the texturing process. Here they are now:
Stippling
Before we give you the list of tools you need, let us know first the process of giving texture to walls and ceilings, which is called stippling. When walls and ceilings are textured, these textures create small shadows because of the bumps and depressions. When there’s direct light, these shadows do not matter much; but as the light source moves at a sharper angle to the wall, they lengthen. With this, the overall shade of the surface darkens, thus darkening the room, as well.
The advantage of the darkening effect of stippling is that it can hide the imperfections of a surface better. It is perfect for walls and ceilings that have sags, bulges, seams, and depressions. The effects of stippling vary depending on how the texturing material is applied and rolled on the walls and ceilings. Therefore, before you apply it to your walls and ceilings, you can first try it on scraps of drywall or cardboard sheets.
Precautions to Take Before Trying Out a Texturing Project
Before painting, make sure that you cover your floors and furniture with drop cloths. Then do some patching of wall and ceiling surfaces, as well if necessary, or if there are holes or chips on the surface.
Before applying the stipple texture, make sure that you apply a coat of flat white latex or drywall primer and let it dry first. This will serve to add some adhesion to your paint. After that, you can start painting your ceiling and walls with the texture you want.
The Three Main Texturing Tools
The three tools that you mainly need for texturing a surface are the sprayer, the joint compound, and a knockdown knife (if you’re using the knockdown method). Let’s have a closer look at these options now:
Joint compound
You can make the texture compound for stippling by yourself by thinning out drywall compound or spackle with water in a 4 to 1 ratio. Use the 5-gallon bucket and the paint mixer attachment of your drill to mix the texture compound. This guide to choosing the right power drill might be handy here.
For further ease, you can also use a joint compound that comes in a pre-mixed form. One bucket might have 60 pounds of the compound or ‘mud’, as it is sometimes called. Don’t go for the lightweight options; they’re mostly air and won’t be as sticky as you need for proper texturing. Generally, a 12 by 12 feet room will need about 1.5-2 such buckets for texturing the ceiling and walls. Once the texture is applied and dried thoroughly, it can be painted in the same way as any wall or ceiling surface.
Knockdown knives
Knockdown textures were usually done using wide steel taping knives or flat trowels. However, we now have special knockdown knives that are available at any supply store that sells drywall tools.
The blade of a knockdown knife should be both durable and flexible. After the texture compound dries, use it to knock down the excess. This will remove trowel lines without causing any damage to the intended drywall pattern.
Acoustical sprayer and gun
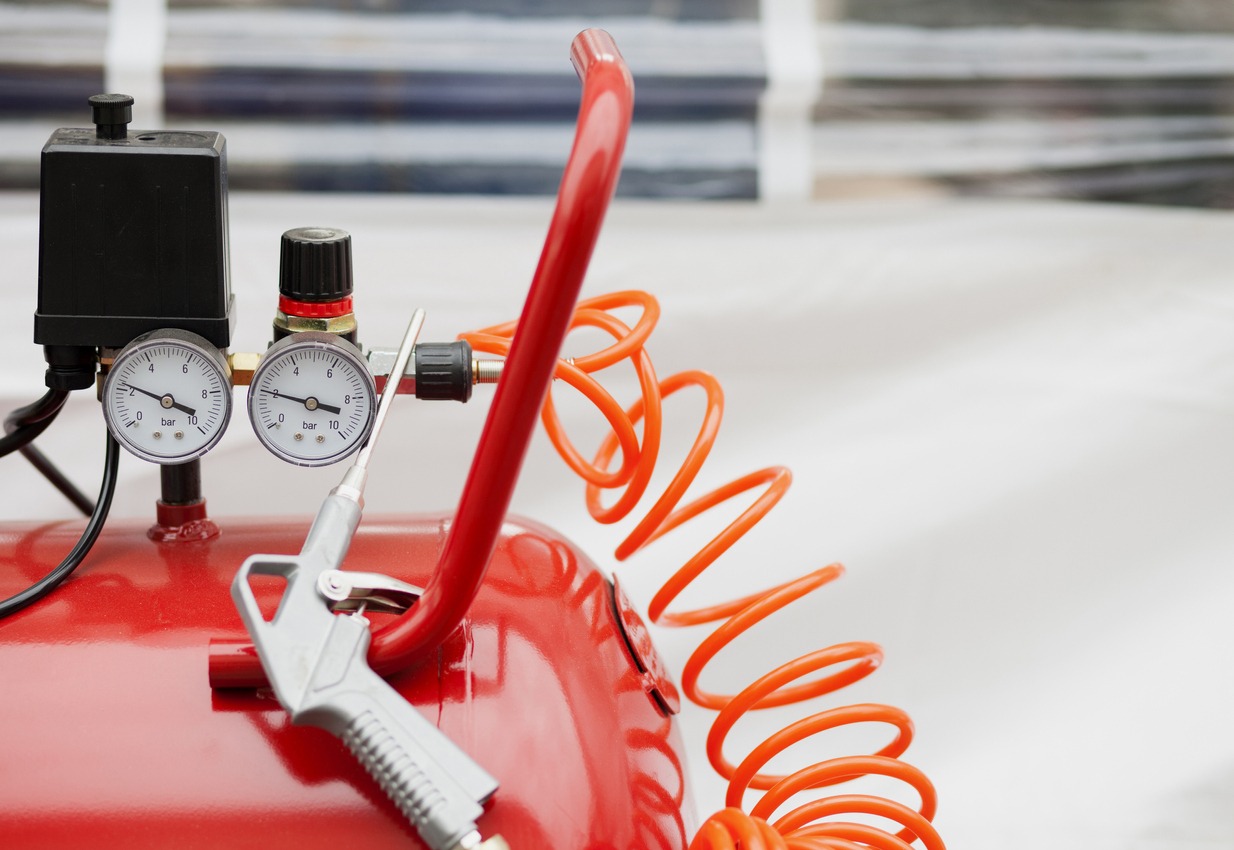
A hopper, acoustical spray gun, and compressor are also required here. These can cost a lot, so see if you can rent them out from your local paint store or any rental center. A home compressor will be fine when applying the first coat, but you need a lot of air in order to make the heavy topcoat. Make sure to try out the machine in the store before renting it out.
Tips for a DIY Texturing Project
The following tips will hopefully help you out when texturing ceilings and walls:
- Fill off the sharp edges on the blade mixers; you don’t want them cutting tiny bits of plastic into the compound–these can clog up the gun and look unsightly on the finished walls
- Use masking tape to cover everything that you don’t want to get compound on–light fixture bases, outlets, wall trim, etc.
- Use plastic sheeting to cover the doors and windows
- Remove the glass of the light fixtures; the force of the knockdown method can cause that to fall as well
- Cover the floor with heavy canvas or spare bed sheets
- The hopper shouldn’t run dry; there should be four inches of the compound in there throughout the project
- Make sure the edge of the knockdown knife is clean before every stroke; clean it with a damp sponge between strokes
Required Tools for this Project
Here’s a summary of the tools you may need for a DIY texturing project. Depending on the kind of texture you want and the chosen method, you may need more or fewer tools than the following list. Make your own list and get the tools before starting; it will save a bit of time and hassle. Here are the ones to keep an eye out for:
- An air compressor
- A corded drill for powerful mixing
- Hearing protection when using the drill or any other loud machinery
- A dust mask
- Safety glasses
- Mixing paddle
- Acoustical sprayer and gun (you can rent one out for DIY projects)
- Knockdown knife
Other materials
Along with the texturing and stippling tools, here are some precautionary materials to have on hand. These will help you take care of the surroundings before attempting a texturing project. Have these ready beforehand to avoid accidents and minimize damage:
- Drop cloth (preferably canvas)
- Masking tape to save outlets and frames from the compound
- Plastic sheeting for the floor
- Covers for any nearby furniture that can be removed
- All-purpose joint compound
- A wet sponge for cleaning off spills
Conclusion
Yes, DIY wall and ceiling textures are fairly easy to do. Just keep in mind that it can have different effects, depending on how you apply it. Practice makes perfect, so keep on trying if you don’t like the results the first time round. You can also practice first on cardboard, as mentioned earlier. Try experimenting with heavy coats, thin coats, and note their drying time. You’ll surely be surprised by the different effects that you can achieve with just a few tools and materials.
Some people might also want to add color to their textured walls. However, the texture and pattern of the surface are among the main things to consider before buying a paint sprayer or choosing any other method of painting.
