As you look at your sewing pattern instructions, you will see that you need to transfer some of the markings from the pattern on your fabric. But when it comes to pattern tracing and transferring markings to your fabric, there are simply too many choices. It looks like you might want to include them all to your sewing kit.
The success of a sewing project is primarily dependent on precision. It is a must to have the correct marking tools with you, such as water-soluble pens, ceramic lead pens, etc. You should also know that some fabrics require specific marking tools. At the same time, you do not wish something that will permanently ruin the fabric.
In this article, you will find the various types of marking tools, and their pros and cons.
The best marking tools for sewing
First of all, you must understand that different marking materials will work well with specific fabrics and sewing materials. Consider these points the first step and basis of your sewing projects. Without them, you cannot expect a job well done at the end of the day.
As it is said before – there are too many choices. If you’re scratching your head as to the most suitable marking tools for fabrics, discover them here.
Your decision as to which fabric marking material for your sewing will work best will depend on the type or color of fabric you will be working on for your project and whether the marking will remain visible on your finished product (of course, we know you don’t want it).
1) Water-soluble pens
Water-soluble ink pens are designed to provide and draw precise lines. As a result, marking small dots and circles becomes easy. Moreover, the bright colors will look more prominent on light fabrics. You don’t have to worry, though, as these marks will be easy to get rid of by using a blot of water, ironing, or simply leaving them – the marks will fade over time.
On the other hand, the lines can sometimes disappear faster than expected – in fact, they fade a bit too fast. The tips of the markers may also dry up a little too quickly and can even sometimes bleed.
2) Ceramic lead pens
Ceramic lead pens make thin and accurate markings and typically come with refillable lead, which means you can refill it with different colors. These fabric marking tools can be easily erased or washed away with water.
However, ceramic pens are usually expensive. In addition, the tips are sensitive as they can break easily and tend to drag on the fabric. Another downside of ceramic pens is that they are not that effective on thick or textured fabrics like wool or felt.
3) Tailor’s chalk
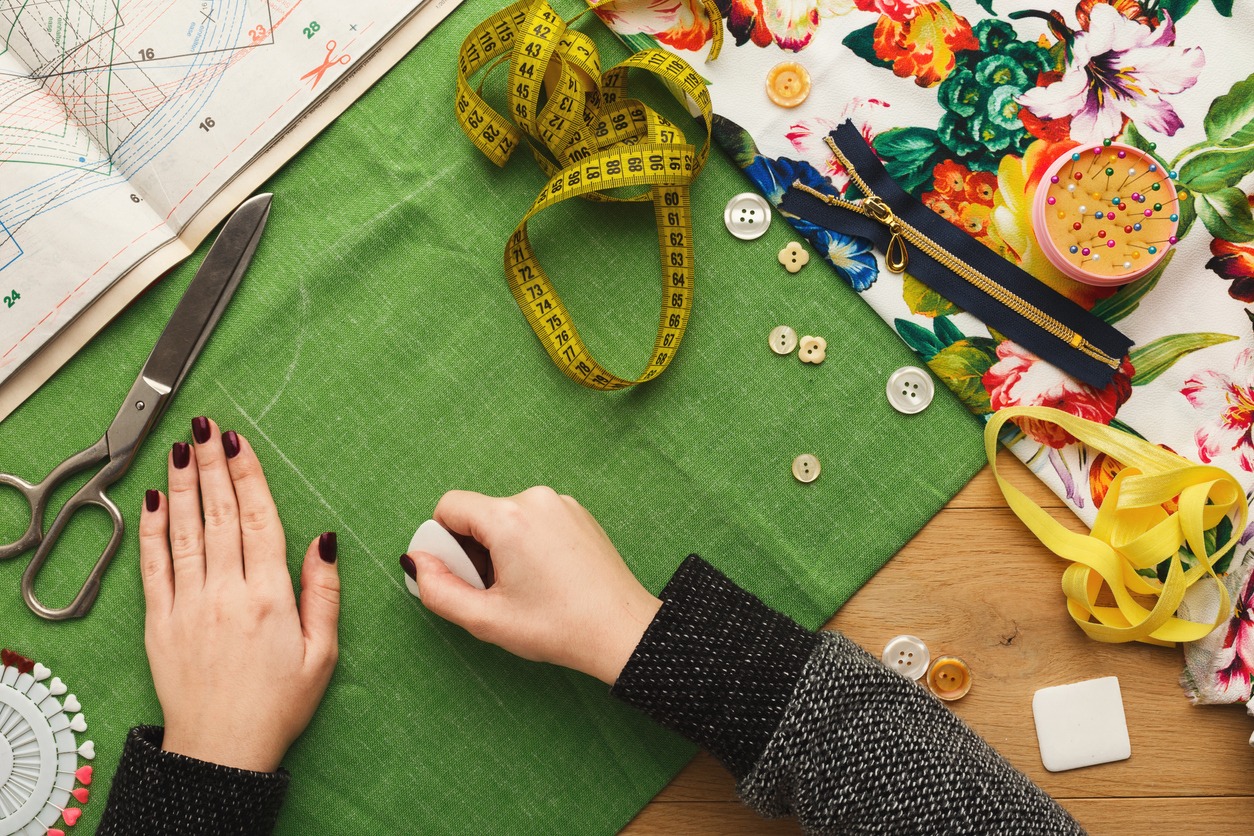
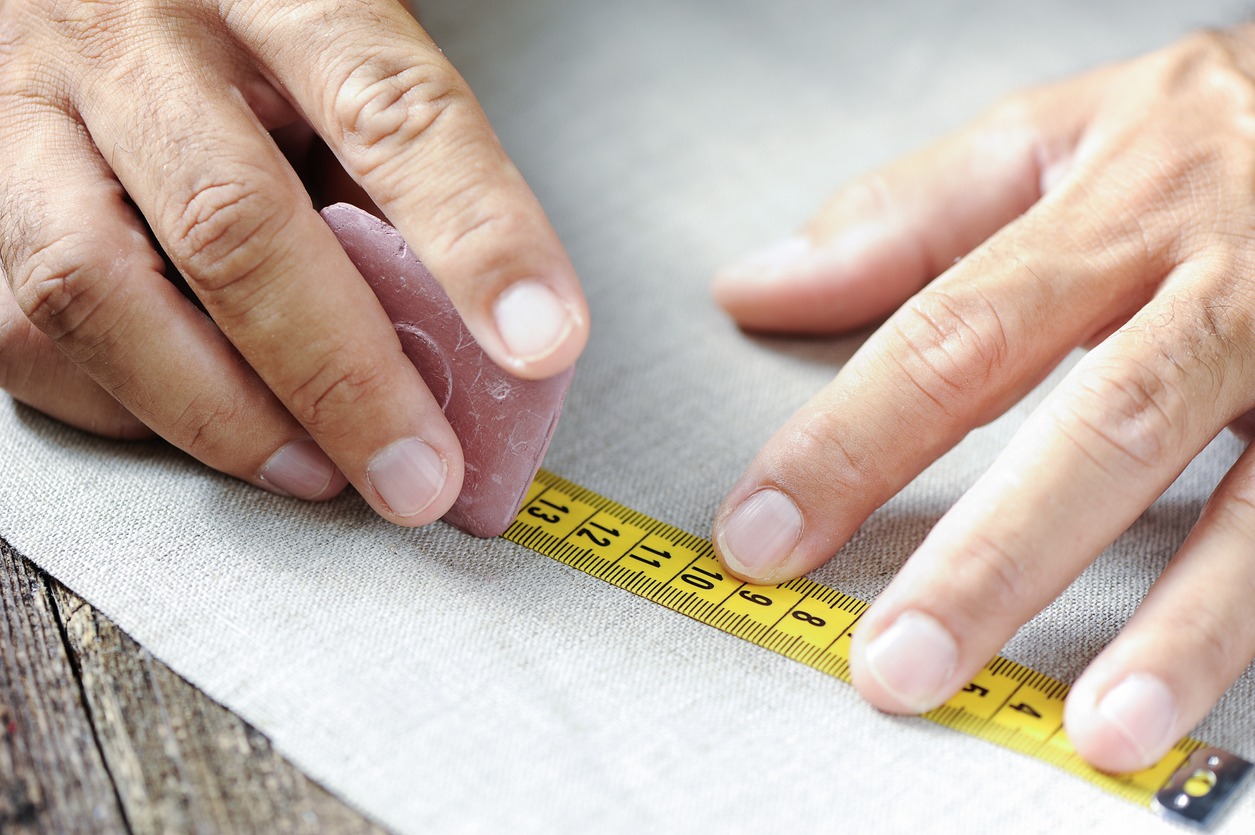
The tailor’s chalk is one of the more traditional marking tools for sewing, and one of the most popular as well. It is characterized by its distinctive triangular or rectangular shape.
Tailor’s chalk usually provides smooth lines and does a neat job marking textured or thick fabrics. The markings will be quickly brushed away or fade by themselves over time. However, the tailor’s chalk can crumble and break easily. You need to sharpen it regularly to maintain its good shape and performance.
4) Chaco liner pens
Chaco liner pens lay down a line of powder, which is thin and precise. You shall observe that chaco liner pens are easy to roll. Unlike other marking tools, chaco liner pens will not drag on fabric. They also come in various colors and will not require sharpening that often.
5) Tracing or carbon paper and tracing wheel
A tracing wheel is a pizza cutter-like marking tool used on a tracing or carbon paper to trace a pattern. Tracing wheels are either serrated or smooth, and depending on the type, you can use tracing wheels even without the help of the tracing or carbon paper.
Perhaps the most significant advantage of tracing wheels is that if you happen to sandwich the fabric, you will be able to work on both sides of the fabric (i.e., mark the fabrics at once). They are also available in various colors according to both light and dark fabrics. Marking curves, long lines, and corners is made easy while trying to copy a pattern or template.
6) Bar soap slivers
Some marking tools can even be found right in your own home, or at the hotel you happen to be staying – slivers from bar soaps! They will easily and smoothly glide over all fabrics. However, soaps are known to leave some residues, so you should only bar soap slivers as markings on washable fabrics. These soaps can also leave uneven smudges, which can be quite a hassle when it comes to removing them.
7) Needle and thread
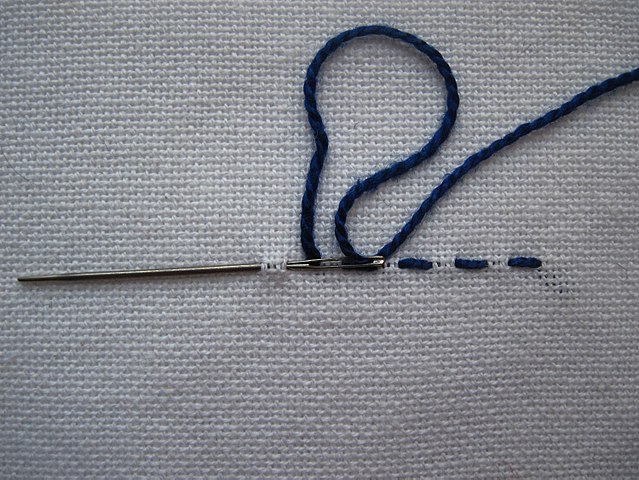
Some fabrics won’t go well with any marking tools. In this case, you can use a needle and a thread to make running stitches as markings by hand-sewing. Make sure you use a thread of a contrasting color to mark your pattern pieces. You can sew right through the thin pattern paper so that your markings will end up spot-on and accurate.
Once you’re done with your sewing project, just snip and remove the marking thread. No annoying leftover marks, bleeding, or smudges to deal with. However, the downside of this needle-and-thread marking option is that it can be pretty tricky and time-consuming – both in stitching and then removing the marks.
Do brands matter when buying marking tools?
The great news is that you don’t have to shell out a lot on marking tools. But if brands really matter to you, you can look for them, such as Singer, Dritz, and Birch, which offer a wide range of marking tools for fabrics.
Final words
The sewing marking tools mentioned above are some of the best that you will find in the market. These are budget-friendly products and are easily available with any sewing materials. Depending on the fabric and your needs for marking, you can pick any of them to get the job done.
