
Table of Contents
How Do Drones Work?
A typical drone is made of lightweight composite materials to reduce weight and increase maneuverability. Being lightweight allows military drones to cruise at extremely high altitudes. A UAV is equipped with various state-of-the-art technologies, including sensors, cameras, GPS, and much more.
The nose of the UAV is where to find all the sensors and navigational systems. The ground control system (GCS) signals, also known as the ground cockpit, are sent to the drone via a controller (a dedicated remote controller or smartphone). The drone interprets the signals and operates accordingly.
Following are some of the different capabilities of a drone:
Connectivity
The most important aspect of a drone is its level of connectivity. You can control a drone remotely, often from a smartphone/tablet or a dedicated remote controller. You can view the drone and its surroundings from a birds-eye perspective. If a drone does not have good connectivity, it does not matter how good its flight systems are or its battery lifespan. It will not be able to fly.
Today, the technology has advanced so that users can even leverage drone controller apps to pre-program specific GPS coordinates and enable the drone to take an autonomous flight.
1. Vertical Motion / Lift Off
Drones use rotors for control and propulsion. Think of a rotor as a fan, but much more powerful. The spinning blades on the drone push the air down, and as a reaction to that force, the air pushes the drone up.
The drone will have to spin its rotors faster to increase its lift and slow the rotors to come back down. A drone can execute three operations: hover, climb and descend. To hover over a specific area, all four rotors of a drone must be equal to the gravitational force pulling it down.
Do you wonder how to move up or climb? It’s simple. Just increase the thrust or speed of the four motors. Once the drone has climbed, you can decrease the thrust a bit. But now, three forces are working on the drone: its weight, thrust, and air drag. Therefore, a drone must have powerful thrusters to climb the way you want and not just hover over a specific area.
On the other hand, making a drone descend is much easier. You will have to decrease the thrust, so the net force acts downward.
2. Turning (Rotating)
 | My Hobby Life")
Suppose your drone is hovering pointing north, and you want to rotate it to face east; what would you do? Thankfully, understanding how a drone turns is not that complex. Two out of four rotors of a drone (1 and 3) will rotate clockwise, while the other two will rotate counterclockwise (2 and 4). With this opposite rotation of both sets of rotors, the total angular momentum is zero.
In simple terms, one set of rotors have positive angular momentum while the other has negative angular momentum. Let’s assign the rotor sets different values:
Set 1:
- Rotor 1: +2
- Rotor 2: +2
Set 2:
- Rotor 3: -2
- Rotor 4: -2
Adding up all these values equals zero (+2+2-2-2=0). To rotate the drone to the right, you will have to decrease the spin of rotors 1 and 3 and increase rotors 2 and 4. The rotors are designed to rotate in different directions but at equal speeds. This movement allows them to counteract each other’s rotational forces on the drone’s body, hence keeping it stable.
All the propeller motors must coordinate via the drone’s Electronic Speed Controller to ensure balanced rotational speeds. Acting as the drone’s control center, the ESC receives the signals from the controller, translates them into commands, and operates accordingly.
3. Going Forward and Backward
To move your drone forward or backward, the front or back side motors need to be slowed down while speeding up the rotors on the opposite side. This change in the rotor speed makes the drone tilt toward the side with the slower moving motors. On the other hand, when the drone is hovering, the lift is acting downwards.
The slower the motors rotate on one side, the greater the tilt. Therefore, the greater the horizontal tilt, the faster the drone will travel.
How to Fly a Drone (Step-by-Step Instructions for Flying a Drone)

Pre-Flight Checklist
Before flying your drone, making a pre-flight checklist will help keep you and your drone safe.
1. Weather & Site Safety Check
- Make sure the wind speed is under 15 knots (less than 20 mph)
- The chance of precipitation is less than 10%
- Cloud base is at least 500 feet
- If you are flying your drone at dawn/dusk, don’t forget to check out the civil twilight hours
- Visibility is at least three statute miles (SM)
- Assign takeoff, landing, and emergency hover zones
- Ensure that there are no towers, buildings, trees, or other obstructions where you are flying your drone
2. Visual Aircraft/System Inspection
- Look for abnormalities in parts of the drone-like propellers, motors, gimbal, undercarriage, payloads, etc.
- Ensure the registration number of your commercial drone is displayed properly and legible.
- Lens caps and gimbal clamp are both removed.
- Clean the camera lens with an appropriate microfiber cloth.
3. Powering Up
- Turn on the transmitter and remote-control application of the drone.
- Turn on the drone.
- Be sure to establish the connection between the drone and transmitter.
- Verify that the display panel and FPV screen is functioning properly.
- Calibrate compass before taking any flight.
- Verify both battery and fuel levels on both aircraft and transmitter.
4. Taking Off
- Look for any irregularities and imbalances.
- Pitch, roll, and yaw your drone to test its sensitivity and control response.
- Check for any software warnings and electromagnetic interference.
- Proceed with your drone flight.
After making a pre-flight checklist and familiarizing yourself with the drone, it is time for you to fly it. The following step by step guide will help you have a fun and safe drone flying experience:
1. Find an Open Area for Practice

If you already have a drone or plan to buy one, you probably already have an area in mind for practice. Ensure the place is free from any obstructions, so you don’t crash your drone into a tree, wall, or building.
On top of everything, ensure that the area is not a no-drone zone.
2. Position the Drone

Find a suitable takeoff spot and make sure to position the drone correctly. Ideally, your drone should be on a flat surface and in front of you. You can find more information on the drone’s instructions manual. Do this before every flight, and don’t experiment with other ways to take off until you have gained enough experience and confidence in flying.
3. Connect the Transmitter

Before having your drone take off, another thing you need to remember is sequencing. So, before switching on the transmitter, push the throttle all the way down. After that, turn the transmitter on and connect the drone’s battery.
This step is a most important steps to follow before taking off and after landing. Similarly, follow the sequence in reverse order after landing. Disconnect your drone’s battery and turn off the transmitter.
4. Practice Takeoff and Landing

After following the steps above, you may slowly push the left stick (throttle) upwards and watch the drone climb. To keep it in place, use the controller’s right stick (roll and pitch control). Once you have successfully lifted off the drone a few feet above the ground, try to land it smoothly at the drop-off location.
The key is keeping the drone steady by slowly pushing the left stick down until it reaches the spot on the ground.
4. Practice Hovering

Once you have successfully learned how to lift your drone off the ground and land it safely, the next step is to practice hovering it. Again, lift your drone off the ground without moving it forward or to the sides, and hold it as steady as you can. This task may seem tedious for those new to flying drones as it requires concentration. But once you master it, this will help improve your flying skills and keep you and your drone safe.
Don’t go for stunts and speed racing in the beginning. Your focus should be on mastering basic maneuvers, such as taking off, landing, and hovering/balancing the drone.
5. Practice Rotating

After learning three main maneuvers, the fourth most crucial maneuver you will need to be comfortable with is the rotation of the drone. The controller’s left stick’s yaw control will help with this. To do so, lift your off, hover, and then slowly push the left stick left or right until it rotates to face you.
Beginners may find it a bit difficult, but if you know where your drone’s front and back are, it won’t be a problem for you anymore. To make it easier, create an image in your mind about flying the drone while being on board. This trick is what most professionals do, which helps them control the drone no matter how much it spins or turns.
If you fail to turn and rotate properly at first, don’t worry. Learn to concentrate on your drone’s orientation and keep trying until you master this technique. You may need several attempts before you get the hang of it.
Now Practice all These Techniques in One Go

Let’s assume you have learned all these basic drone controls and maneuvers – now, it is time to combine them all into one session. During this session you will get to use the right stick to maneuver your drone.
Following are some sample movements and controls that you can try out once your quadcopter is in the air:
- Move the drone forward and backward using the pitch control (right stick) and travel left or right using the roll control (right stick).
- Fly forwards in a parallel path with the pitch control (right stick) while the drone is facing away from you in the direction of flight. Stop it in the middle, rotate it 180° until it faces you, and move it forward until it reaches above the lift-off position.
- Draw a circle with your drone using both yaw control (left stick) and pitch control (right stick).
- Draw a square using the roll and pitch controls (right stick).
How to Become an FAA-Certified Drone Pilot

To fly your drone under FAA’s Small UAS Rule, you must be an FAA-certified drone pilot. The certificate ensures that you understand all the requirements, regulations, and procedures of safely flying the drone.
If you are a first-time pilot, you need to keep the following things in mind:
Eligibility
To become an FAA-certified pilot, you must be:
- At least 16 years old
- Able to read, write, understand, and speak English
- In perfect mental and physical condition to safely fly a UAV
- Pass the initial aeronautical knowledge exam
Following are two main requirements for a remote pilot certificate:
- It is valid for only two years. Therefore, all the certificate holders must pass a recurrent knowledge test every couple of years.
- The remote pilot certificate must always be accessible by the remote pilot during all the drone operations.
Here are some Frequently Asked Questions (FAQs) you can expect for drone pilot licensing and certification:
1. Do I Need a Drone License?
If you want to fly a drone for non-recreational purposes, you must get a remote pilot certificate from the FAA, commonly known as a Part 107 license or Part 107 certificate. You can use this license to fly a drone in all US states and territories.
2. How Much Time Does It Take to Get a Drone License?
On average, it takes between 4 and 6 weeks to get a drone pilot license from the FAA. After being eligible for the certificate, you will receive the official certificate card in your mail within 6 to 8 weeks.
3. What’s on the FAA Drone Certification Test?
The FAA drone pilot test consists of 60 multiple choice questions, and you have two hours to attempt them. To pass the test, you will need to score at least 70%. Following are some of the key topics you will be tested on:
- FAA drone laws and regulations.
- Reading Sectional Charts
- Radio Communications
- Airport Operations
- National Airspace System (NAS)
- Flying a Drone at Night
- Emergency Procedures
- Aeronautical Decision-Making
- Weather & Micrometeorology
- sUAS Loading and Performance
- Effects of Drugs & Alcohol
- Crew Resource Management
4. Do I Need to Know How to Fly a Drone?
Interestingly, the FAA does not require that you give a drone flight proficiency test to receive your drone pilot license.
5. How Much Does a Drone License Cost?
The cost of getting a drone license is relatively low. The mandatory Part 107 that you must take in-person at an FAA-authorized testing center can cost you a flat $173. You have to pay it directly to the testing center. If PSI owns your testing center, the exam fee reduces to $109 only. Once you pass the test, you will have to pay any additional fees to get your license[i].
The only other cost is the $5 fee for registering your drone. This registration is valid for three years, meaning the total amount required is less than $200.
To know more about becoming an FAA-certified drone pilot, you can visit the FAA’s website[ii].
6. How Much Money Do Drone Pilots Make?
- Full-time drone pilots at salaried positions can earn about $33k to $79k per year.
- Depending on the project, freelance drone pilots can make $300 to $400 for residential real estate work.
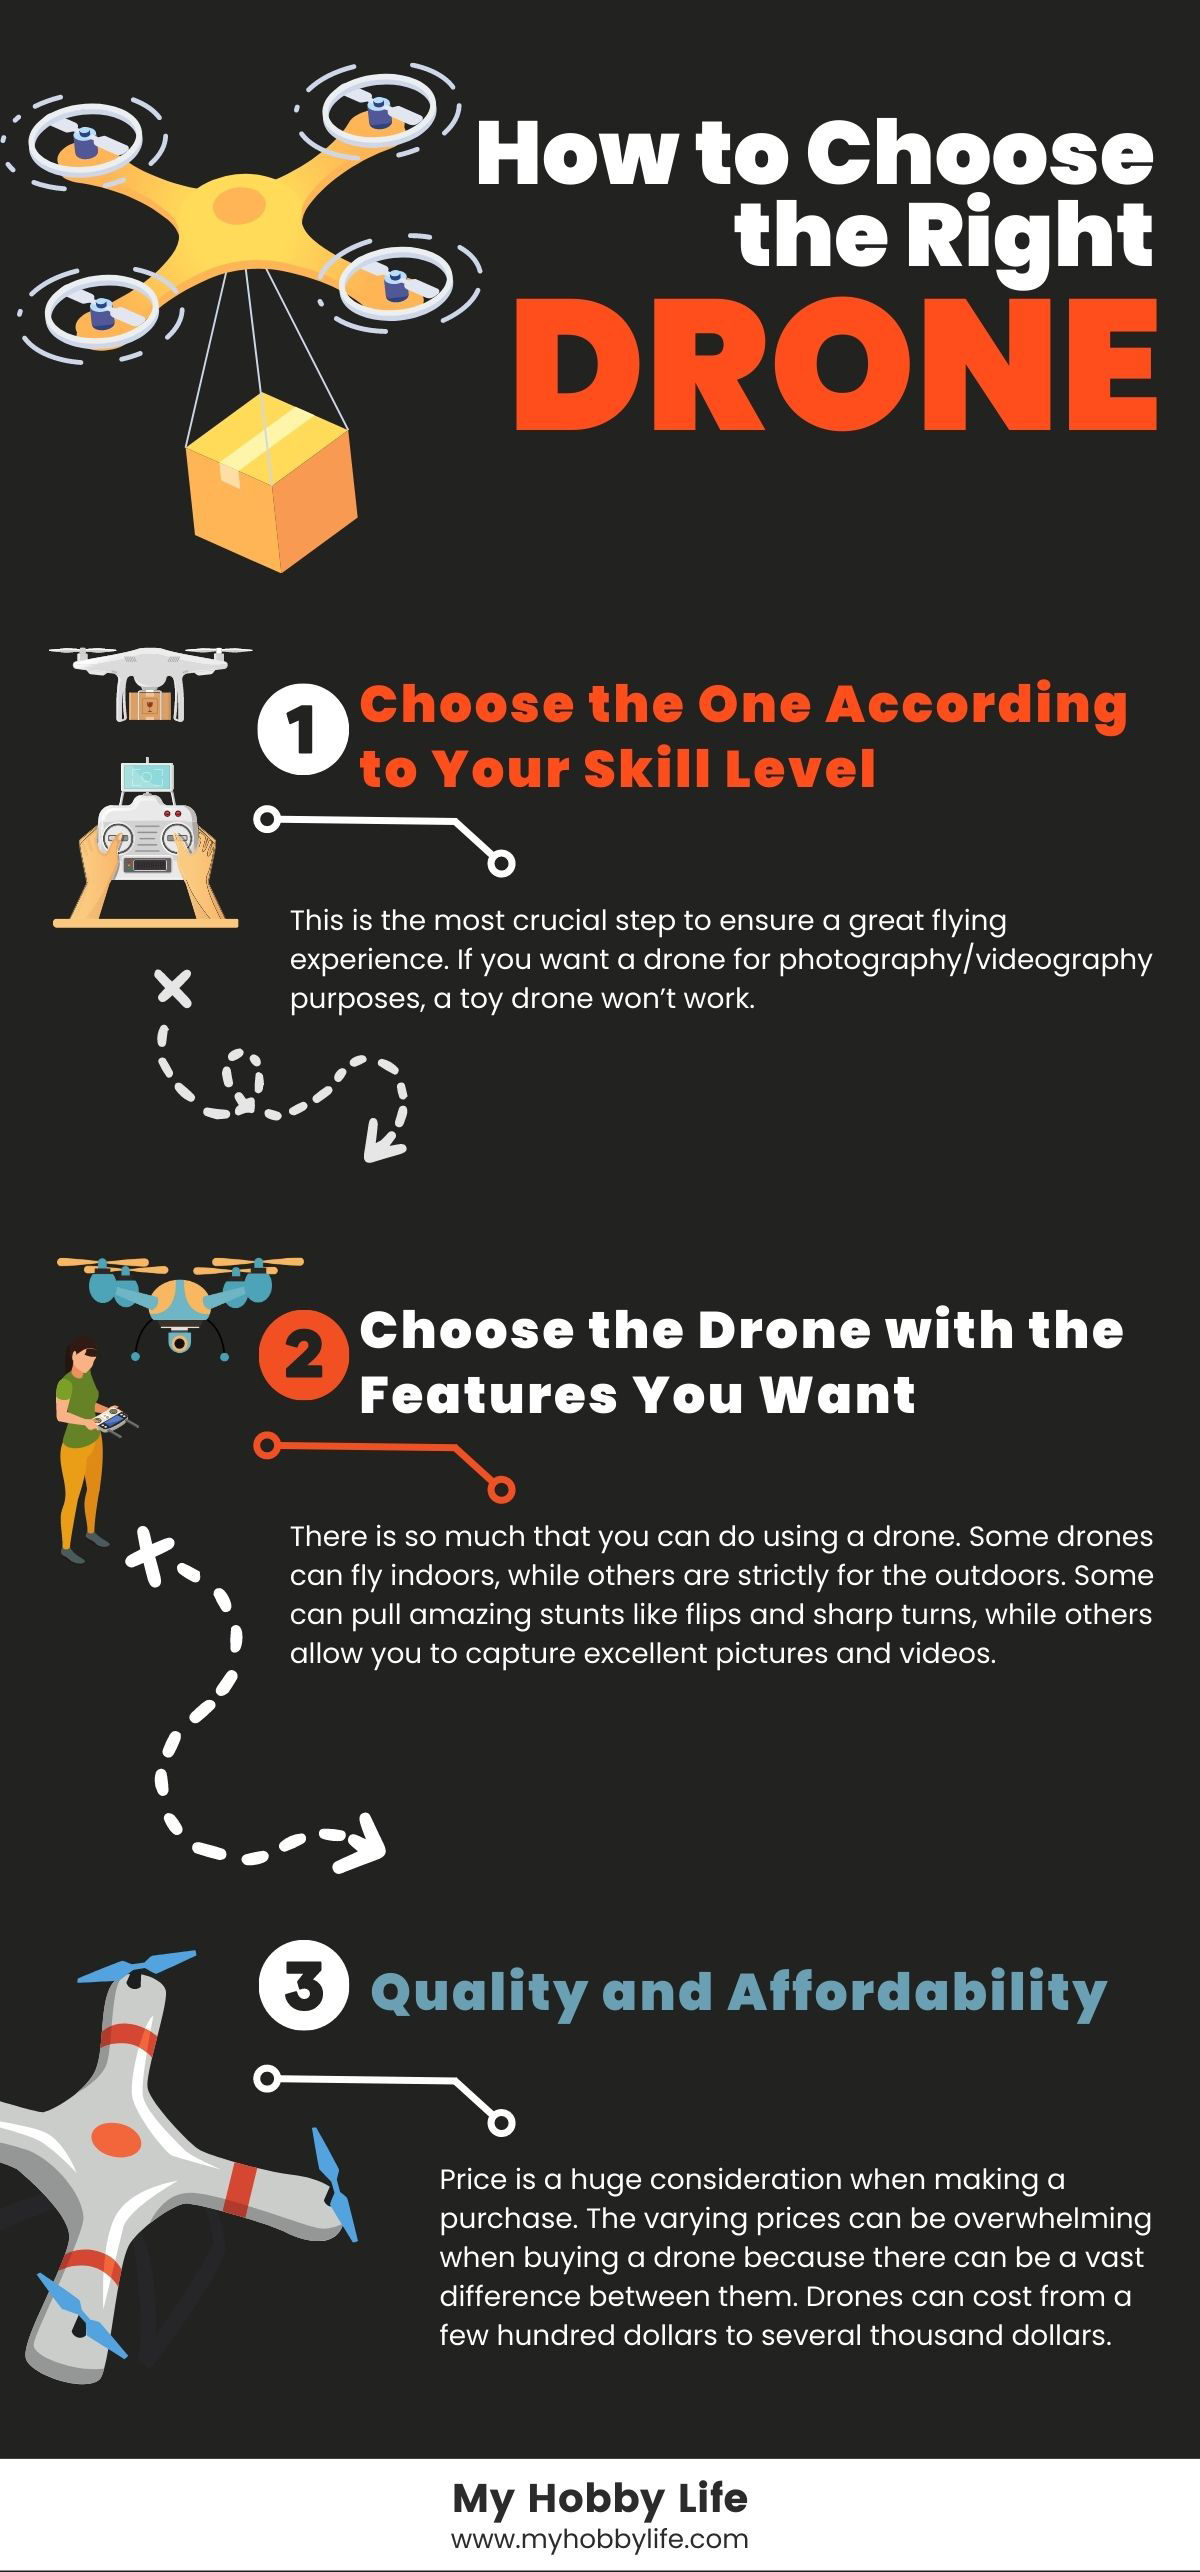
How to Choose the Right Drone
If you consider your options for purchasing a drone, you will quickly realize that there are so many options to choose from, which might confuse you. Drones come in every size and in almost every price range. Besides, many are equipped with additional exciting features.

Therefore, you should know your requirements/needs and understand your drone flying abilities to buy the right one when buying a drone. Following are a few steps to consider when purchasing a drone for yourself:
1. Choose the One According to Your Skill Level
This is the most crucial step to ensure a great flying experience. If you want a drone for photography/videography purposes, a toy drone won’t work. Similarly, if you want a drone for a kid, professional drones like DJI Phantom 4 are not suitable. So, always choose a drone based on your skill level.
For example, if you buy a drone for kids, go for the inexpensive and sturdy one with safety features, including propeller guards. If you are a beginner, you should focus on the drones designed for new fliers. They may cost more, but they are responsive and intuitive to fly.
Once you know your skill level, it will become easy for you to narrow down your choices.
2. Choose the Drone with the Features You Want
There is so much that you can do using a drone. Some drones can fly indoors, while others are strictly for the outdoors. Some can pull amazing stunts like flips and sharp turns, while others allow you to capture excellent pictures and videos. Therefore, you need to decide how you want to use your drone. Knowing what you will use it for will help further narrow down your options.
For example, you want an impressive drone that can be used indoors and do tricks. You will want to go for a small, agile drone designed for this purpose instead of going for a larger drone with a state-of-the-art camera.
Similarly, if you want to make aerial videos and capture stunning aerial photos, you should invest a little more money to fulfill your requirement. By selecting a drone with the features, you require, you can save money on unnecessary add-ons and have an excellent drone flying experience.
3. Quality and Affordability
Price is a huge consideration when making a purchase. The varying prices can be overwhelming when buying a drone because there can be a vast difference between them. Drones can cost from a few hundred dollars to several thousand dollars. You already have a narrowed-down list of drones within a specific price range considering the above two points.
Once you understand how much the drone you require costs, you can decide how much to spend by balancing quality and budget. You may find a cheap drone with all the features you want, but the quality and longevity of the drone will likely be lower than that of its more expensive counterparts.
As a result, it is essential to balance quality and affordability. If you think the drone has all the features you want, is good quality, and is within your budget, go for it.
How to Take Care of Your Drone
Following are some points to consider when taking care of your drone:
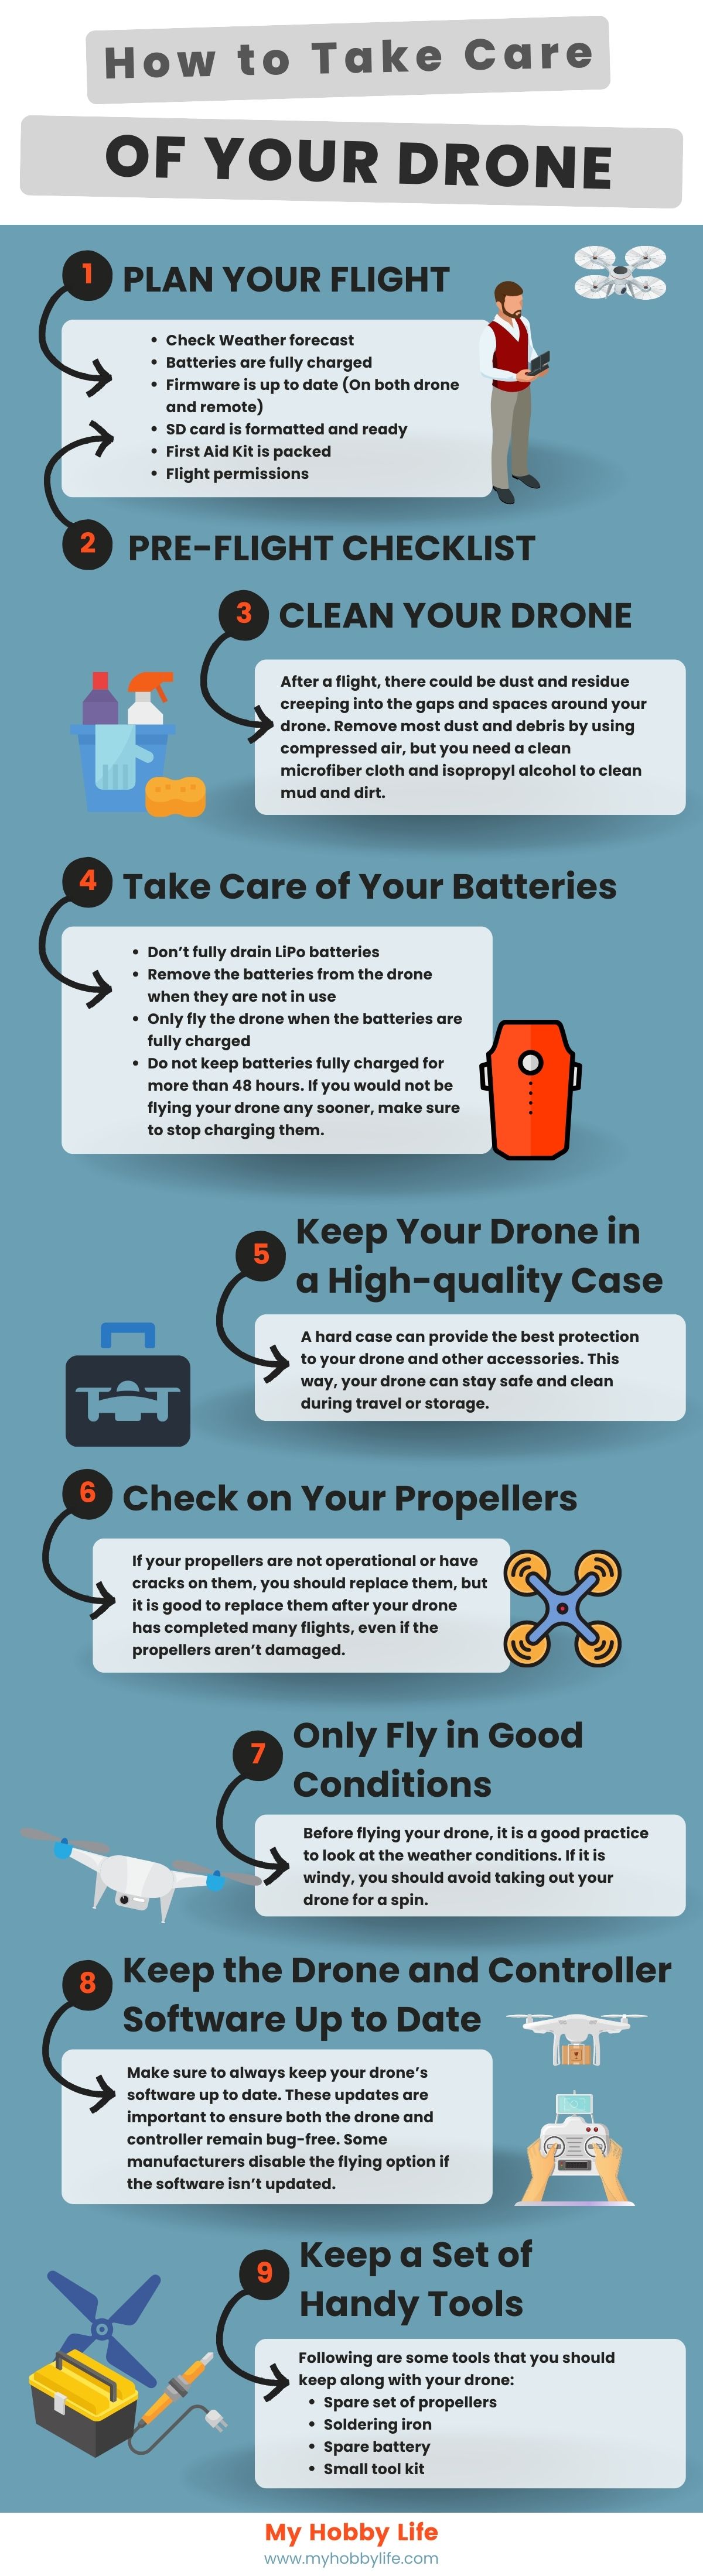
1. Plan Your Flight
You don’t always know when you will be taking your drone out for a flight, but when you do, make sure to check some things beforehand, such as:
- Weather forecast
- Batteries are fully charged
- Firmware is up to date (On both drone and remote)
- SD card is formatted and ready
- First Aid Kit is packed
- Flight permissions
2. Pre-Flight Checklist
This point was discussed above.
3. Clean Your Drone
After a flight, there could be dust and residue creeping into the gaps and spaces around your drone. Remove most dust and debris by using compressed air, but you need a clean microfiber cloth and isopropyl alcohol to clean mud and dirt. And remember not to put alcohol on your lens glass or UV filter.
Moreover, try to avoid changing lenses on your drone in an open windy area as dust can be blown in the sensor and cause malfunctioning.
4. Take Care of Your Batteries
Taking care of your drone batteries is vital because they are the main component that powers the drone and helps it operate. If the batteries malfunction or die mid-flight, your drone could suffer severe damage. Do not use it at all, even if you have the slightest thought that your battery may be damaged.
Following are some tips that can help ensure your batteries are safe and last longer:
- Don’t fully drain LiPo batteries
- Remove the batteries from the drone when they are not in use
- Only fly the drone when the batteries are fully charged
- Do not keep batteries fully charged for more than 48 hours. If you would not be flying your drone any sooner, make sure to stop charging them.
5. Keep Your Drone in a High-quality Case
A drone consists of sensitive parts like propellers and a camera that may get damaged when transporting or even storing it. Suppose you drop the drone accidentally from a height without it being in a protective case. What do you think would happen? The chances are that the drone’s camera or propellers may not resist the damage and break.
A hard case can provide the best protection to your drone and other accessories. This way, your drone can stay safe and clean during travel or storage.
6. Check on Your Propellers
If your propellers are not operational or have cracks on them, you should replace them, but it is good to replace them after your drone has completed many flights, even if the propellers aren’t damaged. Tracking how many flights you have completed with your drone can be challenging; that’s why most drone pilots keep a logbook of their flights.
7. Only Fly in Good Conditions
Before flying your drone, it is a good practice to look at the weather conditions. If it is windy, you should avoid taking out your drone for a spin. You can find the maximum recommended wind speed for flying in the drone’s user manual. For instance, the user manual of the DJI Phantom 3 says that you should avoid flying the drone if the wind speeds are more than ten m/s.
8. Keep the Drone and Controller Software Up to Date
Make sure to always keep your drone’s software up to date. These updates are important to ensure both the drone and controller remain bug-free. Some manufacturers disable the flying option if the software isn’t updated.
9. Keep a Set of Handy Tools
Following are some tools that you should keep along with your drone:
- Spare set of propellers
- Soldering iron
- Spare battery
- Small tool kit
Some drones come with all the essential tools required for maintenance, while others may not. Even if your drone doesn’t come with these tools, it is a good idea to buy them separately.
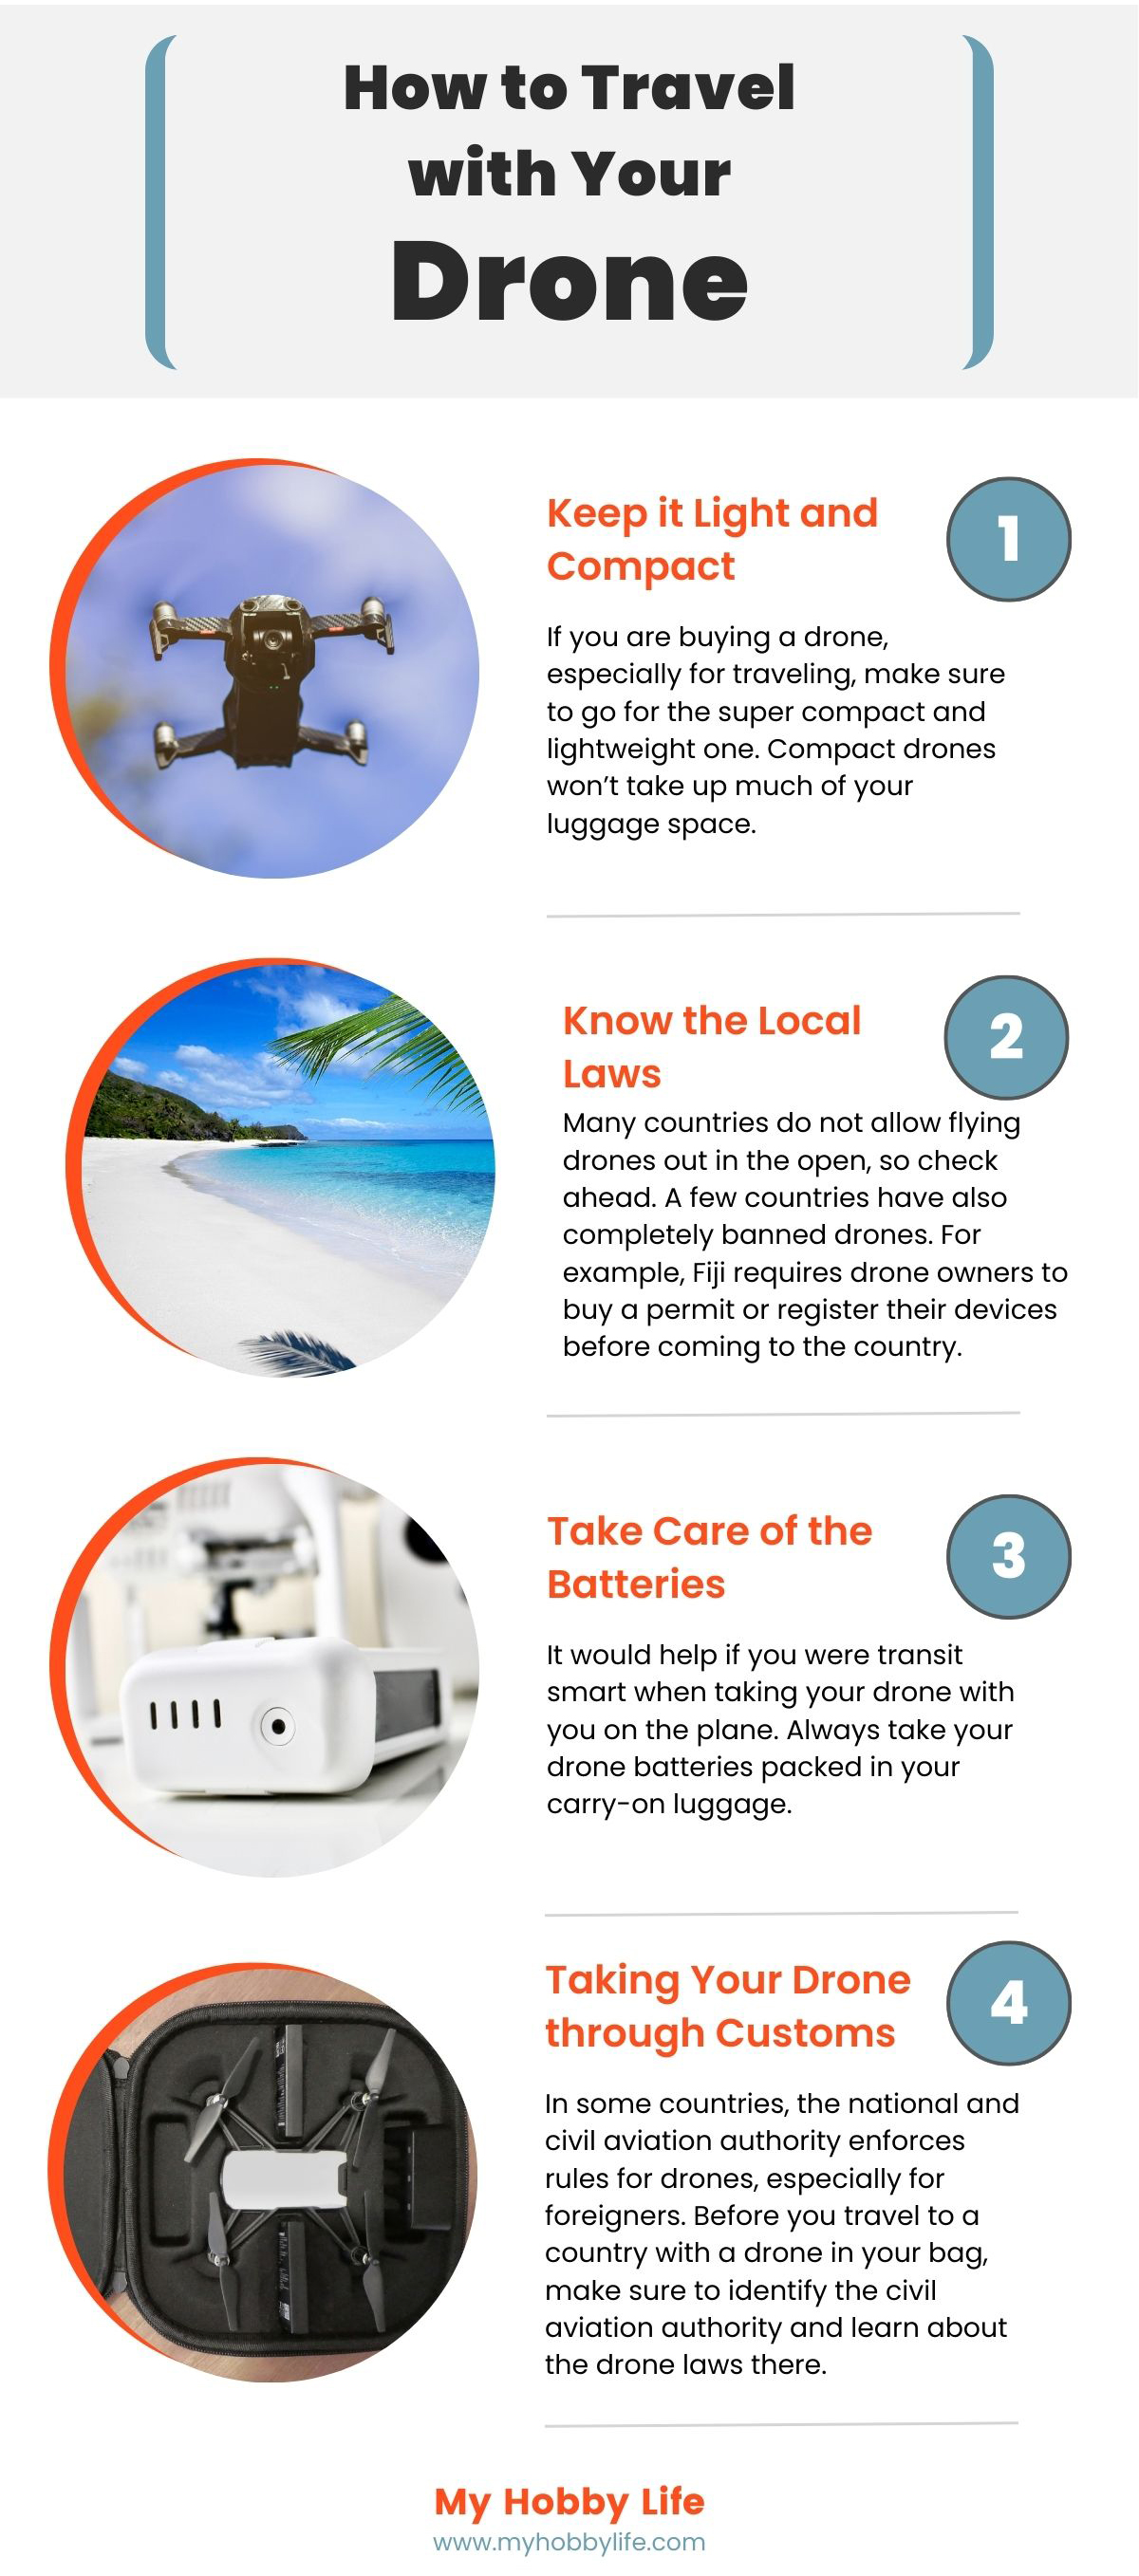
How to Travel with Your Drone
Drones can be a great companion, especially if you are into aerial photography and videography. However, there are a few regulations and rules that you must follow to travel with a drone. They are as follows:

1. Keep it Light and Compact
If you are buying a drone, especially for traveling, make sure to go for the super compact and lightweight one. Compact drones won’t take up much of your luggage space and won’t have much issue passing through immigration if you are flying out of the country.
2. Know the Local Laws
Many countries do not allow flying drones out in the open, so check ahead. A few countries have also completely banned drones. For example, Fiji requires drone owners to buy a permit or register their devices before coming to the country[iii].
As a general rule, don’t fly your drone near an airport, a military base, events, or a group of people.
3. Take Care of the Batteries
It would help if you were transit smart when taking your drone with you on the plane. Always take your drone batteries packed in your carry-on luggage. Some airlines also instruct owners to cover the battery’s terminal points to avoid any mishap. Consider taping them or bringing a fireproof case for the batteries to prevent them from touching other metal objects in your luggage.
In addition, you should also pack your drone in your carry-on bag, but make sure to check carry-on weight limits and size.
As most drones use LiPo (Lithium-ion Polymer) batteries, be sure to follow the FAA hazardous materials regulations[iv]. If a drone comes with Li-ion batteries, you don’t have to worry much as rules about traveling with lithium-ion batteries are easy to follow and much clearer[v].
When packing LiPo batteries in your carry-on bag, you need to be familiar with your battery’s watt-hours (Wh). For batteries with 100 Wh or less, follow these procedures:
- Cover the LiPo battery terminals with tape or leave them in their retail packaging. You can also put it in a hard battery case or battery sleeve in a camera bag.
- The batteries you are bringing must be for personal or professional use. Do not pack batteries for sale or distribution purposes.
- Before checking in, make sure to go through the airline’s rules regarding bringing LiPo batteries and drones on board.
When packing batteries with more than 100 Wh, follow these procedures:
- To bring large batteries, you might need to get approval from the airlines first.
- Do not pack more than two extra batteries.
- To protect the batteries from a short circuit, store them in a protective pouch or a battery case.
Don’t know the watt-hours of your battery? Here’s the simple formula to find it out:
Multiply the volts by the ampere-hours (Wh = V x Ah). For example, if you have a 12v battery rated to 8 Amp-hours, it will have 96-watt hours (12 x 8 = 96).
4. Taking Your Drone through Customs
In some countries, the national and civil aviation authority enforces rules for drones, especially for foreigners. Before you travel to a country with a drone in your bag, make sure to identify the civil aviation authority and learn about the drone laws there.
When traveling to a country where it is legal to fly a drone, you need to take care of the following points:
- You have thoroughly researched the country’s rules and regulations regarding flying drones.
- Some countries require only foreigners to take permission to fly a drone. In some rare cases, they may also ban foreigners from bringing drones through customs.
- Determine whether you need to register your drone beforehand with the country’s civil or national aviation authority.
- If you are flying a drone for professional or commercial purposes, be sure to follow the country’s requirements for drone licensing and certification. Depending on the country’s laws, you might need to take an aeronautical knowledge test or demonstrate flight proficiency.
Furthermore, when traveling to places where flying drones is illegal, it is not recommended to bring them. Some countries will confiscate your drone at customs, and you might not get it back at the end of your trip.
How Drones Can Be Hacked

Due to the popularity and widespread use of drones, hackers have found ways to take control of them midflight. There are various ways a hacker can get into your drone. Once the hacker locates a drone, he can control it and download photos and videos as they broadcast to its base station.
GPS Spoofing
A hacker can feed the drone false GPS coordinates, leading it to travel to a different location. He can even crash the drone deliberately for fun. If the drone carries a payload, the hacker can easily instruct it to land near him and steal both the payload and the drone.
Drones can be hacked from as much as a mile away. The radio signals the drone sends and receives are mostly unencrypted. Being unencrypted makes it easy for hackers to decode them using a packet analyzer or “sniffer.”
Samy Kamkar, a hacker and security analyst, went a step further and created a ‘zombie’ drone army by hacking other drones[vi]. He used a Parrot AR.Drone 2.0, a USB battery, a Raspberry Pi, a wireless transmitter, his SkyJack software, and other things to make this operation possible.
Drone Security Tips
If you are worried about your drone’s security, don’t be. You can protect your drone and important data from hackers. The following tips will help:
Update the Drone’s Software Regularly
Drone manufacturers are always working hard to keep an eye on new security threats and issue the latest security patches. Keep its firmware updated to be ahead of the hackers.
Use a Strong Password
Set a strong password on your base station app that contains a mix of letters, numbers, and special characters.
Keep Your Smartphone or Laptop Controller Secure
If you use your smartphone or a laptop as a controller, keep it secured, and don’t let it get infected with malware. In 2012, the U.S. Army reported that several drones were infected by malware after a drone operator used a drone computer to download and play video games[vii].
Use a Virtual Private Network (VPN)
A VPN is an excellent option to stop hackers from accessing your communications when connected to the internet. A VPN acts as a secure gateway and encrypts your connection, making it inordinately more difficult for hackers to get in.
Set a Limit
If you don’t want to use a VPN or follow other security protocols, you can set a limit of one for the number of devices that can communicate with your base station.
Change Your Wi-Fi Router’s Username and Password
Don’t leave your Wi-Fi router’s password and username to default. Change it and choose a strong password, so the hackers cannot guess the type of network or router you are using.
[i] Drone Certification: A Step-by-Step Guide to FAA Part 107 for U.S. Commercial Drone Pilots. Retrieved from https://uavcoach.com/drone-certification/#6
[ii] Become a Drone Pilot. Retrieved from https://www.faa.gov/uas/commercial_operators/become_a_drone_pilot/
[iii] Drone Laws in Fiji. Retrieved from https://uavcoach.com/drone-laws-in-fiji/
[iv] Pack Safe. Retrieved from https://www.faa.gov/hazmat/packsafe/more_info/?hazmat=7
[v] What Can I Bring? Retrieved from https://www.tsa.gov/travel/security-screening/whatcanibring/all
[vi] Chloe Albanesius (December 4, 2013), ‘SkyJack’ Software Finds and Hijacks Drones. Retrieved from https://uk.pcmag.com/security-devices-2/8285/skyjack-software-finds-and-hijacks-drones
[vii] Security and drones — what you need to know. Retrieved from https://www.kaspersky.com/resource-center/threats/can-drones-be-hacked