Staying hydrated while backpacking is an utmost necessity. While you can bring ample water for a short trip, packing water can be tricky if you’re embarking on a longer adventure. The good news is there are several water treatment options you can use when exploring the great outdoors. Water filtration and purification systems can help you treat water from different sources and make it safer to drink, allowing you to rehydrate yourself without eating much of your backpack space.
The catch is that with so many options available, it can be challenging to decide which one will work best for you and your outdoor pursuits. As we know that backpacking is thirsty work, we’re here to ease the burden in the decision-making process. Check out our handy water treatment options guide below and ensure you have access to clean drinking water regardless of your destination.
Why Can’t You Drink Water from Natural Sources?
Though some water in the wild is safe to drink, even the most pristine-looking rivers, streams, and lakes can harbor microscopic pathogens, such as bacteria, viruses, protozoa, parasites, and worms that can make you sick. As any human, livestock, and other wildlife can easily reach any area, so are these disease-causing microorganisms. As you go to more remote locations, contamination levels rise.
These pathogens have one sole mission: to seek a gut where they can reproduce. If these invaders find yours, be ready to experience a myriad of digestive issues like vomiting and diarrhea and other conditions that can quickly take away the fun from your backpacking trip. If you’re unlucky, it can only take 10 tiny organisms to knock you out for days. With that, you should never drink from any natural sources without treating the water first.
Water Treatment: Water Filtration vs. Water Purification
There are two general methods of water treatment: filtration and purification. While both can eliminate pathogens from untreated water, there are differences in how they work.
Water filtration entails physically straining out nasty things from the water, which includes bacteria (such as Salmonella, E. coli, Shigella, and Campylobacter, protozoan cysts (such as Giardia lamblia and Cryptosporidium), heavy metals, some chemicals, and sediments.
Eventually, water filters get filled up with these bad things, requiring them to be replaced or cleaned. The drawback is that though water filtration is effective against sieving bacteria and protozoa, it doesn’t always catch tinier viruses that slip through with the water. Still, many backpackers in the United States opt for water filters as water-borne viruses are rarely found in natural water sources in the country.
Meanwhile, water purification boasts a different kind of protection. They combat viruses (such as rotavirus, norovirus, and hepatitis A) that are often too small for most water filters to strain, making them suitable if you’re backpacking in less-developed areas in the world where these viruses are most prevalent.
Most water purifiers utilize a purifying agent to immobilize or kill disease-causing pathogens. Using UV light or sterilization (boiling) are other methods of water purification. Some filters and purifiers also incorporate activated carbon as it’s pretty effective in removing unpleasant odor and taste, as well as contaminants.
Different Water Treatment Options for Backpacking
Now that you’re aware of the general methods of water treatment, it’s time to delve deeper in the specific water treatment options you can choose from before going to your backpacking trip. Each of them have their own perks and downsides. That means you need to carefully assess which suits your conditions and preference.
1. Gravity Filters
As its names suggest, gravity filters make use of gravity to filter water. It features two bladders: the upper and the lower bladder. The upper bladder holds the “dirty” water which then flows down through a filter going to the lower bladder that holds the clean water. The inline filter usually comes with activated charcoal bits to physically strain bacteria and remove particles.
To use a gravity filter, you only usually need to fill the upper bladder with water from a natural source and hang it on a tall rock or a tree branch. Once done, connect the hoses and filter and attach them to the lower bladder at the bottom.
From there, you can sit back and relax or enjoy the scenery while waiting for the gravity filter to do its job. These filters function at a fast rate, usually at around 2 liters per minute. Thus, making it also perfect if you’re backpacking with a group.
However, note that gravity filters require regular maintenance, such as cleaning and replacing the filter cartridges. As you need to fill the bag with water, using them can also be quite difficult if you’re in a shallow body of water. Plus, it may not always be as easy to find a suitable spot to hang the reservoirs.
PROS:
- Works pretty fast, your water is ready to drink quickly
- Easy to use
- Great for treating large quantities of water for big groups
- No much effort needed, gravity does the work for you
- Catridge is replaceable
CONS:
- Require some maintenance
- Could be difficult to use in shallow water
- Parts can break or freeze, rendering it useless
2. Pump Filters
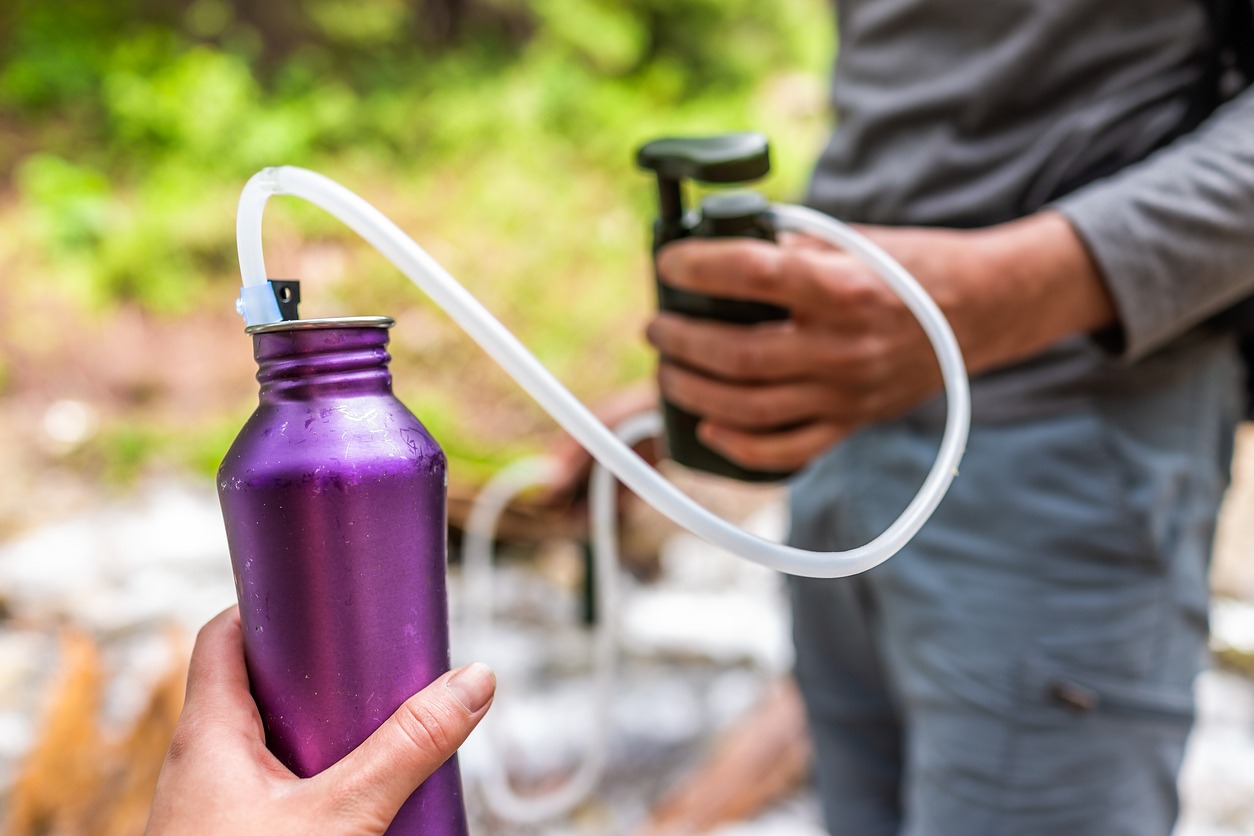
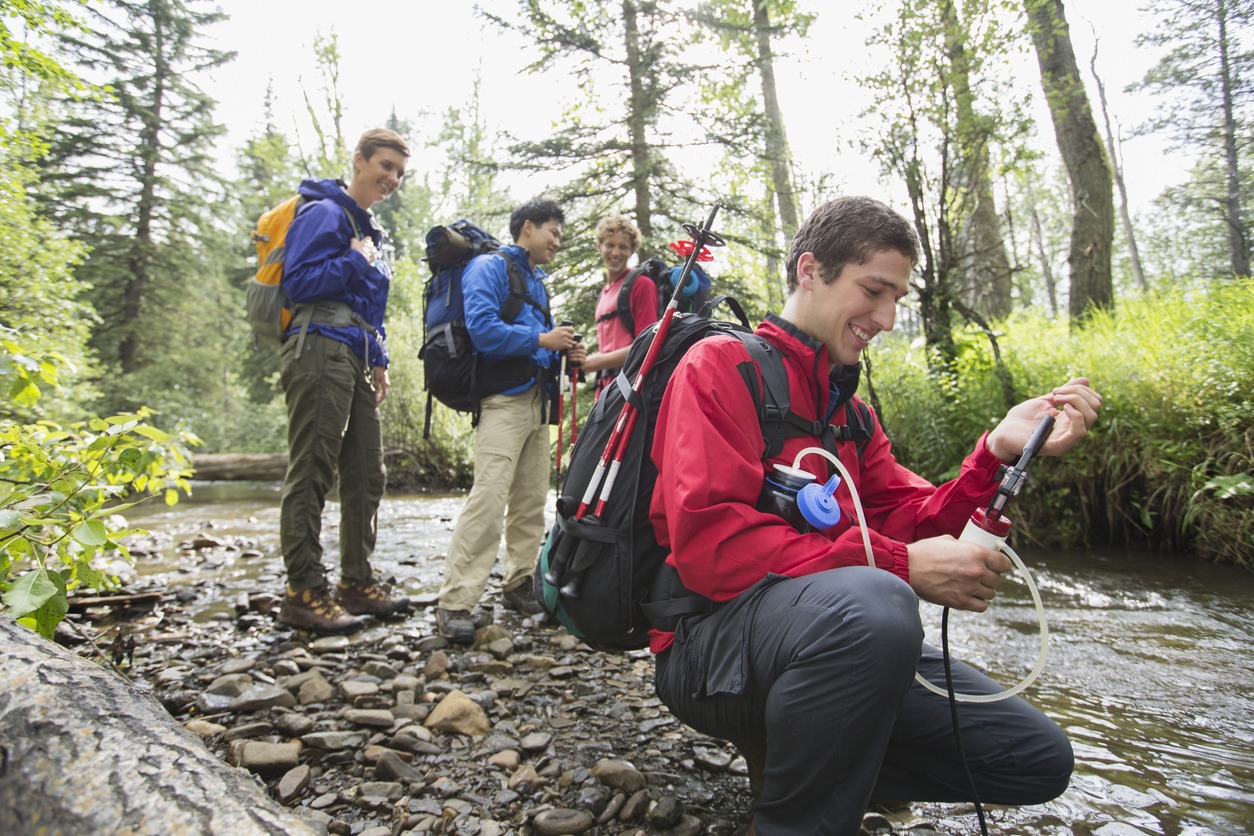
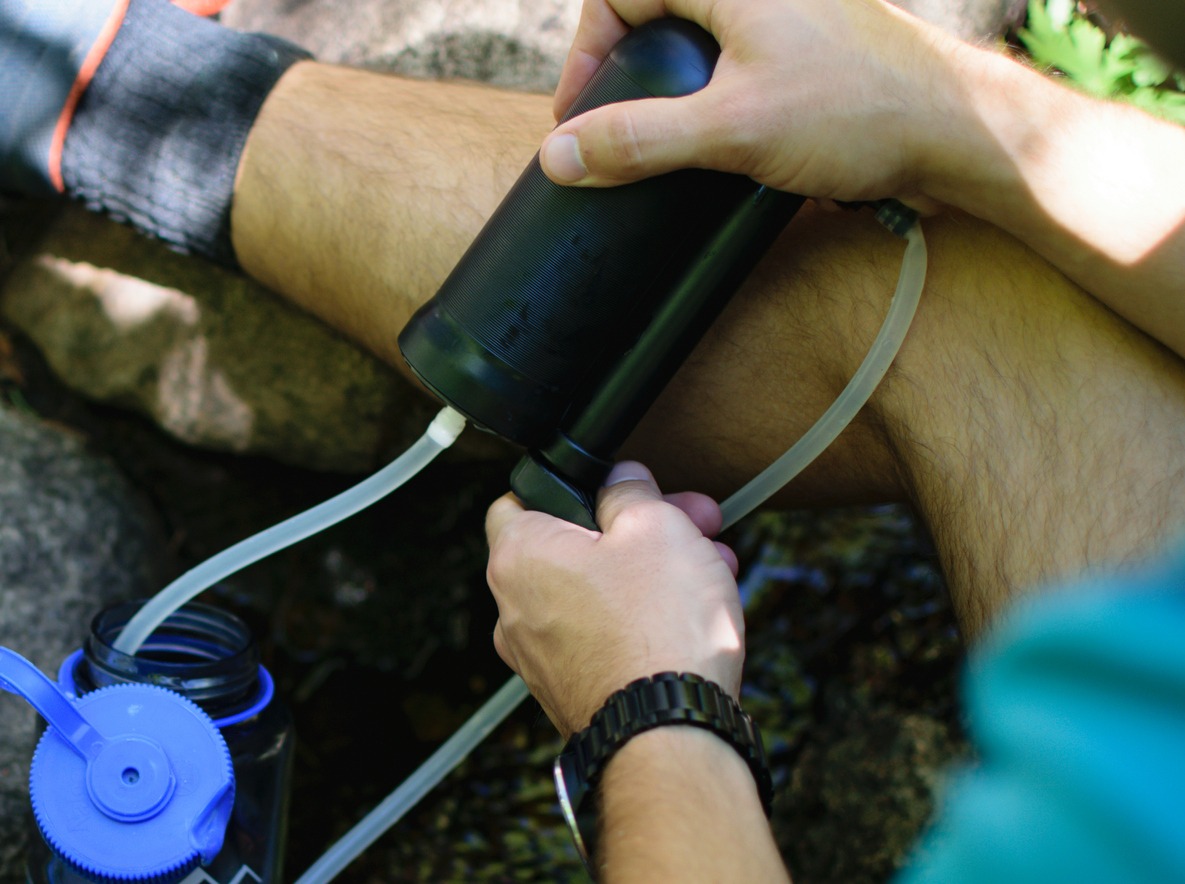
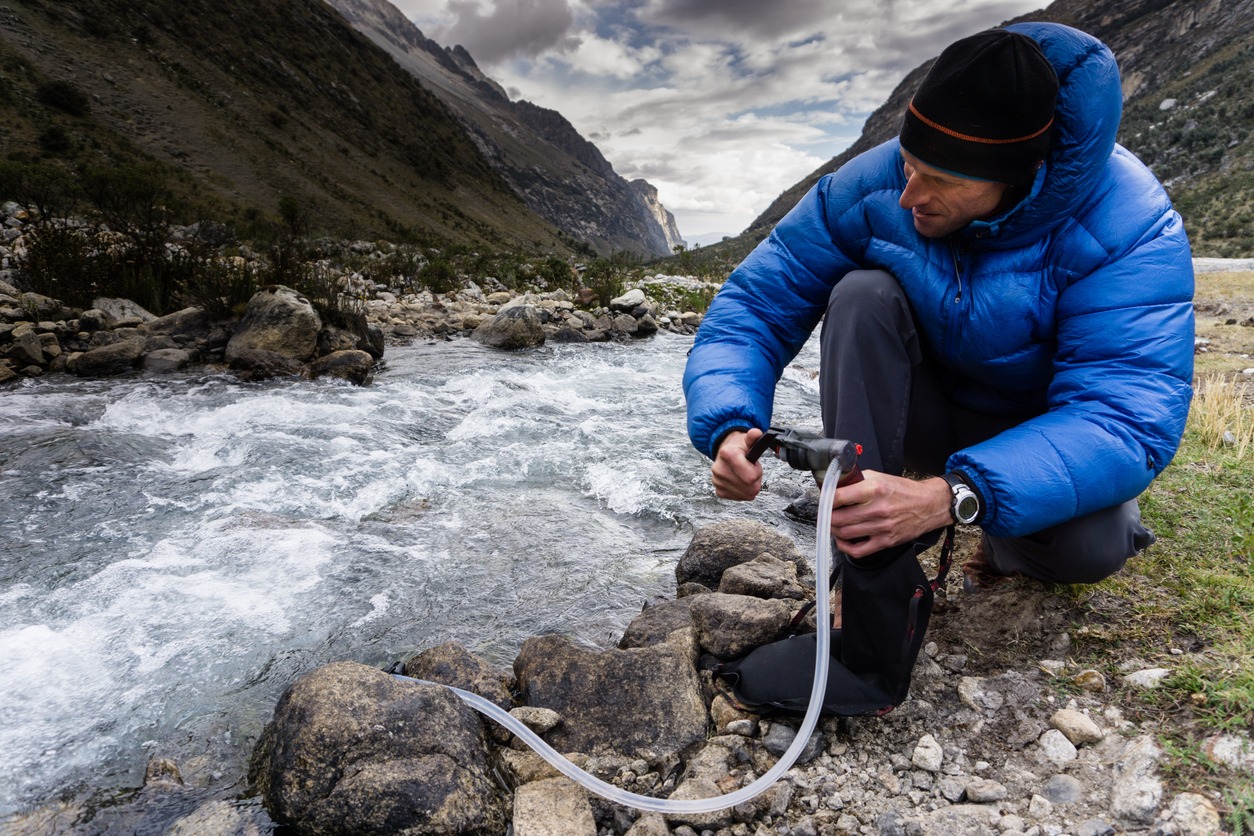
Pump filters work quite the same as gravity filters. The main difference is that instead of gravity letting do the wonders for you. You first need to drop the intake tube in the natural water source. From there, you can now manually pump the water through the filter cartridge and outlet hose onto your water bottle or other reservoir.
Be wary that pump filters may vary in mechanisms and flow rates, so always compare models before a purchase. In general, this method is fairly quick and results are immensely affected by how fast you are pumping. Pumping also works in shallow water and can effectively filter sediments.
As you’d be using force, just expect that pumping can be tiring, especially if you’re in-charge of pumping water for the entire group. The good thing is you work at your pace and simply treat the amount of water you need. Just be mindful that while they are cheaper, they can be heavier and bulkier than other water treatment options.
PROS:
- No wait time, water is ready to drink after it comes out of the outlet hose
- Works in shallow sources of water
- Cartridge or element is replaceable
- Relatively cheaper than gravity filters
CONS:
- Pumping water can be a chore
- Kind of heavy and bulky than other alternatives
- Requires regular maintenance
3. Squeeze Filters
Squeeze filters are a simple, lightweight water treatment option, usually only requiring you to fill a small reservoir and squeeze the water out through the filter. These filters are easy to use and provide drinkable water pretty fast.
However, the quantity of water is limited to the capacity of the reservoir, making it less ideal for multi-day backpacking trips. Moreover, squeeze filters require regular maintenance like cleaning and backwashing to keep them functioning smoothly. Otherwise, they can get clogged pretty quickly.
PROS:
- Ultralight, compact
- Easy to use, water is ready to drink pretty quickly
- Cheaper than gravity and pump filters
- Some models can double up as a gravity filter and straw-style filter
- Filter cartridge and element is replaceable
CONS:
- Water output is limited by the capacity of the reservoir
- Requires regular cleaning and backwashing
- Have parts that can break easily, better to bring other water treatment options to ensure you have access to clean water
4. Chemical Water Treatments
Many consider chemical treatments as an old-school approach, but it remains as an effective water treatment option. You simply need to drop a tablet or a solution into your water bottle or other reservoir, shake it, and wait for the purifying elements (such as iodine, chlorine, and silver) to work.
While they’re lightweight, compact, affordable, and super easy to use, the downside is that they typically take half an hour to 4 hours to be effective. If you’re waiting really thirsty after an arduous ascent, your water will not be ready unless you treated the water prior.
Some bacteria and nasties that are resistant to chemical treatments, so always read the label ahead of time. To be sure, you can combine chemical treatments with a water filter to sieve protozoa that are usually larger than most filters.
With all that, most backpackers opt for a different method and instead, carry chemical treatment drops or tablets as a backup in case your main treatment options malfunctions or gets damaged. They’ll be a great addition to your emergency or first aid kit, especially if you’re backpacking in developing countries.
PROS:
- Affordable
- Lightweight and compact
- Highly effective in removing certain bacteria, viruses, and protozoa from water
- Easy to use
- An excellent backup for other water filtration methods
CONS:
- Long waiting time, often requiring at least 30 minutes before drinking
- Iodine may give water an unpleasant taste
- Not suitable for certain medical conditions (pregnancy and thyroid issues)
- Does not remove grit or sediment from water
- Does not freeze in alpine conditions
5. Boiling
Boiling is the oldest and simplest form of water purification. To kill harmful germs, you just need to bring water from a natural source to a rolling boil for 1 minute or 3 minutes if you’re above 2000m (6,500 feet). If water seems questionable, you can boil it for around 7 minutes to be safe.
This an easy and cost-effective method, especially if you’re bringing your backpacking stove and cookset with you. Plus, it’s a great option in colder environments where filters can freeze and where batteries of UV devices may run down.
Just make sure that you pack extra fuel, more importantly if there’s no way to replenish it along the way, which can be a drawback if you’re aiming to pack light. Meanwhile, remember that it’s a slow treatment option, given the time needed in preparing your stove, bringing the water to a boil, and letting it cool down enough to drink.
PROS:
- Easy and foolproof
- No chemical taste
- Excellent in purifying water
- Useful backup for water filtration methods
CONS:
- Requires lots of fuel
- Takes time and effort to bring water to a boil
- Does not eliminate particles
- Cooling time
6. Ultraviolet (UV) Purifiers
UV purifiers utilize beams of ultraviolet light to kill pathogens and sterilize the water. Coming in different styles (wand-style, pen-style, or bottle-integrated), it’s a high-tech and easy to use method, which only requires pushing a button and stirring or shaking for about 60 seconds or until the device’s light turns off. Unlike other water filters, there’s usually no need to replace or clean filter cartridges, making it pretty-hassle free in terms of maintenance.
Take note that these UV purifiers run on batteries that can drain quickly, depending on your use. You either need to change the batteries or charge them via USB once the batteries drain. Like other technologies, they also have the risk to malfunction, so it’s best to bring a backup water treatment option.
UV purifiers also quite don’t work well with murky water, as they don’t have the capability to filter out sediments. Unless you’re filtering the untreated water first before using the UV device, you will ingest all the sediment and grit present in the water.
PROS:
- Treatment is easy, works fast
- No element or filter cartridge to replace
- No chemical taste
- Effective in removing bacteria, viruses, and protozoa from water
CONS:
- Requires batteries to operate
- Doesn’t eliminate particles
- Only filter small amounts of water at a time
- Ineffective against cloudy or silty water, requires pre-filtering
- More expensive
7. Straw-Style Filters
Straw-style filters are similar to squeeze filters, but instead of dropping the intake hose, you need to place the straw directly into the water source and slurp through it like a normal straw. Some models only offer filtration, while high-end ones can also do purification. These filters are lightweight, fairly small, and won’t eat up much space in your backpack.
While it can provide water on demand, it doesn’t have the capacity to store water. That can leave you without water, especially if the next water source is too far away. Regular cleaning is also a must as the filter can get clogged pretty easily. Plus, you also need to hunker down with your face in the river or stream each time you need to drink water – something that can be pretty awkward for some.
PROS:
- Easy to use, water is drinkable fast
- Lightweight, takes up small space
- Cheaper than gravity and pump filters
CONS:
- Can’t store water
- Water is only available at the water source
- Regular cleaning is required
- Not all models have replaceable filter or elements
8. Bottle Filters and Purifiers
Bottle filters and purifiers are a simpler water treatment option that features a fill-and-sip mechanism. These bottles are equipped with built-in filtration and purification elements. Some models utilize the suction force you provide as you sip from the bite valve. Others function like a coffee press or use UV light.
Like squeeze and straw-style filters, you need to regularly clean during your trip as they can get clogged, making it difficult to drink. Meanwhile, the quantity of water you can get is also limited by the size of the bottle. Thus, rendering it useful for shorter adventures near water sources as opposed to longer, multi-day trips.
PROS:
- Fill-and-sip simplicity
- Filter cartridge or element is replaceable
- Ideal for shorter backpacking trips
CONS:
- Amount of water is restricted by bottle size
- Requires regular cleaning
Where to Collect Water
Once you get your desired water treatment option, it doesn’t mean that you should be gathering or treating water from any random water source you see along the trail.
Some things that you need to look out for include:
- Clear, fast-flowing water (such as a river or stream): As the water is flowing, it becomes unfavorable for the accumulation of microorganisms and the growth of algae, and also becomes an unconducive area for mosquitoes to lay eggs.
- Clear, calm water: If you cannot find any flowing source, you can go for a pool, a lake, or a slowly moving stream as long as there isn’t a lot of silt or sediment. Clearer water passes through the filter faster and prevents chances of clogging.
- Sources where you can gather water away from the shore: Most microorganisms rack up nearer on the banks. Strive to find a rock or any other safer platform where you can stand onto and allow you to collect water away from the shoreside.
As there are things to look out for, there are also imminent signs that tells that you should avoid a specific water source and that you’re better off finding a different one:
- Water close to pastures or meadows
- Evidence of prolonged human visit and careless human behavior
- Superfluous amount of brown scum or foam
- Dirty snow
Tips and Best Practices in Collecting and Treating Water
Always find the clearest water possible. If no other water options are available, these tips and best practices in collecting and treating can help make your water safer to drink:
- Gather water from the surface. Ensure that you don’t disturb sediment sitting below.
- Use a prefilter like straining through a bandanna or letting the water sit for some time before treating the water to allow sediments to settle.
- Some diseases linked to dirty water are actually brought by poor hygiene. Pack a hand sanitizer and use it often especially when treating water and each and every time you answer the call of nature.
- Separate and label dirty and clean water bottles, flask, bladder, or other reservoir.
- Camp, wash dishes, and dispose of human waste at least 200 feet away from the water sources.
- Don’t skip on reading the directions as models can vary on how to operate.
- Leave no trace and keep water sources pristine.
Takeaway
That’s the rundown of the several water treatment options and some tips on how you can make water more drinkable. Each of these options have their pros and cons. Some may work, while others may not, depending on your backpacking trips. Water is an utmost necessity when venturing outdoors, so don’t be afraid to try these water treatment options and see what works best for you! Happy backpacking!


