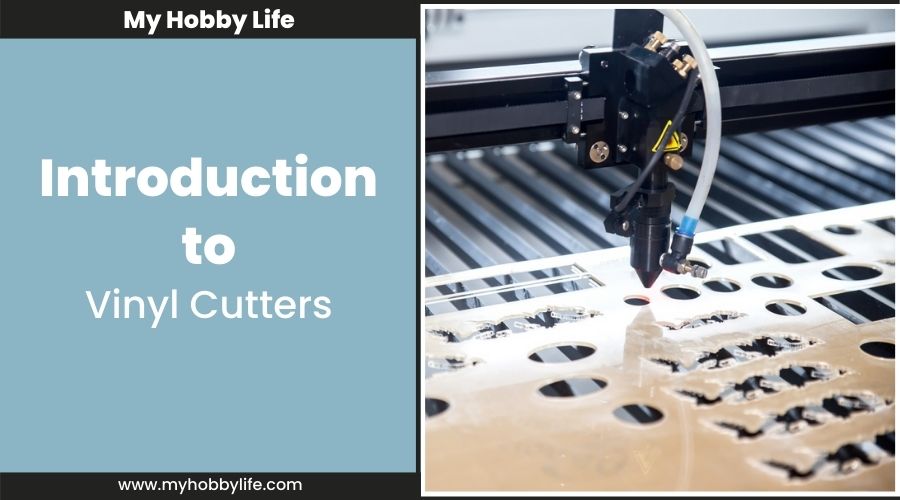
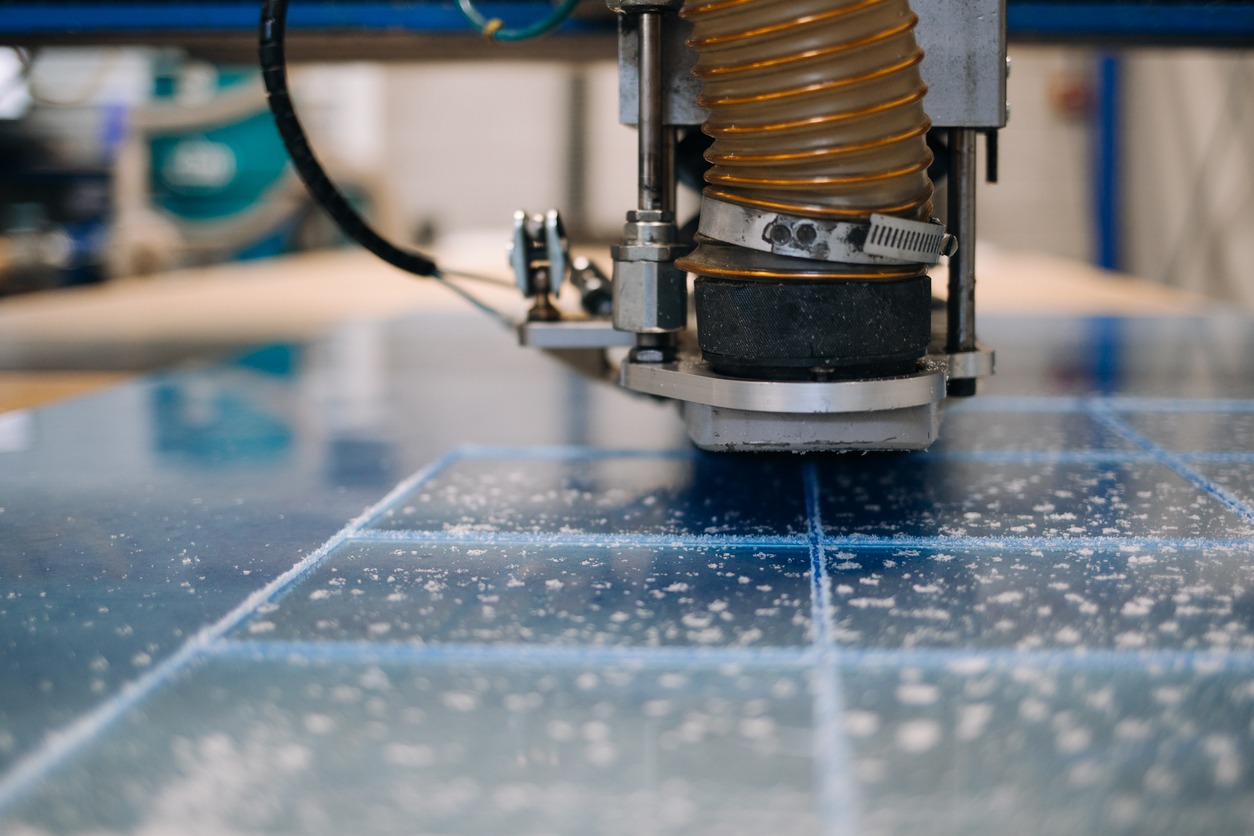
The vinyl cutter has changed over time from being a fairly large and difficult-to-use tool to one that is now smaller and more manageable for the home enthusiast. Vinyl-cutting machines currently come in a wide variety and can be used by anyone who needs to work on a project that isn’t strictly professional or commercial.
You probably don’t yet fully understand all of the potentials of a vinyl cutter if you’ve been debating whether or not to get one for your home workshop. Even if the initial cost could deter some buyers, this worthy purchase can be used for a wide range of DIY tasks, and arts and crafts, and can boost productivity and efficiency in even the busiest workshop.
It’s vital to grasp how these gadgets function and precisely what they accomplish to make life so much easier because they are somewhat sophisticated machines. But once you have a good vinyl cutter in your house or workplace and realize how useful they can be, you’ll wonder how you ever got along without one.
What Exactly is A Vinyl Cutter?
The best way to visualize a vinyl cutter and how it operates is to think of a printer. The printer uses information about images that it gets from another device, typically a computer, to print the images on a piece of paper. Similar to how a vinyl cutter operates, instead of printing an image, this uses tiny blades to cut the picture’s pattern into vinyl or other materials.
A Canadian inventor created the first vinyl cutter in 1888 when he created a device that could cut through fabric. This device was attached to a motor, which was then fixed to a platform that would act as the cutting base. Despite being large and challenging to use, this creation was the first in a long line of cutting tools that finally gave rise to the compact and effective variant we are familiar with in domestic workshops today. Vinyl cutters are now more frequently owned and used by those who enjoy arts and crafts at home, despite having historically been owned and used by persons in the sign-making sector.
They are now frequently found in home workshops because of how adaptable they are and how much creative flexibility they permit. They are also simple to use and work well with a variety of media. Depending on the task they are used for, they come in a variety of sizes and scales, from small desktop cutting machines to bigger, professional-grade machines used in workshops.
The Functions of a Vinyl Cutter
The wide range of materials that vinyl cutters can work with is one of the main reasons they have been so successful in both home and business workshops. Even the most basic desktop vinyl cutters for the home are extremely powerful and play a key role in creating a wide variety of arts and crafts projects.
- Iron-on Decals: You may create your logos and patterns with a vinyl cutter that can be turned into iron-on transfers and applied to clothing.
- Signs: Although vinyl and other adhesives are frequently used by sign printing companies, home hobbyists can cut through them to make signs for windows, walls, and other surfaces.
- Stickers: By using a vinyl cutter to make your stickers, you may customize the design and print them in any size that your machine supports.
- Clothing and Accessories: You can make a pattern for sewing or crafting apparel and accessories like bags and hats by cutting into the fabric.
- Magnets: You may manufacture personalized refrigerator magnets for your home or place of business with a high-quality vinyl cutter.
- Stationery: A vinyl cutter is perfect for cutting on cardboard, paper, and other light materials, making it simple to create your stationery.
How Do Vinyl Cutters Operate?
Although there are countless makes and kinds of vinyl cutters, they all function much the same. A small blade and a computer system make up a vinyl cutter, and the computer tells the knife where to cut. The device on the cutting platform is fed with the material, and it is here that the cut is made. The completed image is printed after the extra material has been weeded or deleted. Designs can be uploaded using specialist software made for the machine or encoded into the cutter.
It only takes a few easy steps to utilize a vinyl cutter if you’ve never done so. Beginners should start with a straightforward project, like creating a sticker. But keep in mind that for more precise instructions, you should always consult the owner’s manual that came with your vinyl cutter.
- Utilize your vinyl cutter’s built-in pre-programmed patterns or make your own to choose a picture that you wish to utilize as a sticker. Depending on which apps work with your computer, you can create images and save them as JPEG files for printing.
- Import the produced image into the cutter’s program by opening it. Remove everything you don’t want to print and make the necessary adjustments to get it to the proper size.
- Insert the vinyl that will be used for cutting into the machine, making careful to line up any sensors the vinyl cutter may have. This will guarantee that it is appropriately aligned and will print properly. Check that everything is lined properly by pressing the rollers firmly down onto the vinyl and looking at the system’s display.
- Once everything is prepared, you can start cutting by pressing the appropriate button on your machine or the “cut” button. If it’s functioning, the vinyl should travel back and forth, and the cutter should move from side to side. Once finished, carefully remove the vinyl from the machine, and your design will be ready to use.
The optimum way to use each machine will depend on the instructions that came with it, but most desktop vinyl cutters operate in this manner. It won’t take long to feed through the vinyl and other materials to make the ideal cut after you have the hang of how to get the best results.
Specifications and Features
If you’ve never looked for a vinyl cutter before, the process might be pretty overwhelming. There are hundreds of various makes and models available, each with its own set of advantages and disadvantages for the user.
- Size: There are two factors to consider when deciding on the size of your vinyl cutter. To begin, the size of the machine will be determined by the amount of space available in your home workshop. Second, the cutting area’s size determines how much material can be fed into it. For larger works, you’ll need equipment that can handle 25″ or more.
- Memory: The memory of the vinyl cutter’s computer is in charge of storing previous designs and, in certain cases, pre-programmed patterns and designs that the manufacturer uploaded. It is not always necessary because these gadgets can frequently link with a computer, which can store vital details.
- Blade: A vinyl cutter’s capabilities pertain to the various materials and surfaces it can work with. Despite the name, these machines are meant to cut through materials such as fabric, tint, transfer material, cardstock, and paper. However, always consult the handbook for your specific equipment to determine what it works best with.
- Speed: The cutting speed of a cutter is determined by its speed, which is commonly measured in millimeters per second. However, the speed of the cut has little bearing on how exactly it is, so don’t make this the most crucial consideration while shopping
- Scanner: Although not every vinyl cutter includes a scanner, the majority of recent models do. This allows you to draw something that will be scanned into the machine and utilized to cut into the material of your choice. Scanners are measured in terms of DPI, which shows the resolution.
No matter if you work as a professional or a hobbyist, there are some tools and supplies that we simply can’t do without, especially when it comes to making our favorite pieces. A vinyl cutter is one of the most well-liked tools used today to assist with a variety of craft, imaging, and creative projects. It is renowned for its versatility and power.

