Patching sewing may seem like covering holes in your clothes, but there is actually more than that!
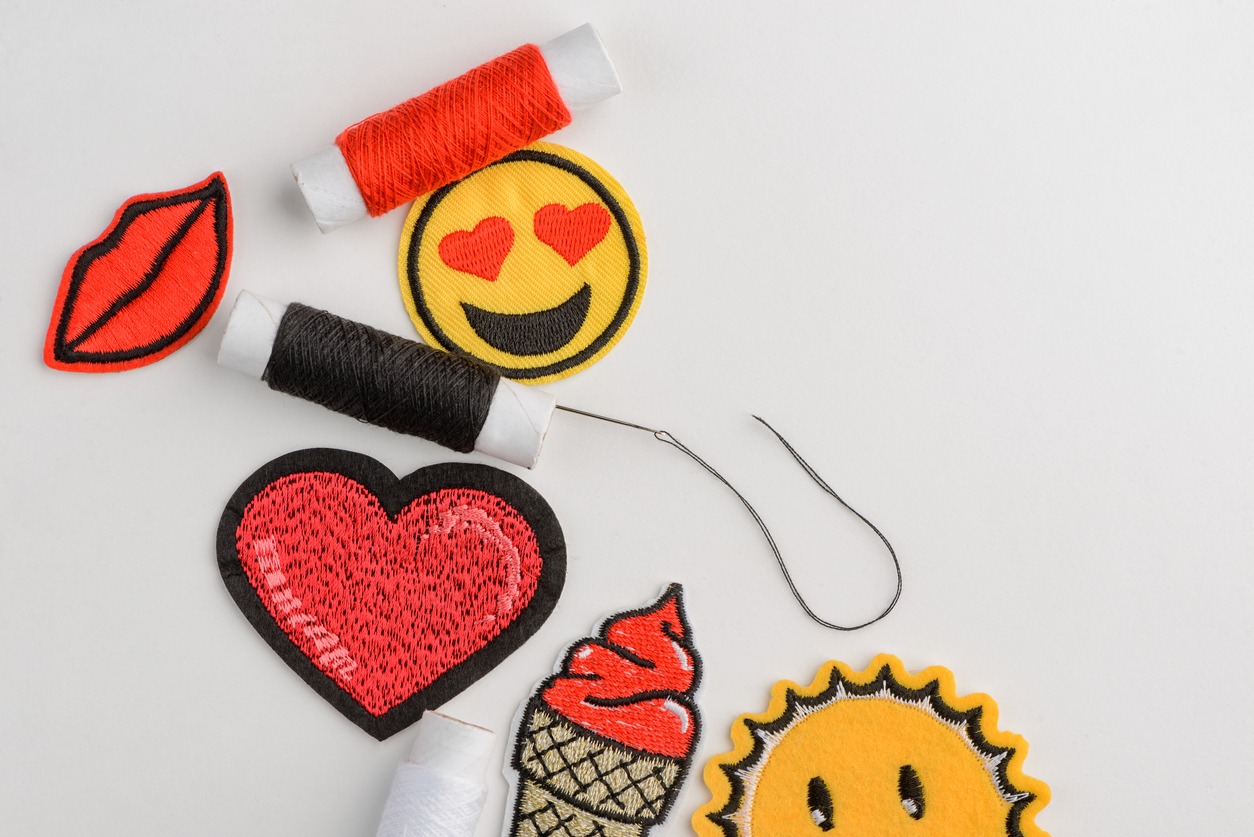
There are many reasons for patching. One of the reasons, especially for the young ones, is that it looks cool and adds a fashionable edge to their clothing. Other times, sewing patches are needed if a hole or tear in your clothes cannot be fixed by simple sewing. A patch can save any piece of clothing. There are also embroidered patches bearing logos, badges, or symbols that are typically seen in school, company, athletic, organization, and military uniforms.
Patches are everywhere, whether they are funky jean patches, sequin patches on tops, or badges representing teams, schools, organizations, or companies. There are also various ways how you can sew them in your clothes. Learn about the guide to using patches in sewing below.
Where and how to get patches?
If you wonder where and how you could get patches that you can use to repair holes in your clothes, remember that patches are basically fabric pieces. While you can buy some of them in stores, you can cut some old clothing pieces or find fabric scraps in your sewing kit. Those store-bought patches usually come in various colors and textures. You can also get beaded patches and sequined patches. You can make an embroidered patch if you feel extra artsy and creative.
You can also check if the garment has a large enough turned under the hem, as you can use that as a patch for a hole. If the piece of clothing has a facing, then it might be big enough to cut out a bit to sew over a hole. Also, you can use contract fabric pieces as patches to bring a distinct look to the garment if you prefer.
Different ways of using patches in sewing
Check out some of the different ways how you can sew patches on clothing:
1) Handmade overhand patch
This patch is sewn on the face of the clothing or from the right side of the garment. If you are patching a thick fabric, then you need to use an overhand patch that is thinner to prevent it from popping out.
To do this, first, you need to cut a hole in a square shape. If there is a hole in the garment, make it into a square. Next, cut out a square piece of fabric slightly larger than the hole. Then, press the edge of the patch ¼ inches inside. Keep the patch on top of the hole and do a baste stitch along the edge. After that, turn the garment’s wrong side out. You will see that the edge of the hole and the patch are together. Do an overcast stitch all over the edge.
2) Hand-sewn set-in patch
This is a patch placed under the hole, on the wrong side of the garment, and sewn from the underside.
Start by preparing the hole and trimming away the tangled thread on the hole, making it square in shape. Next, create a small 1/4 -inch slash on all corners. You will get a ¼-inch edge for the hole sides. Then turn under these edges and price in place.
Get a square patch that measures slightly more than ¼-inches bigger on all sides. After that, turn under ¼ inch from all edges of the patch to the right side and press. Keep the patch under the hold right side up. You can also match prints and stripes. Pay attention to the direction of the weave of fibers and try to align the patch if possible. Then pin the patch in place or baste it.
From the wrong side of the garment, hem the patch. Then turn the garment to the right side and the sole edge of the patch using slip stitches.
3) Attach patches with running stitch
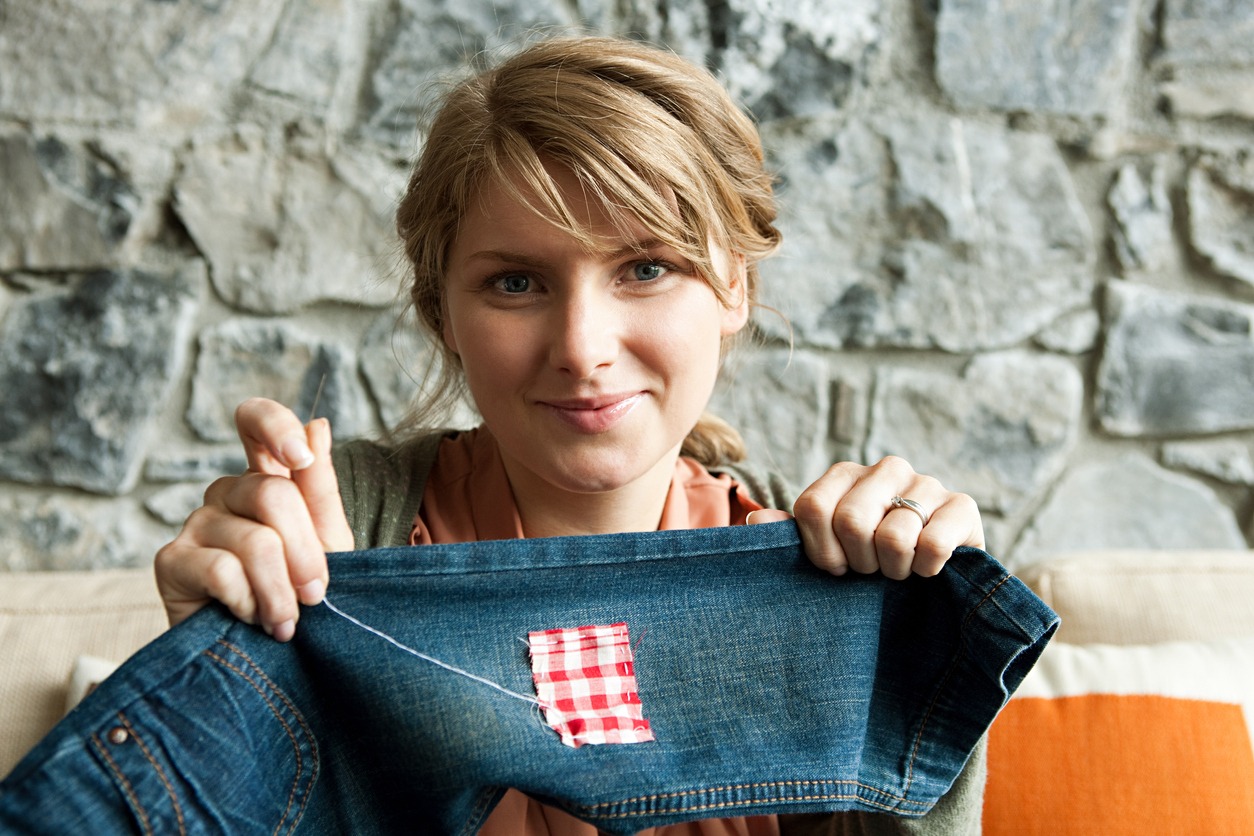
A running stitch is applicable if you have a ready-made patch, as it’s the easiest way to attach it to a garment. First, attach the patch temporarily using fabric glue. Next, sew along the patch’s border using a thread that matches the patch or garment.
4) Appliquéd patch
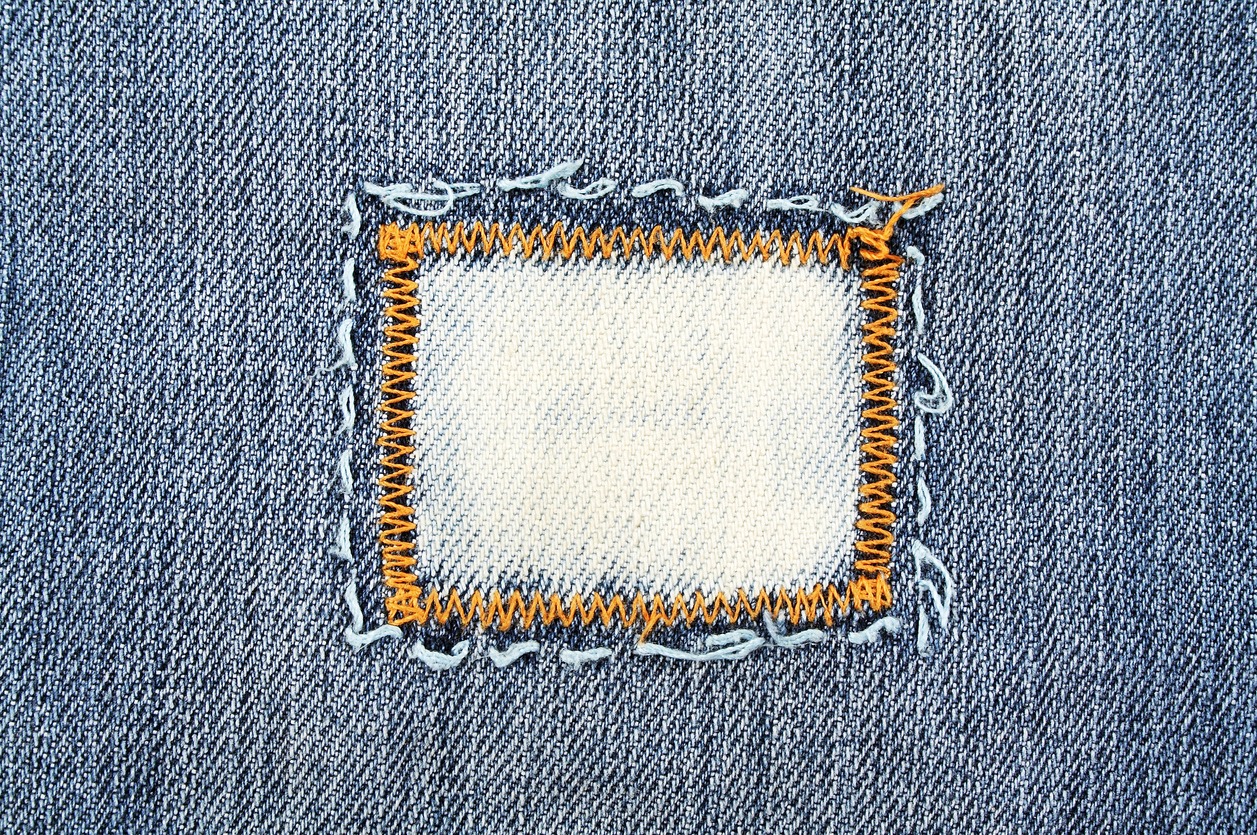
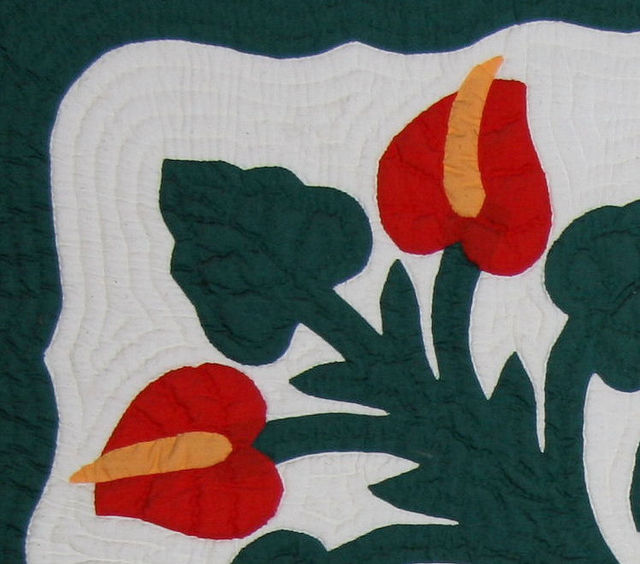
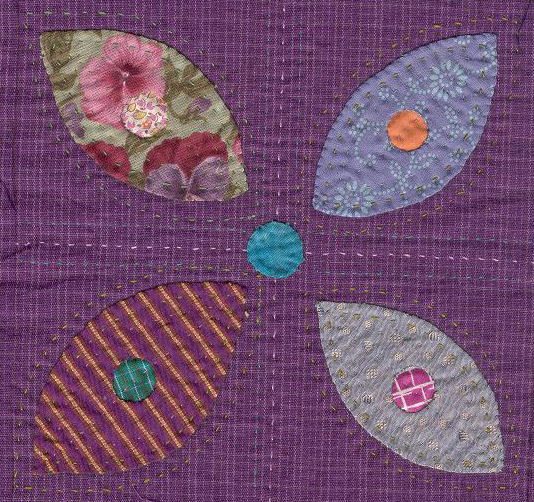
The appliquéd patch is done by hand or machine. The patch is applied on the appliquéd patch of the garment. Hand-sewn blanket stitch is used when doing it by hand. If you choose a sewing machine, you can opt to use closely set zig-zag stitches around the patch’s edges.
5) Reversed appliquéd patch
This method is done by keeping the patch on the back of the hole. You will stitch around the edge of the hole to attach the patch. The hole should be cut in the shape of the design. Satin stitches are usually applied in this method. You can also choose a topstitching thread to make the patch look better.
6) Using a felt patch
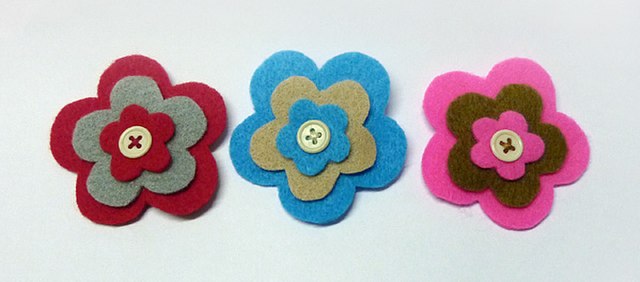
A felt patch is a piece of felt fabric in matching or contrasting color to the garment. To sew a felt patch to the garment, place it on top of the clothing, match the warp threads of both the patch and the garment, then baste. You can use blanket stitches or buttonhole stitches for a more stylish look. The advantage of using a felt patch is that its edges do not fray.
7) Iron-on patches
If you’re looking for an easy, fast, and relatively less fussy way to attach patches on garments, then the iron-on patches will be your best bet. They are attached to pieces of clothing or garments by simply applying heat on them. These patches feature sticky back parts that are activated when the heat is applied, usually through ironing.
First, place the patch on whatever part of your clothing you want it to be, spray a bit of water on its back, and put a piece of pressing cloth atop the patch. Next, use a hot iron to press it flat on the patch for around 20 to 30 seconds. Make sure that your iron’s temperature is set for the specific piece of clothing you’re ironing.
Just a very important reminder: iron-on patches should not be used in certain fabrics, such as inelastic fabrics, nylon fabrics, and leather, as the heat can damage these materials.
Final word
These are the different ways how you can use patches in sewing. They can be for fixing holes, adding style and designs, or putting badges of sports teams, schools, and companies on uniforms. We hope the information we shared here helped you learn about how to attach patches to pieces of clothing.
