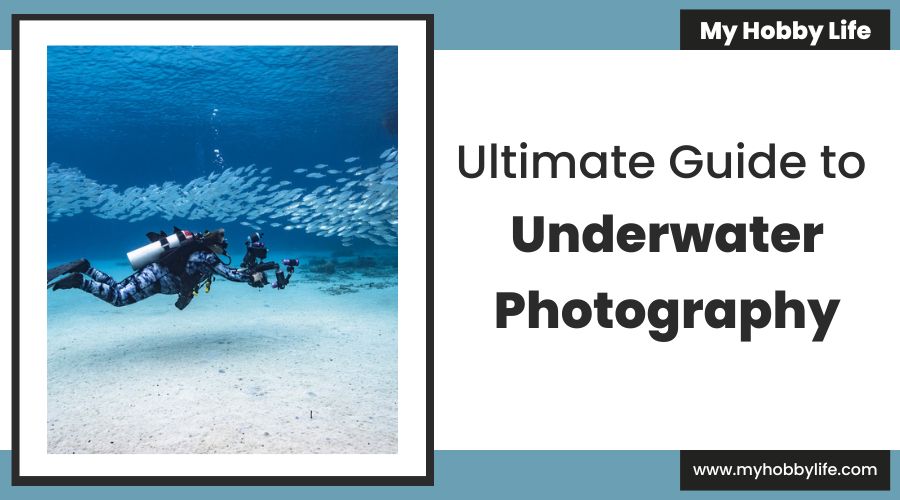
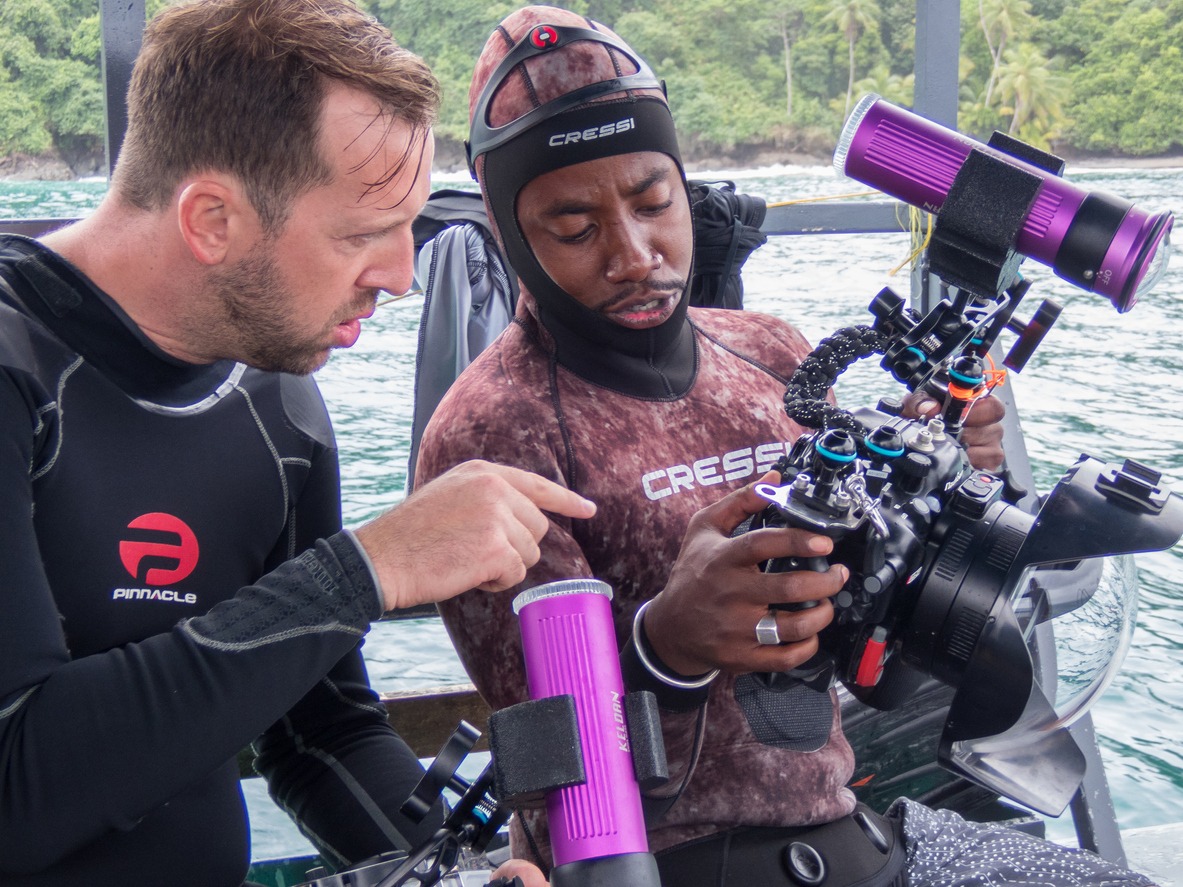
Underwater photography is a challenging adventure activity that most photographers don’t consider doing. But those that do are rewarded with an amazing experience and unbeatable photos. However, underwater photography has an entirely different set of challenges than regular photography (think shiny fisheye lens effects, strobes not working as they should, etc.).
In short, underwater photography is both an art and a science to gain something more than just an out-of-focus mess of water. Now let’s talk about the basics of underwater photography along with some helpful tips so you can take better photos.
Types of Underwater Photography
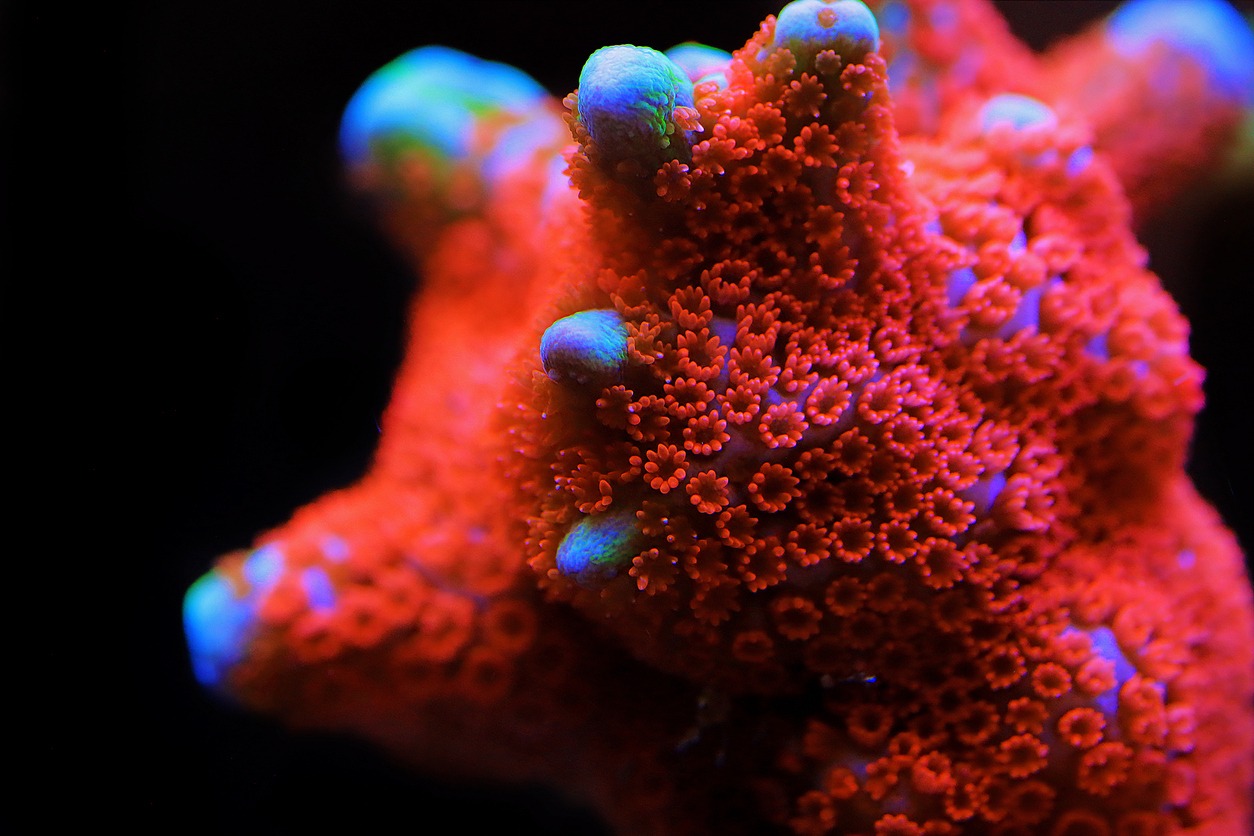
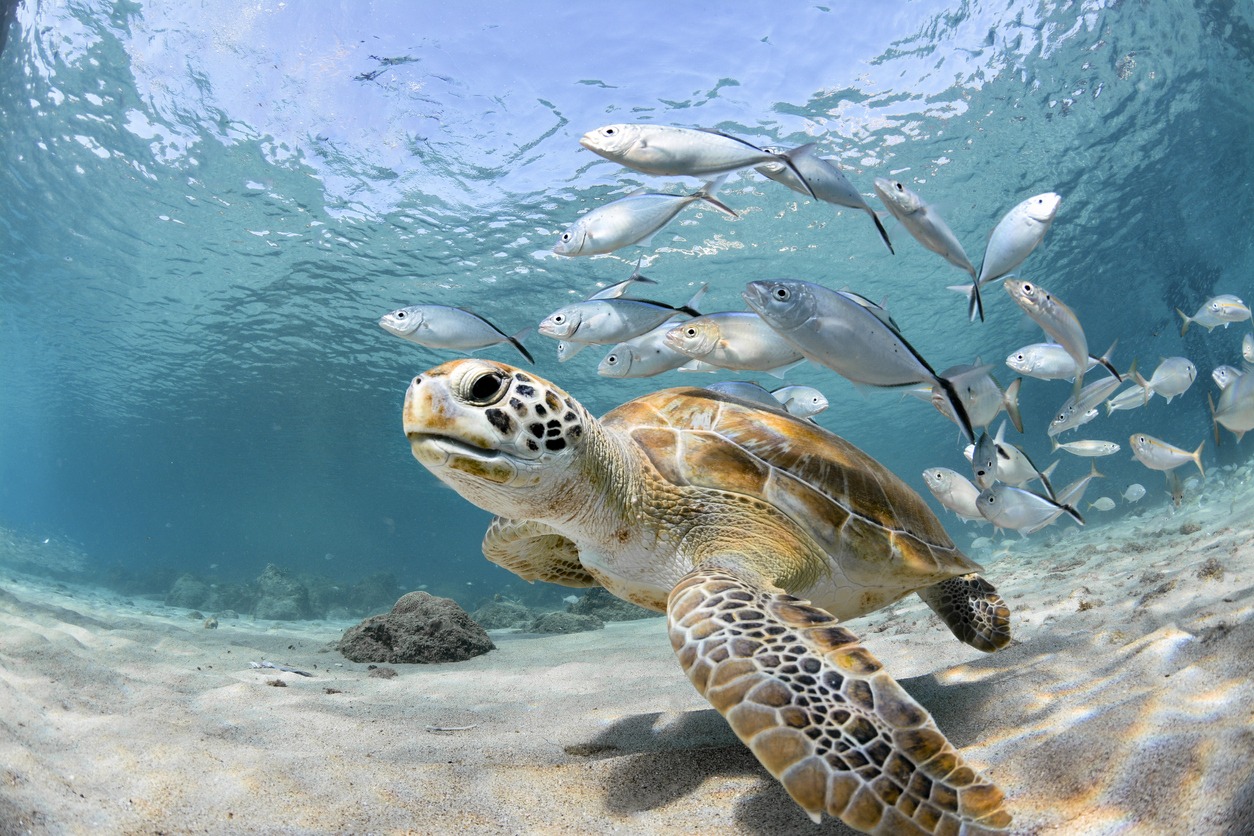
1. Macro Photography
This is a type of underwater photography that captures high-quality images of small objects at close range. It is done by getting very close to the object and using a telephoto lens to capture clear, sharp images with minimal distortion and color casting.
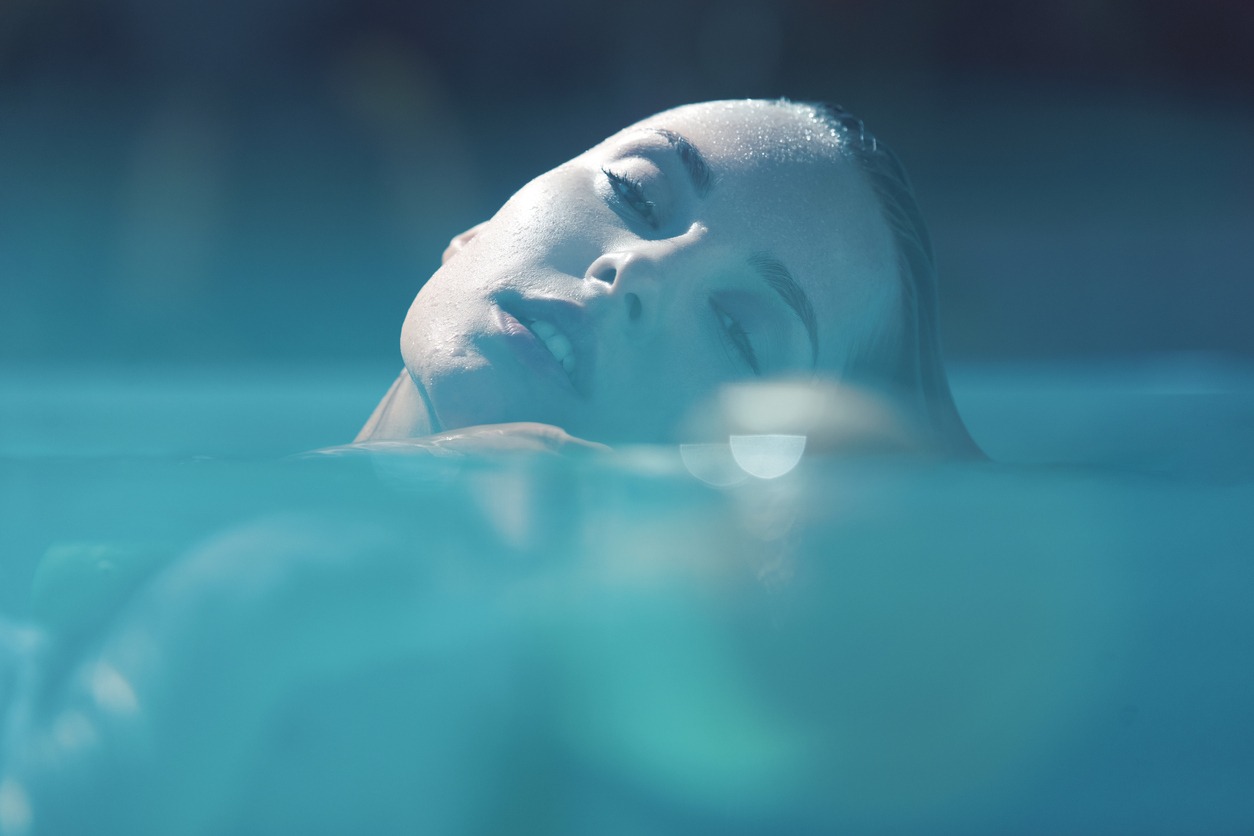
2. Portrait Photography
Underwater portrait photography is used to capture portraits of people while they are submerged in water. It requires special techniques to achieve natural-looking portraits without getting distorted by the water environment around them.
Photographers must work closely with their subjects to capture every detail in their faces using natural light as much as possible. Special macro lenses or diopters allow focusing on small objects without losing quality in the image.
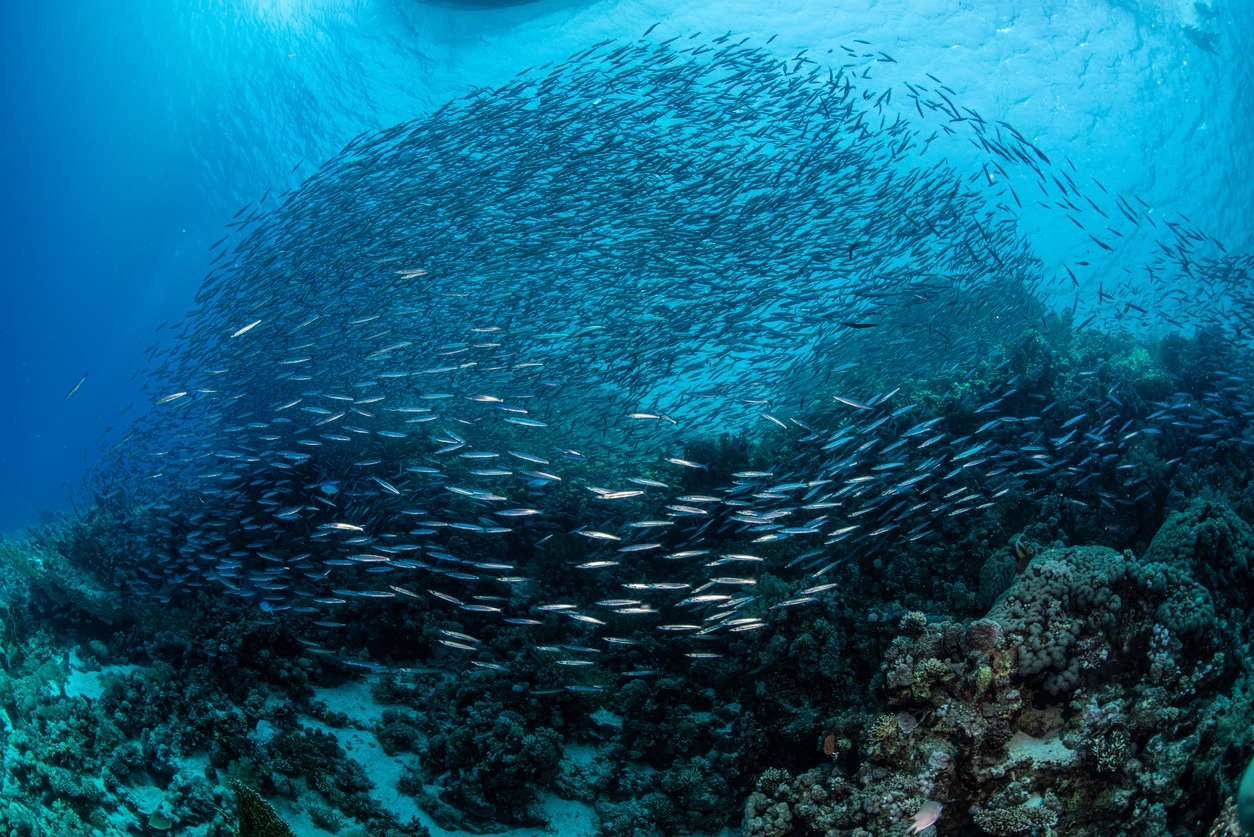
3. Wide Angle
Wide angle refers to images that are shot at a wide-angle lens, which creates a more distorted perspective than normal lenses due to the increased field of view (FOV). The wider your lens is, the more distorted things will appear in your photos.
This effect can be used for artistic purposes or to simply show more detail in an image than would otherwise be possible with a narrower lens.
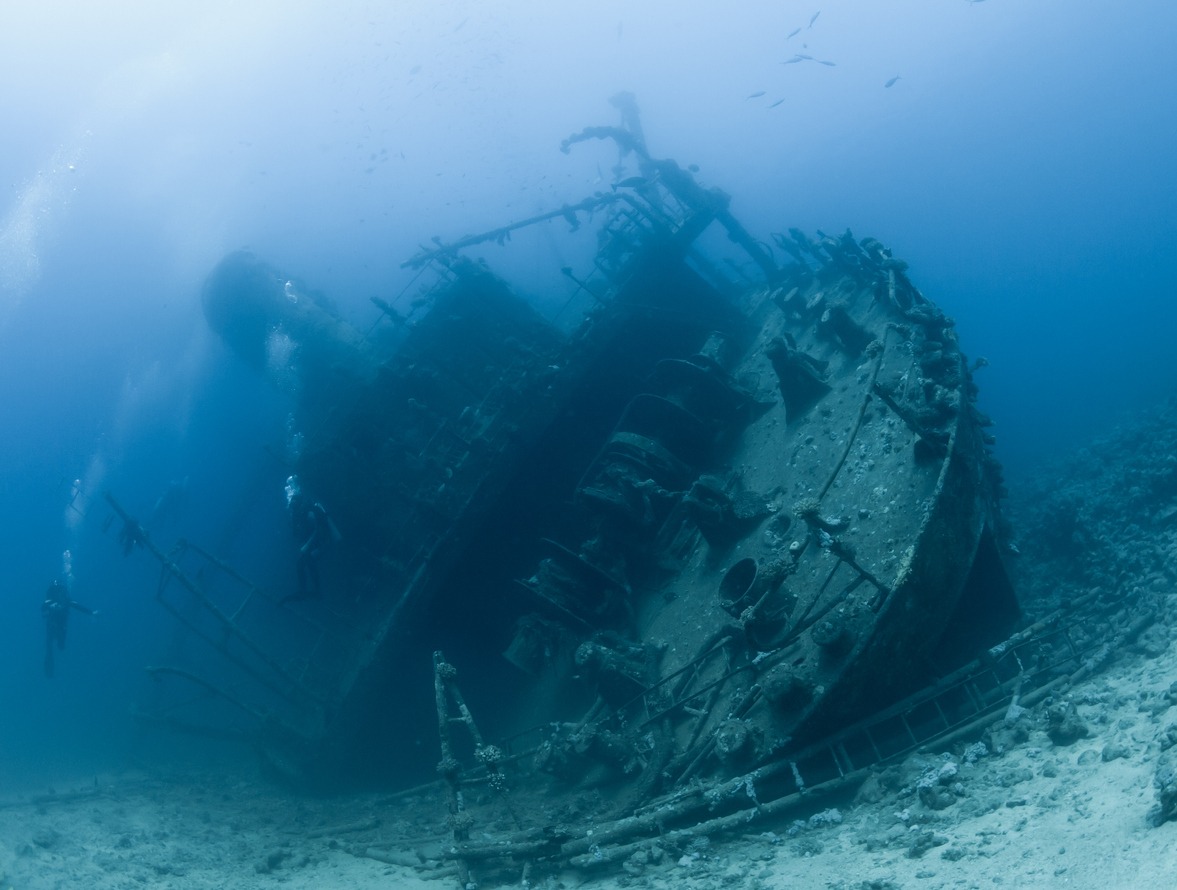
4. Architectural Photography
The term “architectural” refers to taking photos that show aspects of an underwater structure from above water as well as below it (such as shipwrecks). The shot should also be taken from a distance to give the viewer a sense of how large or small the structure is compared to other objects in the area.
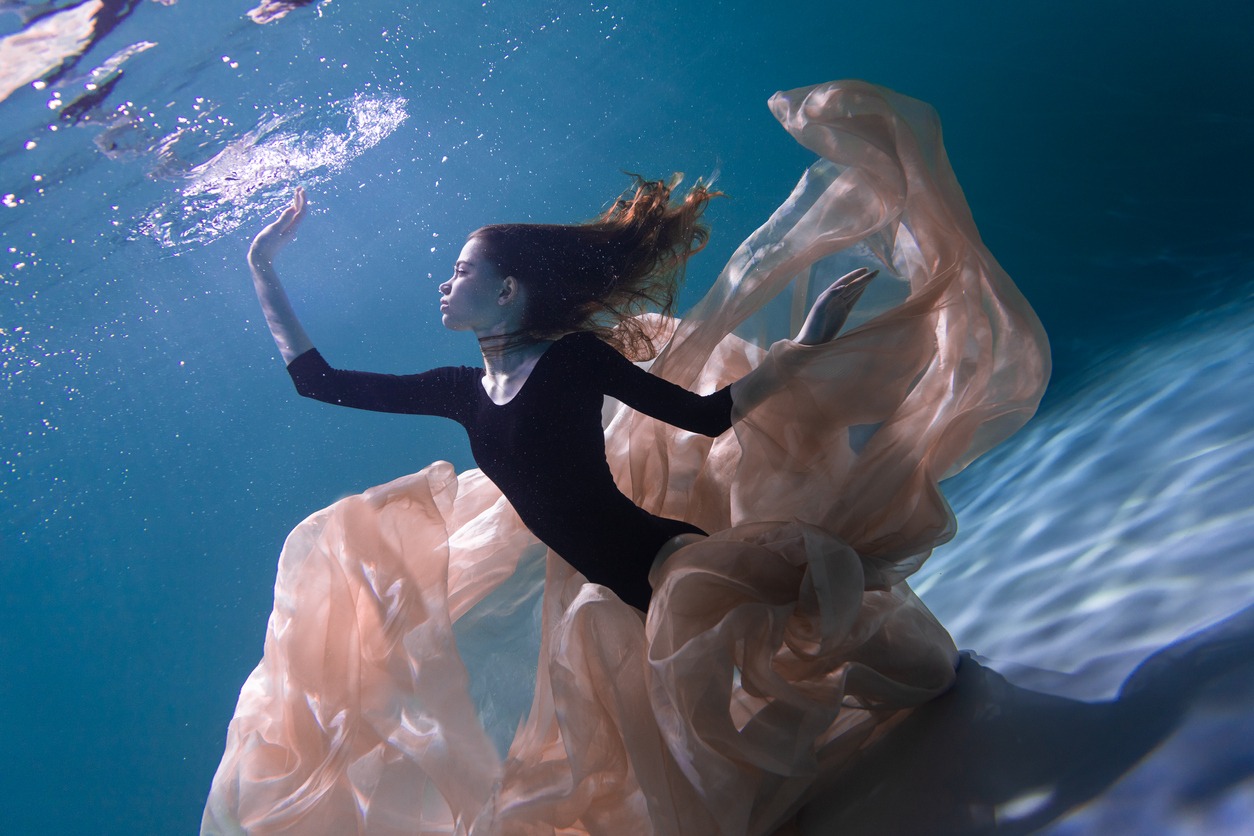
5. Underwater Fashion Photography
Underwater fashion photography can be a great way to show off an outfit, especially if you are selling clothing or accessories. It can also be used as a creative way to show off your body in a beautiful setting.
When you shoot underwater fashion photography, you’ll achieve several benefits: your subjects will appear in an unusual setting, the photos will have a dreamy quality, and you’ll give your clients something different to look at.
Things to Consider when Doing Underwater Photography
Whether you’re looking to create a photograph that showcases the beauty of the ocean or one that captures marine life, there are certain things you need to consider when going for underwater photography.
First and foremost, if you’re planning on taking your camera into the water, make sure it’s waterproof and able to withstand pressure. Once this is done, you should consider some other factors before heading out, such as:
1. Time of Day
The best time of day to take photos is just after sunrise or just before sunset. This way, there won’t be too much light, but there will be enough for you to see what you’re doing without blinding yourself with sunlight.
You’ll also want to avoid taking photos during high tide because this makes it harder for divers to get around and reduces water visibility.
2. Get the Right Equipment
To take great photos, you must have the right equipment. It does not matter if you are just starting out or an expert in this field; having the right equipment will help you take better pictures.
You can go for compact cameras or DSLRs, but ensure they have good waterproofing features and do not leak water easily.
3. Plan Your Shots
Planning is crucial in any field of work, and it is no different in underwater photography. A good photographer always plans his shots so that he can get the best results possible.
Planning is the art of choosing a location to take photographs and positioning yourself with respect to your subject matter so that you get a good shot.
4. Underwater Lighting
You can’t use a flash when taking underwater pictures, so if you want to take photos of objects submerged in water, you need to consider using natural light or artificial lighting. Natural light is typically the best way to go since it creates a natural look and feel for your images. It also lets you see what is happening with your subject, which can help you get better shots.
However, natural light works best within 30 feet of the surface and only lasts until sunset (or sunrise). If you want to take pictures at deeper depths or later in the day, artificial lighting may be the better option for you. To learn more about camera lighting, check out the Ultimate Guide to Lighting for Photography.
Following are the camera and flash settings needed for different distances from the subject
|
Settings Required at Different Distances from the Subject |
Within 3 feet of the subject |
Farther than 3 feet from the subject |
|
Flash settings |
Internal flash |
Flash off or underwater mode |
|
Camera settings |
Macro mode Camera zoomed out |
Macro mode Camera zoomed out Custom white balance instead of auto white balance |
|
External strobe |
Optional |
Yes |
Equipment Required for Underwater Photography
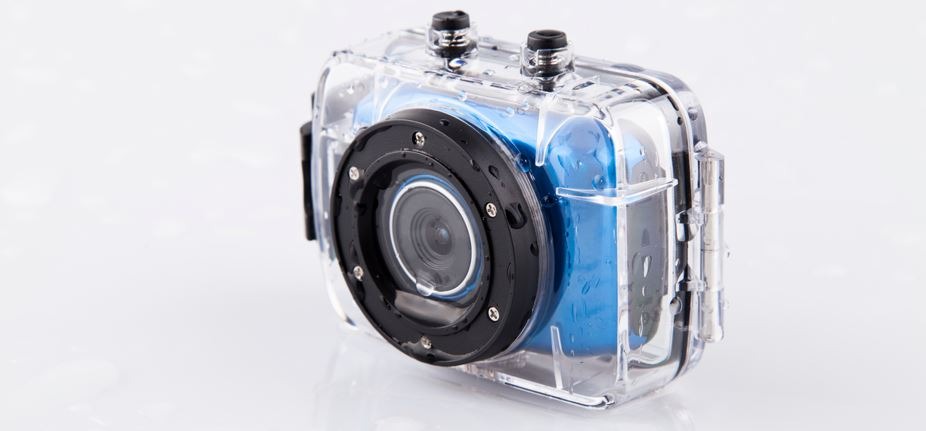
1. A Waterproof Housing for Your Camera
This is basically an external housing that protects the camera from water damage while allowing you to control all its functions. The housing should be rated at least 30 meters so that it will be suitable for taking pictures in open water and diving.
If you plan to use an external strobe, make sure that the housing has room for one or two strobes and their cables, as well as a flash sync cord if necessary (this lets you trigger external strobes from inside the housing).
2. Underwater Cameras
There are many different kinds of cameras designed to take photos underwater. Compact cameras, point-and-shoot cameras, and mirrorless cameras are a few examples. The latter are usually considered more versatile because they have interchangeable lenses and can be used on land and underwater. The others might only be used underwater if they’re paired with waterproof lenses or filters that allow light through without letting moisture in.
Point and Shoot Cameras
Point-and-shoot underwater cameras, such as GoPro, are perfect for those who prefer to keep their gear simple and small. They are especially fun for freediving and shooting at the beach.
Despite their lack of lens settings or exposure options, GoPro cameras offer a lot of functionality at an affordable price. The rugged, compact design makes them ideal for action sports, such as scuba diving and sky diving.
Underwater DSLR or Mirrorless Setups
Professional underwater photographers rely on good housings for their cameras to compensate for the challenges of underwater lighting and refraction.
The housing you choose must be compatible with the camera and lens you own. Even so, some housings do not offer full access to all buttons or controls. Therefore, researching models can help ensure that you choose the right one.
While diving, one’s vision is obscured by the mask, the housing, and the viewfinder. Mirrorless cameras are especially well-suited to this environment; they have big bright back displays and can boot up and shoot in a matter of seconds.
3. The Right Lens
When choosing a DSLR for underwater photography, your lens choice will depend largely on the type of image you wish to capture. Scenics are most often shot with wide-angle lenses. On the other hand, macros require a macro lens with good detail focus.
In macro photography, a longer lens can be helpful for both capturing detail and preventing distortion. For example, when you use a very long lens to photograph a small object, you don’t have to get so close to it. This prevents distortion and allows you to shoot at faster shutter speeds with a wide aperture in low light.
However, the lens you choose is limited by the type of housing it will fit into. Most camera housings are designed to hold specific lenses, so if you find a housing made by one company and a lens made by another, they may not work together.
4. Dry Bag
A dry bag is an essential item for any diver or snorkeler. It protects your camera and other equipment from water damage due to rain or accidental submersion in water. You can also use it as a storage area for your gear while you are swimming underwater.
5. Underwater Strobe Light
Underwater strobes are a must-have for underwater photography. By adding light to your subject, you can highlight details and colors that would otherwise be lost in the shadows.
The most important thing to consider when choosing a strobe is its power output. The more powerful the strobe, the brighter it will be underwater, which means you can use lower ISO settings and still get good exposure.
If you are shooting macro shots with a wide aperture, you’ll need at least 200W of power. If you’re shooting wide-angle shots with a small aperture, 150W should be enough to compensate for the loss of light due to the increased distance between the subject and the camera.
You also need to make sure that your strobe is waterproof! Some manufacturers offer waterproof strobes as an option (such as Sea & Sea or Ikelite), while others build them into their housings (for example, Nauticam or Inon).
Ideal Camera Settings for Underwater Photography
ISO
To combat low light when underwater, increase the ISO setting. While this will result in image noise and loss of quality, it is better than using flash.
Aperture
To capture all the things of a scene in focus, use an aperture value of f/8 or greater. If you want more light to get into your sensor and obtain a strong subject separation, select f/2.8 to f/4.
Shutter Speed
You will always be in motion whether you are shooting on land or underwater. A faster shutter speed is recommended to freeze any action that might appear blurry, and we suggest starting at 1/250.
Autofocus
When photographing fast-moving subjects, use continuous AF or tracking mode to ensure your images are in focus.
Shoot in RAW
Set your camera to shoot in RAW format to capture the most detail possible. You’ll have access to all the image data captured by the sensor for post-processing, which will help you pull details from overexposed and underexposed areas of an image.
Tips for Getting Started with Underwater Photography
1. Practice Beforehand
You will better understand your underwater camera’s performance if you shoot in a dark room and then take pictures in blue water. In addition, short swims or afternoon jaunts in the pool are great training sessions to hone your skills as well as set up and maintain your equipment.
2. Understand the Marine Environment
To get shots of marine life that are truly memorable, you need to know something about the sea creatures themselves. It’s helpful, for example, to know which species are dangerous and which are harmless. And since animals’ behavior can vary from one region or season to another, you’ll also want to familiarize yourself with their habits when it comes to mating, feeding, and so on.
3. Go for Black and White Shots
For an unexpected element of drama, consider photographing subjects underwater in black and white.
When shooting in black and white, look for images whose textures and shapes can be emphasized by the contrast between light and dark.
4. Play with Natural Light
External strobes are essential to many underwater shots, but not all flashes are reliable. You can use sunlight from above the water to create interesting framing in your shots.
Reflective sand or other bright objects can also be used to add depth and interest to your composition.
5. Don’t Forget to Stay Safe
Diving is an extreme sport, so it’s important to follow some basic safety procedures. Avoid strong currents, always know where the boat is, and keep an eye on your air supply. You should also avoid fast ascents or descents and take safety stops before surfacing.
Conclusion
Underwater photography is a science. There are varying degrees of difficulty attributed to different forms of underwater photography, so to pick up this ‘art’ and succeed at it, it is important to understand what types of challenges you will face while underwater and prepare for them.
Be creative, and try new things. Experiment with different techniques and settings until you find what works for you. Be patient and persistent, and keep at it! Eventually, you’ll perfect your skills and create beautiful pieces of art.
