Your tent is one of the most essential and exciting pieces in your backpacking setup. It serves as your second home as you explore and relish all the beauty of the great outdoors. With that, picking a tent requires hefty amounts of time, thought, and research to ensure that you’d get the right one for your backpacking trip. There are multiple factors to take into account, the more you know about them, the easier the task of choosing the best fit for you.
To help out, check out our quick guide to picking a tent for backpacking. By the end of this article, you’ll be a tent master who’s ready to seize the world carrying the best possible shelter on every backpacking adventure.
Different Types of Tents for Backpacking
Backpacking tents are available in different sizes and setup styles. Each of these has its own perks and drawbacks, depending on your needs. Here’s a quick breakdown to help you know more about them:
Freestanding Tents
Freestanding tents are the type of tents that most people picture when thinking about tents. These tents are usually dome-shaped with a sturdy pole system, allowing them to stand up on their own without being staked or without the use of guy lines. While the structure remains upright, you still need to tie it off for complete weather protection. These shelters are quite spacious and are ideal on terrain where staking can be a challenge.
Freestanding tents are best for solo backpackers as they are easier to set up alone and can be quickly picked up or moved should there be any changes in location or weather conditions. Note that they are quite heavy compared to the other types of tents. So, they are most often used on backpacking trips where weight is not much of a concern.
Semi-freestanding Tents
Semi-freestanding tents are the type of tents that have their own pole system but also require a few guy points or stakes to attain full stability and maximize their livable space. They need fewer poles than their freestanding counterparts. Thus, making them typically lighter whilst still offering utmost comfort and security.
Some semi-freestanding models can even be pitched using a pair of trekking poles rather than the included poles, allowing further reduction in carried weight. With that, they are becoming a more popular choice among backpackers as they are an excellent combination of space, weight saving, and versatility.
Tarp Tents
Tarp tents are the type of tents that require stakes and trekking poles for them to keep their shape properly. These shelters are usually single-walled, with a built-in floor and bug netting to keep the pesky crawlies out.
Their main advantage is that they have fewer parts and are incredibly lighter than double-walled freestanding and semi-freestanding tents. A drawback is that these tents are susceptible to condensation build-up, which means you may wake up damp in the morning.
Unless you’re aiming to go ultralight, tarps tents are not recommended for new backpackers as they can be quite intimidating to set up and need strategic staking to reach maximum stability and livable space. But once you get the gist, you can set a tart tent up in a breeze and it can be your best option for fast-and-light backpacking trips.
Factors to Consider When Picking Tent for Backpacking
Now that you’re aware of the different types of tents for backpacking, let’s go through the different aspects to look at when picking a tent. All these factors are vital to your decision-making process, helping you ultimately reach the most suitable one for your trip:
1. Capacity
In general, backpacking tents are designed to hold between one to four people. Most tent manufacturers include the tent’s capacity in the model’s name, with two- and three-person backpacking tents being the most common and popular. However, brands don’t follow definitive standards, making per-person dimensions widely vary from one manufacturer to another and even between models.
Nevertheless, the listed number is still a great guide to follow in determining a tent’s capacity. Just remember that the majority of the backpacking tent models tend to lean towards the snug side of the spectrum. If you’re larger than average, a person who craves a little more space, or one who travels with your four-legged friend, consider sizing up for better comfort.
Otherwise, you can find tent models that are designed to be one or two inches longer or wider than average. You can distinguish them from regular models as these tents usually carry the word “plus” in their name to denote the extra capacity. Yet, there are also other details that you need to check to further assess how a tent utilizes its space.
Most times, choosing a one-person tent is the best option for backpackers as it’s a nice and quick way to save weight. However, many still opt to get two-person tents, given that they get to enjoy extra space and have the luxury to bring a partner on their trip. Meanwhile, three-person tents are an excellent choice for couples who love to backpack with their dogs or cats or who love to bring some extra gear inside. On the other hand, four-person tents are the least commonly used as they can be pretty heavy and bulky, making them unfit for backpacking trips, but they can be great for camping with the family.
2. Seasonality
Another important consideration when selecting a tent for backpacking is seasonality. Most of the tents you’ll find in the market today are under the 3-season variety. These tents strike a balance between keeping the entire system’s weight low while also being able to withstand the wide array of conditions that spring, summer, and fall can bring.
If properly pitched, these 3-season tents can survive light rain and snow but will fall short against violent winds, heavy storms, and heavy snow. Still, they are the most popular choice as most people tend to follow established routes during the summer months. That means that the weather is generally good, so a 3-season tent will already suffice.
Extended season tents, which are usually labeled as “3-4” or “3+ Season” tents, are a bit more sturdy. They usually feature an additional pole or two than 3-season tents and smaller or fewer mesh panels. These tents are best suited for backpacking adventures in the early spring and late fall when odd snowstorms or frosty nights might surprise you and for those people looking to do exposed, high-elevation summer trips.
If you’re planning to visit alpine areas or other locations with rough weather outside the shoulder seasons, you want something even more formidable. With that, you need a 4-season tent that is specifically engineered for added protection. They feature more poles either made of aluminum or carbon fiber for maximum strength and more heavy-duty fabrics to keep you safe and dry amidst substantial snow loads and fierce winds. Plus, they also have zippable doors and mesh panels with solid coverings. The catch is that they offer less ventilation and can feel quite stuffy inside when used in mild or summer conditions.
At the end of the day, most backpackers settle for 3-season tents as they provide what most backpackers, especially newcomers, need in most non-winter conditions. Yet, diehard backpackers with year-round activities set on their calendars know how valuable it is to have more than one type of tent so they can effectively deal with extreme situations.
3. Livability
Livability is the umbrella term for all the features that make your stay inside your tent more comfortable and enjoyable. These features include:
Floor Measurements/Floor Area
A tent’s floor area is usually expressed in dimensions such as length and width or total square footage. It’s an excellent tool for gauging and comparing the interior space backpacking tents offer. It is generally thought that a person needs at least an area of 25” x 80” inches, or around 14 square feet. Some models don’t have perfectly rectangular floors and instead feature tapered ones. These types provide the shoulders its much-needed room while reducing the weight by narrowing on the foot.
Peak Height
Peak height refers to the tent’s measurement at its tallest point. It may not be a concern if you intend to use the tent for sleeping. However, if you’re eating, playing cards, hanging out, or taking videos from inside your tent, it can be an issue as a low peak height means constantly bumping your head as you sit upright.
With that, you may want to get a tent with a higher peak height, especially if you’re on the tall side. That will keep you from bumping your head on the tent, and rather allow you to sit comfortably and reduce strain on your neck and back. However, peak height is only measured at a single spot, which means it’s not only the determining factor in assessing the whole headroom. Other aspects like wall shape can help you distinguish if only one person can stand or if you and your partner can dance the cha-cha inside.
Wall Shape
A more crucial factor than peak height when assessing the tent’s livability is the wall shape. It shows how a tent actually utilizes its space. The more vertical the walls are, the more open the interior space is, giving them more usable space than ones with sloping walls. Just note that there is usually a trade-off. Having vertical walls means having more pole length. Thus, making those tents quite heavier. If possible, it’s always best to go to a store and test pitch your desired tent to study its walls and feel its weight.
Ventilation
If you’re backpacking in warmer locations, the amount of airflow inside the tent can dramatically affect the temperature. That’s why well-placed mesh windows, panels, and vents are important so your tent won’t feel like a hot oven. Again, there’s a tradeoff. More openings mean that there are more places for wind and precipitation to get in when the weather isn’t as friendly.
However, be wary that you still need ventilation even if it’s cold outside. Otherwise, your tent will feel like a hot box, and you’ll sweat out like you’ve been out in the rain. A good workaround by many tent manufacturers is adding rollable doors, panels, vents, and adjustable rainfly, and incorporating additional ventilation in the ceiling or on the ground.
Rainfly
Having a built-in or attachable rainfly is also a must. It’s the outermost layer of fabric that partially or fully covers the body of your tent and protects it from outside elements. If it starts raining, you should have one to keep all your things safe and dry.
Some manufacturers still make tents without a rainfly or with a super short one. So, check if one is included and how big the fly is. See also the angles and awnings the rainfly creates. A more aerodynamic and more sloped shape will allow wind and water to slide off easily rather than making the winds slam your wall, or causing water to form puddles.
Meanwhile, you can also opt for a lighter- or brighter-colored rainfly. It transmits more light inside your tent, making it appear more pleasant and spacious, which is helpful if you need to be tent-bound for extended periods due to bad weather. Remember, you must always have your rainfly ready. Most tents feature straps to have the fly easily rolled on one side or across the middle of your tent. If you’re still setting up your rainfly when the rain is already pouring, you’re already too late.
Vestibules
Vestibules are extensions of the rainfly and serve as protected areas outside your tent. They are perfect extra shelter storage for items you need to keep dry but you don’t wish to bring inside the tent, such as your boots and certain gear. Most tents offer vestibules, but their size can vary per manufacturer or model. While a bigger vestibule is better and can be handy when backpacking in wet weather, be wary that having a huge vestibule also means additional weight and cost.
Number of Doors
Backpacking tents can have one or multiple doors. If you’re backpacking alone and using a one-person tent, it makes sense that the tent has a single door. However, if you’re backpacking with your partner and are using a multi-person tent, having two doors, one on each side of the tent, is more practical. While it’s true that additional doors can add weight and cost, it’s a nice tradeoff for the overall convenience of not having to have gymnastic skills and crawl over your partner in the middle of the night just to get inside the tent. So, if you’re not backpacking solo, it’s wise to get that additional entry point, unless you’re really counting each ounce.
Footprint
A footprint is a sturdy, lightweight sheet made of waterproof material, such as polyethylene, cuben fiber, polyester, or oxford nylon, that sits between your tent and the ground. It is meant to protect your tent from abrasion from the rough terrain, and from punctures from pine needles or sharp rocks. Thus, extending its lifespan. This barrier also protects the underside of the tent from moisture, helping keep it drier on the inside. Not all tents include a footprint. They may cost less but won’t be a good deal when taking the extra cost of purchasing a separate footprint into account.
4. Weight
The weight of your backpacking tent is a vital consideration. For most backpackers, it’s even the top factor, given that you’d be carrying the tent on your back while walking long stretches. If it’s too heavy, it can weigh and slow you down. If it’s too light, then you will have to compromise space, features, and durability over the long haul.
You should only be carrying two to three pounds of the tent. What’s good is that if you’re backpacking with a buddy, you can split the load to make things easier. For instance, you can carry the tent body and fly, while your buddy takes care of the poles and stakes.
If you’re a solo backpacker, don’t fret. Just choose carefully and you can find a lightweight tent that’s still roomy and comfy for you.
Manufacturers display the weight of their backpacking tents in a variety of ways. Knowing these can greatly help when choosing the ideal backpacking tent for you.
Trail Weight: Trail weight refers to the weight of the three essential parts of the tent: the tent body, poles, and the rainfly. While you will be bringing other tent-related gear like the stakes and footprint, the trail weight is the best spec to look at when comparing the weight of different tent models.
Packed Weight: Packed weight is the total weight of the tent including the bare essentials (tent body, poles, and the rainfly), and everything else that comes in the package (stakes, bags, guylines, and instructions). The weight you’ll be carrying on your trips falls somewhere between the packed weight and the trail weight.
Packed Size: Packed size pertains to the amount of space the tent requires in a pack, implying how easy it is to carry. As mentioned, you can always split the parts when traveling with a buddy to reduce the space needed. Plus, you can also save a few ounces by leaving the bags at home.
5. Durability
A general rule in backpacking tents is that as the weight goes down, the durability also decreases as well. Premium tents are usually made of high-strength, low-weight aluminum poles for optimum durability. For the materials on the body and the fly, most brands will provide the denier (D) or the measurement of the fabric thickness. More durable fabrics have higher denier numbers, while lower denier, less durable fabrics are found in lightweight models.
When thinking about durability, you must always assess your intended use. If you’re a casual backpacker who loves to backpack on the weekends and cover relatively shorter distances, having a slightly heavier tent for increased durability is worth it. If you want to travel fast and light instead, ensure that sacrificing a portion of the tent’s toughness is something that you can manage. If not, you can follow what most backpackers do which is getting somewhere in the middle. These tents are not too light and not too heavy, but are capable of withstanding most of the conditions in the great outdoors.
6. Weather Resistance
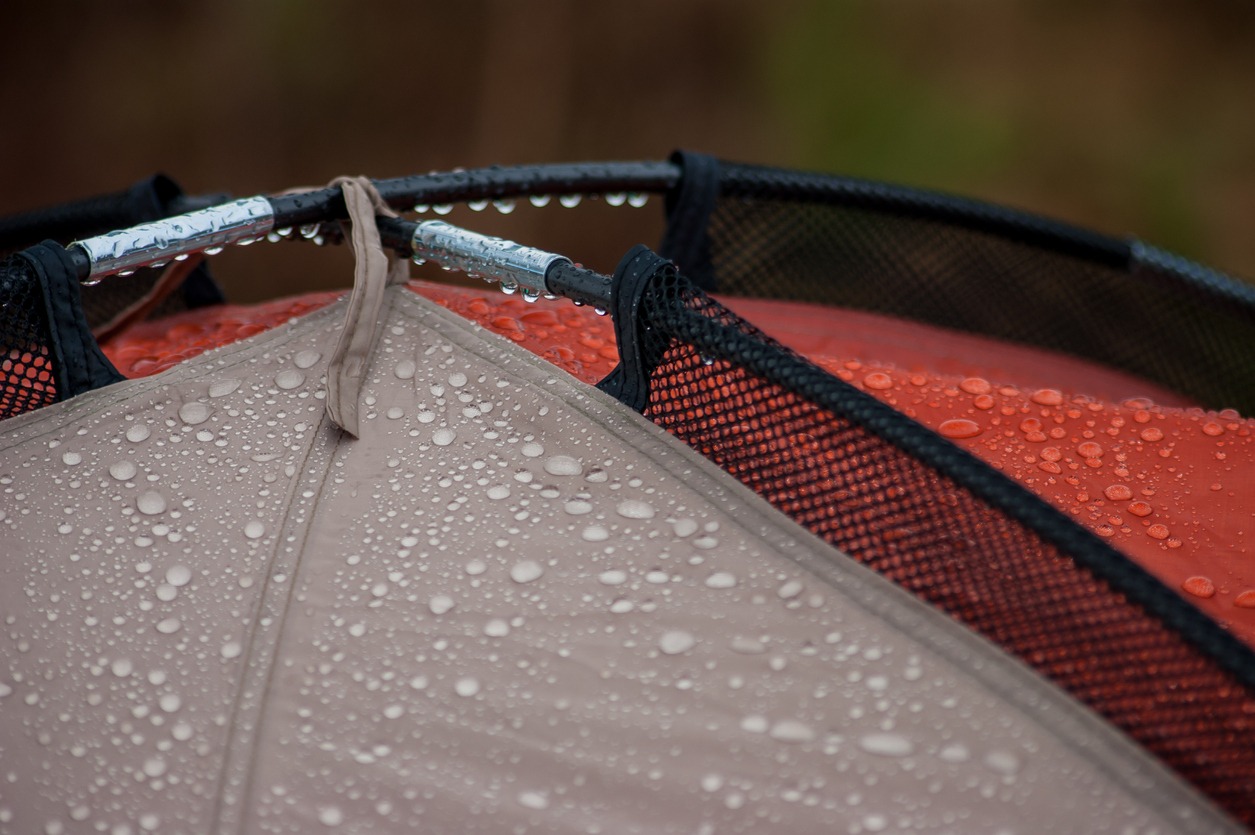
Weather can be very unpredictable. Chances are you’ve seen how the warmest, sunniest day can turn into a cold, windy afternoon, or how a starry night sky can evolve into a cloudy, rainy one all of a sudden. As such, your tent must always be prepared for such situations. Some features to look for weather resistance include seam taping, coated and waterproof rainfly, and raised floors, which all reduce the chances of rain and moisture seeping through.
More expensive models are usually more weather-resistant than their budget-friendly counterparts. Their materials are usually more durable and can stand up longer to different outside elements. If you anticipate experiencing decent rainfall and wind, opt for a model that has a rainfly that can extend to the ground for optimum coverage and with guy-out points for attaching cords located along the exterior to attain maximum strength.
7. Color
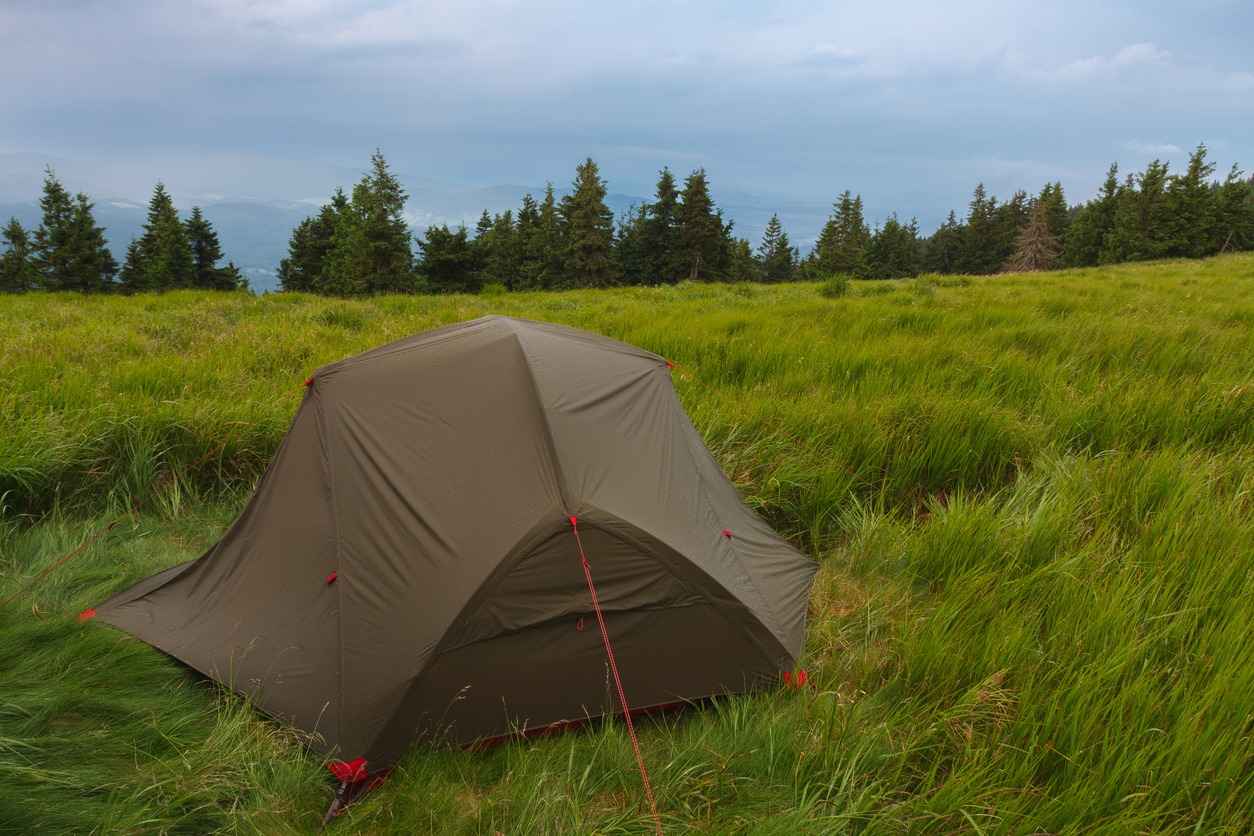
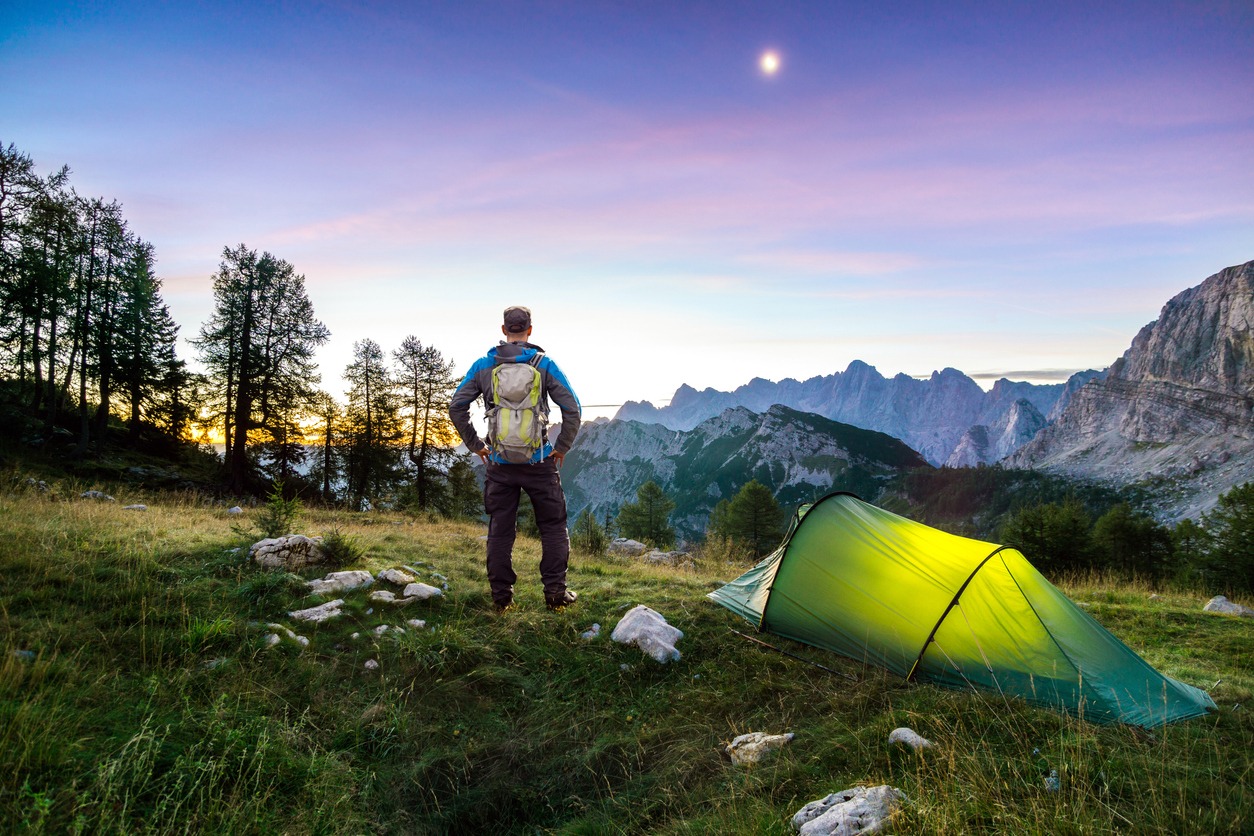
You might be surprised but the color is important not only for aesthetics but for security purposes. A vibrantly colored tent is best suited if you’re backpacking in the mountains or in the alps as it is easier to see in the white surroundings. In case of an emergency situation, an attention-grabbing color will help get rescued or picked up quicker. However, if you’re backpacking in the forests, it’s best to go for beige, dark green, gray, or other moderate colors. They blend well in forest environments and will entice less attention from people and dangerous wildlife.
8. Ease of Use
No one wants a complicated tent and fights over how to properly set it up. With that, always shoot for a tent that is easier to pitch and easier to get used to setting up. As your tent is one of the first things you need to mind, having a tent that goes up smoothly without causing any frustrations can help start your backpacking trip on the right note. Of course, taking the tent down and packing it into a bag shouldn’t push your patience and should be as hassle-free as well.
Ease of use is something that’s difficult to assess when shopping online or at the store. So, it’s recommended to practice pitching your tent at home even before you head out for backpacking. Not only will you be aware to set things up, but you will also know if there are any defects or missing parts. While it may take some time, you’ll thank yourself later for having been able to see the problems beforehand.
Some good features that make a tent easier to use include pole clips, color-coded parts, and fewer poles in general. Still, practice makes perfect. No matter how many parts a tent, all is good once you’re able to learn all the ropes.
9. Cost
Lastly, like with any purchase, the price will be a factor when purchasing tents. Backpacking tent costs can range pretty widely, with the budget models falling around $150 and models from respected brands at around $700 or more. As it can be a hefty investment, it’s really important to devote extra time to thinking before buying a specific tent. But, you also don’t really have to spend a fortune just to get a serviceable shelter.
If you’re just starting out with backpacking, you may begin with a cheap tent. It is better than having nothing and can be an excellent introduction to the hobby. Once you develop more fervor for the pursuit and become interested in longer, more hardcore backpacking trips, that’s the time you can spend extra for a higher quality, more durable tent that can keep you comfy, protect you from the outside elements, and last longer.
Takeaway
Your tent is your shelter in the backcountry and it can make or break your backpacking trip. With that, take your time and evaluate the needed aspects prior to making your decision, and you’ll soon find the best tent for your backpacking adventures. Happy backpacking!


