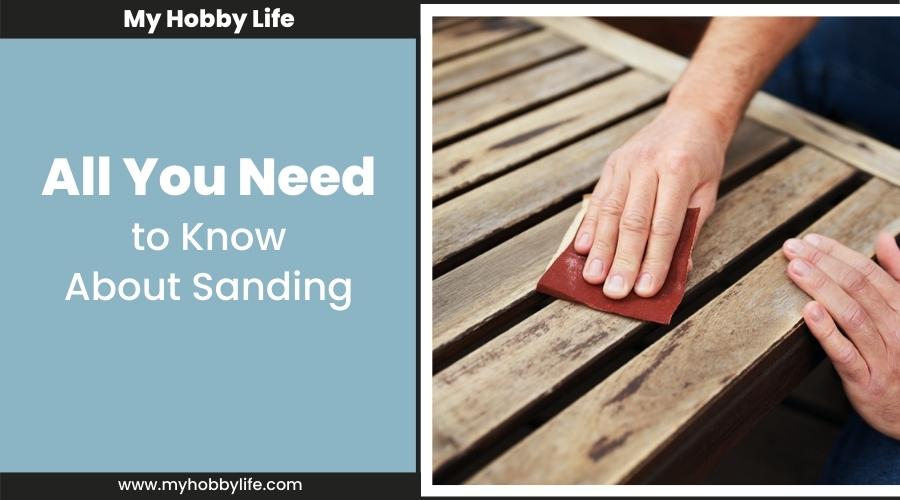
What exactly is sanding, and why are we doing it? To begin, sanding can transform a mediocre product into a fantastic one. Straight from the mill, wood seems rough and is frequently covered in dents and other markings. Wood sanding helps to smooth the surface and bring out the inherent grain of the wood. Sanding tools can also be used to remove rust from metal and polish fiberglass and wood. Furthermore, sanding prepares the surface for painting, ensuring that the paint or varnish goes on smoothly and looks its best. Sanding is a critical stage in establishing the final finish and quality of a project.
Smoothing the wooden surfaces and removing impurities is necessary for manufacturing wooden items such as a table, chairs, beds, or doors. Sanding is done at workshops or if you know how to make a wooden object, in your garage. Sanding requires a variety of instruments, the most significant of which is sanding paper. Sanding paper is used to smooth up the wooden surfaces. There are many grades of sanding papers available to assist you with this task.
What Are Sandpaper Grits?
There are many different grades and abrasive materials to choose from when choosing a fresh sheet or disc of sandpaper for your project. To get the desired results, it is crucial to understand how they differ from one another and choose the best one for your material and project. You must first comprehend what grit is and how it affects your project to select the appropriate sandpaper grit.
The size rating of the abrasive materials that go into making sandpaper is represented by sandpaper grits. Based on the size of the abrasive particles, different categories of sandpaper grit are created. The coarser the sandpaper, the greater the abrasive particles. Smaller abrasive particles, on the other hand, produce finer sandpaper. To achieve the utmost results, begin with coarse sandpaper and gradually graduate to finer ones. Coarse sandpapers are useful for removing large lumps, impurities, and scratches from a surface, and finer sandpaper kinds are best for the final touches.
How do Grits Function?
There are several different grits of sandpaper. Higher grits denote smoother sandpaper, whereas lower grits suggest coarser sandpaper. Except for sanding wood floors, which may begin with 24-grit sandpaper, most wood tasks utilize sandpaper between 40 and 240 grit. Since fine sawdust produced by higher grit sandpapers can block wood pores and prevent staining and finishing, most projects advise halting the sanding process at around 180 grit, unless you’re aiming to seal up wood pores on purpose.
How Do You Choose the Right Grit to Use?
The numbers on the back of sandpaper and pads may appear intimidating or confusing at first glance, but they follow a very straightforward method. For your sander, a variety pack of sandpaper pads will probably include at least some of the following grits: p40, p60, p80, p120, p180, and p240. The “P” stands for the FEPA (Federation of European Producers of Abrasives) rating that was given to the product.
- Coarse: Sandpaper with a 40–60 grit rating is regarded as coarse and is appropriate for more demanding sanding. Although coarser grits will yield quicker results, they may be overly abrasive for some tasks, like finishing, and they will leave thicker traces that may harm the wood. Use these to get rid of old paint that won’t go away and very rough wood. You wouldn’t use coarse sandpaper on finely detailed areas, edges, or corners. 80-grit sandpaper, which is less coarse than 40-60 grit but still efficient, is a necessity for any toolbox. It is the best beginning grit for sanding hardwoods.
- Medium: Sandpaper with a 100-grit rating helps sand wood before finishing and removes stains. Another necessity for any toolset is 120-grit sandpaper, which is a suitable beginning grade for softer woods.
- Fine: Sandpaper with a grit between 180 and 240 would be regarded as fine and suitable for finishing, removing flaws in between coats of paint, or even keying a surface. Some sandpaper sheets might not have numbers on them; instead, they might be labeled Extra-Fine, Fine, Medium, or Coarse.
When Should You Sand?
Sanding is frequently done to remove mold from wood or to remove a surface coat of paint, stain, or lacquer. This could be done as a part of a renovation or upcycling project, or it could just be routine home upkeep. Sanding is a key tool in building and woodworking for smoothing the surface of new or rough-sawn wood to make sure it is fit for use inside, in addition to revitalizing aged wood. By bringing out the grain, which may be a true feature, sanding can enhance a piece of wood.
What Sanding Equipment Are Ideal for Your Project
Nothing is more satisfying than running your hand over a piece of perfectly sanded wood. However, obtaining that buttery smooth texture requires a lot of effort. The next step is to determine which sanding tool is ideal for the job after deciding which sandpaper grains you require.
1. Sanding Block
Hand sanding is the slowest and least expensive method to achieve a smooth surface for your DIY projects. On bigger surfaces, uneven pressure can lead to unattractive grooves and scratches. Hand sanding, however, is the best method for minor areas that require a lighter touch. A sanding block can be a square of foam, a sanding sponge with a coating, or even a small piece of wood. The goal is to make a flat surface that presses your project evenly.
2. A Random Orbital Sander
This sander, a favorite among woodworkers, rotates rotationally while vibrating laterally to lessen the possibility of unattractive swirl marks. With this machine, you may select between a slower, more delicate approach and a faster, more aggressive approach thanks to its variable speed control and tendency to be quieter.
3. Palm Sander
This sander produces incredibly clean finishes and is great for corners and finishing, but it’s not suited for heavy applications. It has a square pad that moves in tiny, circular circles. This reasonably priced sander, a popular entry-level device, uses spring-loaded clips to hold small squares of sandpaper in place. As you may move it in any direction, it is maneuverable, lightweight, and quiet.
4. Drum Sander
This choice, which is the biggest and most aggressive sander, needs to be handled carefully and is best suited for huge areas that require heavy sanding. When converting prefinished floors into more modern square-edged flooring, experts advise using this sander to remove the bevels. This beast swiftly removes deep scrapes, yet it can do significant harm in the hands of a novice.
5. A Belt Sander
This powerful equipment is perfect for sanding large, flat surfaces like wooden floors. It includes a continuous 3- or 4-inch sanding belt. It works well for decreasing edges, such as those at the top of a stuck door, as well as removing previous finishes like paint and varnish. By clamping two or more boards together, you may also use it to gang-sand numerous edges at once. A 3 x 21-inch model is a popular choice among experts when selecting the sander size. A 3 x 18-inch sander, however, is better suited for amateurs and DIY users. Although they are more difficult to manage, the larger 3 x 24-inch and 4 x 24-inch variants are excellent for heavier sanding of larger surfaces.
6. Detail Sander
Use this compact tool for modest work or for cramming into tight spaces. Although some models have a variety of attachments, they often do not provide any kind of dust control, so be sure to use a dust mask to protect your lungs.
7. Hand Sanding Block
Give the simple hand-powered sanding block some room in your toolkit. Although slower, it gives you the most control and is practical in confined spaces. It’s important investing in the correct kind of power sander and learn these power sander tips and tricks to help you master your instruments if you want to produce a professional finish on every task.
In every shop and home, there is seldom a project that needs to be sanded before a finish is applied. But your attempts to create that flawlessly smooth surface could be frustrating if you don’t comprehend the procedure or use poor technique. We’ve created a tutorial that discusses the distinctions between different sanding equipment types and how to pick the best one. Also included are guides to assist you in selecting the device that is best suited for your project.

